

Turn any photo into a dot grid artwork with these Photoshop actions. You'll get great results with dots that change size. They get larger in brighter areas and smaller in darker areas. Free download available.
Step 34
Make a Color Balanceadjustment layer and alter the Midtonesvalues:

Step 35
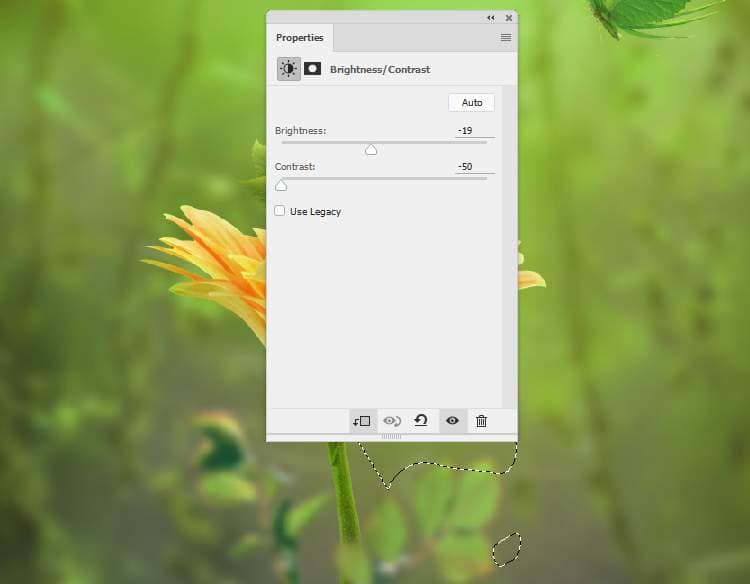
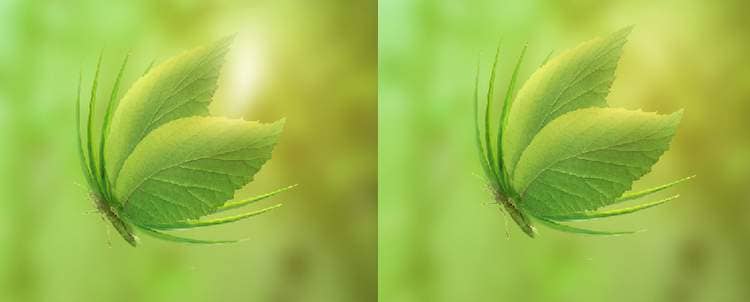
Add a Brightness/Contrastadjustment layer to reduce the light and contrast of the branch. Paint on the top of some leaves on the right to reduce the effect there.
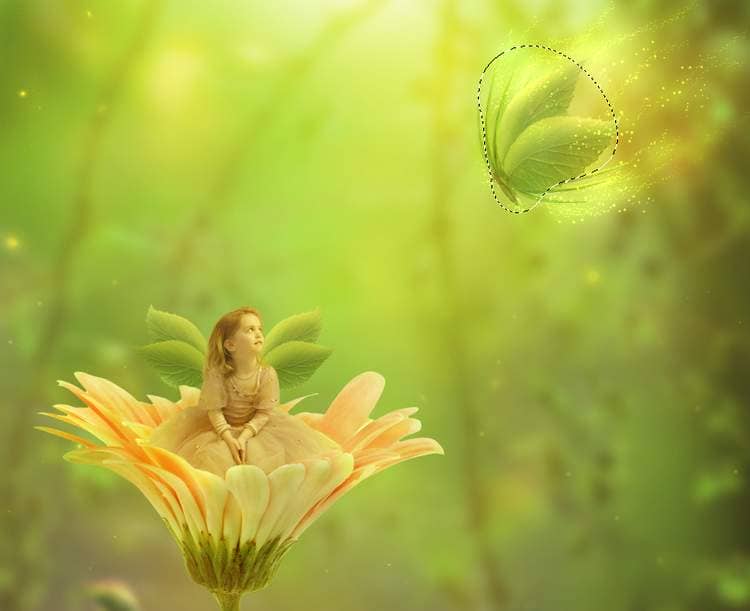
Step 36
Create a new layer on top of the layers and use a soft brush with the color #3c1807to paint on the wings of the butterfly. Change this layer mode to Linear Dodge 100%.
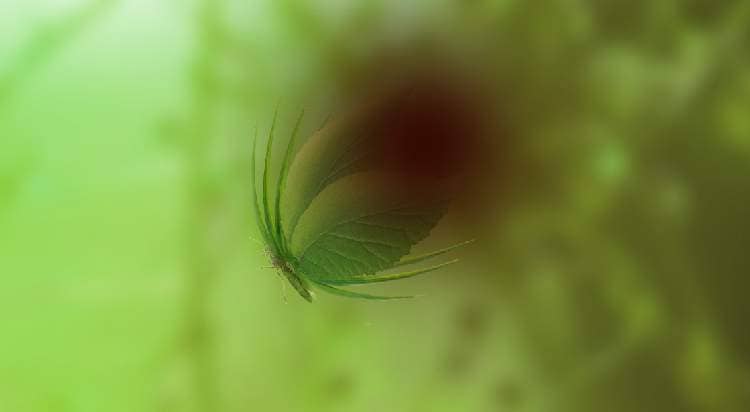
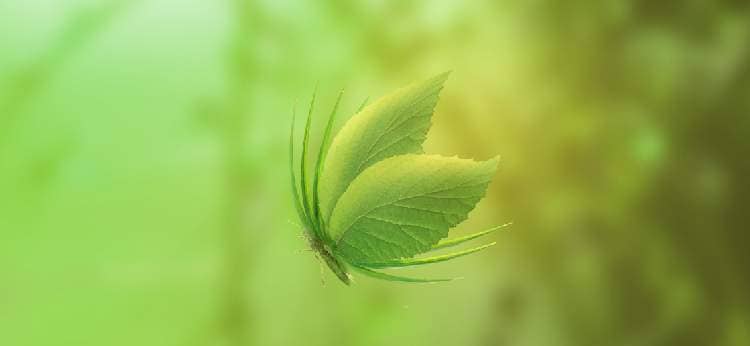
Make a new layer and use a soft brush with the color #fdffe0to paint on the top right of the butterfly. Change this layer mode to Soft Light 100%.
Step 37
Create a new layer and select a small brush with the color #cee780. Press F5to change the color of this brush:
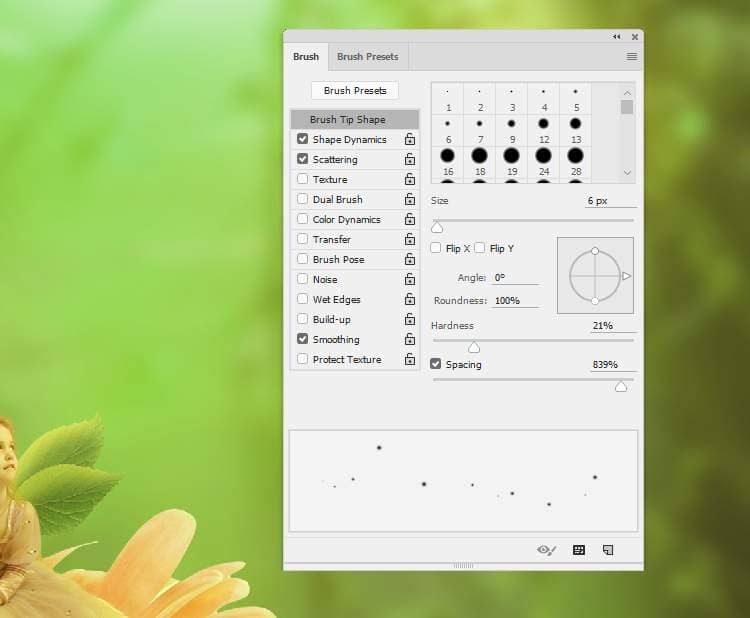
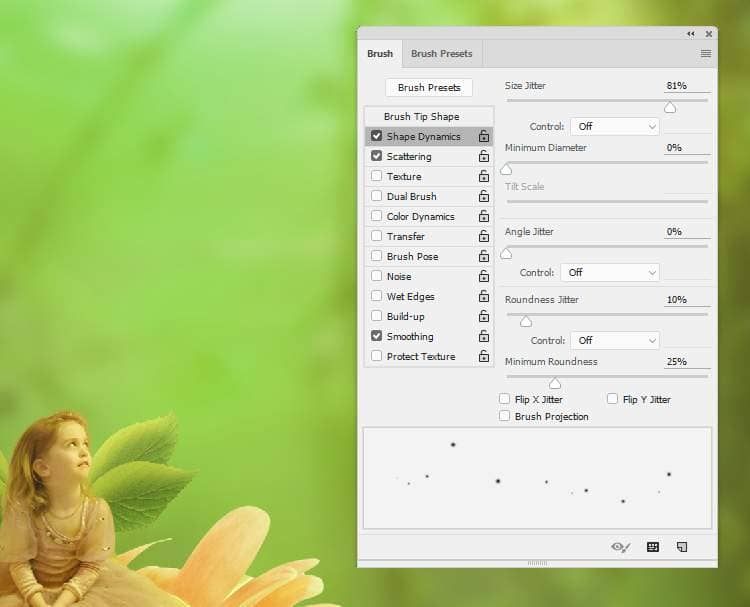
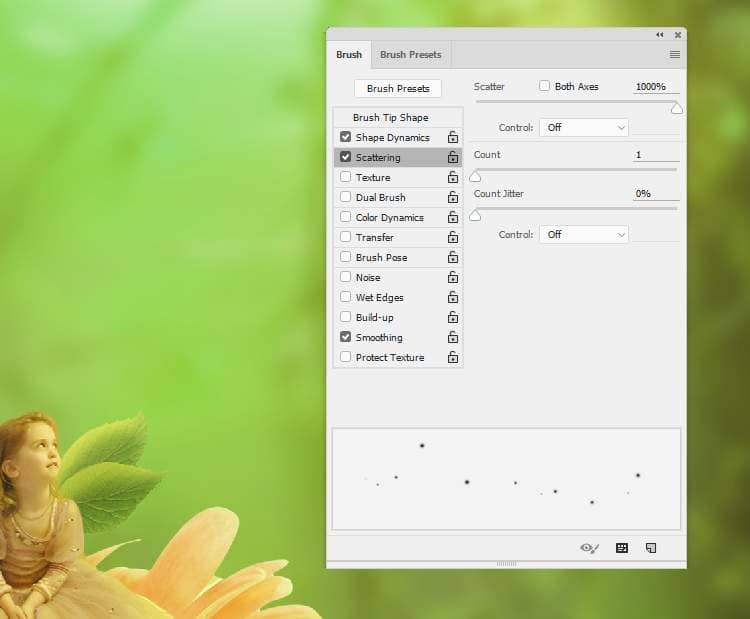
Use this brush to paint tiny dots around the butterfly, especially around the wings. Press [and ]to change the size of the brush while painting.

Step 38
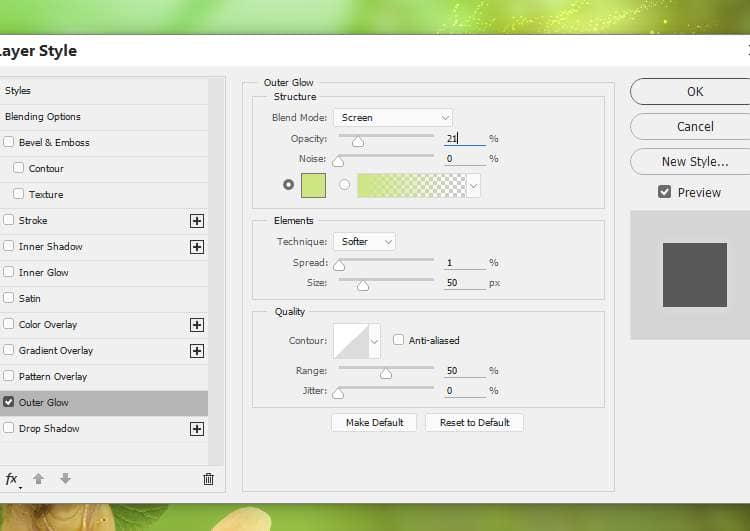
Hit Ctrl+Gto make a group for the dots layer and change the group's mode to Color Dodge 100%.

Double click this layer, choose Outer Glow. Set the color of the glow to #cee780.

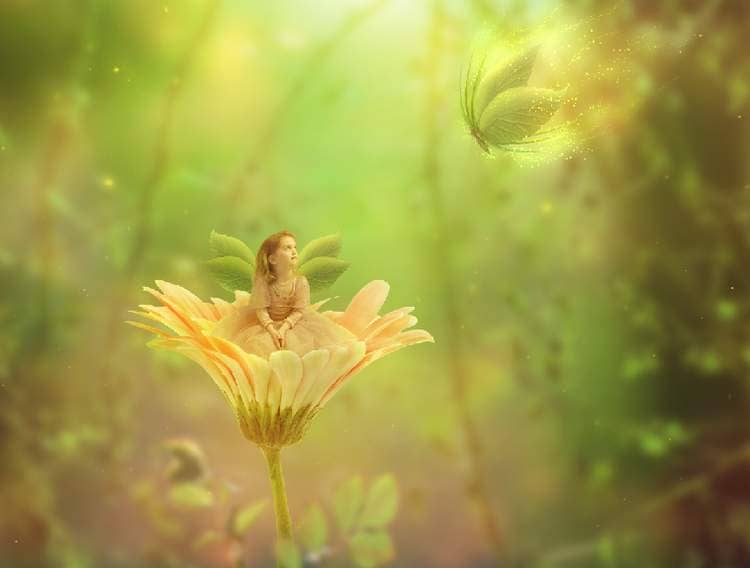
Step 39
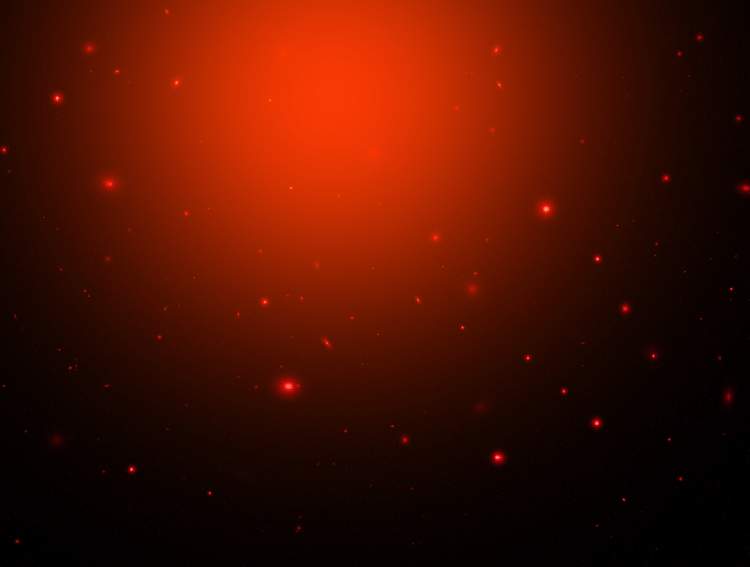
Open the starry images pack and choose the image 4 to place onto the main canvas. Change the mode of this layer toScreen 100%and add a mask to this layer. Use the layer mask to remove the effect on the middle and the visibility of the glowing dots.
Step 40
Make a Levelsadjustment layer to reduce the light effect.
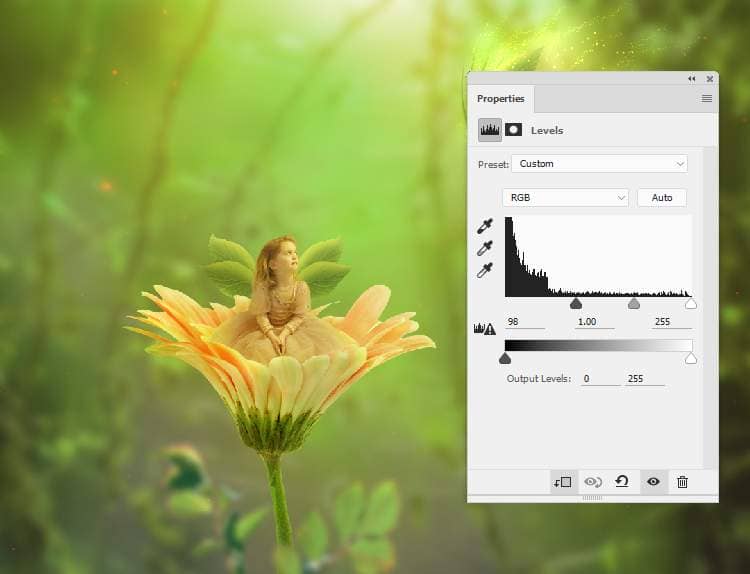
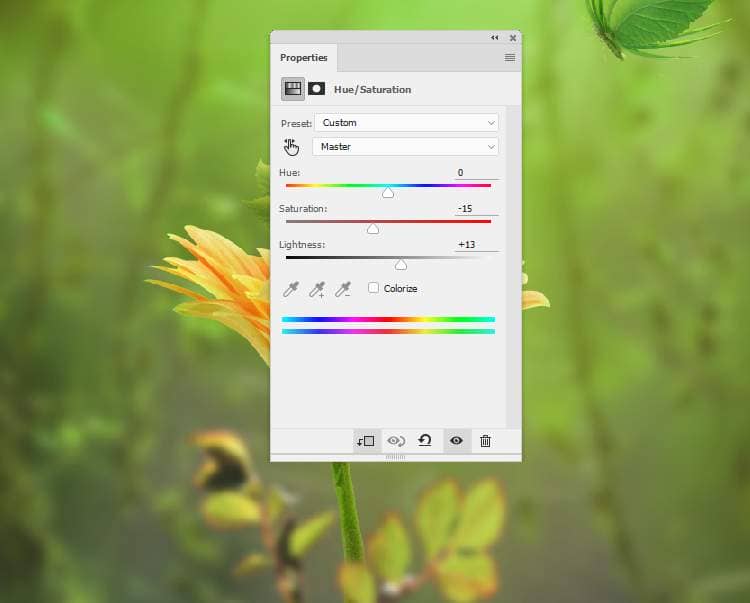
Add a Hue/Saturationadjustment layer to change the color of the effect.
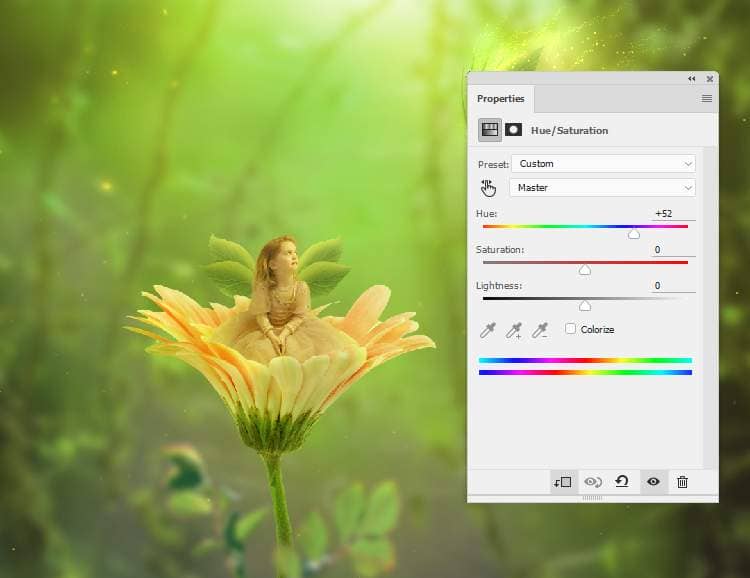
Step 41
Add the bokeh image to our main document and change the mode to Screen 100%. Convert this layer to aSmart Object.
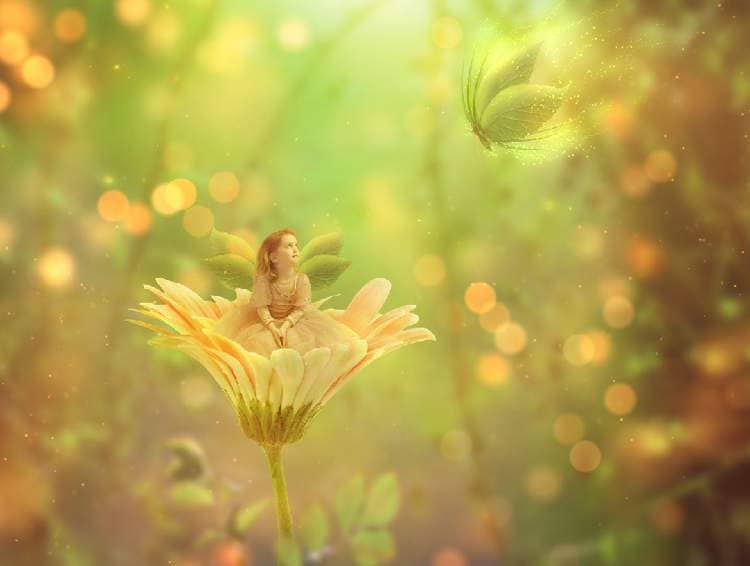
Apply a Gaussian Blurof 35 pxto this layer.
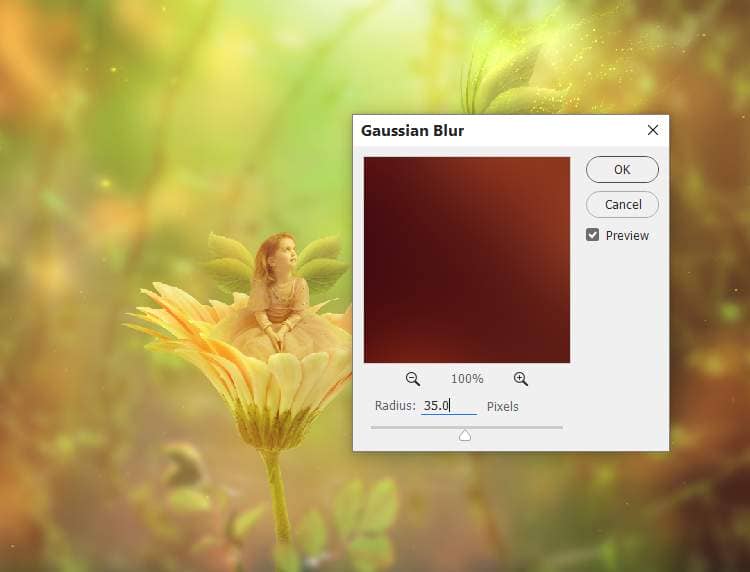
Add a mask to this layer to reduce the bokeh effect.
Step 42
Make a Levelsadjustment layer to increase the contrast and decrease the effect's visibility.

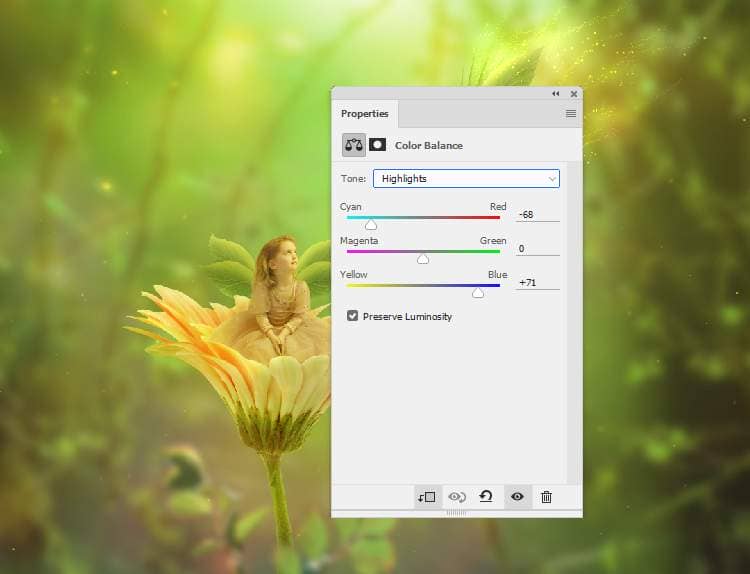
Create a Color Balanceadjustment layer and change the Midtones and Highlightssettings:

Step 43
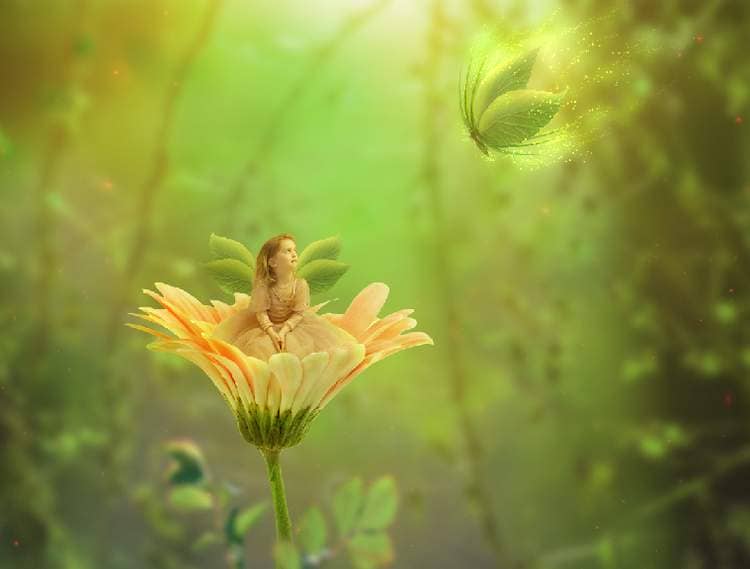
Make a new layer and use a soft brush with the color #d6a352to paint on the top middle. Change this layer mode to Soft Light 100%and use a layer mask to reduce the effect on the butterfly.
Step 44
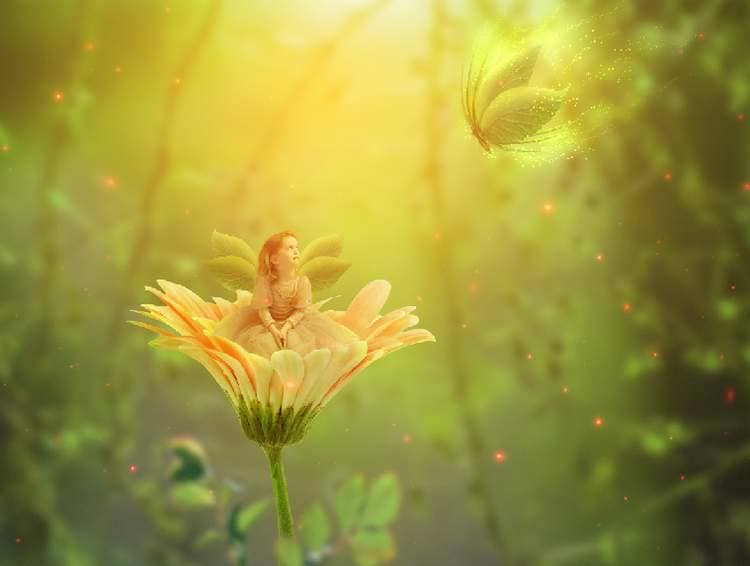
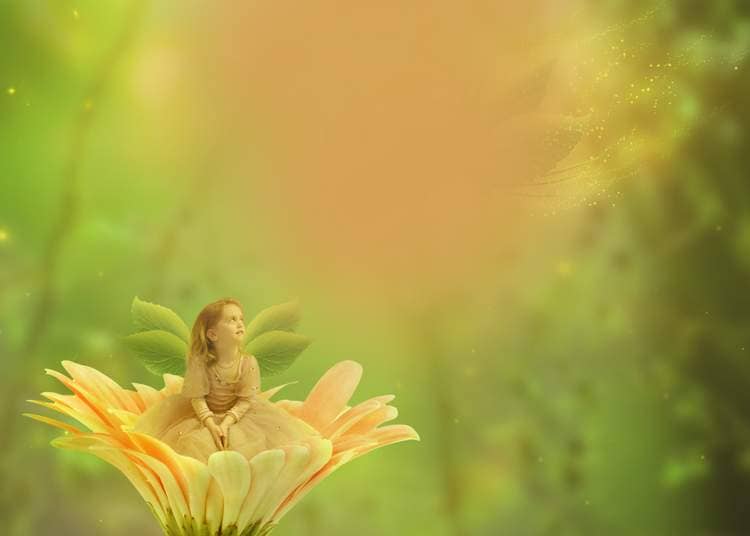
Create a Gradient Mapadjustment layer and pick the colors #8d0e1cand #2cfe67. Change this layer mode to Soft Light 20%.
4 comments on “How to Create a Fantasy Fairy Scene Photo Manipulation with Adobe Photoshop”
Thanks very much!
wow great results
Neat image! Thank you!
WOW ist das schön, vielen Dank für das gut erklärte Tutorial.