


Make skin look perfect in one-click with these AI-powered Photoshop actions.
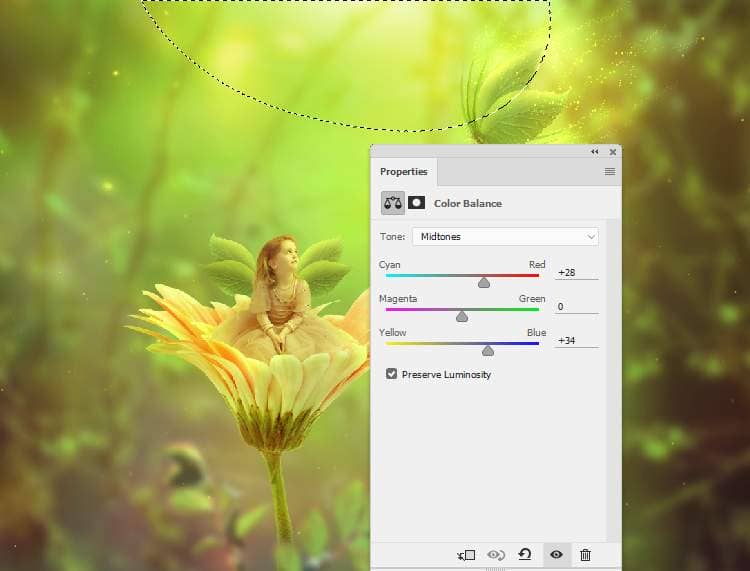
Make a Color Balanceadjustment layer and alter the Midtonesand Highlightssettings. On this layer mask, paint on the top middle to reduce the light effect there.

Step 45
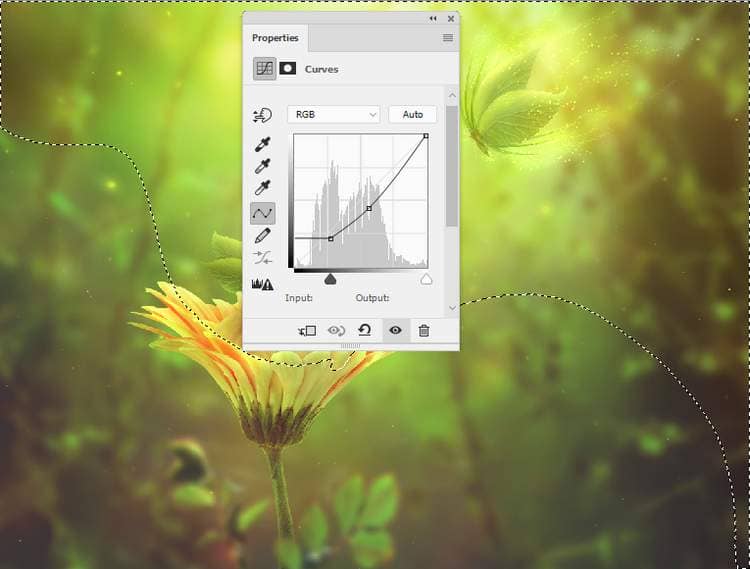
Add a Curvesadjustment layer and increase the lightness. On this layer mask, paint on the left , the lower right and middle of the canvas to reduce the light on these areas.
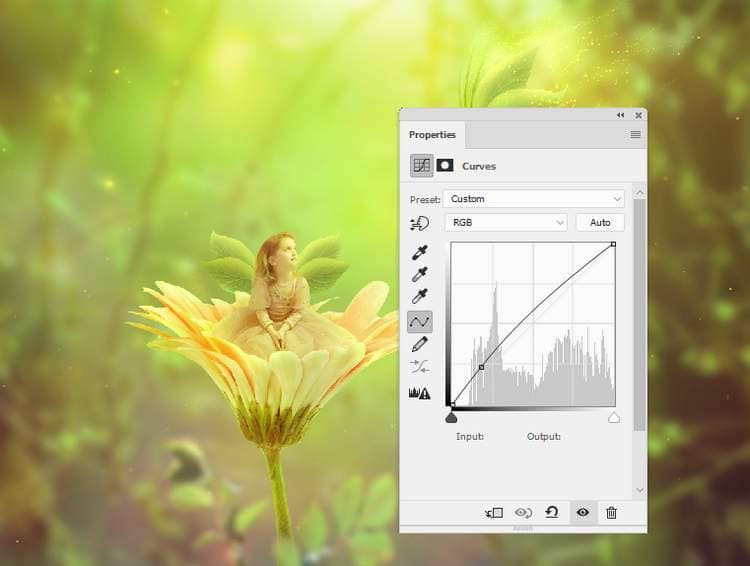
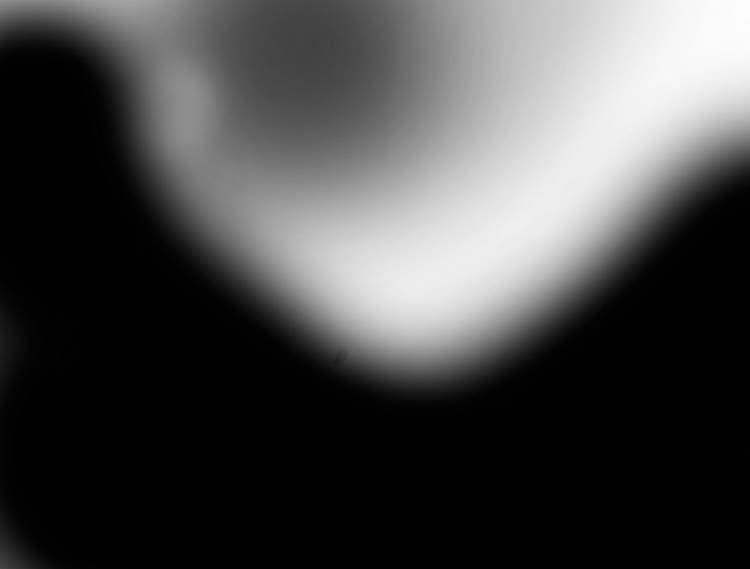
Make another Curvesadjustment layer to darken the lower section of the whole scene more. Paint on the rest to keep its lightness.
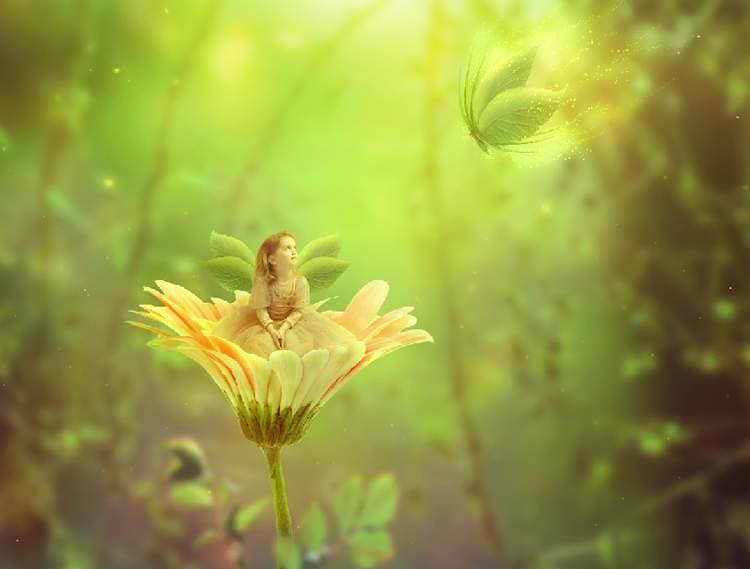
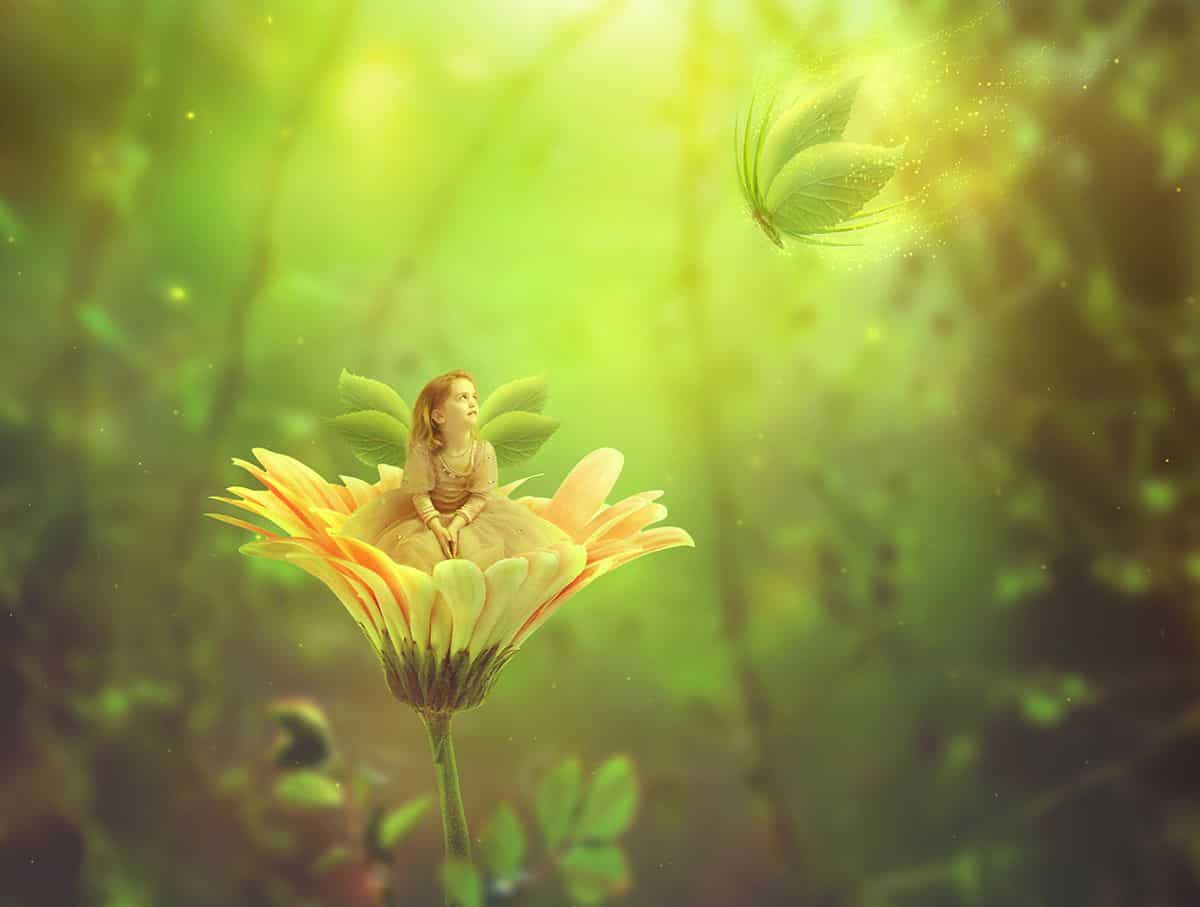
Final Result
4 comments on “How to Create a Fantasy Fairy Scene Photo Manipulation with Adobe Photoshop”
Thanks very much!
wow great results
Neat image! Thank you!
WOW ist das schön, vielen Dank für das gut erklärte Tutorial.