

Make skin look perfect in one-click with these AI-powered Photoshop actions.
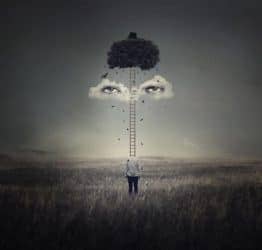
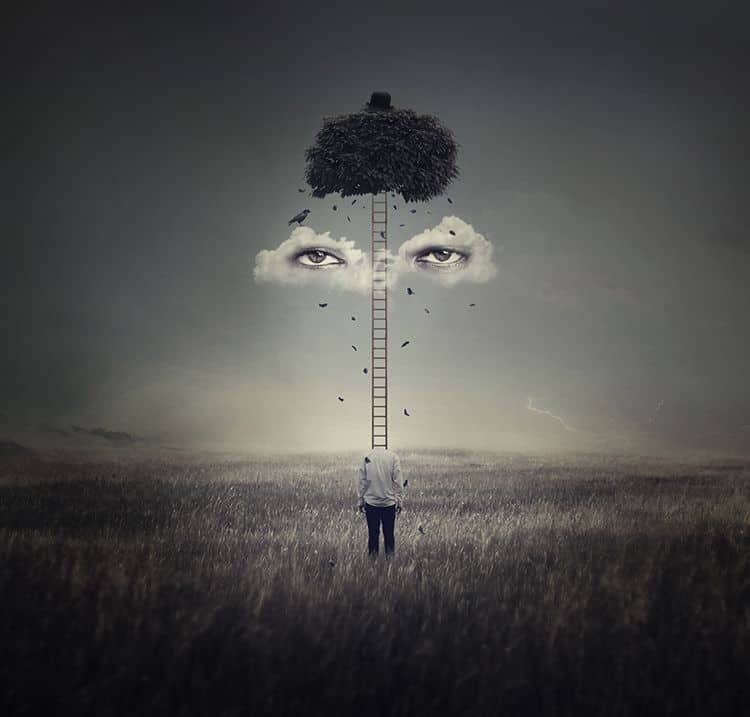
In this tutorial, I'll show you how to create a surreal piece featuring a man with a head of ladder. First, we'll build the base scene using a field and sky images. After that, we'll add the man, ladder, tree, and hat and blend them together using adjustment layers, masking, and brushes. Later, we'll import the cloud, eyes, crow and falling leaves using the same techniques. We'll use several adjustment layers to complete the final result.
Preview of the Final Result
Tutorial Resources
Step 1
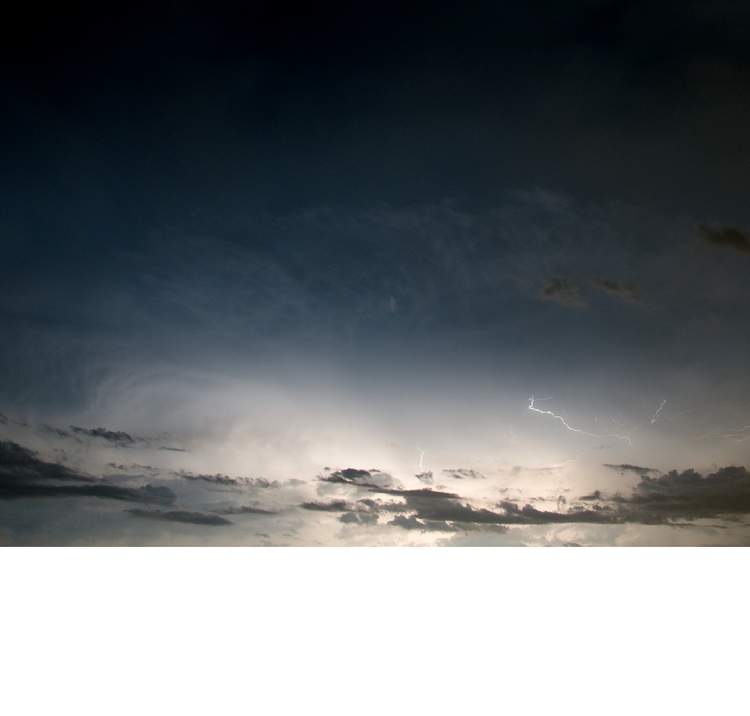
Create a new 1500x1434 px document in Photoshop and fill it with white. Open the sky image and drag it into the white canvas using the Move Tool (V). Use the Free Transform Tool (Ctrl+T) to resize it to fit the main document and place it in the upper half.
Step 1
Go to Layer > New Adjustment Layer > Curves and set it as Clipping Mask. Increase the light and hazy much to make the sky look very dreamy as shown below:

On the Curves layer mask, activate the Brush Tool (B) and select a soft round one with black color. Lower the opacity of this brush to about 5% to reduce the effect on the both sides of the sky.

Step 3
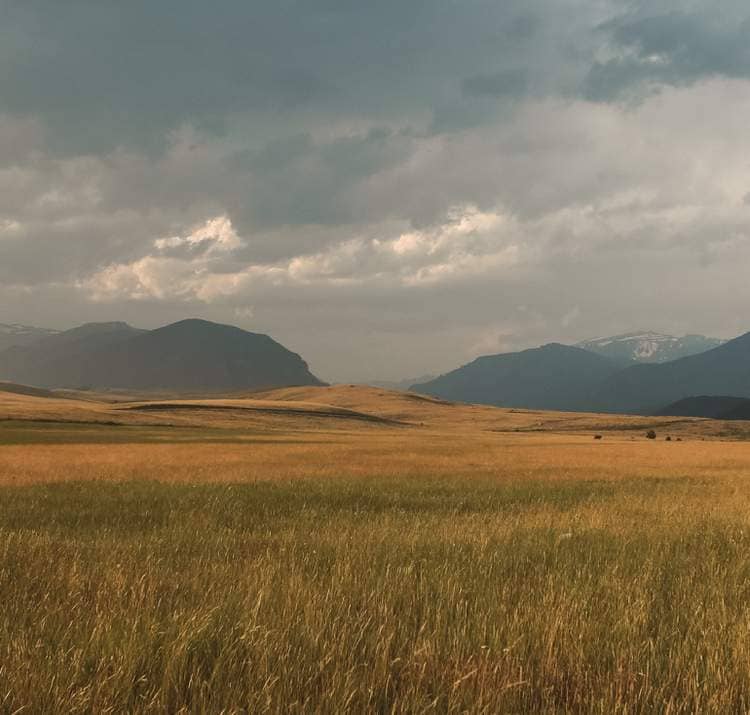
Open the field image and place it into our main canvas. Click the second icon at the bottom of the Layers panel to add a mask to this layer. Use a soft black brush to remove the upper of the field including the background and the sky. Make the edge soft and smooth to make the horizon blended better with the sky. Convert this layer to a Smart Object.
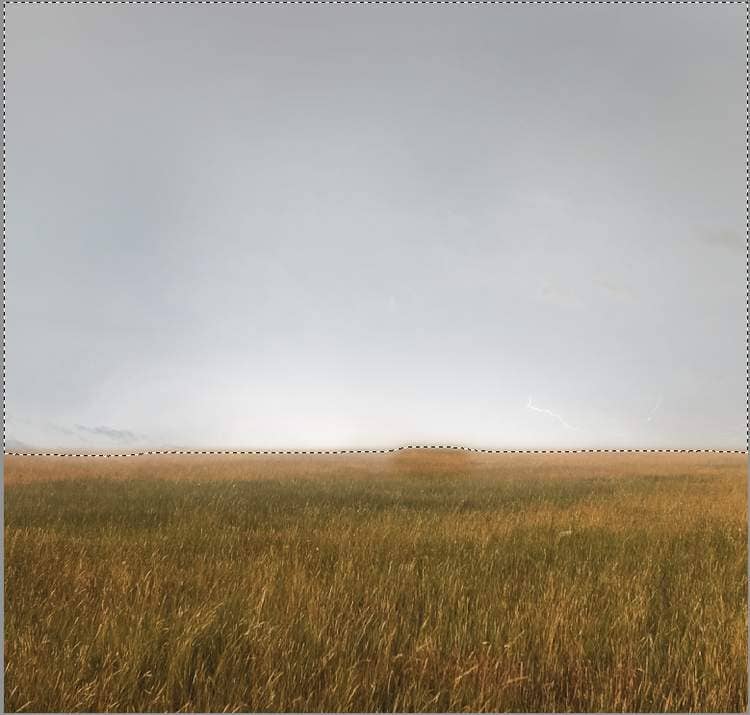
Step 4
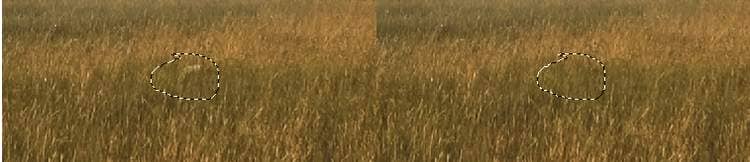
There is an unwanted detail on the right of the field. To fix it , make a new layer above the field one and set it as Clipping Mask. Activate the Clone Tool (S) and use this tool to remove the indicated detail.
Step 5
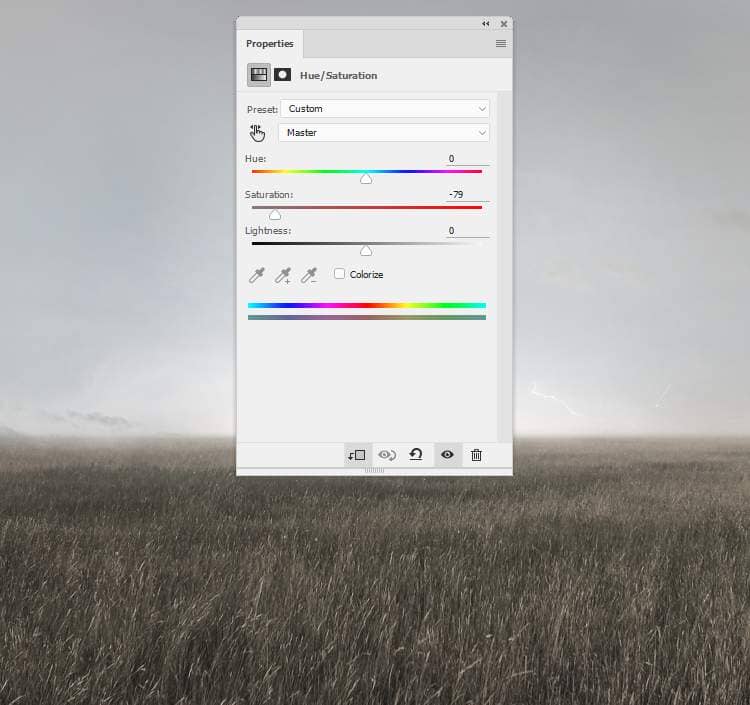
Create a Hue/Saturation adjustment layer and bring the Saturation values down to -79:
Step 6
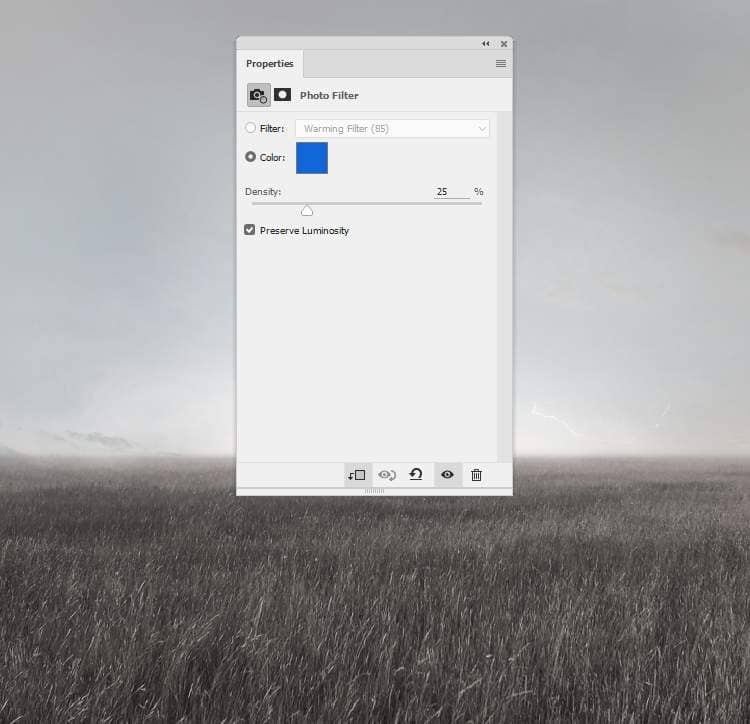
Make a Photo Filter adjustment layer and pick the color #0665da to match the field's color with the background.
Step 7
Add a Curves adjustment layer and increase the lightness. On the layer mask, use a soft black brush with the opacity about 5-10% to reduce the lightness on some areas on the field or any details you feel to bright.
3 comments on “How to Create a Surreal Artwork of Head with Photoshop”
yessssssss
Fabulous and thanks for sharing.
Thank you, ma'm!!