
Turn any photo into a dot grid artwork with these Photoshop actions. You'll get great results with dots that change size. They get larger in brighter areas and smaller in darker areas. Free download available.
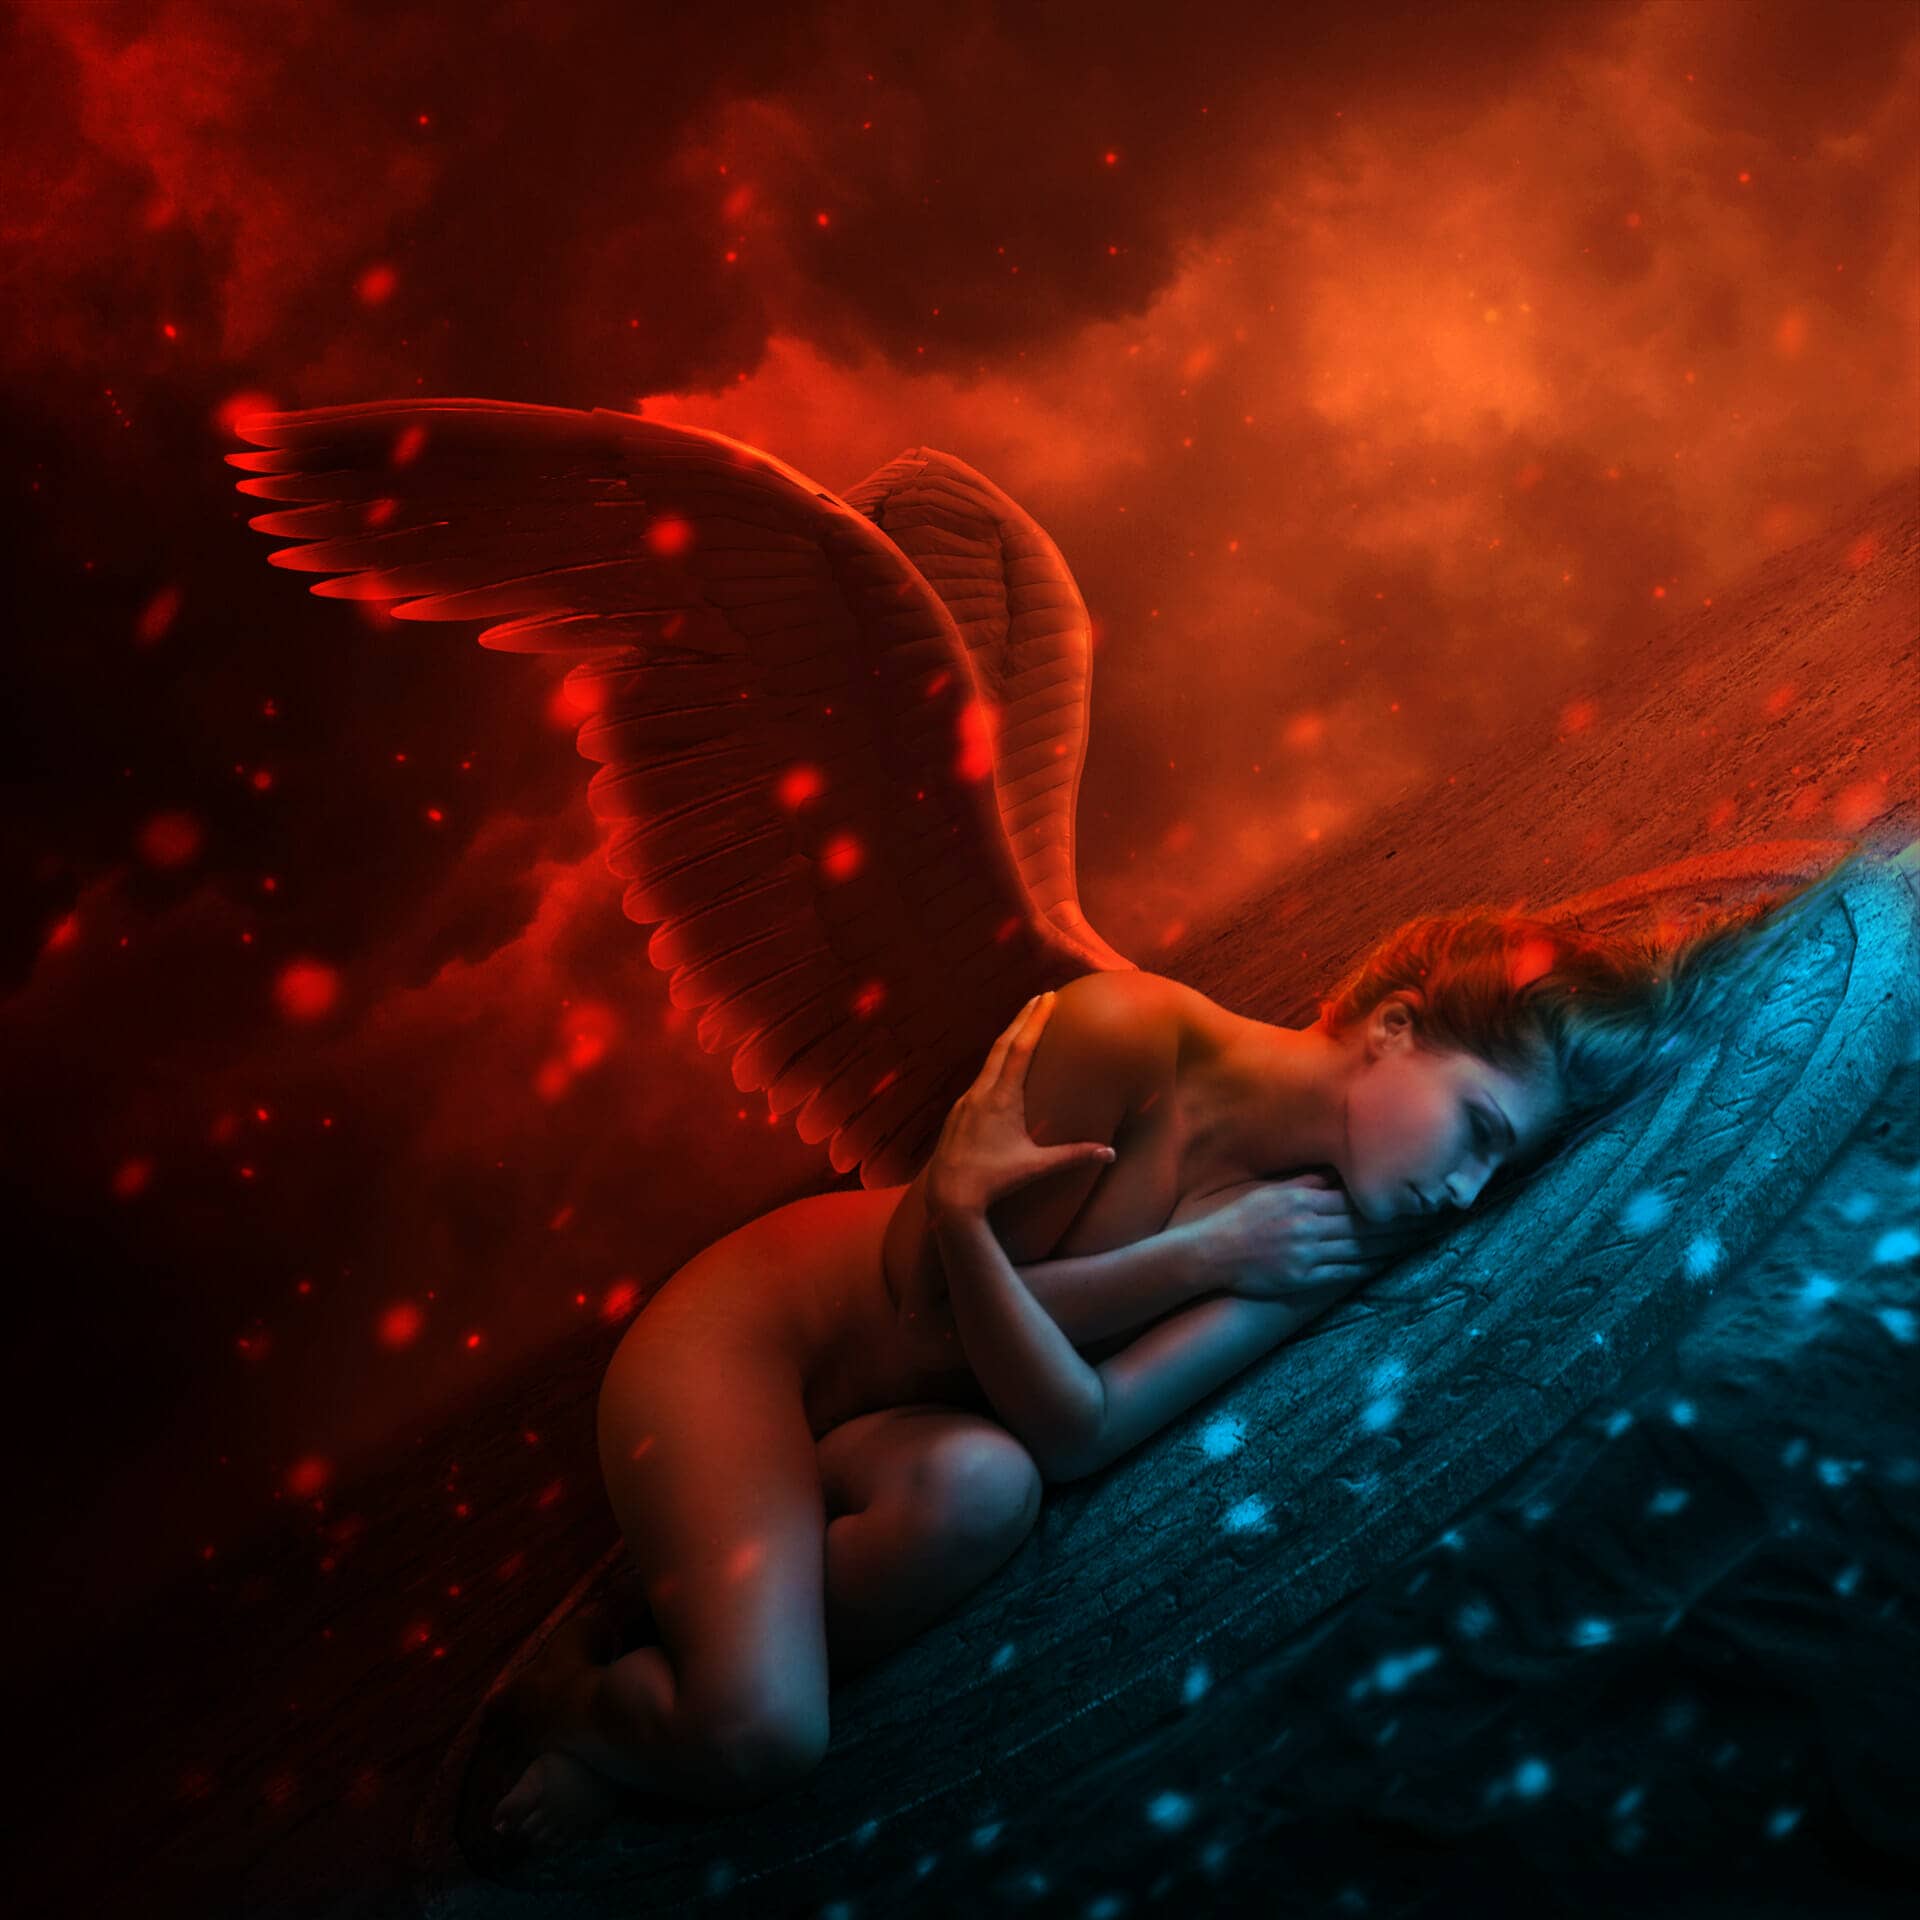
Read this tutorial to learn how to create this dramatic fallen angel scene. This tutorial will cover essential photo manipulation techniques such as painting, complex masking lighting effects, and more!
Preview of Final Results

Tutorial Resources
Step 1
Create a new document with size of 1000x1000 px and fill it with white (or any color you like). Open desert stock. Use Retangular Marquee Tool to choose the ground part and use Move Tool (V) to drag it into our white canvas. Press Cmd/Ctrl+T to resize and rotate it as shown below:

You can see that I created a lean angle to get more visual impact.

Step 2
Click the second button at the bottom of Layer Pallete to add mask to desert layer. Use black brush with hardness about 10-15% to erase the hard edge of the desert. The aim is to achieve a soft edge so it will be blended better with background. You can see how I did it on layer mask and result on picture:


Step 3
To create some depth for the picture choose Filter-Blur-Gassian Blur and pick radius as 2 px:

I just want to blur the foreground so on Smart Filter mask I used soft black brush to reveal the rest:


Step 4
There is a part which does not look good on the ground so hit Cmd/Ctrl+Shift+N to make a new layer above the desert one with Clipping Mask:


Active Clone Tool (S) and use it to remove the part indicated in a previous screenshot:

Step 5
I used an adjustment layer to darken the desert. On clone layer, go to Layer-New Adjustment Layer-Curves:


On Curves layer mask I used soft black brush with opacity about 10-15% and 40-45% to reduce the dark effect on the top of the ground (desert):


Step 6
I made a Hue/Saturation layer (Clipping Mask) to reduce saturation of the ground:


Step 7
Now add a Color Balance layer to change color of the desert:


Step 8
Open sky stock. Use Move Tool to place it on the top of the picture and rotate it as I'm doing below or feel free to transform it to get your desired look

Remember to position the sky layer under the desert one.
Step 9
To darken some parts of the sky I used a Curves layer with Clipping Mask:

On Curves layer mask use black brush with varied opacities (mine about 15-20% and 100%) to reduce the dark on some parts of the sky:
10 comments on “Create an Intense Fallen Angel Composition in Photoshop”
This is a great tutorial. The desert and wings stock links don't work but I found other ones to use.
Awesome Post. Lighting is most beautiful. Thanks for the Post.
So Good Tutorial Photoshop
where can i download files required
Hey Jenny,
Could I use this tutorial and create a front cover for my bands album? Thanks :)!
Thank you for this great tutorial that I tried:
http://cartes-mireilled.eklablog.com/composition-d-un-ange-dechu-avec-photoshop-a106623770
please give me download options
Nice tutorial
I love your tuts Jenny!
Beautiful work and tutorial!