


Make your artwork look like they're from an alternate universe. These Cyberpunk presets work with Photoshop (via the Camera Raw filter) and Lightroom. Download all 788 presets for 90% off.
Combining two photos to create a new look is a fun way to learn various techniques. We’ll learn how to use the Circular Marquee tool from the center, adjusting the opacity of a layer, creating a path from a selection and adding text along it in the process. Let’s get started.
Preview of Final Results

Combining Two Photos Photoshop Tutorial
Step 1
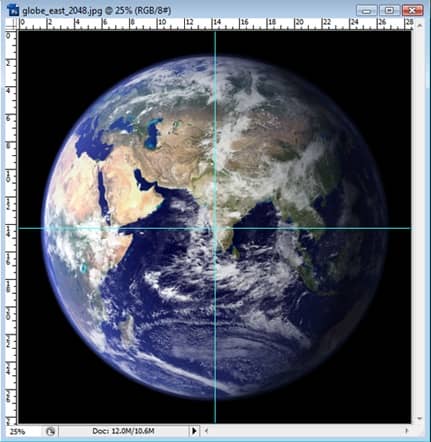
Open the support file in Adobe Photoshop, an image from NASA in the public domain.

Step 2
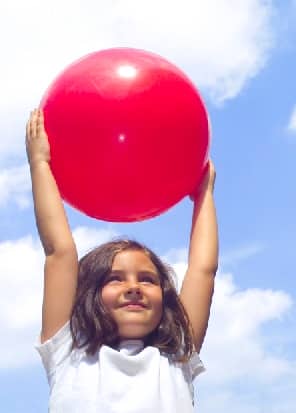
Open an image of a person holding a circular object, such as a ball. This one is by Ronald Bloom and available through iStock at https://www.istockphoto.com/file_closeup.php?id=277310.
Step 3
Now in the earth photo, click-and-drag a ruler guide from the top and bottom, halfway across so it’s in the middle. In the earth photo, subtract the entire length by 2 to get where the cursor needs to be exactly. Note: if rulers aren’t showing, press Command-R (PC: Control-R).
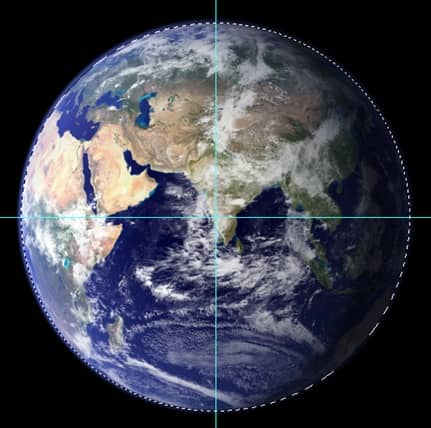
After drawing the ruler guides, hover the cursor over the center of the photo, where the two guides cross. Hold Option (PC: Alt) and click-and-drag the mouse. Hold Shift to maintain proportion. Once the Elliptical Marquee tool is around the earth, release the mouse button then the keys.

Step 4
It should look like this.
Step 5
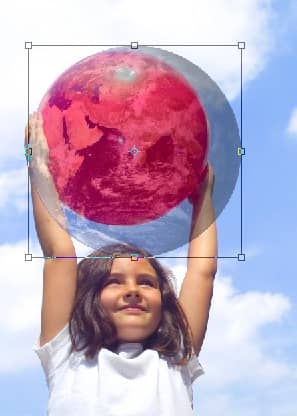
With the Move tool, click-and-drag the earth photo selection onto the other photo.

{articlead}
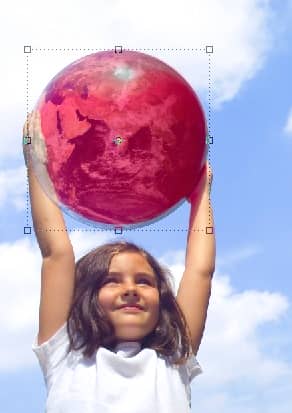
Step 6
Click-and-drag a corner of the earth layer. If there's no transform controls on the corners, make sure Show Transform Controls is checked in the Control palette. Lower the opacity of the earth layer in the Layers palette to be able to make it the correct size.
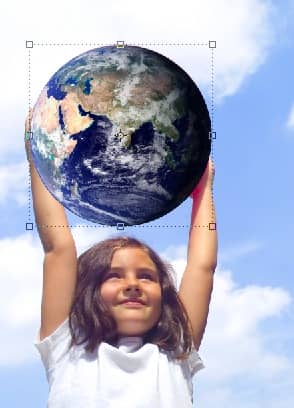
Step 7
The earth needs to be a little bit bigger than the red ball here, since the ball isn't completely round.
Step 8
Raise the opacity of the layer back to 100% in the Layers palette.
Step 9
Click and Eye icon next to Layer 1, the earth layer to turn its visibility off for now. Use the Quick Selection tool and select the area that overlaps the earth and where we'll need to bring in front of the earth.
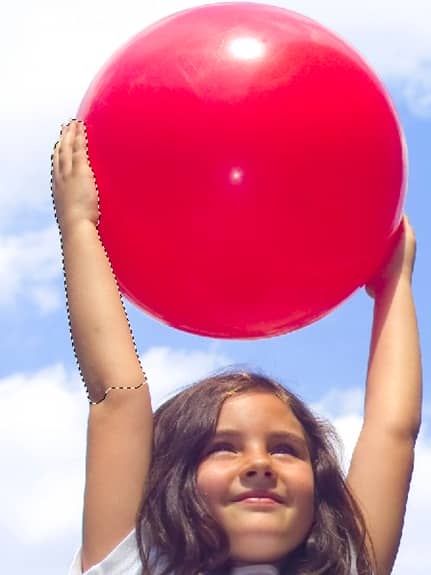
Step 10
Click the Eye icon next to Layer 1 again to make it visible. Go to Select>Inverse.
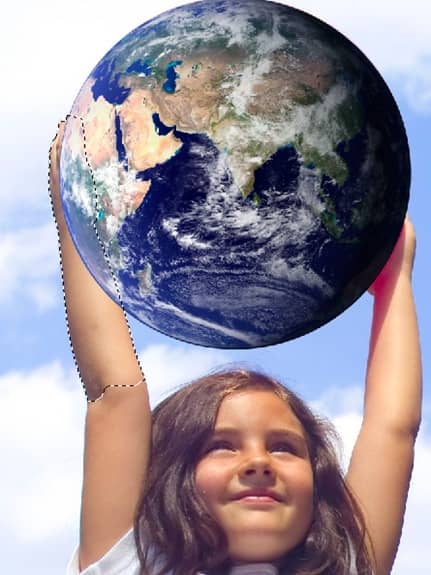
Step 11
Now we need to mask out the area of the earth photo where the arm is. We mask out the area instead of erasing so that if we mess up, the pixels can be brought back instead of removing them. With Layer 1 selected, click the Add Layer Mask icon on the Layers palette.
12 comments on “Combining Two Photos for New Effect”
my result: http://ejthff.deviantart.com/art/I-want-bigos-for-the-dinner-571787652
thanks ^^ I've learned a lot
Le result.jpg http://imgur.com/uSt7EAl
It's meh. Could be done easier in a different way.
From a person that literally know nothing of photoshop, this doesn't help.
oh no
this is rubbish
I was able to follow the steps and achieve the final result, but more explanation at each step would help us understand the tools and techniques used better. Right now, I don't really know what Marquee or Work path does, although I used it correctly here; more explanation of these as and when they are mentioned in the steps would be very helpful!
Thanks!
It's great but when I add the circular text, it's not a perfect circle, some characters are on a lower level, even though I did everything as you wrote. Also, the girl's right hand reflects the original red ball's shadow.
All the images on your site seem to be down :(
Thanks, im finding photoshop solution and meet this site, its realy good solutions :x.
HI
This one is good n will help me to knew the photoshop
thanks