

Make your artwork look like they're from an alternate universe. These Cyberpunk presets work with Photoshop (via the Camera Raw filter) and Lightroom. Download all 788 presets for 90% off.
After the selection area has been created, simply copy (Ctrl / Cmd + C) and Paste (Ctrl / Cmd + V) it below the Man and Woman. Then position the image with the transform tool (Ctrl / Cmd + T). Hold Alt + Shift and resterize like image below. In Photoshop CC only hold Alt to resterize al sides together.
Step 15
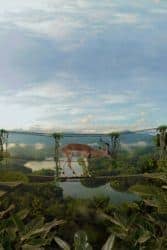
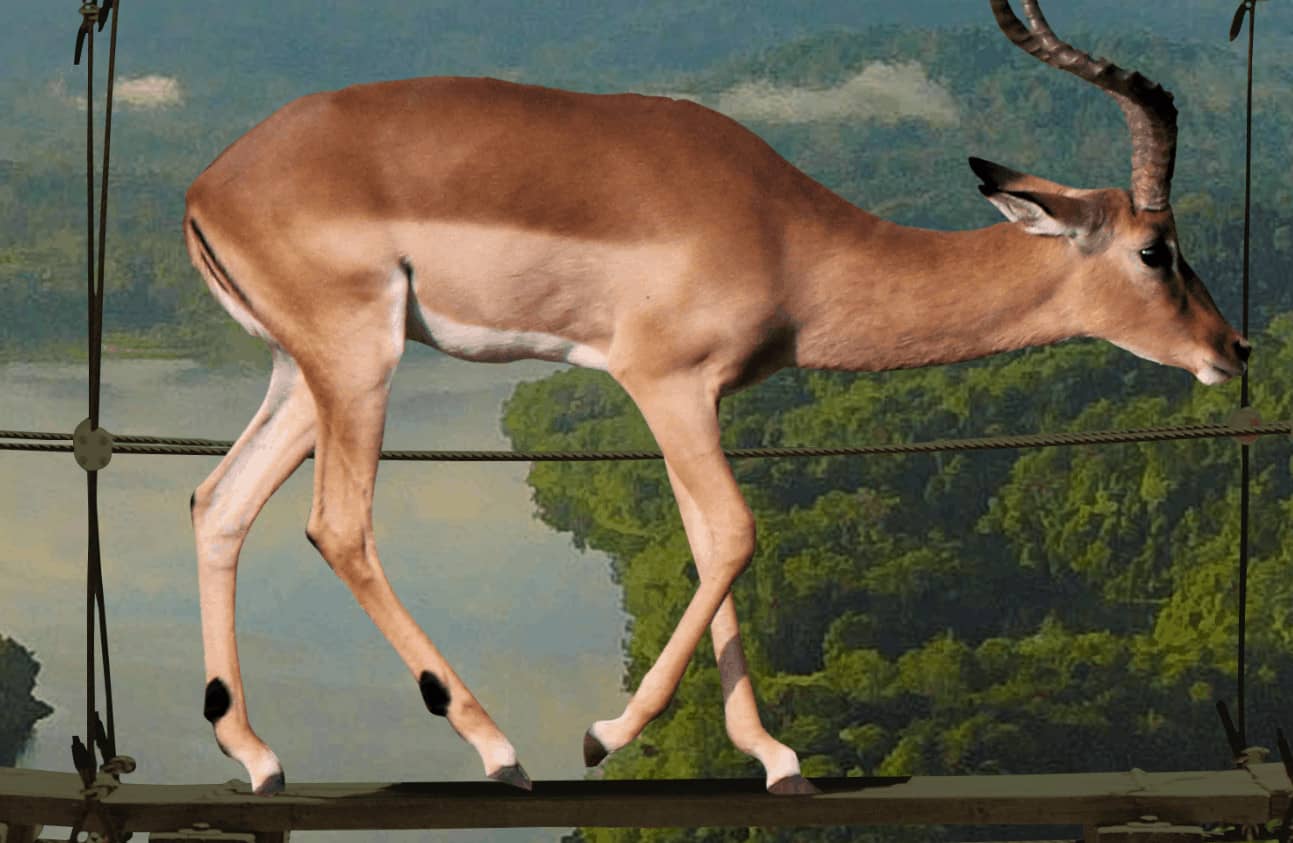
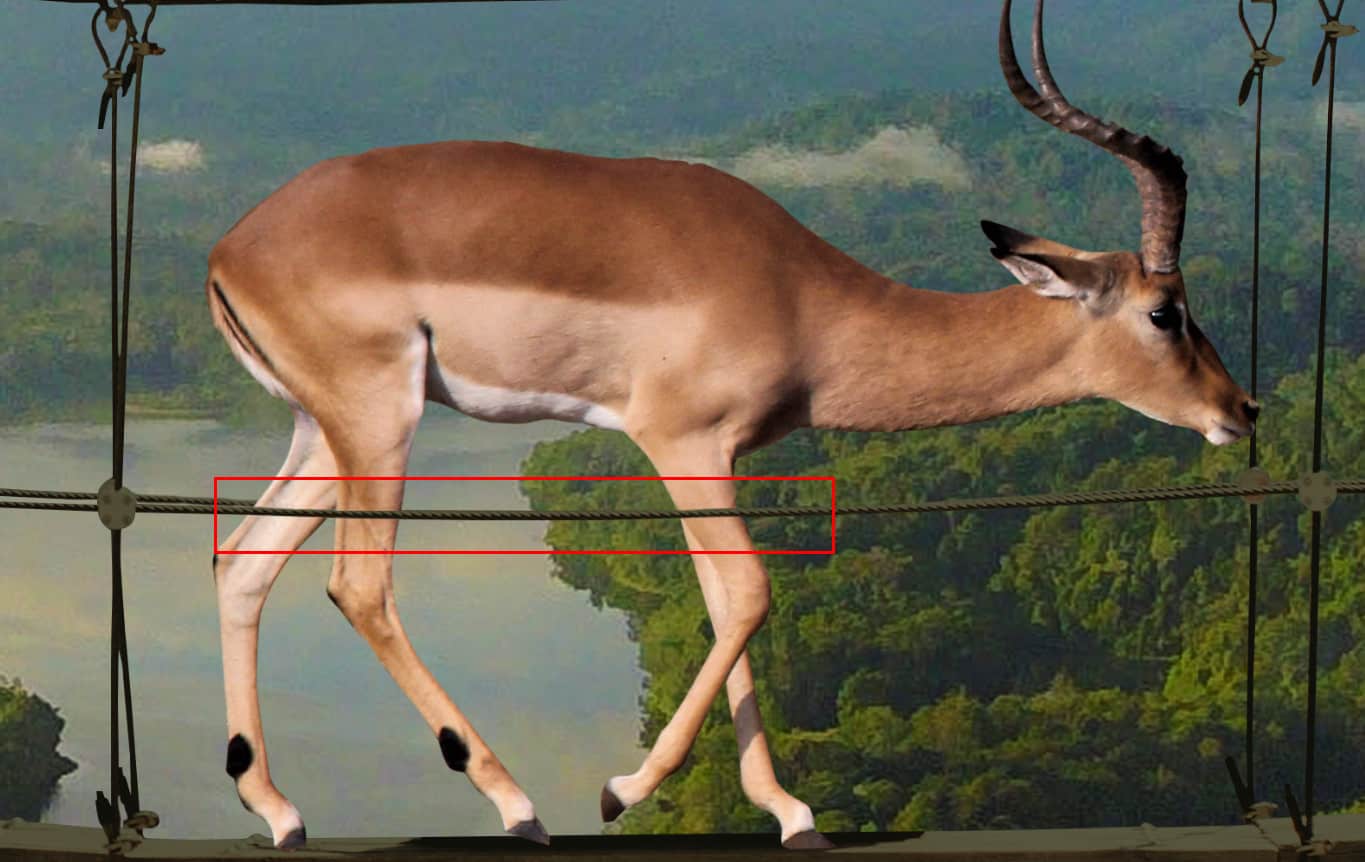
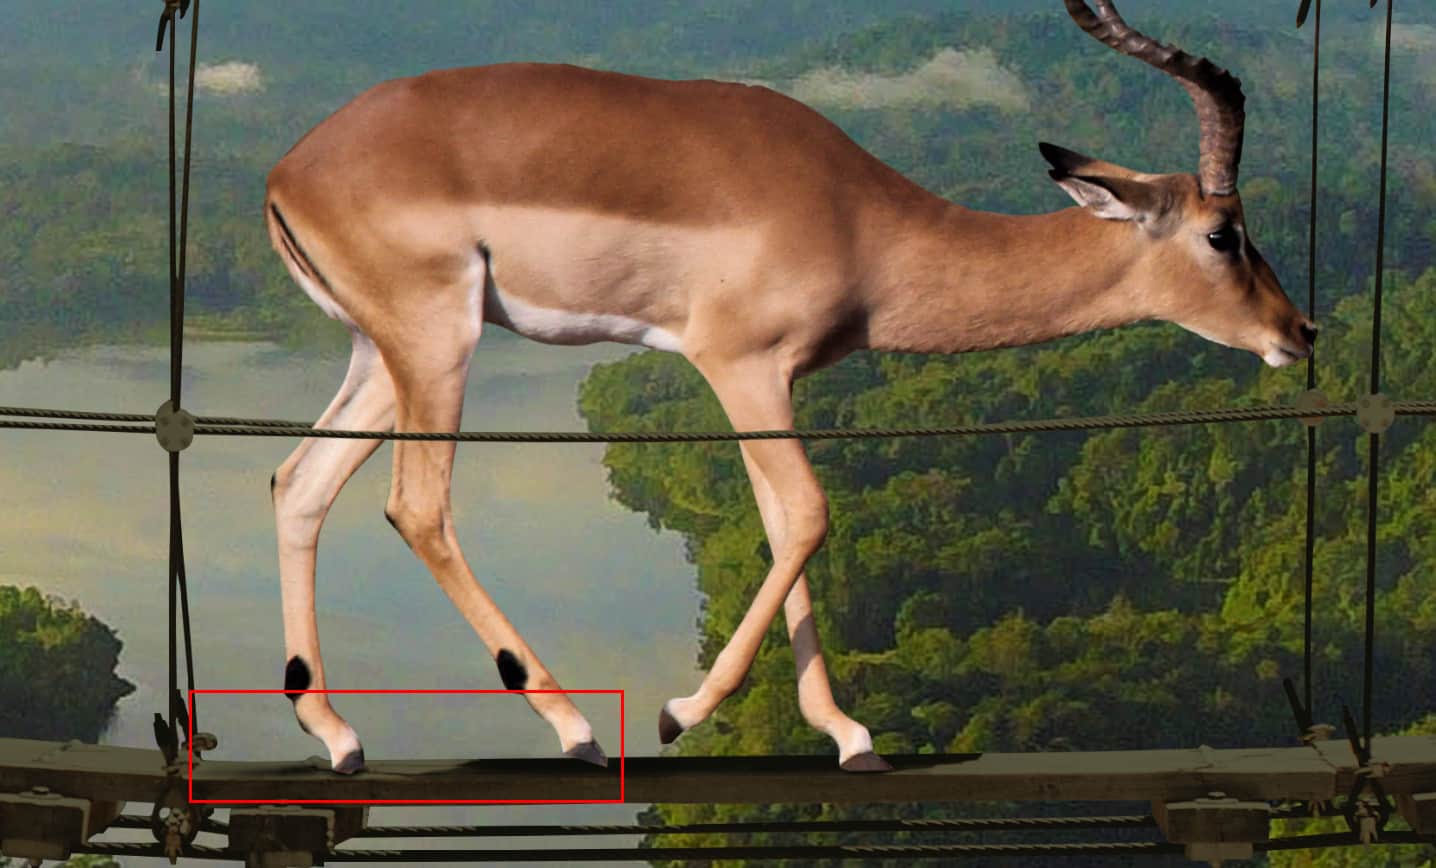
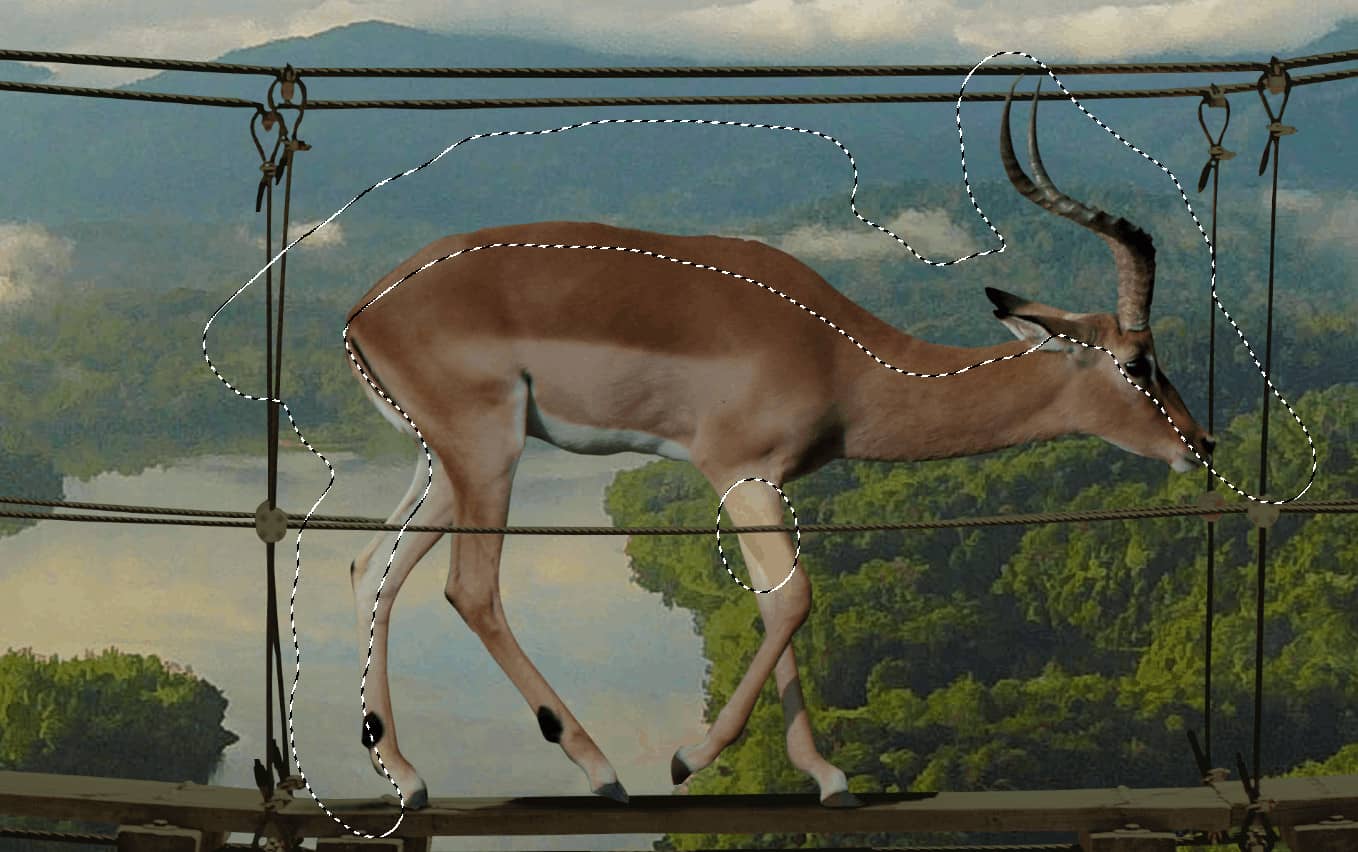
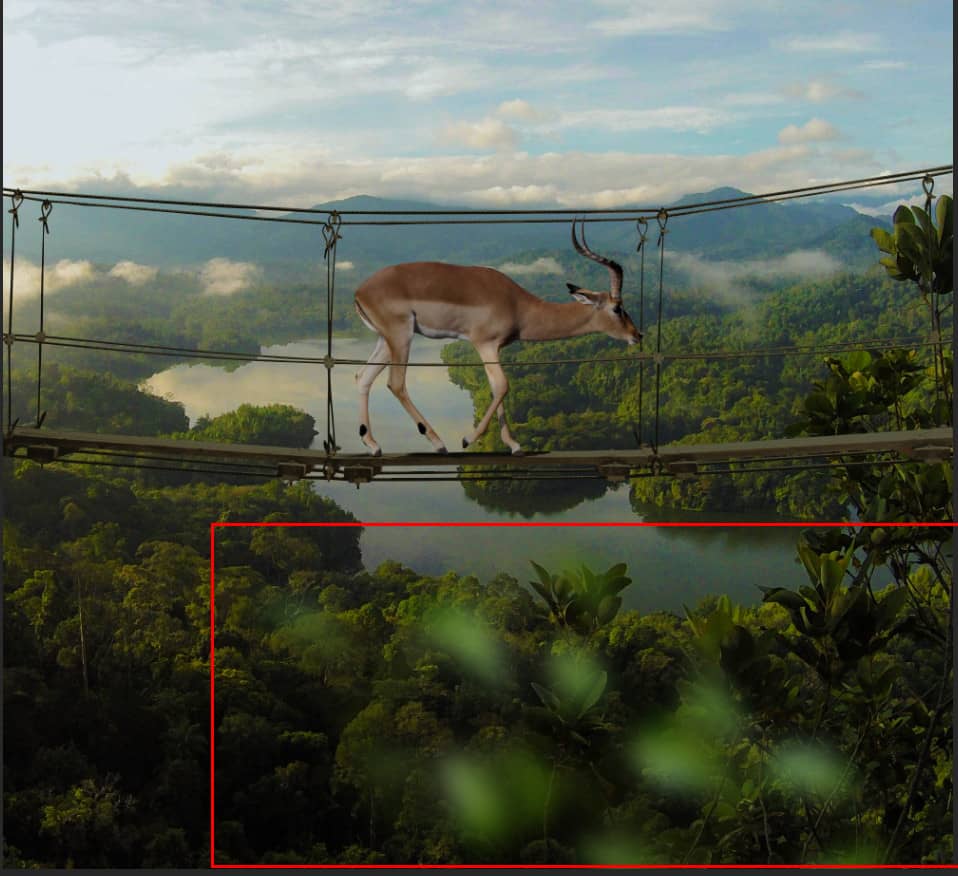
Now create a layer mask and use Brush Tool(B) Soft Round with foreground color black and paint on cable to look realistic as if a deer were standing on a bridge. See the picture below.
Step 16
Now add some shadow, create a new layer and change blend mode do Multiply. Use Brush Tool(B) Soft Round with foreground color black and Flow of brush set to 10%. Start painting the shadow and first start with a smaller brush and then gradually increase the size.

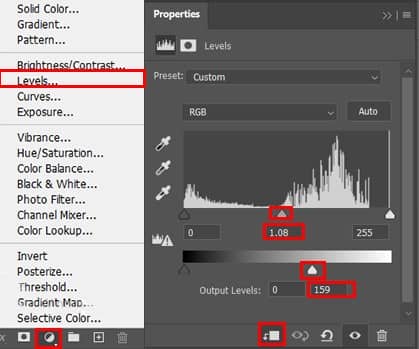
Step 17
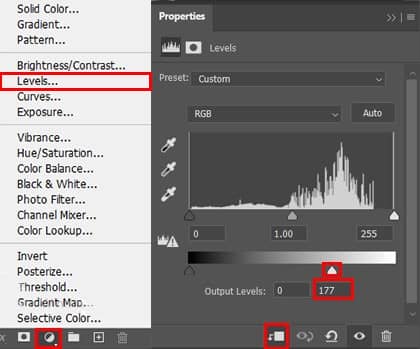
Select Deer layer and add Adjustment Layer "Levels"
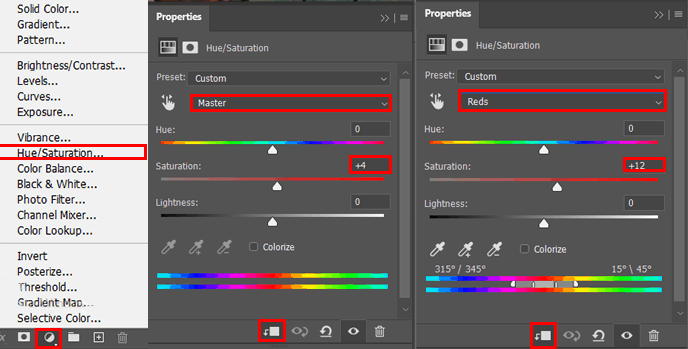
Step 18
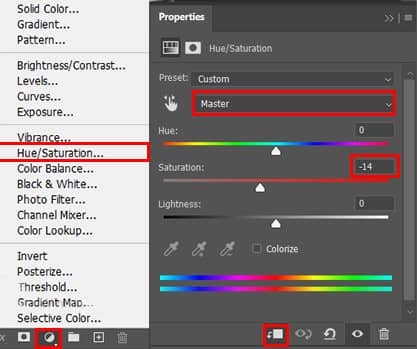
Add Adjustment Layer "Hue/Saturation"
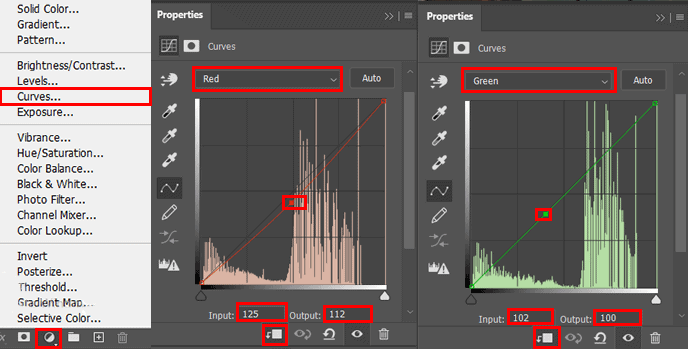
Step 19
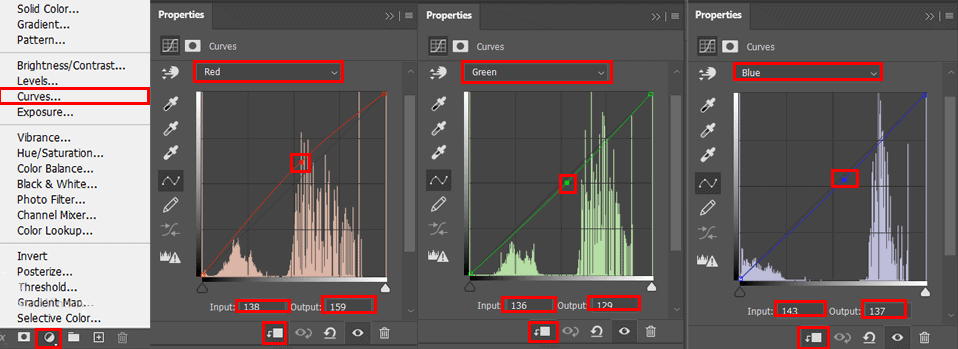
Add Adjustment Layer "Curves"
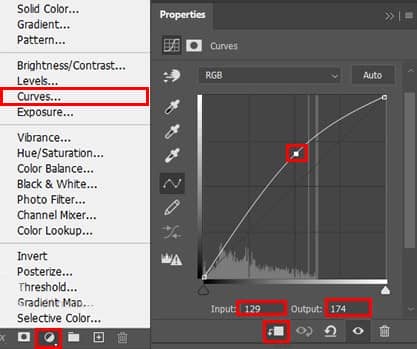
Step 20
Add Adjustment Layer "Curves" and press Ctrl/Cmd + I to invert it. Now use Brush Tool(B) Soft Round with foreground color white and start the painting light parts.
Step 21
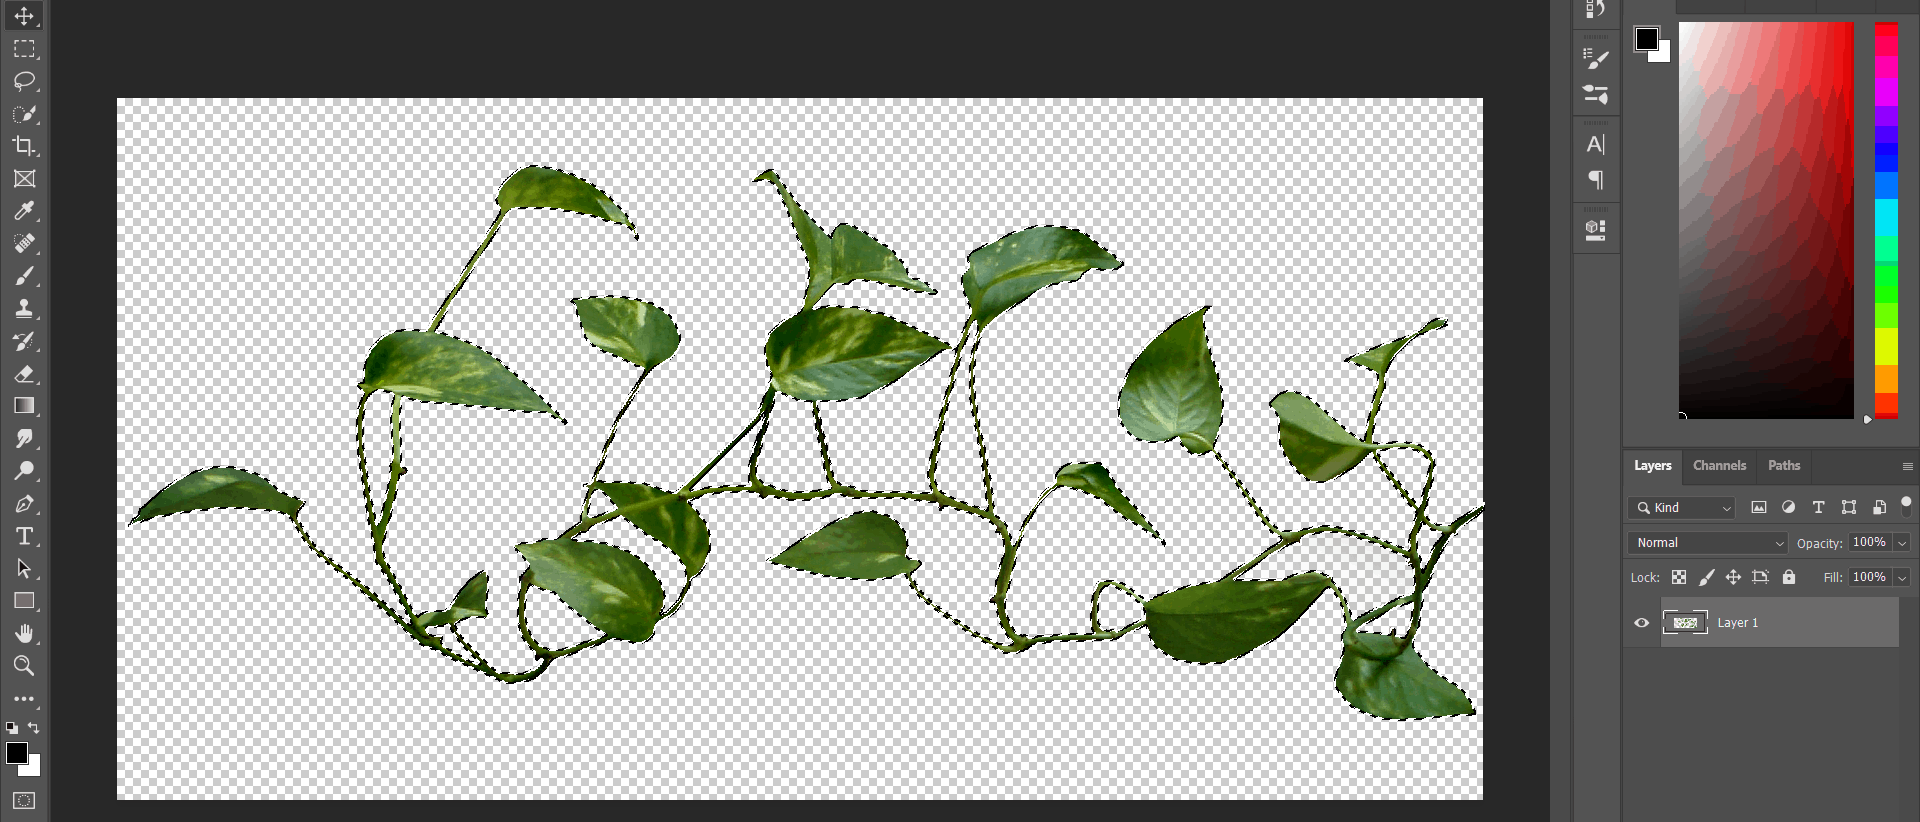
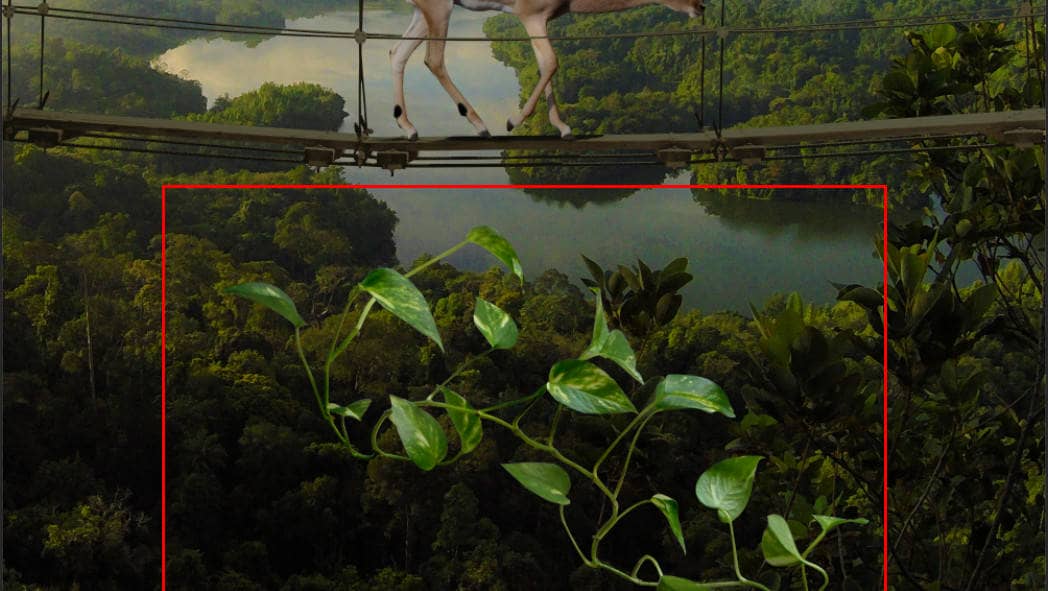
Now open a Leaves, go to File > Open and select Leaves. Hold Ctrl/Cmd and click on layer to make a selection. After the selection area has been created, simply copy (Ctrl / Cmd + C) and Paste (Ctrl / Cmd + V) it to our work canvas. Then position the image with the transform tool (Ctrl / Cmd + T). Hold Alt + Shift and resterize and Rotate like image below. In Photoshop CC only hold Alt to resterize al sides together.
Step 22
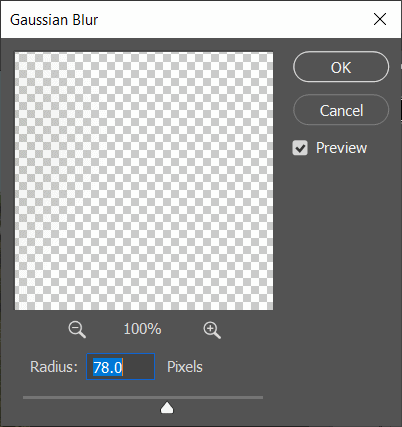
Go to Filter > Blur > Gaussian Blur and set Radius to 78px.
Step 23
Add Adjustment Layer "Levels"
Step 24
Add Adjustment Layer "Hue/Saturation"
Step 25
Add Adjustment Layer "Curves"
Step 26
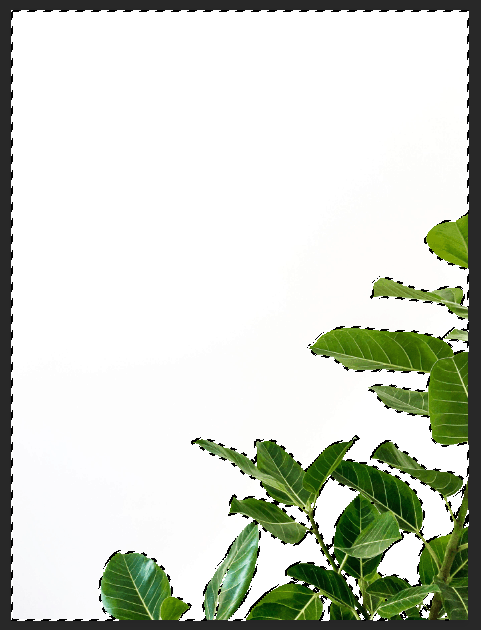
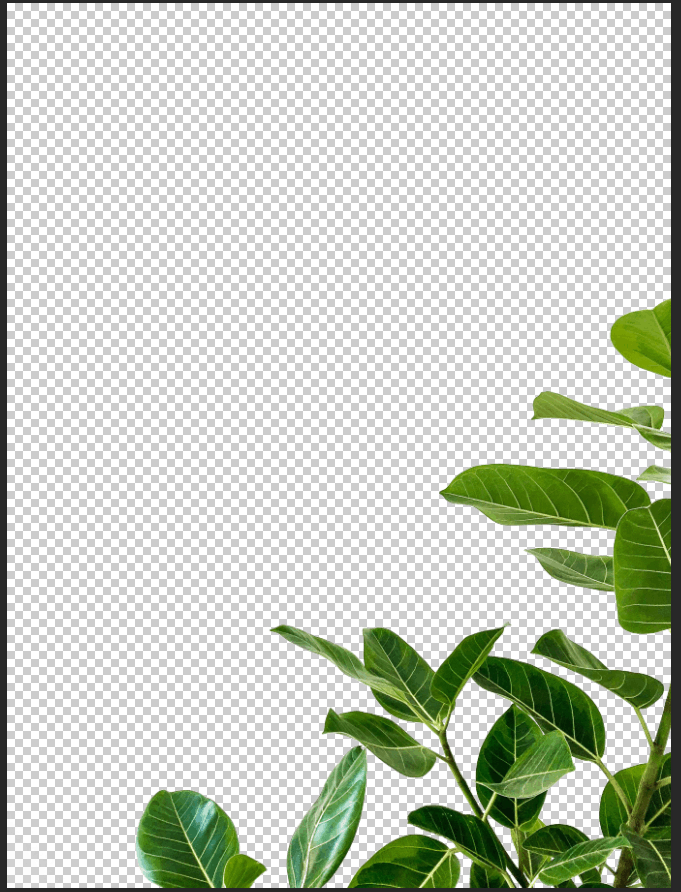
Now, go to File > Open and select Leaves. Now that we have opened we need to remove the background, the easiest way to do that is Color Range. Go to Select > Color Range and with the pointer click on white color on image, Fuzzines set to 40 then press OK.
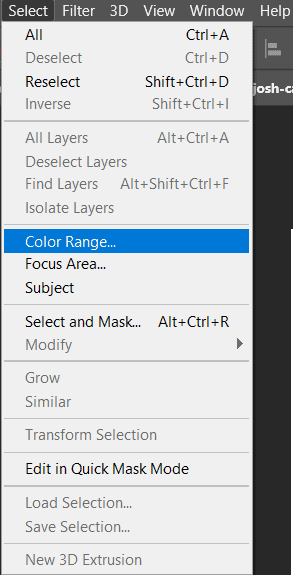
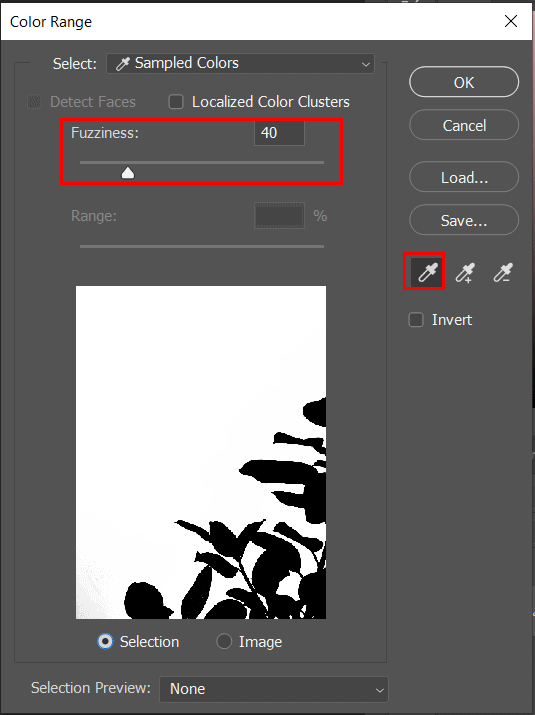
Now press Ctrl/Cmd + Shift + I to invert the selectioin and click on layes mask icon.

Step 27
After the selection area has been created, simply copy (Ctrl / Cmd + C) and Paste (Ctrl / Cmd + V) it to our work canvas. Then position the image with the transform tool (Ctrl / Cmd + T). Hold Alt + Shift and resterize and Rotate like image below. In Photoshop CC only hold Alt to resterize al sides together.
One comment on “How to Create a Breathtaking Bridge Scene in Photoshop”
Eye-catching work. Looking at the final result, it seems natural. The nice presentation I hope I can do this edit now. Can you please give me the tutorial source images link?