
Turn any photo into a dot grid artwork with these Photoshop actions. You'll get great results with dots that change size. They get larger in brighter areas and smaller in darker areas. Free download available.
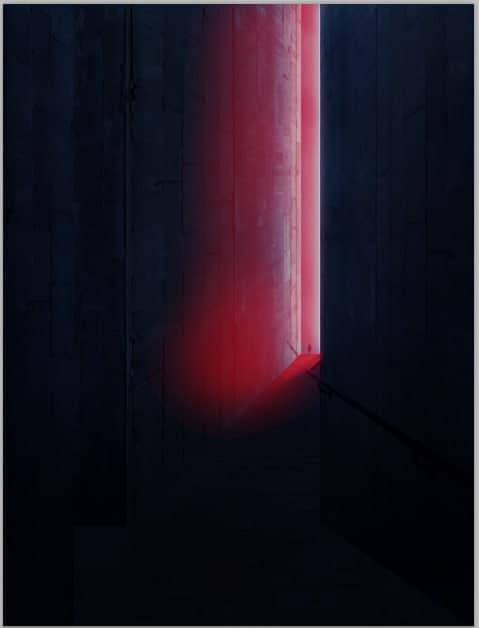
Referring to the given color, here is the result set to normal at 100% blending.
And this is the result set to normal at about 75% opacity.
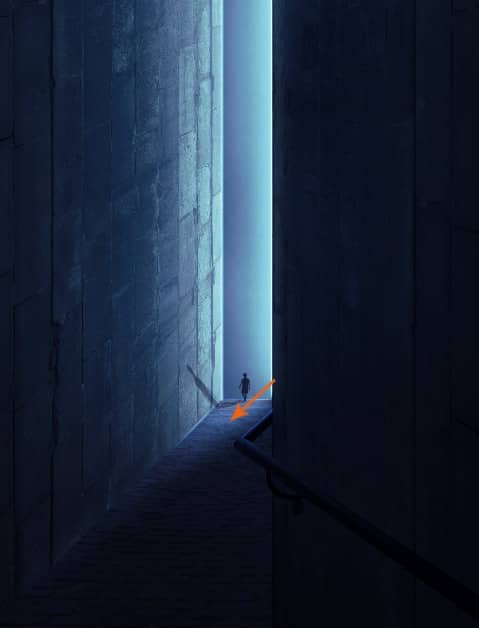
Step 15
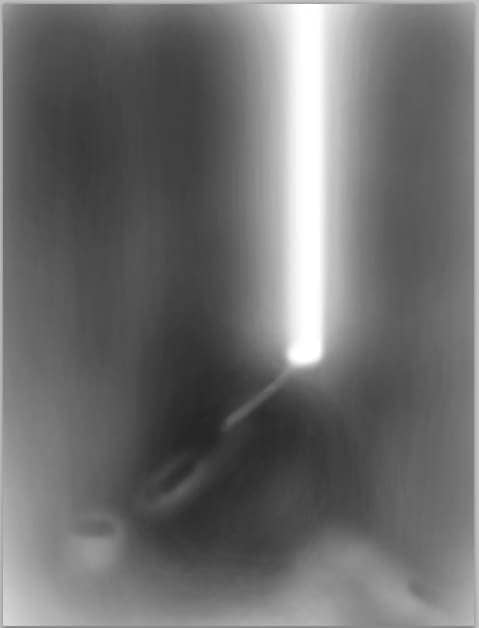
In this step, we will still add some more shade on the area around foreground walls and floor. Create another new layer (Shift+Ctrl+N) above the previous shade layer. Take the gradient tool. Set foreground color to black. Choose a linear gradient set to above 10-15% opacity. Click-hold and drag the tool from the lower bottom upward as indicated by the orange arrow.
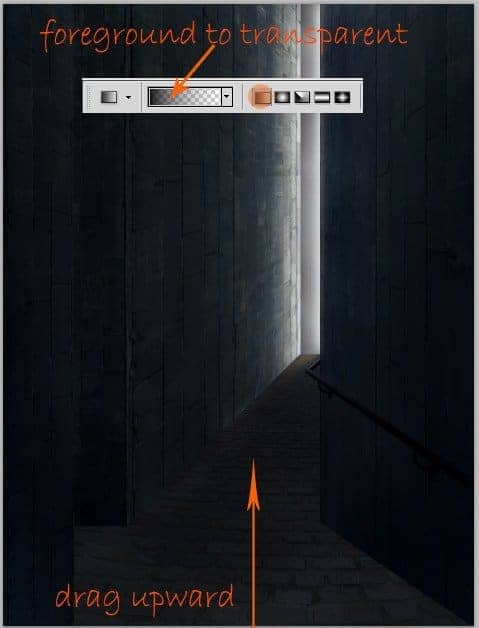
Here is the gradient as a reference.

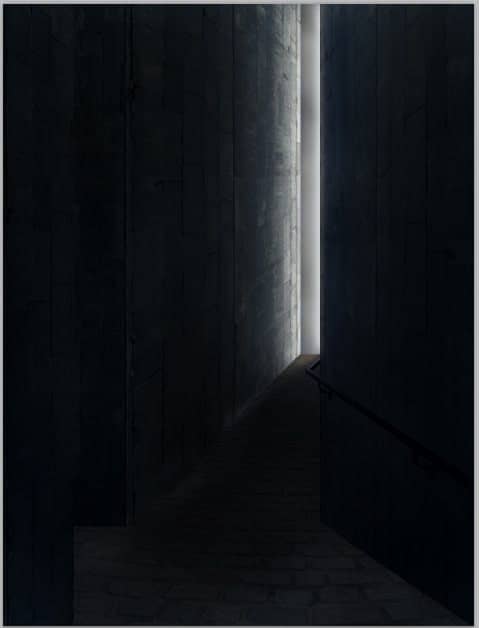
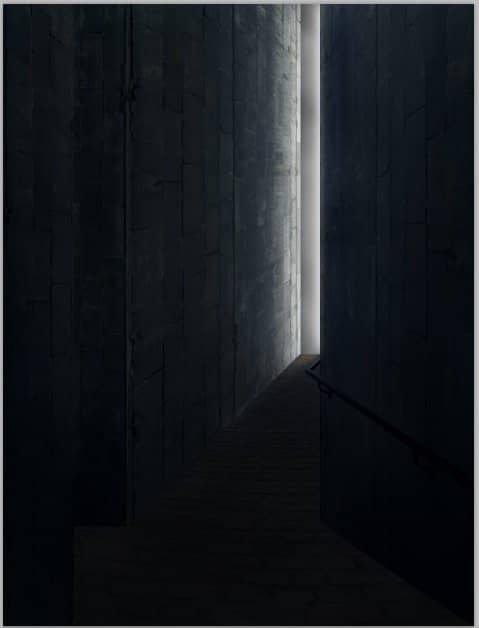
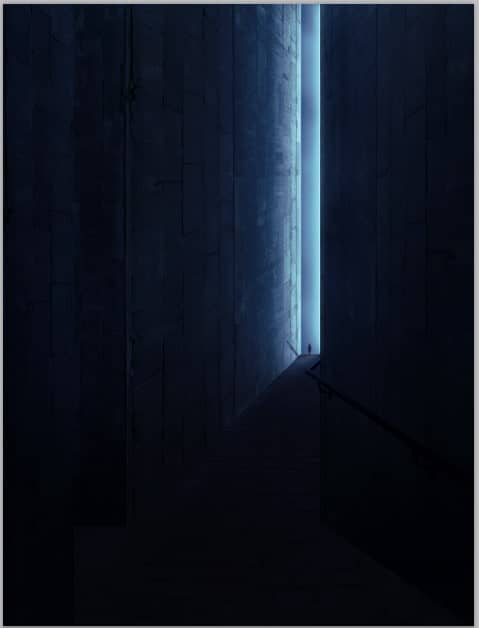
Given this color reference, the result should be like the one in the screenshot. Select the shade layers and hit Ctrl+G to group them in a folder.
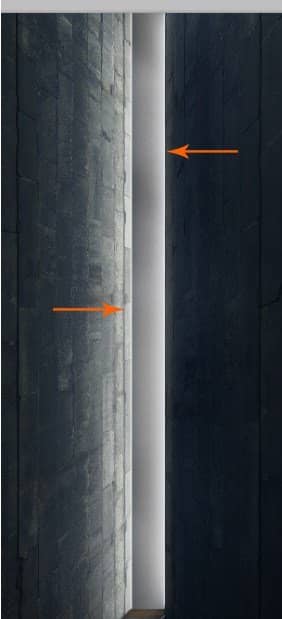
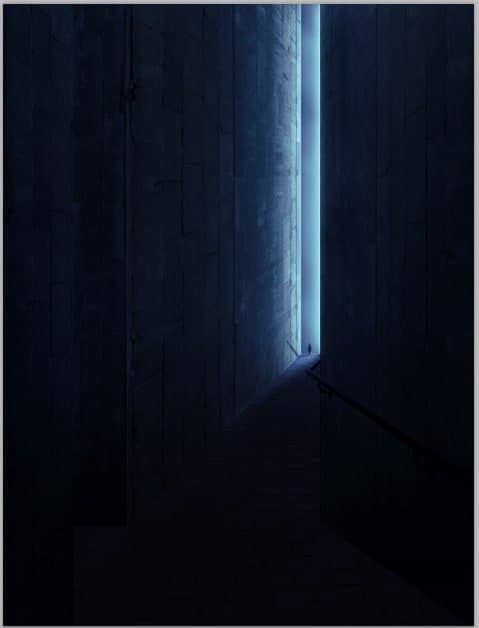
Step 16
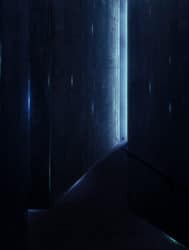
Proceed to create again a new layer above the shade folder. On this layer, paint a straight thin white line on the edges of the left and right wall. These lines will soften the edge of the wall.
Step 17
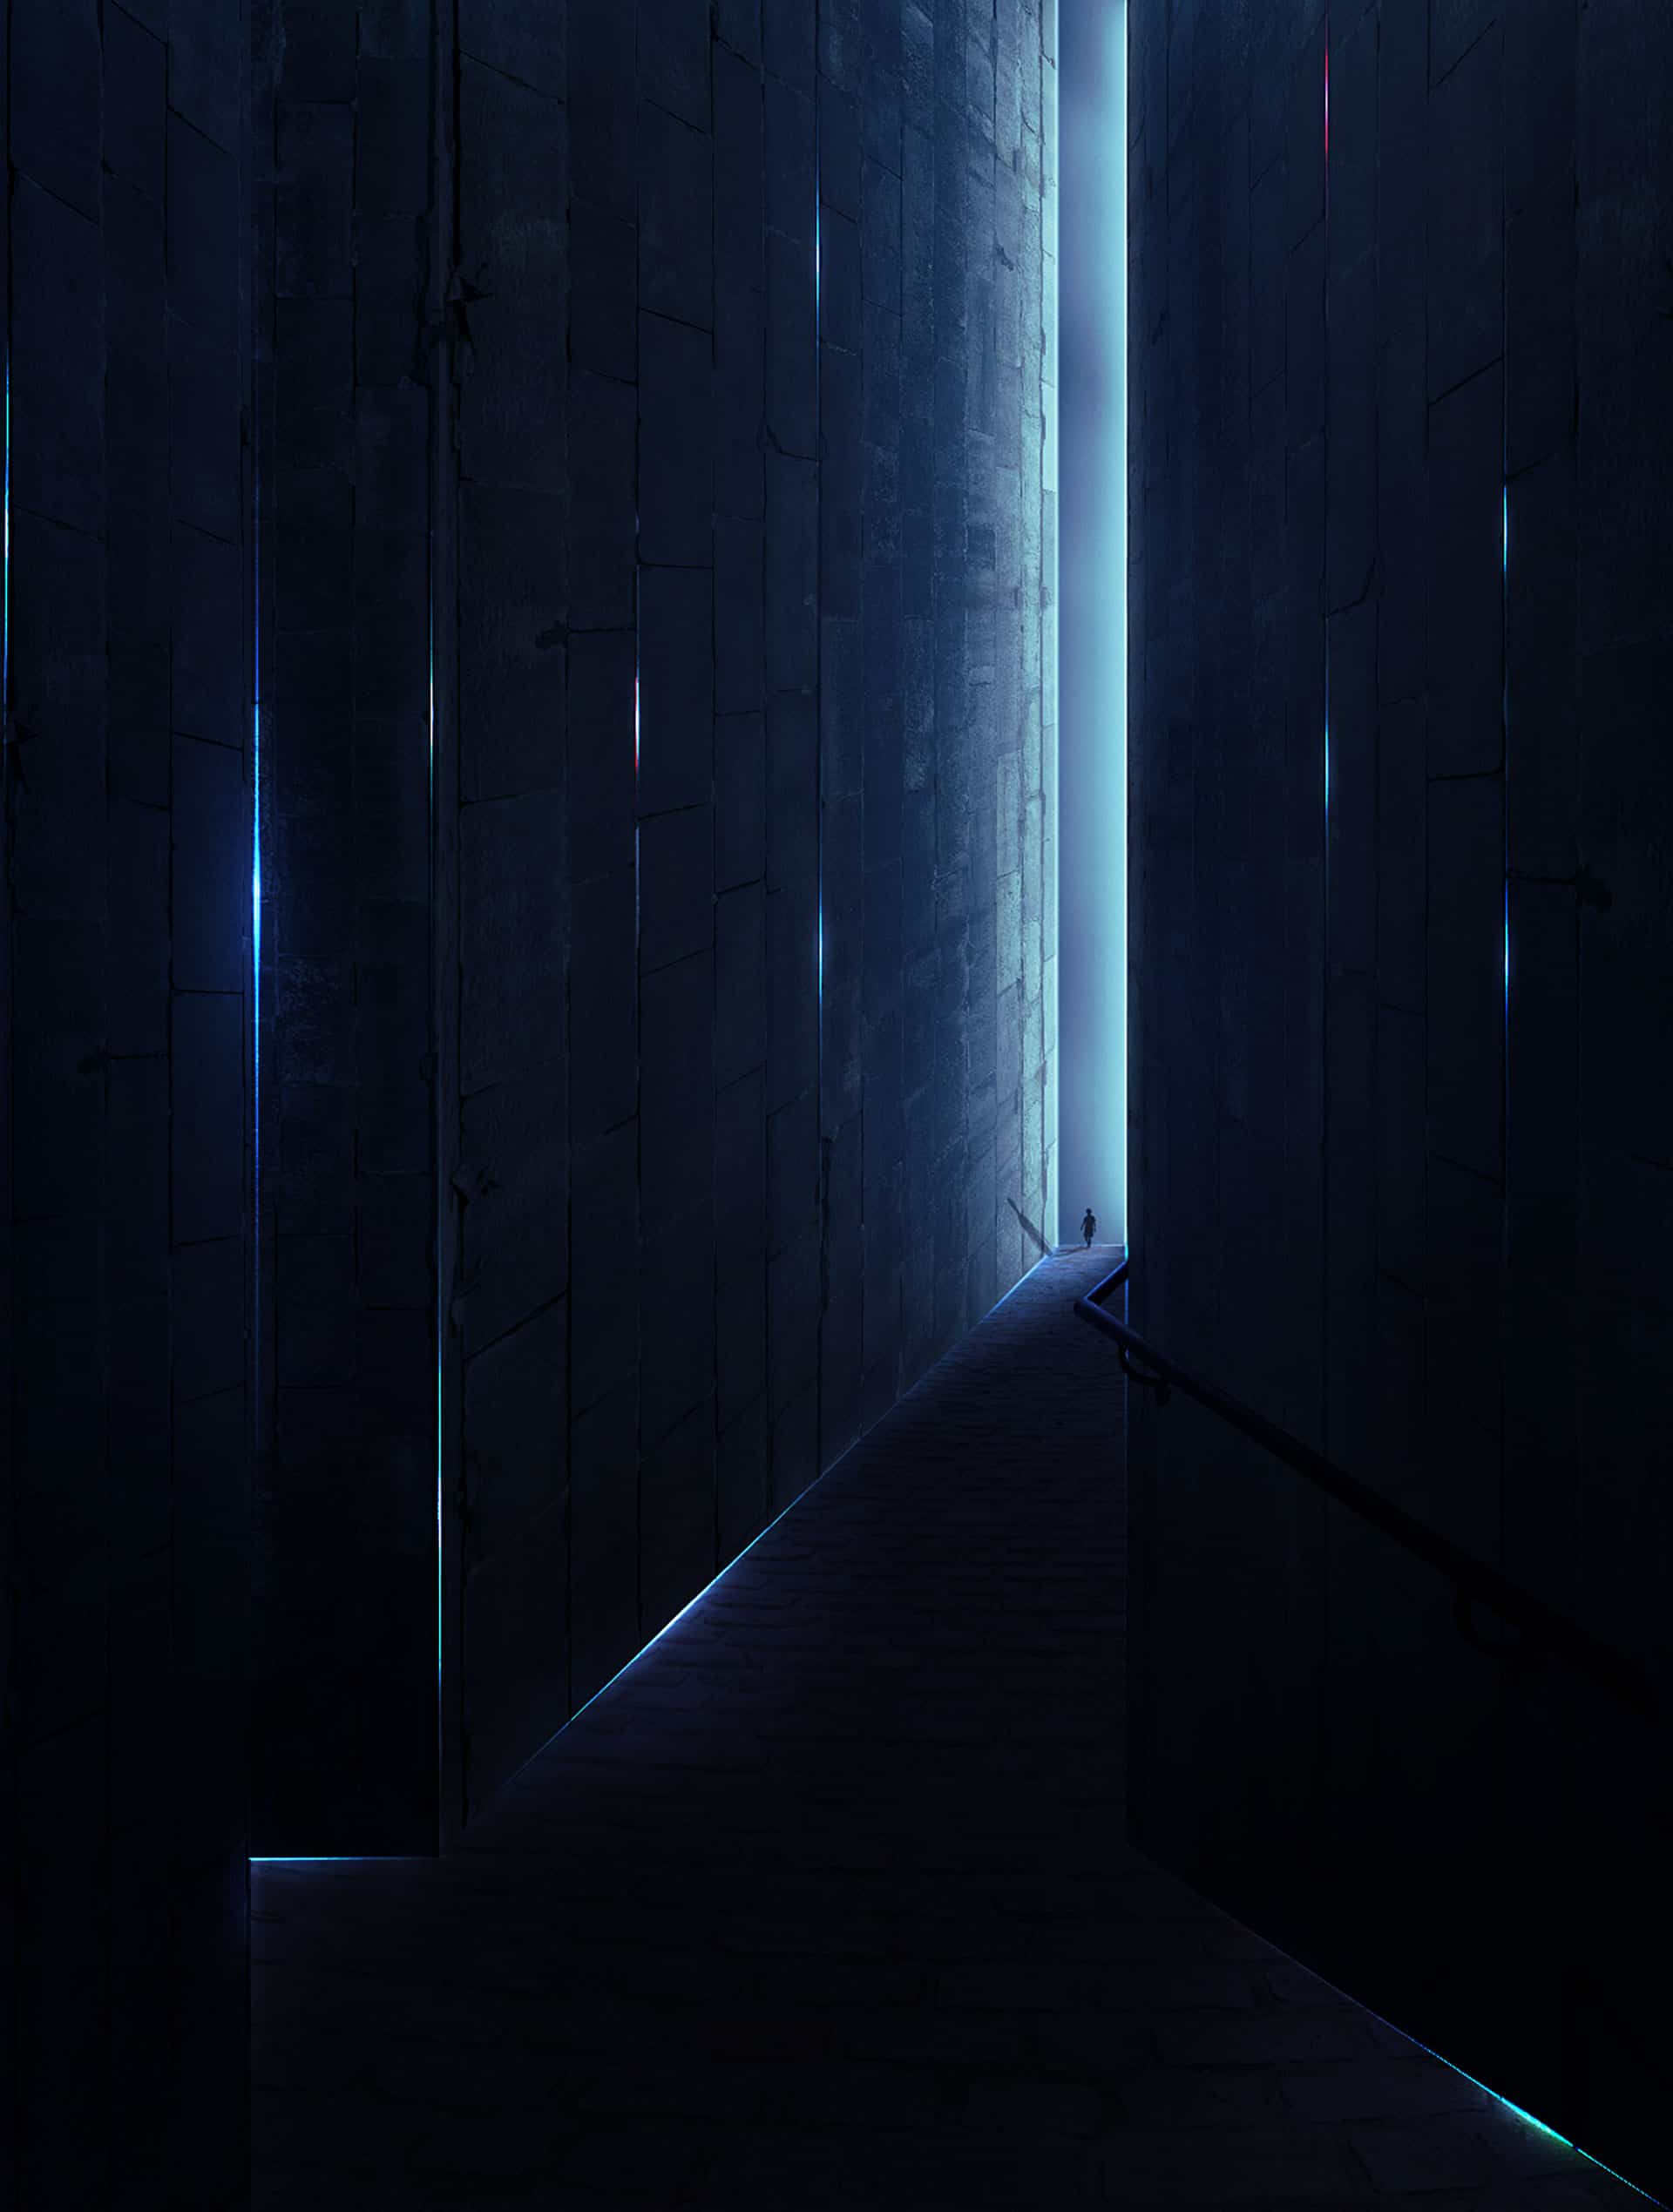
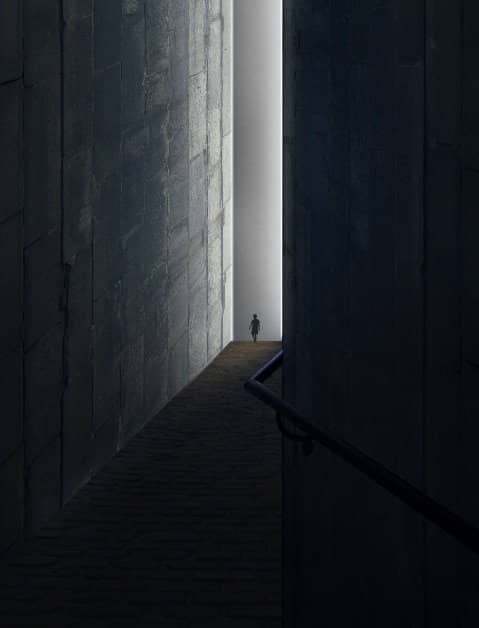
Finally we will add ‘a life’ to the scene by placing a model at the edge point of the entrance. We will use this model for this purpose. Cut out the model from this image.
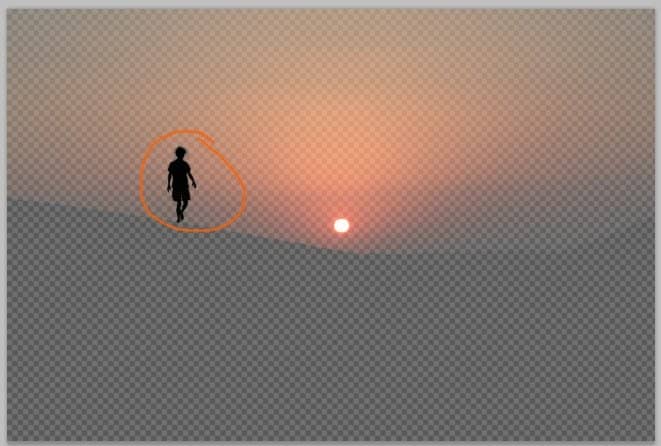
Add the cut out to the main document. Flip horizontally and scale down the size as needed. Set this model layer to normal at about 75% opacity.

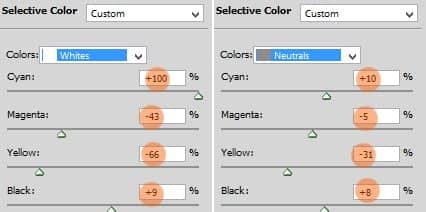
Step 18
Next we will add two more color adjustments for the entire scene. On the topmost position, create new adjustment layer (layer > new adjustment layers) and choose a selective color:
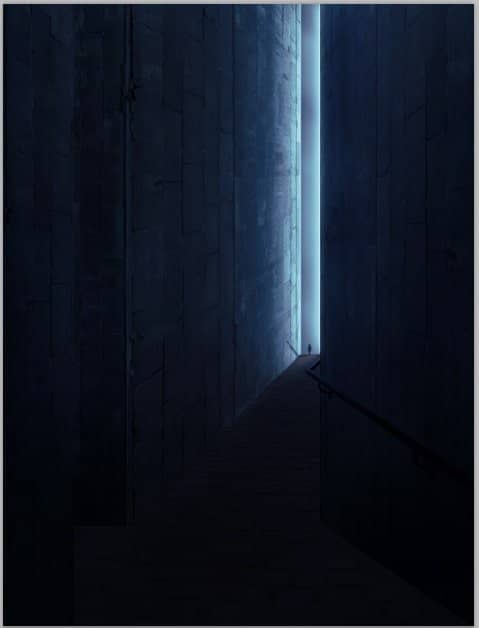
Another new adjustment layer: brightness/contrast.

Mask areas around the entrance, left wall, and floor as indicated in red highlight.
Step 19
Create a new layer again (Shift+Ctrl+N) above the two adjustment layers. Take a very soft round brush at low opacity of about 10-15% opacity. Set this new layer to overlay blending at 100% opacity. On this new layer, paint soft white color to define casted light as pointed with an orange arrow.
Step 20
To add the feel of sci-fi, we will add some light flares on the wall and floor. To do this we will paint the light flares. We do this on a separate document. Create another new document (Ctrl+N) with size given below:
15 comments on “Create a Sci-Fi Chamber Photo Manipulation in Photoshop”
where did you get the photo of the railing?
Excelente tutorial ....gracias
Little lost on step 18 - what layer is the masking suppose to be done on?
I believe on the brightness/contrast layer. You can double-check this in the PSD file at the end of the tutorial
Thanks for providing the new link. I don't see any information on how to create the shadow for the person and I know this is something that I need to learn. Do you have any info on that?
Try using the Brush tool and manually painting the shadow on a new layer.
The link for the 'texture' doesn't appear to be valid anymore.
Thanks for letting us know! The link has been fixed. Here's the new link: https://www.textures.com/download/brickmedievalblocks0059/7301
Very good tuto even for a beginner like me, many thanks.
Thanks so much for this - great tutorial - shame about not explaining the girls shadow BUT I managed to do it. It looks like you just drew one in, but what I did was copy the girl to a new layer and manipulate it and set it to overlay and got a good shadow from this.
I always love anything like this
Absolutely love everything like this
This is cool!
Nice one
Very nice composite but forgot to show how to make a shadow for the little girl. Just a thought.