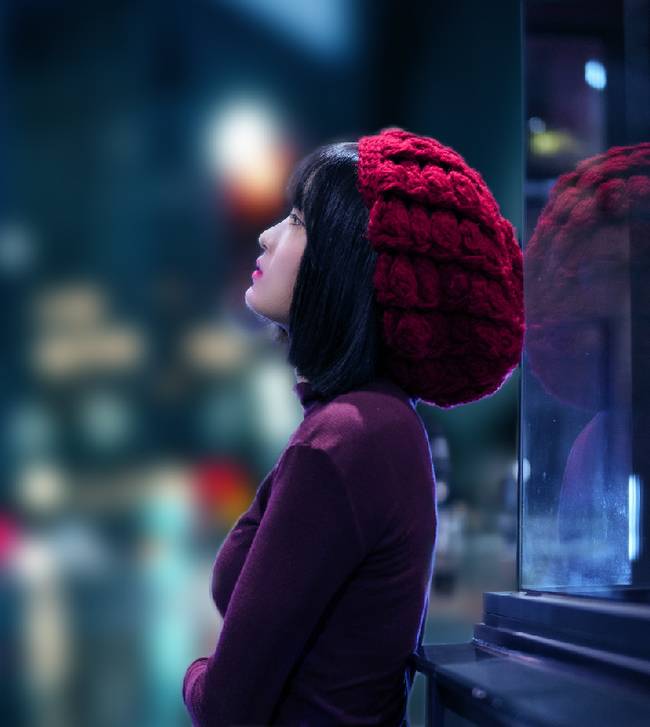
In this tutorial I’ll show you how to create a sci-fi woman portrait. First, we’ll build the base scene using several images of the model, light and street.. After that, we’ll make some sci-fi effect and paint the light reflection as well as add more retouch to the model and scene. We’ll use several adjustment layers to enhance the final effect.
Preview of the Final Result

Tutorial Resources
Step 1
Create a new 1800×2000 px document and fill it with white. Open the model image and drag it into the white canvas using the Move Tool (V). Convert this layer to a Smart Object.

Step 2
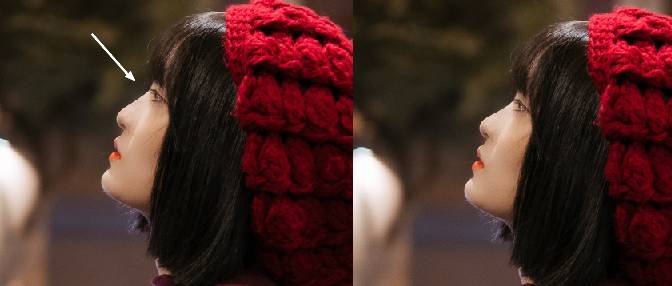
I want to correct the model’s nose a bit so go to Filter > Liquify and take the Forward Warp Tool (W) to make the top of the nose’s bridge down a bit.


Step 3
Make a new layer above the model one and set it as Clipping Mask. Activate the Clone Tool (S) to remove some hair on the model’s cheek and the edge of her lips.

Step 4
Create a new layer, change the mode to Soft Light 100% and fill with 50% gray. Select the Dodge and Burn Tool (O) with Midtones Range, Exposure about 20-25% to refine the light and shadow on the model’s contour and her face. You can see how I did it with Normal mode and the result with Soft Light mode.


Step 5
To change the color of the model’s lips, go to Layer > New Adjustment Layer > Hue/Saturation (set as Clipping Mask) and drag the Hue of the Reds values to -38. On this layer mask, select the Brush Tool (B) and choose a soft round one with black color. Use this brush to erase the model except the lips.


Step 6
Make a Color Balance adjustment layer and change the Midtones and Highlights settings:


Step 7
Open the street image and drag it onto the main canvas as shown below. Convert this layer to a Smart Object and go to Filter > Gaussian Blur and set the radius to 35 px. This step is to increase the depth of the scene.


Step 8
Click the second icon at the bottom of the Layers panel to add a mask to this layer. Use both soft and hard black brushes to reveal the model and her reflection through the glass.

Step 9
Make a Color Balance adjustment layer (set as Clipping Mask) to change the color’s of the street.
2 responses to “How to Create a Sci-Fi Woman Portrait with Adobe Photoshop”
-
why do I have to pay for some of the resources when you say its free?
-
I wish I could download this so I could follow along better.All the bouncing around for details when I screw up just takes too long.

Leave a Reply