
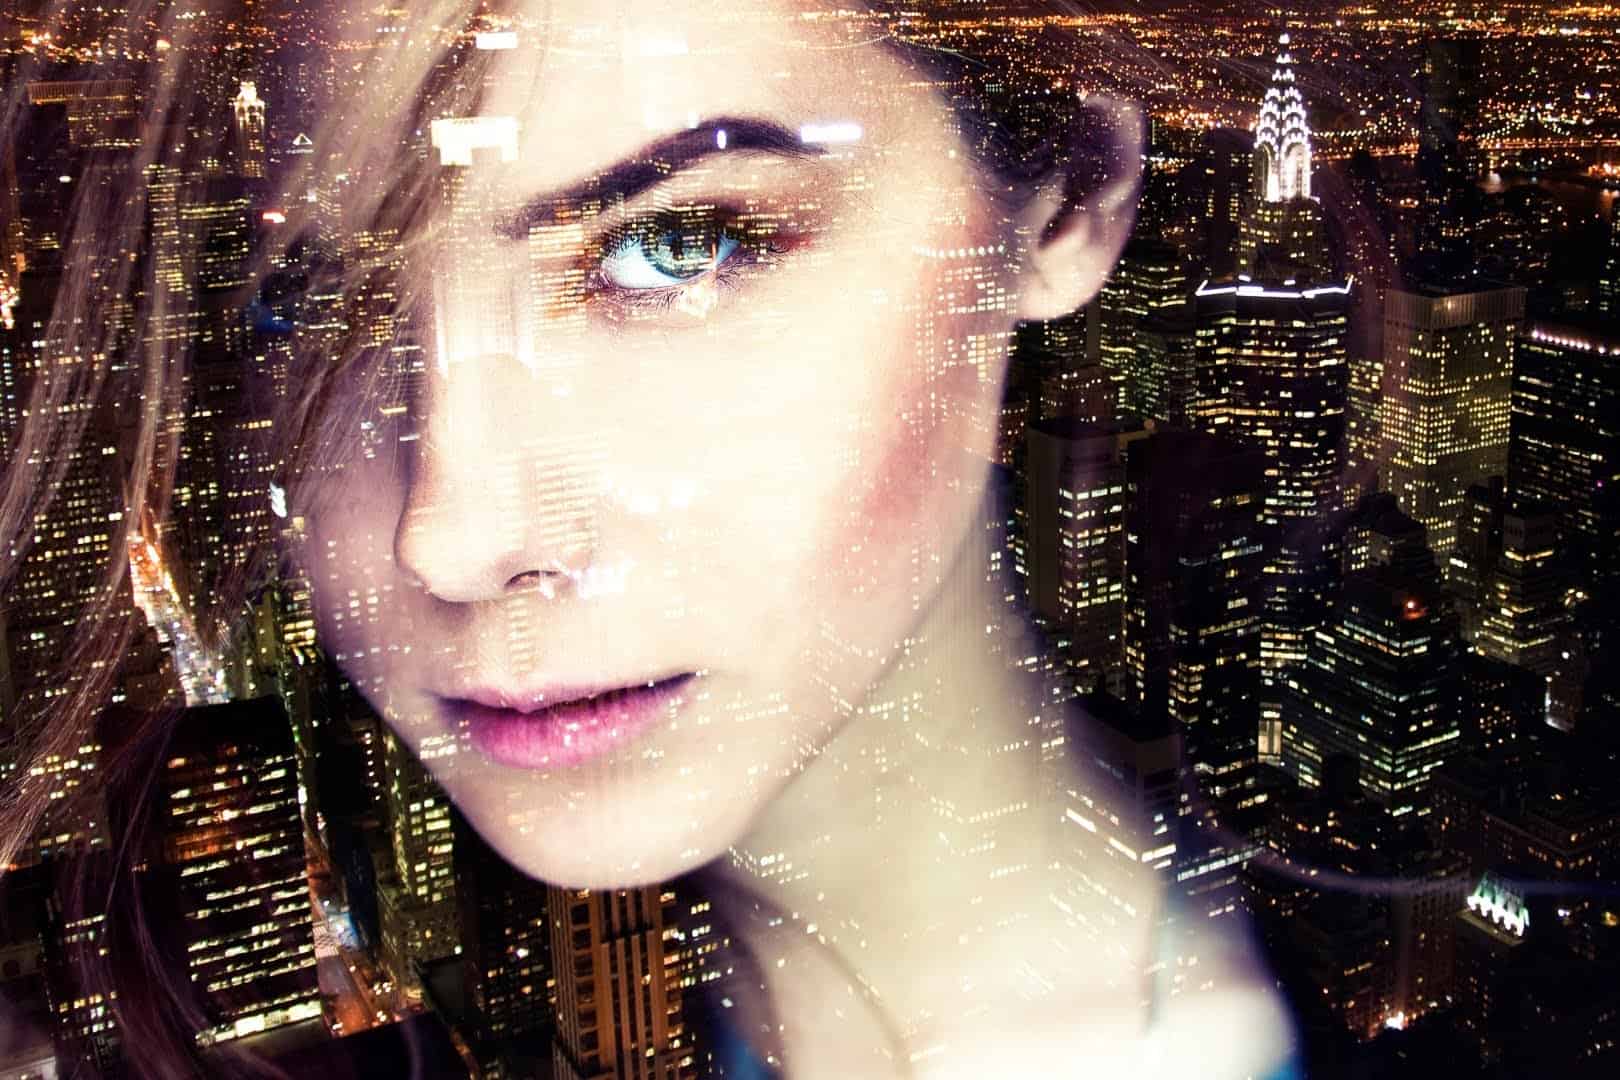

Double-exposure photography is becoming increasingly popular and can even be found as a built-in feature in some digital cameras. Creating your own effect in Photoshop is a simple process but it doesn’t always look great. In this tutorial, you’ll learn how to easily create your own double-exposure photos and some great tricks to get perfect results every time.
Step 1
Start by opening the photo you’ll use as a background into Photoshop. This is usually a landscape/cityscape. Place the second image by dragging and dropping the file into your canvas or by going to . The transform tool will automatically be activated. Set the blending mode of the layer to screen then transform and position the image. Press Enter to apply the transformation.


Step 2
If you’ll be converting the image to B&W, add a Black & White adjustment layer () then adjust the settings any way you like. This will make the next steps easier by helping you focus on the tonal settings without interference from the colors. You can always delete this layer and readjust the B&W settings later.

Step 3
We have a double-exposure image but chances are that you’ll need to do some tweaking. We want to make the girls face brighter and the other areas darker. So to do this, add a new Curves adjustment layer (). Position this layer above your 2nd layer. Hold the Alt/Option key then click between the curves adjustment layer and the layer below. This will clip the curves adjustment so that it only affects the one layer below.

Step 4
With the curves adjustment layer selected, go into the Properties panel (), and click on the on-image adjustment tool. With this tool, you can drag anywhere in your photo to brighten or darken an area. For our photo, we dragged up over the skin to make it more visible and down on the hair to make it darker.

Here’s the before and after of this adjustment.


