
Step 16
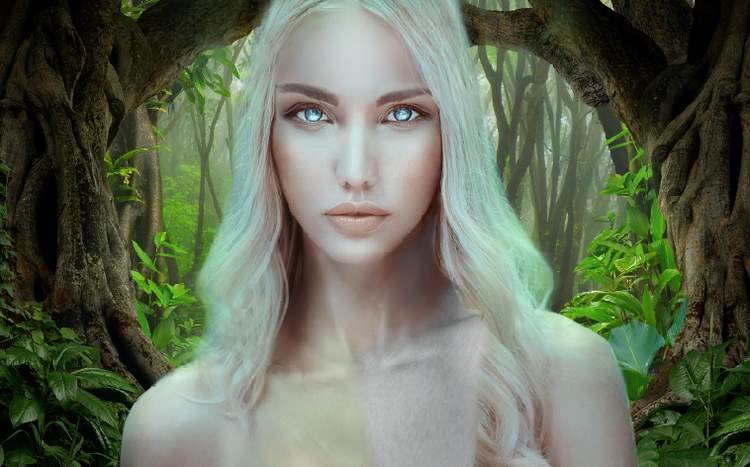
Drag the forest image into our working document and resize it to fit the size of the canvas. Convert this layer to a Smart Object. Add a mask to this layer to reveal the model .

Step 17
On this layer, go to Filter > Blur > Gaussian Blurand set the radius to 6 px.
Step 18
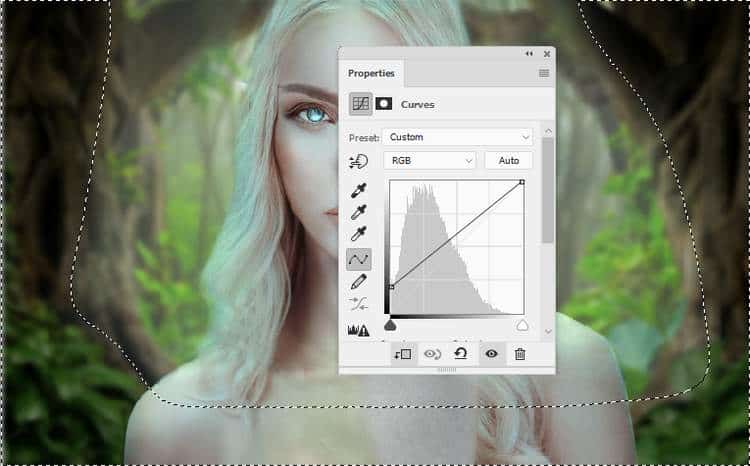
Make a Curves adjustment layer (set as Clipping Mask) and bring more light to the middle. On this layer, paint onboth sides so they won’t be affected by this adjustment layer.
Step 19
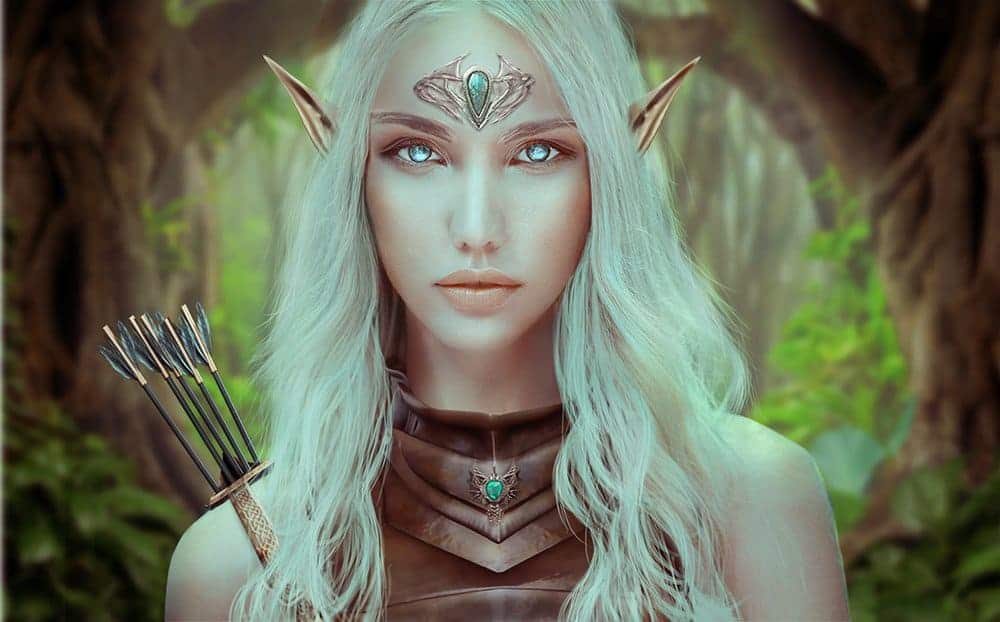
Open the armor image and take the armor with the neck and a part of the face to add to the body of the existing model. Use the Free Transform Tool (Ctrl+T)to rotate it a bit.

Step 20
Create a new layer, change the mode to Overlay 100%and fill with 50% gray. Use the Dodgeand Burn Tool to change the light and shadow on the middle of the armor.
Step 21
Use a Color Balanceadjustment layer to give some warm tone to the armor.
Step 22
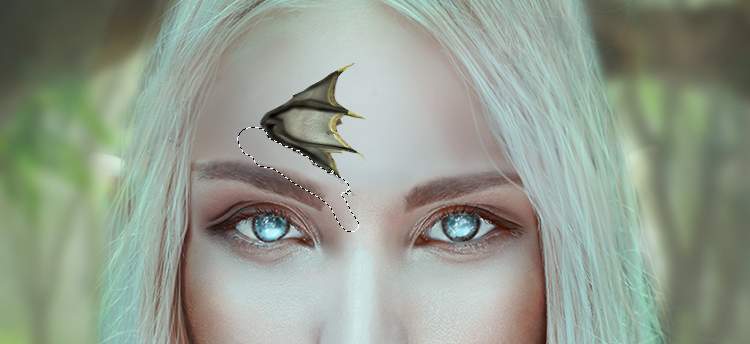
Open the headpiece 1 image and take the part on her chest and place it on the left of the model’s forehead. Use Ctrl+Twith the Warp mode to tweak this part as shown below:

Step 23
Duplicate this layer and flip it horizontally (Edit > Transform > Flip Horizontal). Move it to the right and remove its bottom using a layer mask.

Step 24
Double click each of these layers and select Drop Shadowwith the following settings. Set the color of shadow to black.
Step 25
Select these two layers and hit Ctrl+Gto make a group for the. Change the group’s mode to Normal 100%and make a Hue/Saturationadjustment layer to change the Saturationvalues:
Step 26
Create a Color Balanceadjustment layer to give these parts some warm tone.
Step 27
Make a Curvesadjustment layer to brighten these parts. On this layer mask, paint on some details in the middle so they won’t be highlighted too much by this adjustment layer.One response to “How to Create an Elf Photo Manipulation with Adobe Photoshop”
-
amazing


Leave a Reply