Luminar AI lets you turn your ideas into reality with powerful, intelligent AI. Download the photo editor and see how you can completely transform your photos in a few clicks.
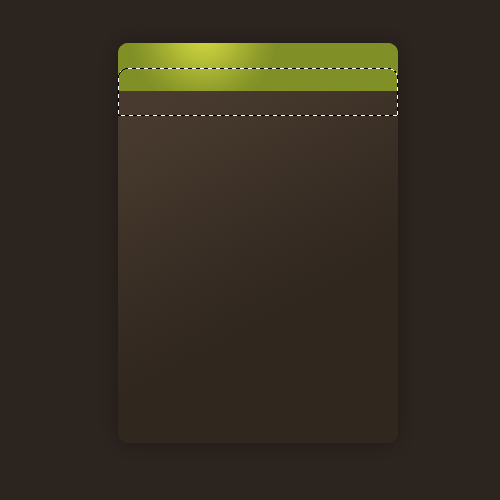
Now go Edit > Fill and fill the selection with the colour white (the hex number is #ffffff). You can deselect (Ctrl + D) now because you don't need that selection anymore.

Select the area of the green header like you did before and invert the selection (this will select everything except the header - the shortcut is Ctrl + Shift + I).

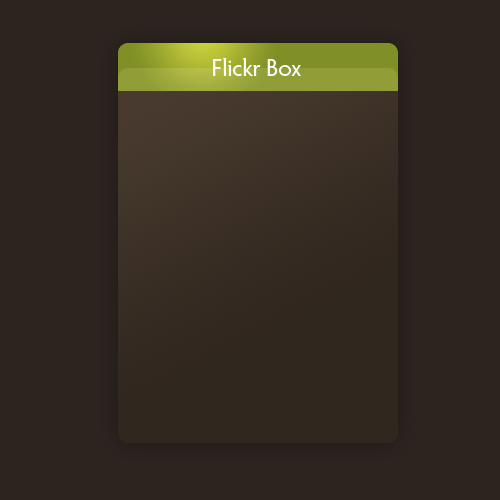
Hit delete on your keyboard and you should be left with something like this.

Now set the blend mode of the white layer to Soft Light and the opacity level to 30%.

Step 6: Add a title
Using the text tool add in some text for the header of the box.
Step 7: Add the thumbnails
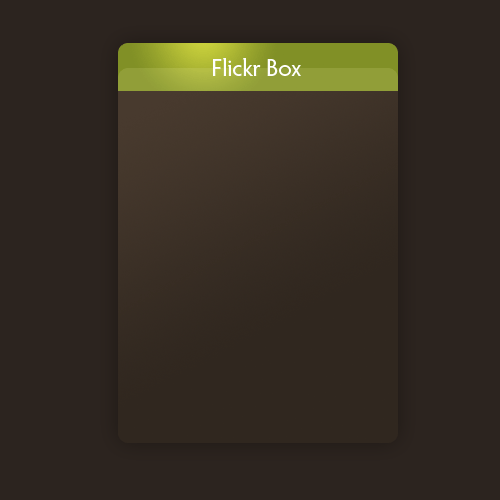
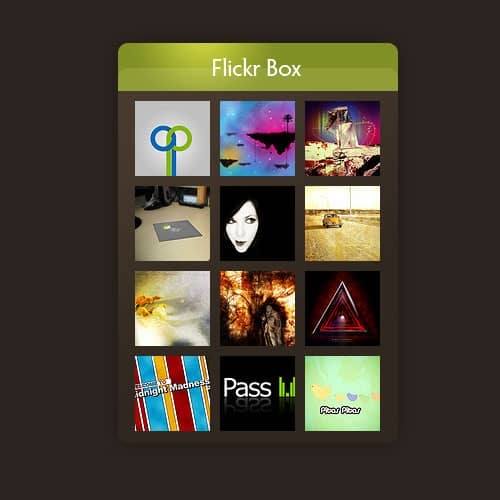
Lastly we are going to be adding in some Flickr images to show you what it would look like. So get some Flickr images (I've got some 75 by 75 pixel ones) and stick them with 10 pixel spaces between each other.
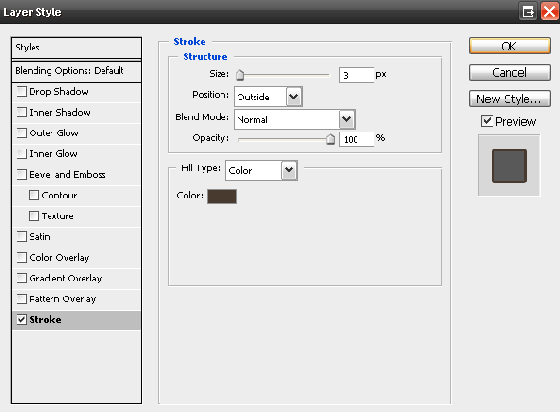
Now we are going to be applying a stroke to the Flickr images. So go Layer > Layer Styles > Stroke and enter the settings below (the colour is #483a2e).
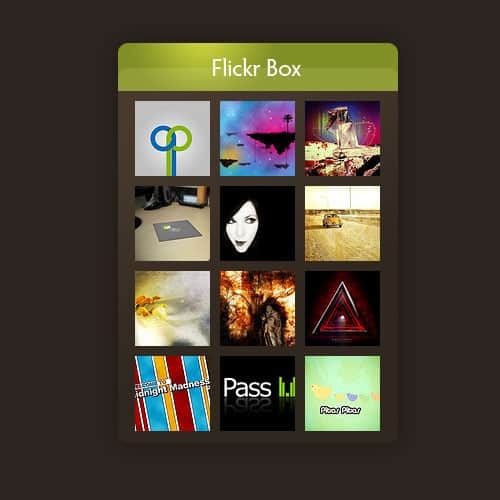
Your completed box should look something like this :)

2 comments on “Flickr Box”
good tutorial, thank you
good work,thank you :)