Turn any photo into a dot grid artwork with these Photoshop actions. You'll get great results with dots that change size. They get larger in brighter areas and smaller in darker areas. Free download available.
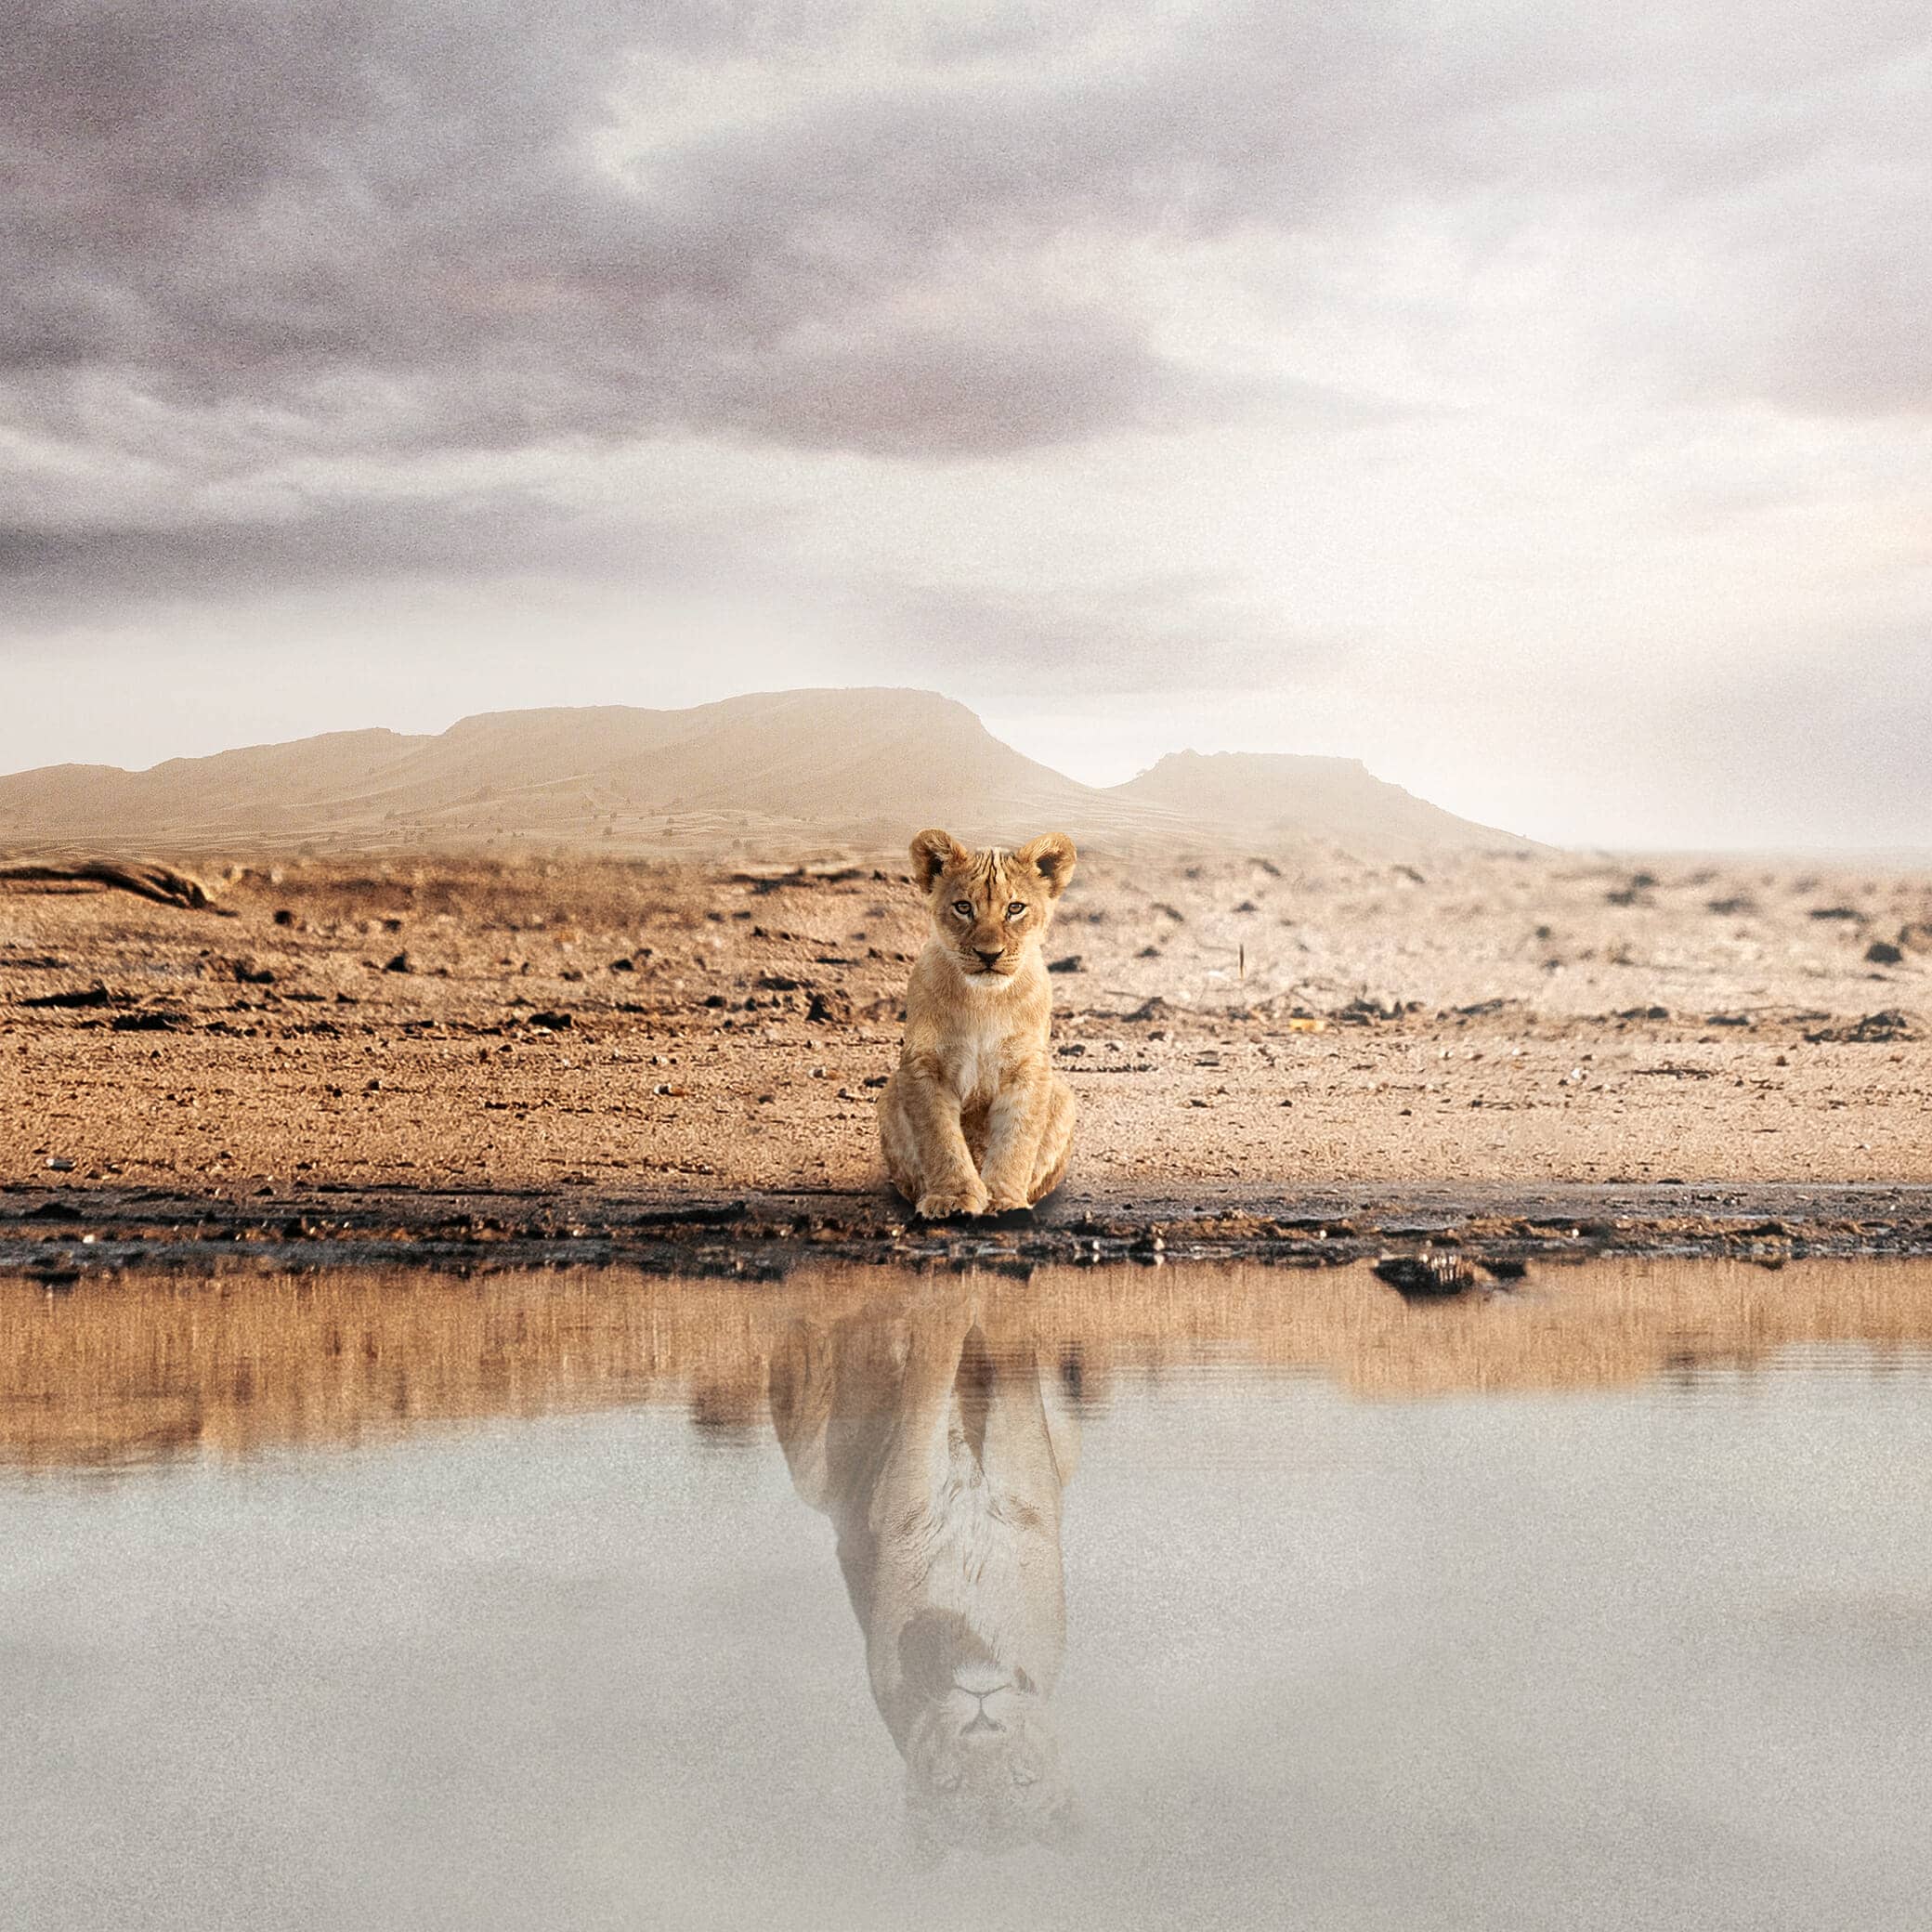
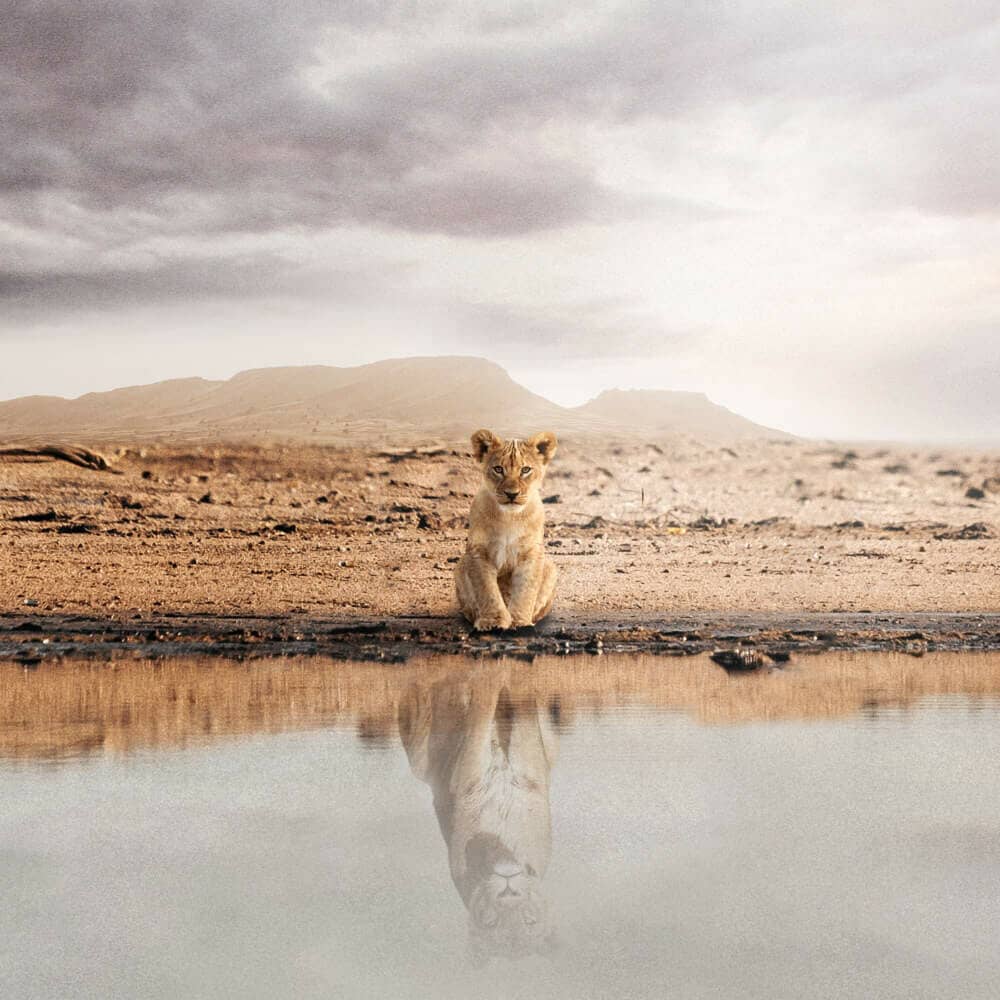
“The lion is an emblem of the dream of absolute power -- and, as a wild rather than a domestic animal, he belongs to a world outside the realm of society and culture.” In this photoshop tutorial, we will learn how to create a lion reflection in the water. First, we added a background and with the clone stamp tool remove objects. Then add a sky and mountains and add a young lion. After that add lion for reflection and all that blended with adjustment layers. Also added some ray lights and finally added a camera raw filter.
Preview of Final Image
Tutorial Resources
Step 1
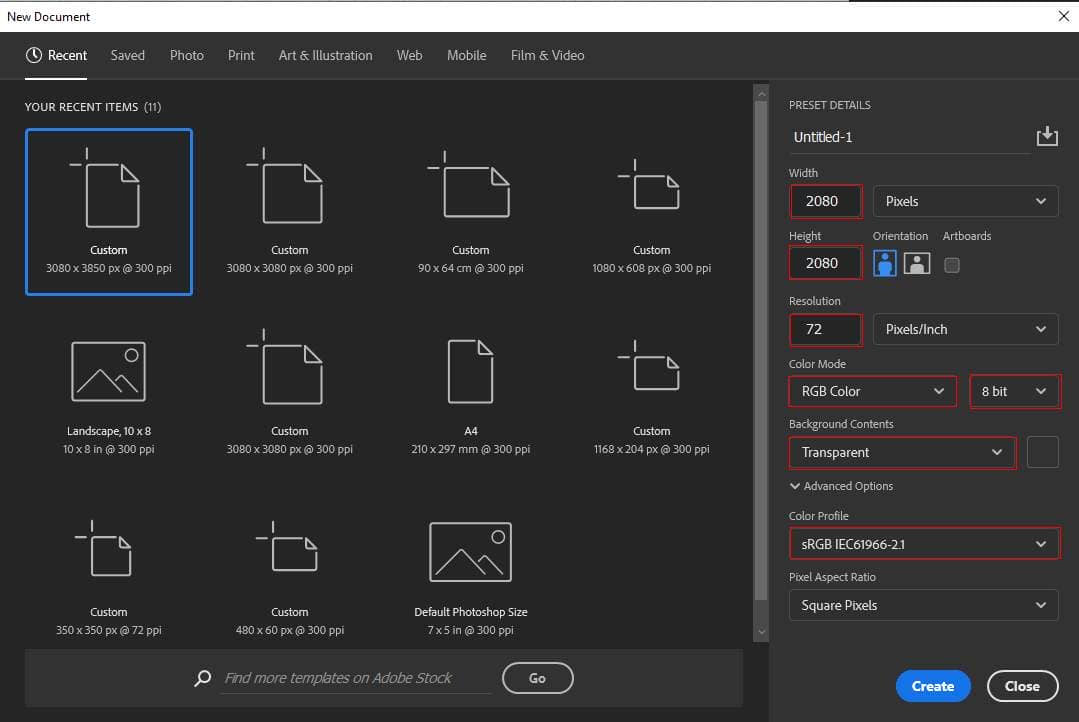
Now, let’s start by creating a new image file, go to the Menu bar and click File > New, and then input the following values on their respective fields
- Width: 2080px
- Height: 2080px
- Resolution: 72
- Color Mode: RGB Color 8 bit
- Background Contents: Transparent
Step 2
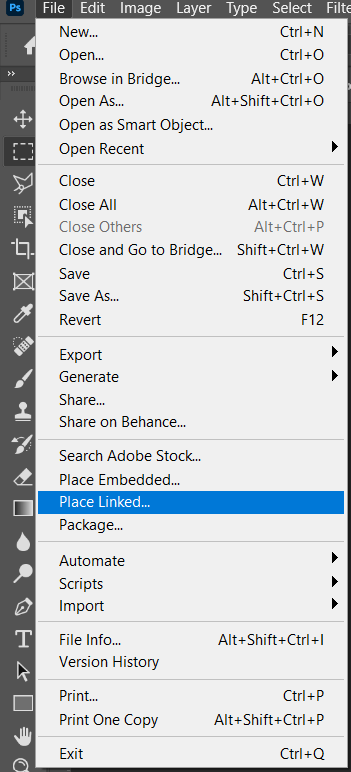
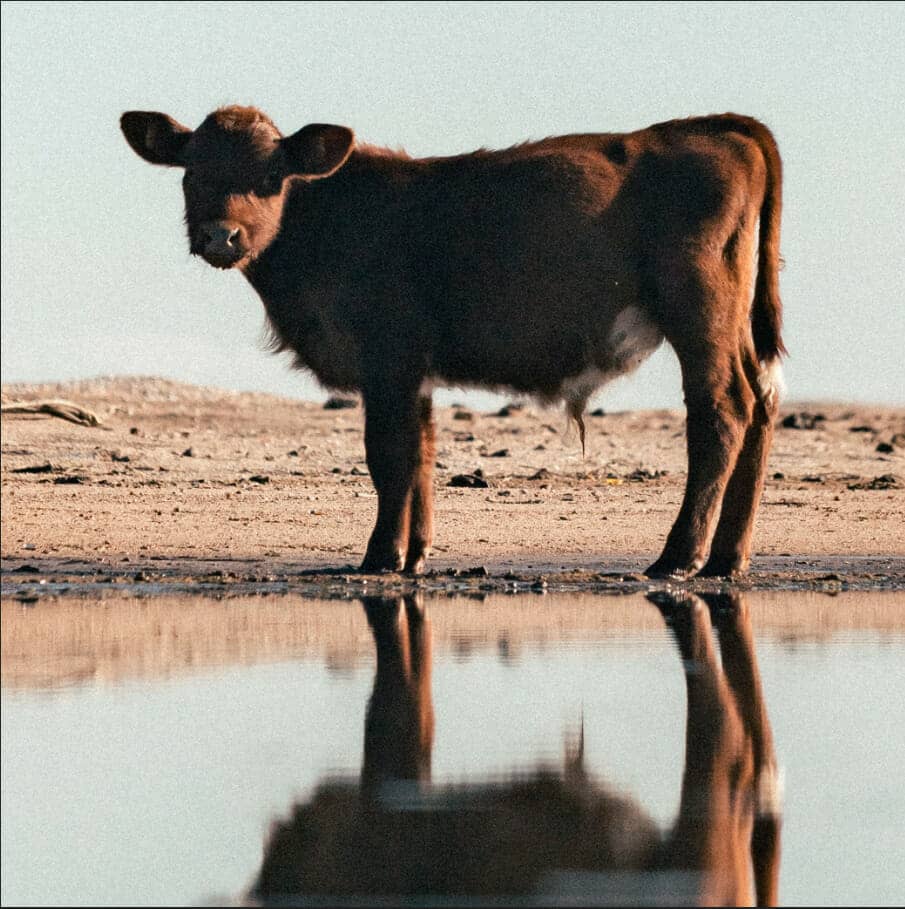
Now, place the Background photo Go to File > Place and select background. Then place it to our work canvas. Then position the image with the transform tool (Ctrl / Cmd + T). Hold Alt + Shift and rasterize like the image below. In Photoshop CC only hold Alt to rasterize all sides together.
Step 3
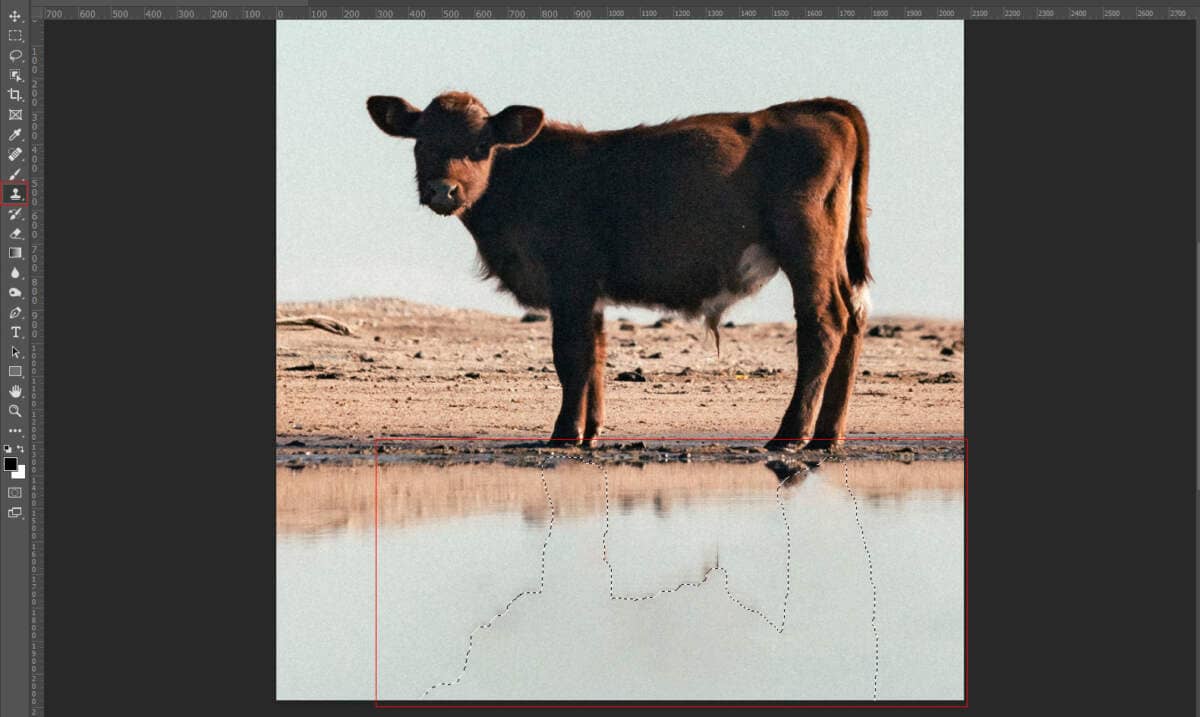
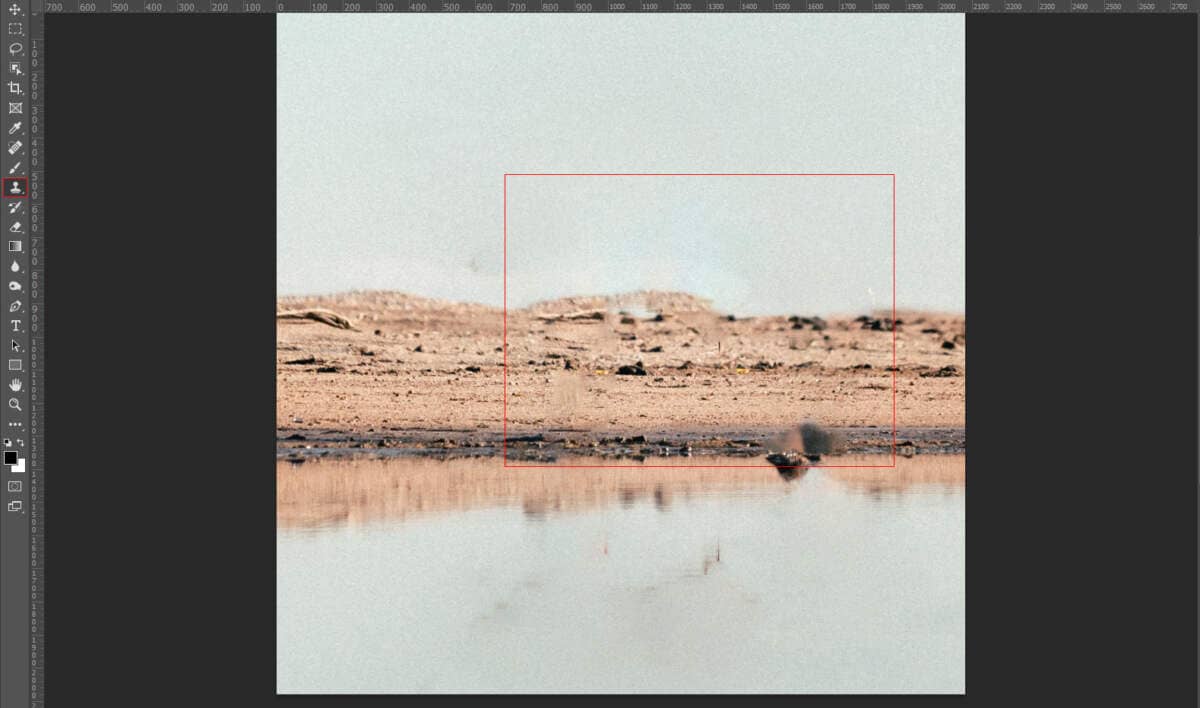
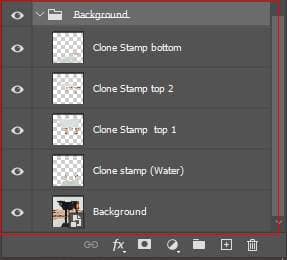
In this step, we will remove objects on the ground and water. Now we will remove the cow with the Clone Stamp tool. Pick a soft brush. Set the size of the clone stamp so it will cover the object you want to remove. It takes some practice to know how hard and big your brush should be. A good setting to start is a medium soft brush to achieve smooth edges. Move the cursor to the area you want to take pixels from. Use Alt-click to confirm your source pixels. The cursor will change into crosshairs. The moment you click, the cursor will change and show the pixels you’ve cloned. Now start painting over the object you want to remove. Create a new layer, If it’s noticeable, go back to clone other pixels and continue painting.
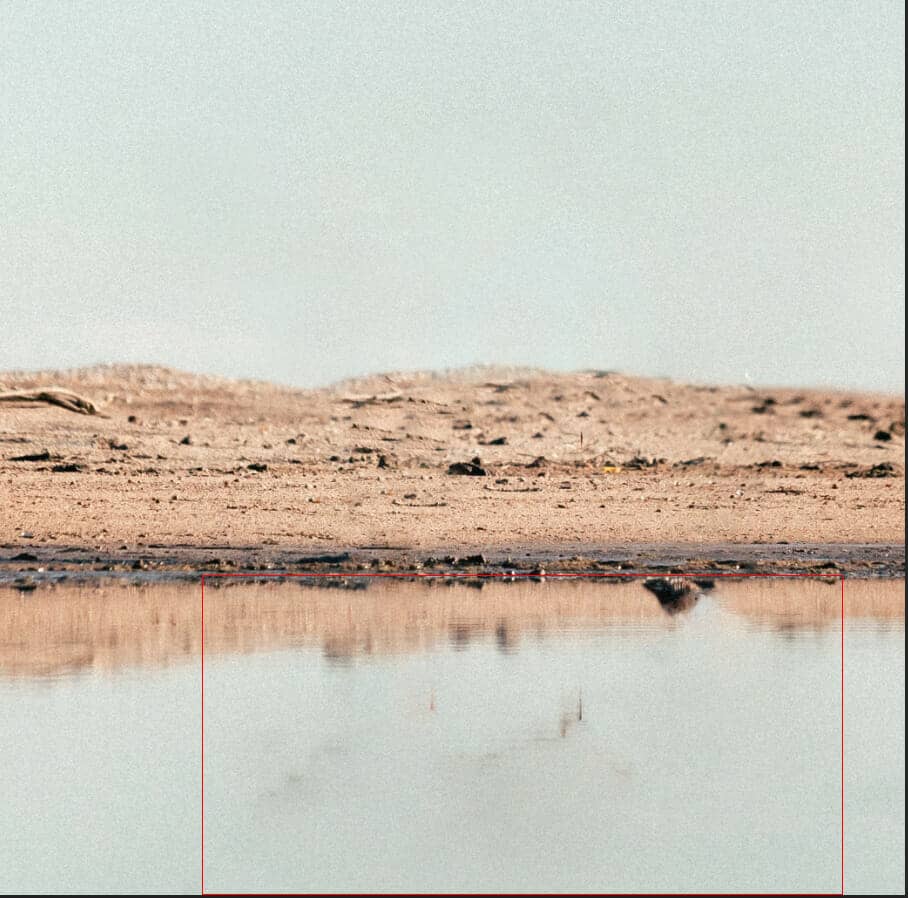
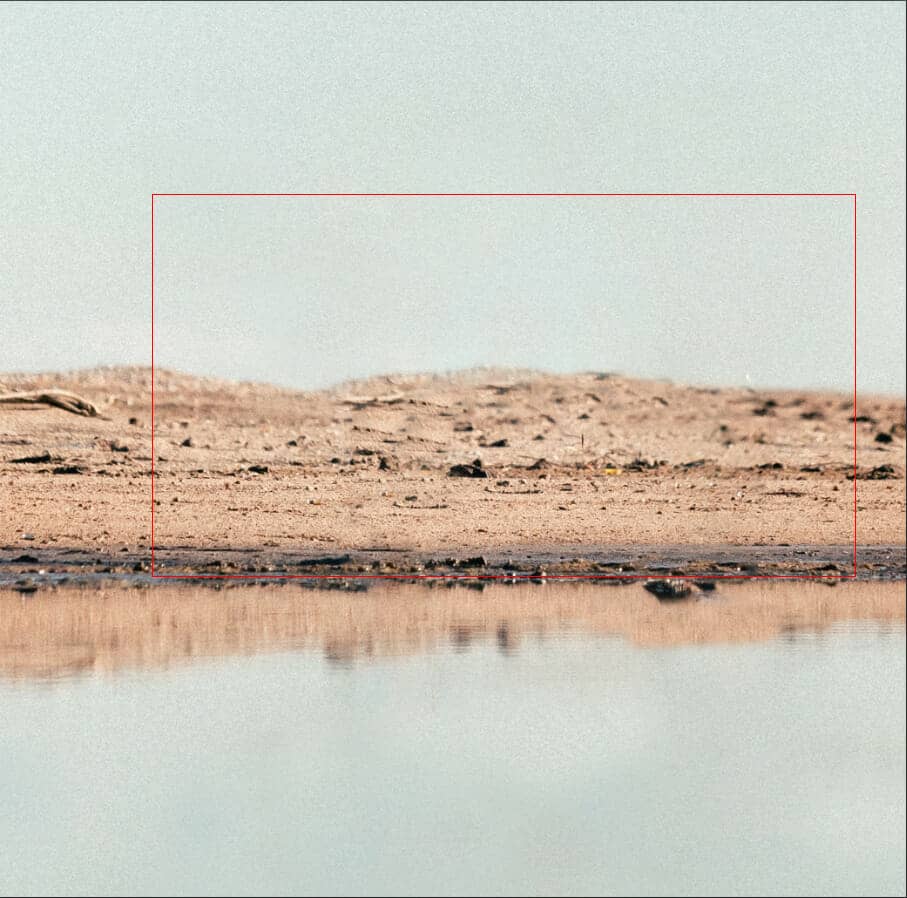
Now select all layers and press Ctrl/Cmd + G to put all in the group.
Step 4
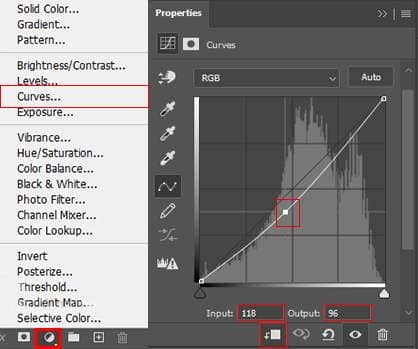
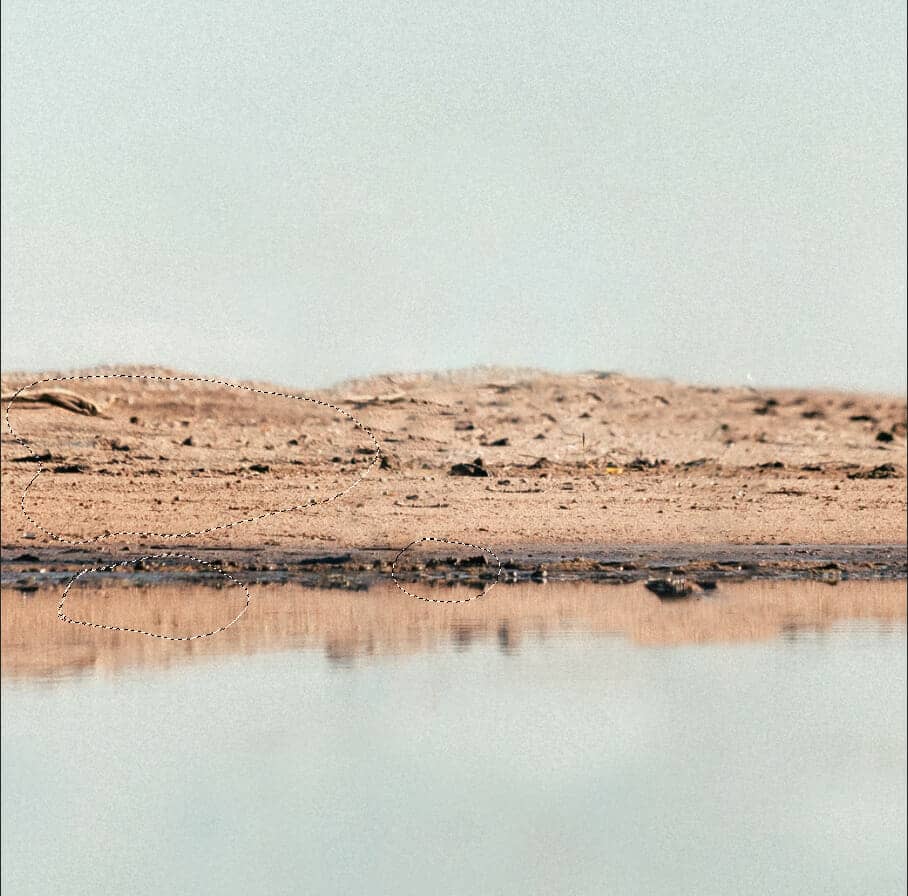
Add Adjustment Layer "Curves" and press Ctrl/Cmd + I to invert. Then use Brush Tool(B) Soft Round with foreground color white and paint the selected part.
Step 5
Add Adjustment Layer "Curves" and press Ctrl/Cmd + I to invert. Then use Brush Tool(B) Soft Round with foreground color white and paint the selected part.
