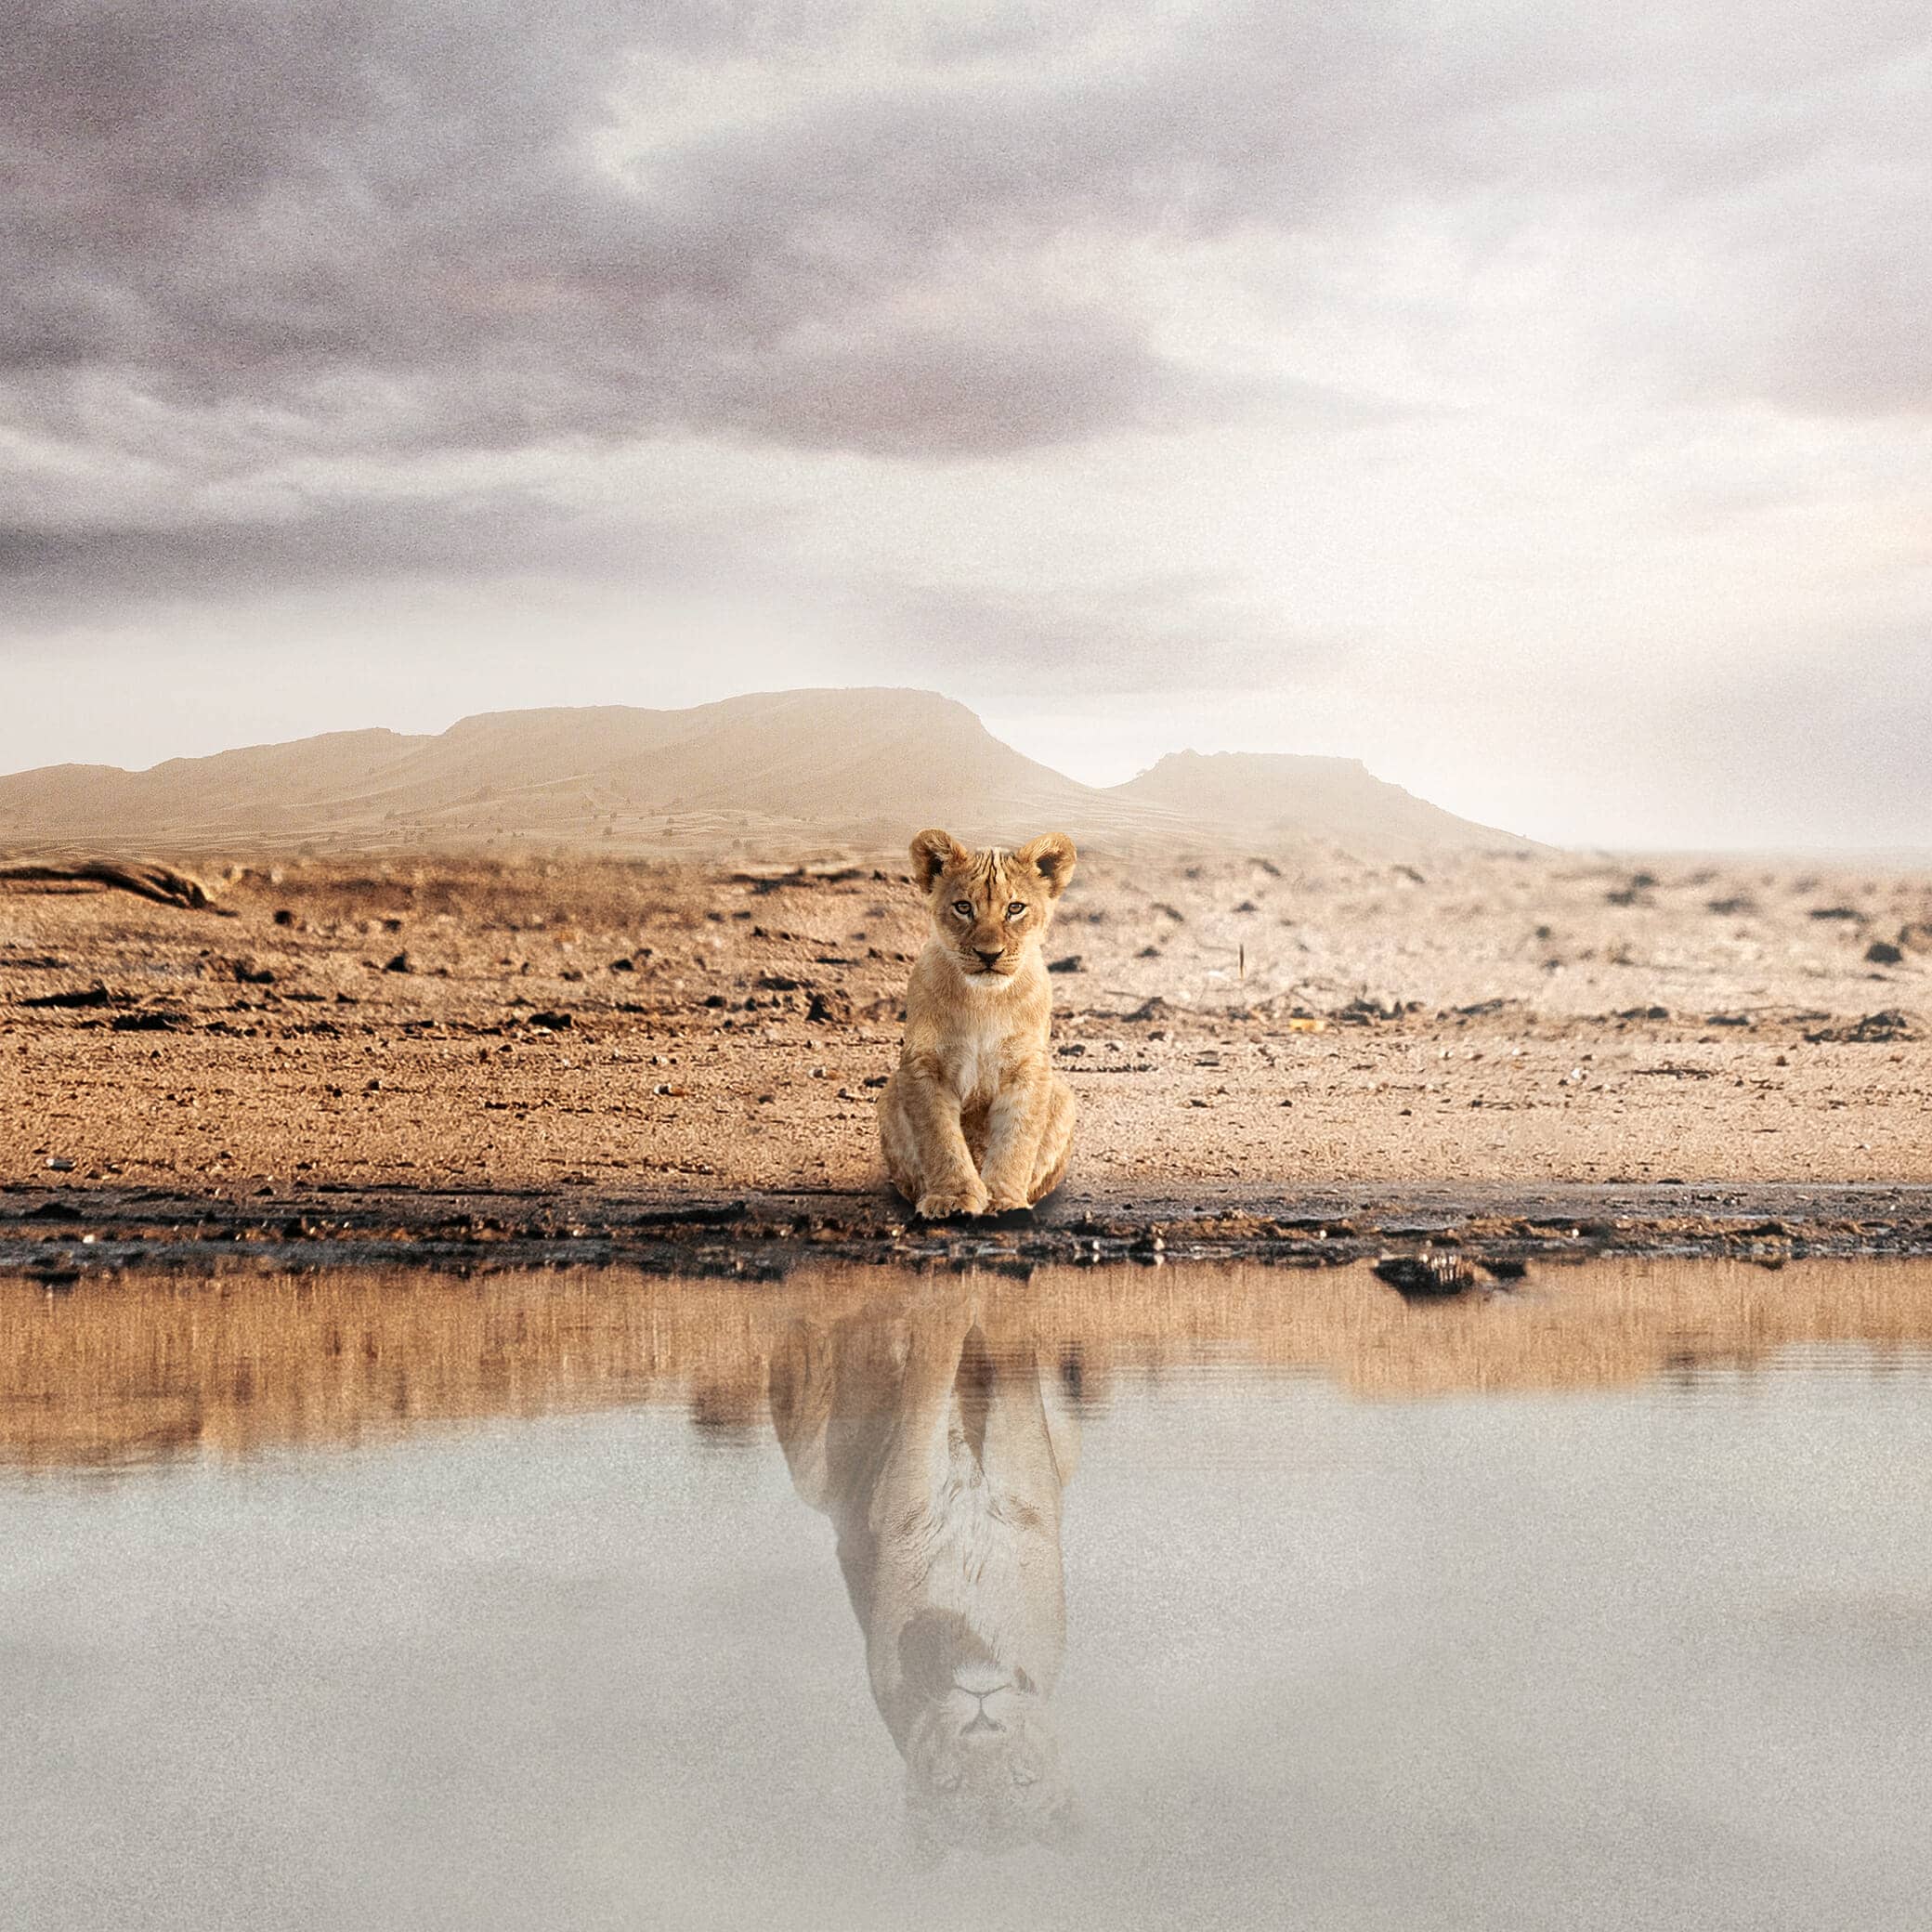
Download Lightroom presets and LUTs, absolutely free. Use the presets to add creativity and style to your photos.
Step 6
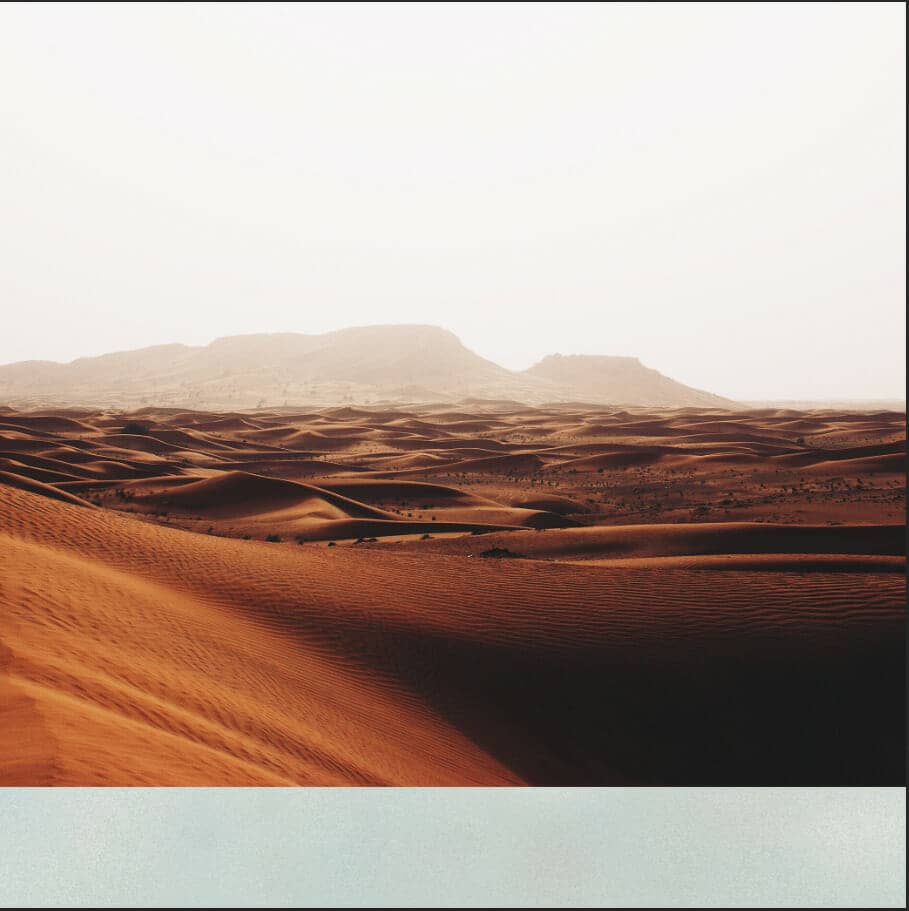
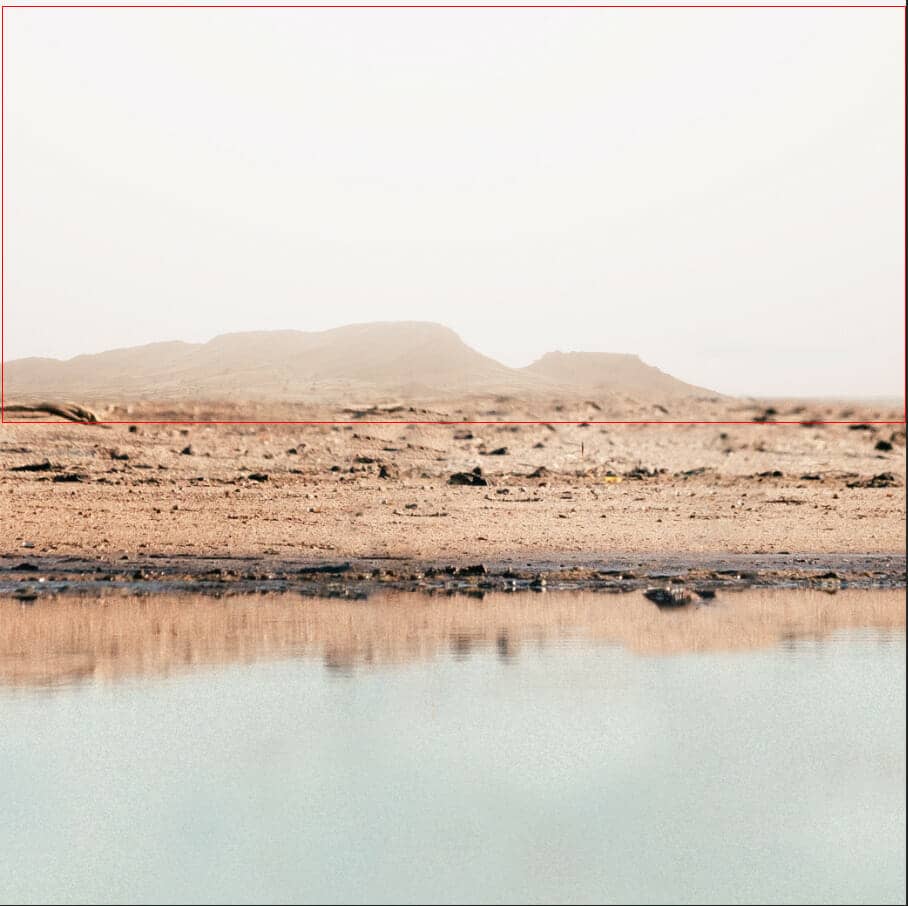
Next, we will open the desert photo, Go to File > Place, and select desert. Then place it to our work canvas and position the image with the transform tool (Ctrl / Cmd + T). Hold Alt + Shift and rasterize like the image below. In Photoshop CC only hold Alt to rasterize all sides together. Now use the Soft Round brush tool with the foreground color black and create a layer mask. Then with the brush tool start painting on the desert to remove it.

Step 7
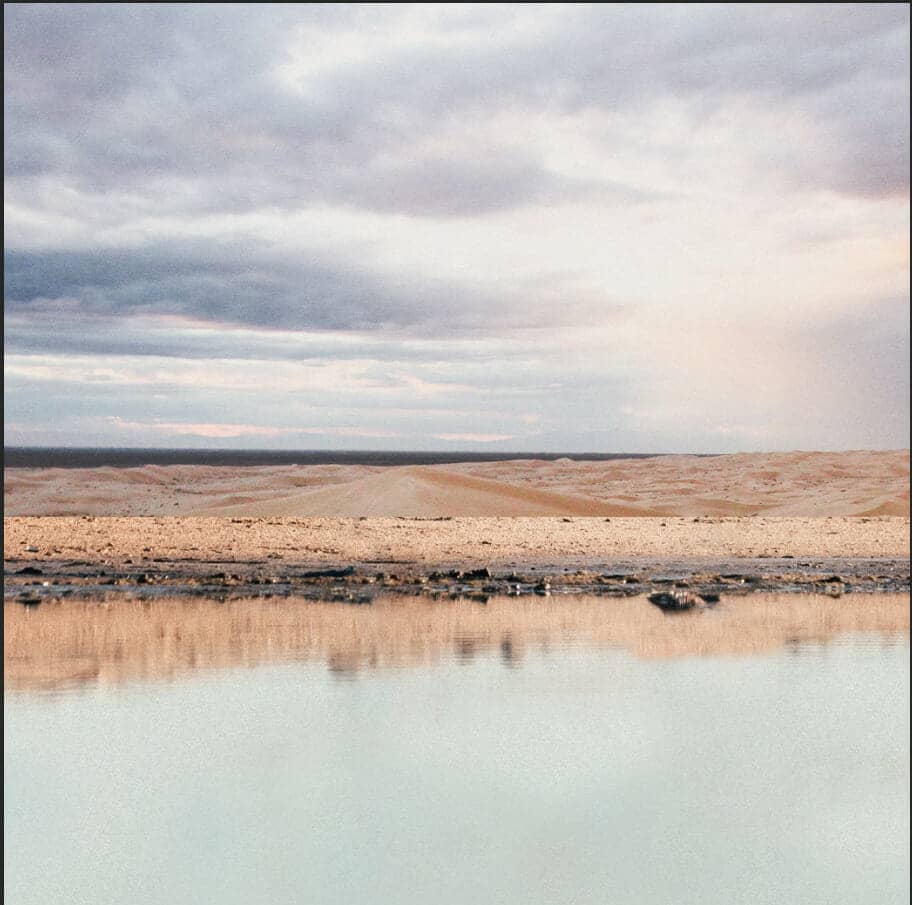
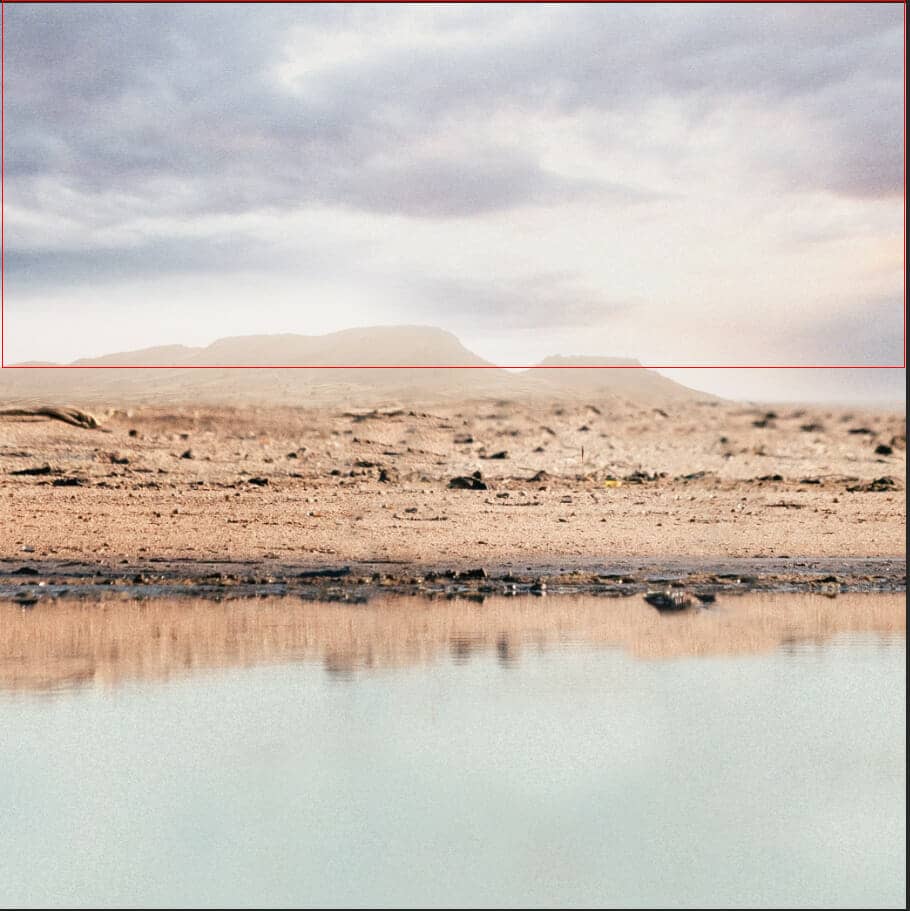
Now repeat the same process. Go to File > Place, and select Sky. Then place it to our work canvas and position the image with the transform tool (Ctrl / Cmd + T). Hold Alt + Shift and rasterize like the image below. In Photoshop CC only hold Alt to rasterize all sides together. Now use the Soft Round brush tool with the foreground color black and create a layer mask. Then with the brush tool start painting on the desert to remove it.

Step 8
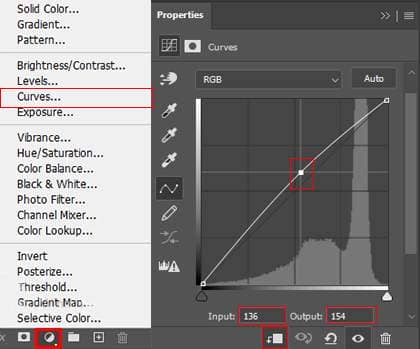
Add Adjustment Layer "Hue/Saturation"
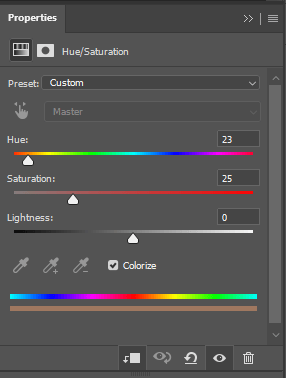
Opacity set to 30%.
Step 9
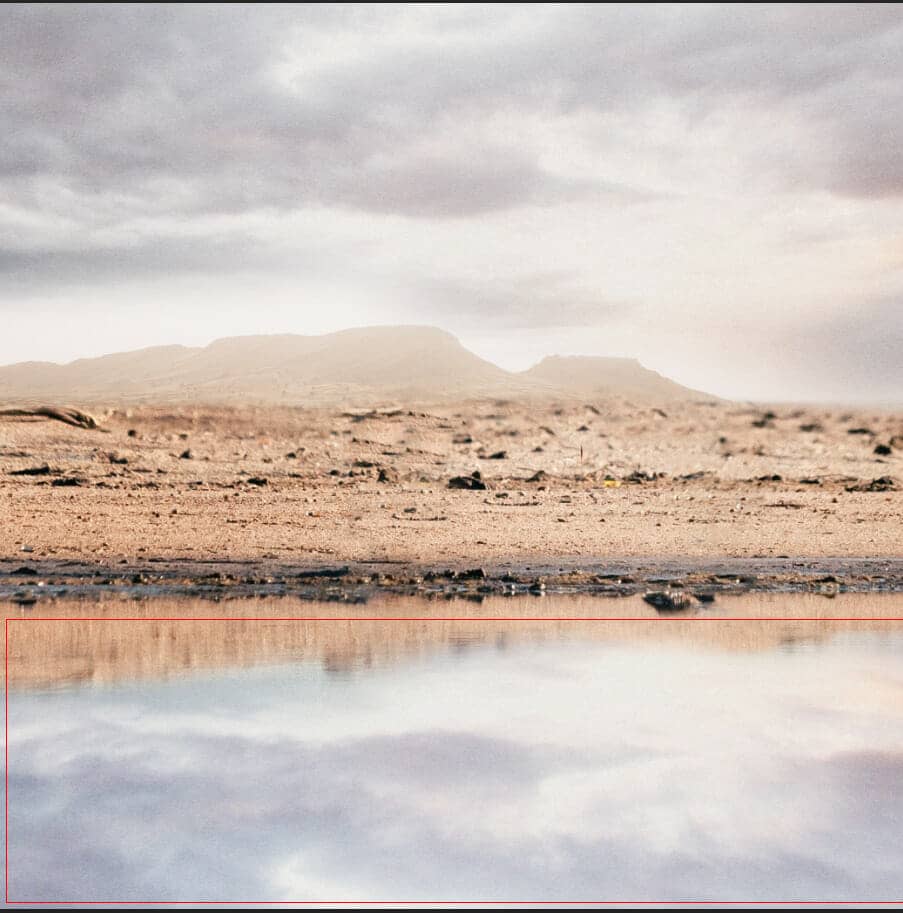
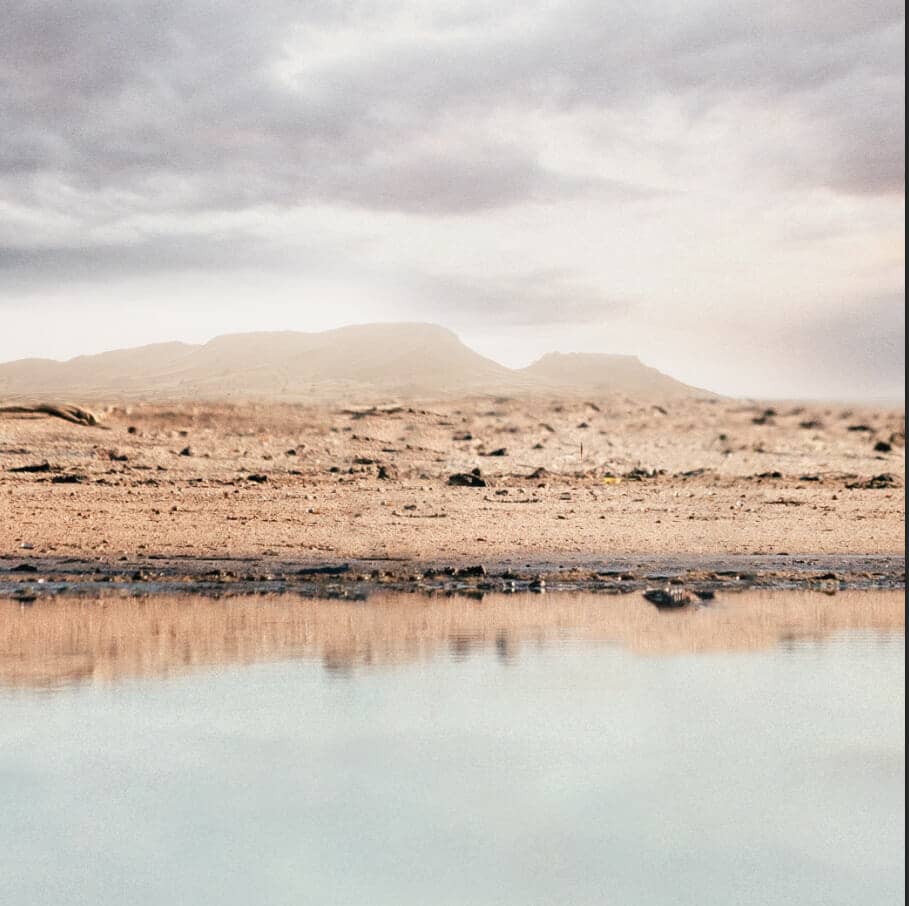
Select Sky layer and duplicate it Ctrl/Cmd + J then place it to water. Opacity set to 20%.
Step 10
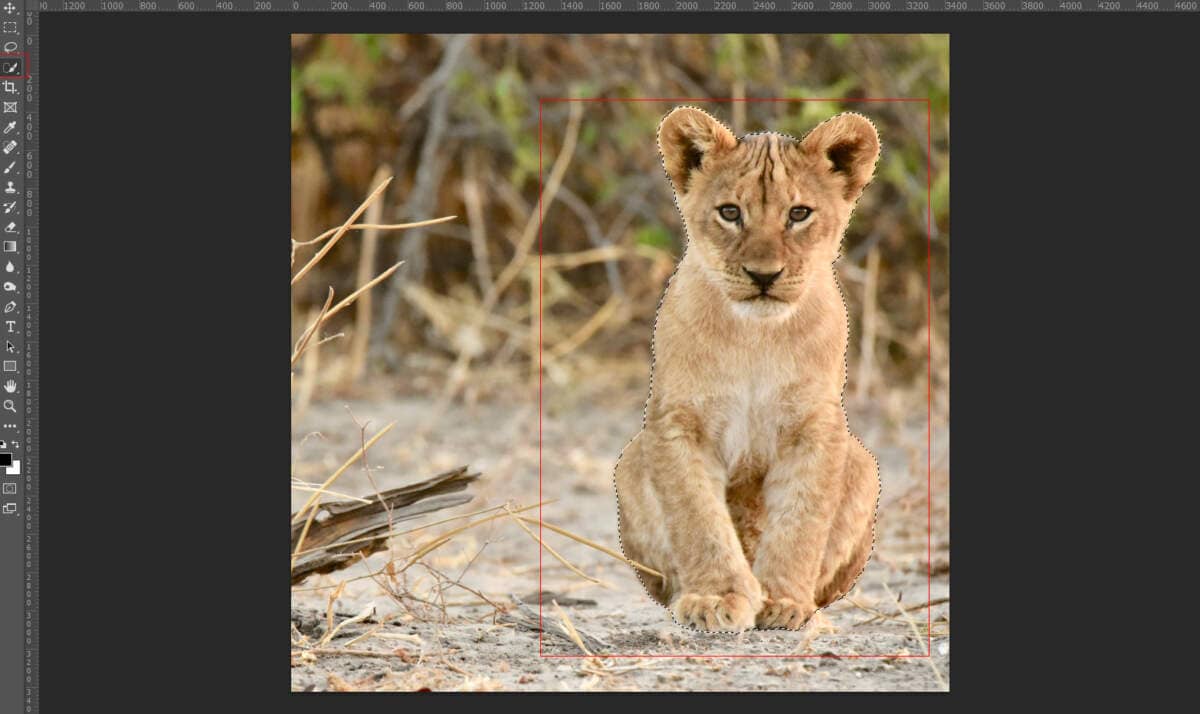
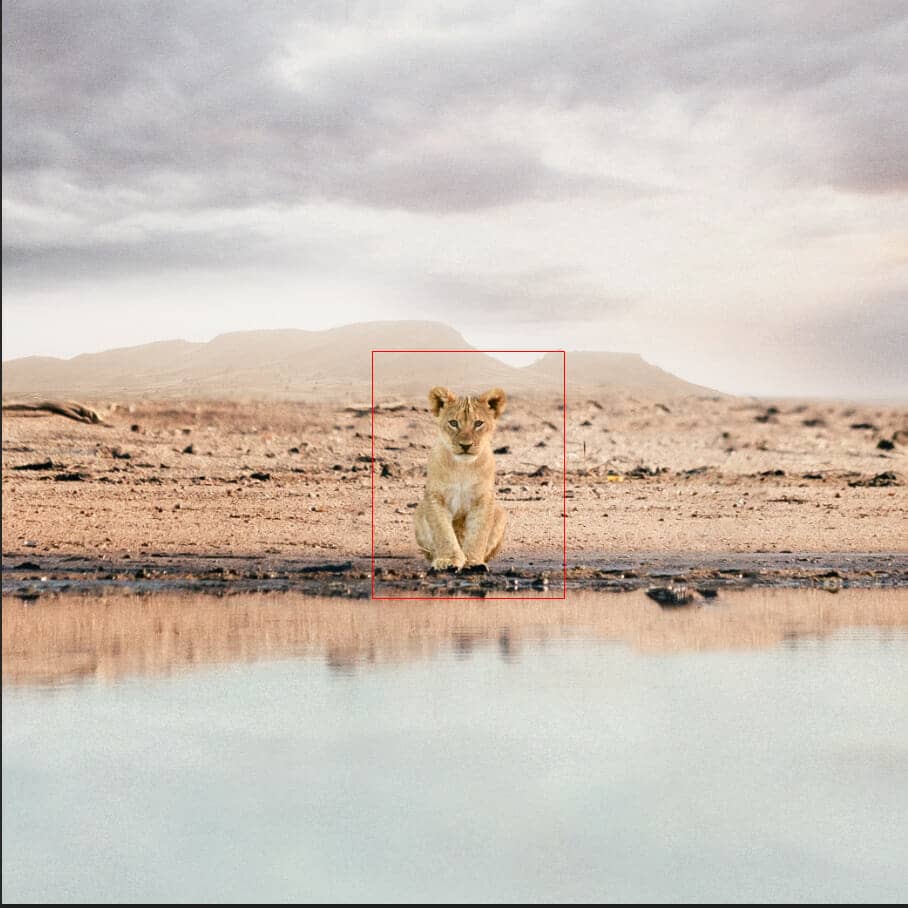
Next, we will open the young lion. After you open the image, use the Quick Selection Tool(W) and start selecting. After the selection area has been created, simply copy (Ctrl / Cmd + C) and Paste (Ctrl / Cmd + V) it to our work canvas. Then position the image with the transform tool (Ctrl / Cmd + T). Hold Alt + Shift and resterize like the image below. In Photoshop CC only hold Alt to resterize all sides together.
Step 11
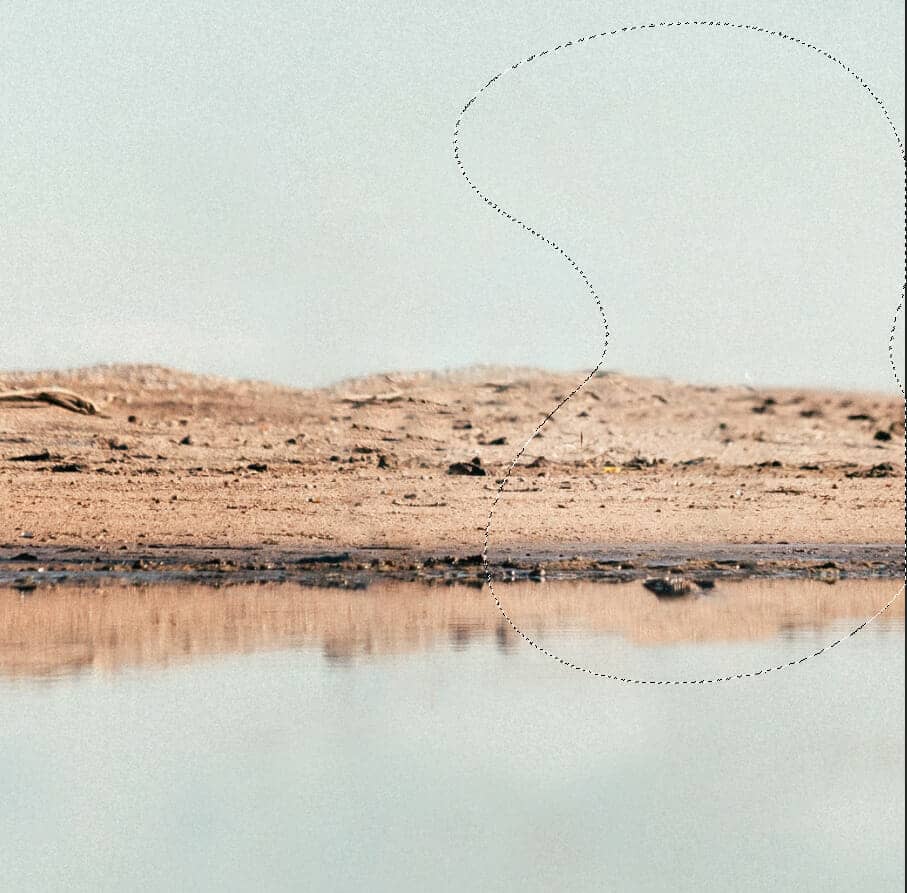
Now create a new layer and use Clone Stamp Tool(S). Pick a soft brush, and set the size of the clone stamp so it will cover the object you want to remove. It takes some practice to know how hard and big your brush should be. A good setting to start is a medium soft brush to achieve smooth edges. Move the cursor to the area you want to take pixels from. Use Alt-click to confirm your source pixels. The cursor will change into crosshairs. The moment you click, the cursor will change and show the pixels you’ve cloned. Now start painting over the object you want to remove.
