Download Lightroom presets and LUTs, absolutely free. Use the presets to add creativity and style to your photos.

Step 4
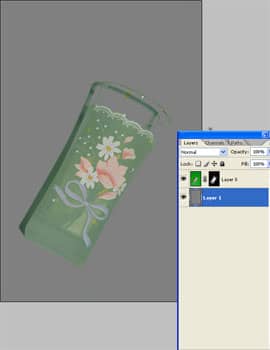
Now that we have the green backdrop fixed, convert the channel mixer adjustment layer into a layer mask and add a 50% gray background. If you don't remember how to do this, refer back to the instructions on page 2.

Step 5
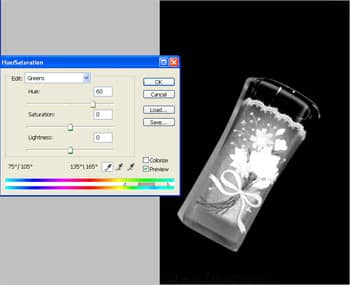
You'll notice that some parts of the glass are still green. To fix this, activate the layer with the photo and use the Hue/Saturation tool (Image> Adjustments> Hue/Saturation or Ctrl+U) and select Greens from the Edit drop down menu.

Step 6
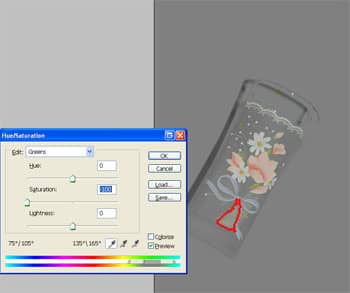
Experiment with the sliders near between the two rainbow gradient bars. These sliders specify the color range that is being edited. The gray bar between the sliders indicate the the range and the outside two sliders specify faded range.Try to adjust these sliders so that the green disappears. You'll notice that if the color range gets expanded more into the yellow areas, the greens will disappear. I simply moved the 2nd slider towards the left to achieve this.
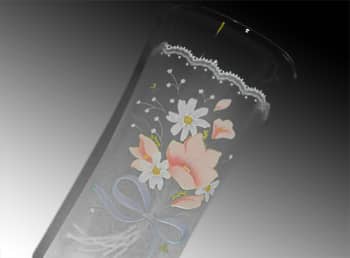
Final Results


2 comments on “Keying Green Backdrops”
After deleting the green background, you need to eliminate the green shadow on the subject.
Great tutorial, but wouldnt it be easier to just use the magic wand tool, delete the green, and then do the hue and saturation thing to get rid of the green line?
but still a very informative turorial :)