Make skin look perfect in one-click with these AI-powered Photoshop actions.
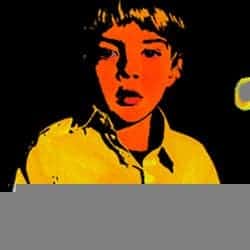
Transform a photo into retro pop art.
Seperate the Colors
The first thing we`re going to do is to remove all shades from the image. The result will be solid shapes of color. Follow the steps below to learn this technique.
Step 1
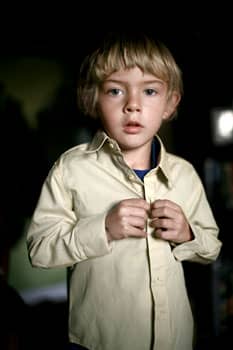
Open a photo you would like to edit. Resize (Image> Image Size) the image to the output size you would like. It is fine to upscale a low resolution image before using this effect.
Step 2
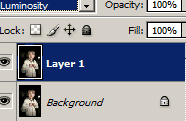
Duplicate the layer (Layer> Duplicate Layer or Ctrl+J) and change the blending mode of the new layer to Luminosity.
Step 3
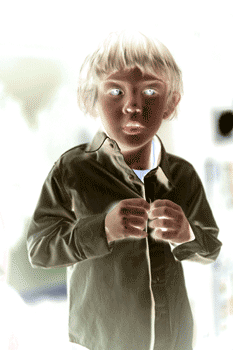
With the top layer selected, Invert (Image> Adjustments> Invert or Ctrl+I).
Step 4
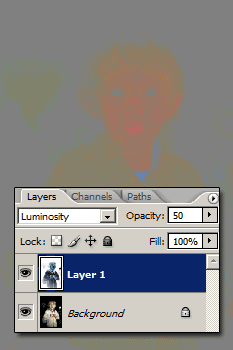
Reduce the opacity of the current layer to 50%.
Step 5
Press Ctrl+Shift+Alt+E to create a new layer of the visible and delete Layer 1.
Posterization
Now well add a posterize effect to the image.
Step 6
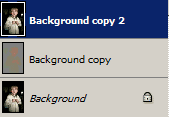
Activate the Background layer and duplicate the layer (Layer> Duplicate Layer or Ctrl+J). Move the new layer to the top.
Step 7
Change the blending mode of the new layer to Multiply.
Step 8
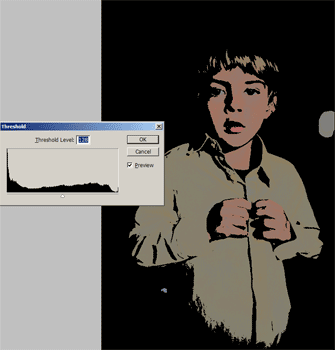
Select the top layer and open the Threshold tool (Image> Adjustments> Threshold). In the Threshold tool, drag the input slider towards the left or right to adjust the effect. Or if the default value of 128 is good enough, simply click OK.
Increase Saturation
Finally, we’ll increase the saturation as the final effect to create this pop art.
Step 9
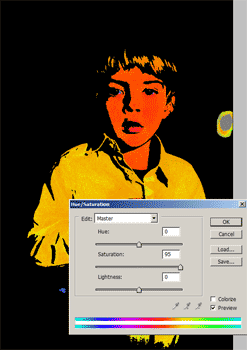
Select the middle layer and use the Hue/Saturation tool (Image>Adjustments>Hue/Saturation or Ctrl+U) to increase the saturation.
Final Results
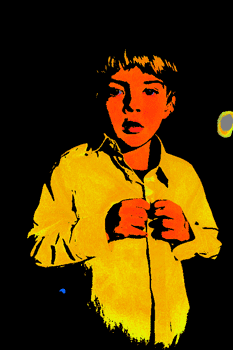
Rollover the image below to see the before and after effect

8 comments on “Pop Art”
cool
this is crazy
u didnt explain the luminosity bend on invert image layer only said about opacity
thanks
How can I change the background color?
excellent
Awesome, thank you!
Very cool-- many thanks!