Turn a woman into an alien by combining two photos. This tutorial will teach you several photo manipulation techniques for creating scary photo manipulations.
Alien Photo Manipulation Photoshop Tutorial
Preview of final results

Stock Photos
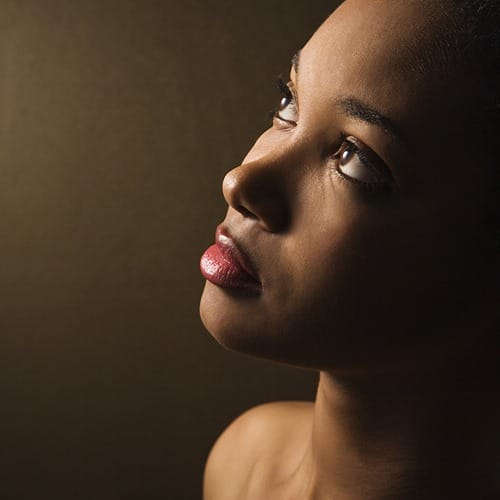
For this tutorial, you’ll need a photo of a persons head, octopus, and any grunge texture. If you like to use the same portrait of the face used in this tutorial, you may click on the image below to purchase it. Note that we only have the download link for the image of the woman.
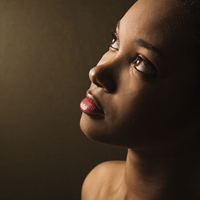
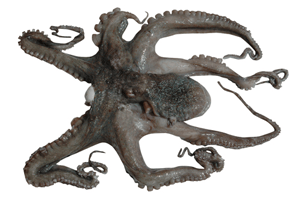
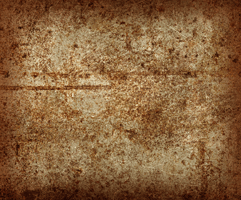
Step 1 – Open the octopus photo
Begin by loading the image of the octopus.

Step 2 – Detach an arm from the octopus
First, delete the white background. To do this, use the magic wand tool to create a selection of the white background then press delete on your keyboard to remove the background. Select the lasso tool and create a selection of one of the arm. Then, press Ctrl+J to create a new layer with the selected areas as its content.

Step 3 – Combine several arms together
Repeat the previous step several times until you get about five arms. They should each be on their own layers. Start by using the transform tool (Edit > Free Transform) to rotate, resize, and position them together like the image below. Add a layer mask to each of the layers then, with a soft brush, erase in the layer mask to blend the arms together.
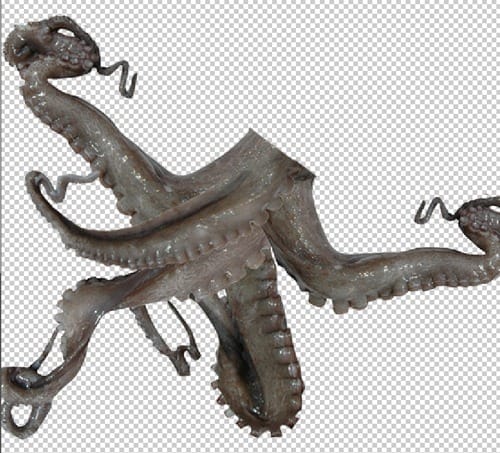
Step 4 – Combine the octopus arms with the portrait photo
On the document with the octopus arm, copy the entire image into the clipboard. To do this, press Ctrl+A to select all then press Shift+Ctrl+C to copy merged. Open the portrait photo then press Ctrl+V to paste the octopus arms. Position it on the mouth. Add a layer mask to the layer with the octopus arms then, using a brush with a hardness setting of 0%, erase the edge slightly to blend it with the face.
Step 5 – Manipulate the eyes
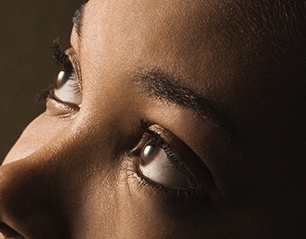
Now let’s work on the eyes. Start by using the clone stamp tool to distort the eye. Hold the Alt key and click on a white area then click in the colored area.
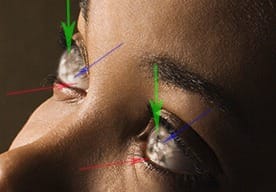
Use the dodge and burn tools to manipulate the eyes further. Start with the burn tool to create small holes then use the dodge tool to add some highlights. Use your creativity and don’t worry too much about how it looks.
Step 6 – Apply a color effect with adjustment layers
Choose Layer > New Adjustment Layer > Curves to add a new curves adjustment layer. Use the curves adjustment layer to make the image a little darker.
6 responses to “Alien Photo Manipulation”
-
I hated it
-
show full steps not half
-
Very important information for a Graphics Designer. thaks a lot to share this tips
-
very nice tutorial… loved it… Thanks alot..
-
Hey!! no one just uses “v” for very! Jack! be a man and type it out
-
Yo
I don’t like how you made the instructions because it is v confusing. I loved this tutorial until you added in the marble overlay and it is v frustrating.
Thanks
yur not special


Leave a Reply