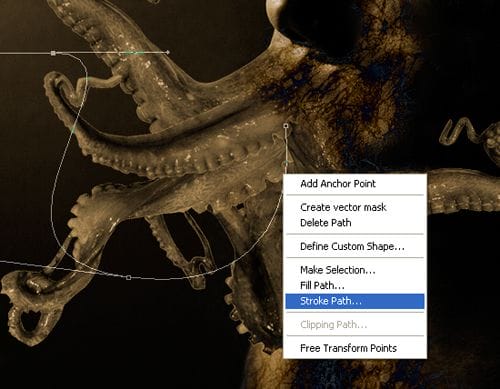
Right click again and choose delete path. Repeat this step to add as many abstract lines as you like.
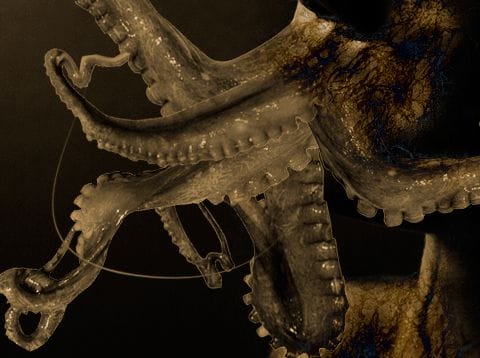
Step 10 – Add highlights to the arms
It is helpful to have a pen tablet for adding highlights but this will work with a regular mouse too. We’ll create highlights by painting a thin white line.
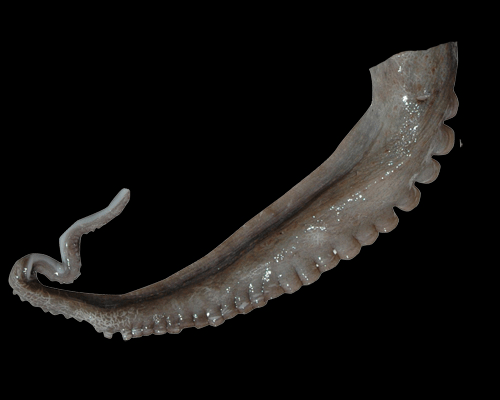
Start by painting a line through the shape of the arm.
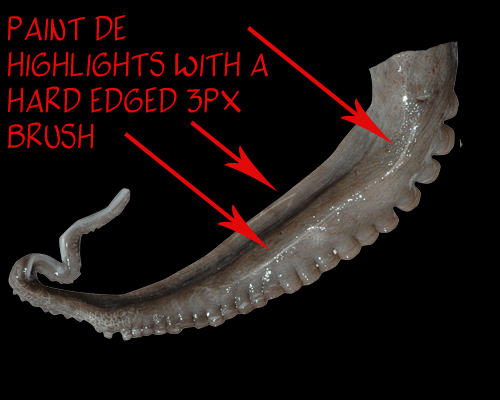
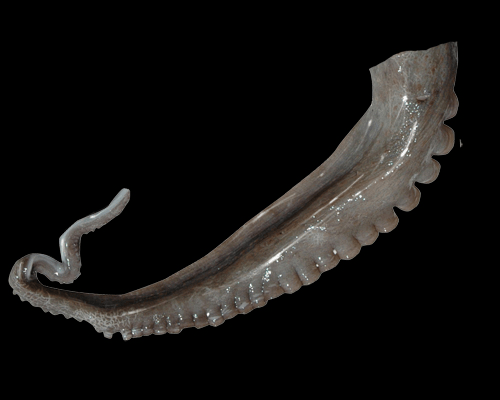
Here’s what our image looks like after adding some highlights”:
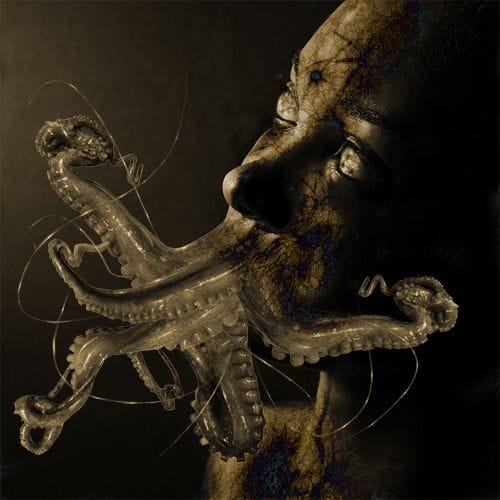
Step 11 – Enhance the arms
Select the burn tool and set the brush to a big and soft edged brush. Change the range in the option bar to highlights then paint the edges of the arms to make it darker.
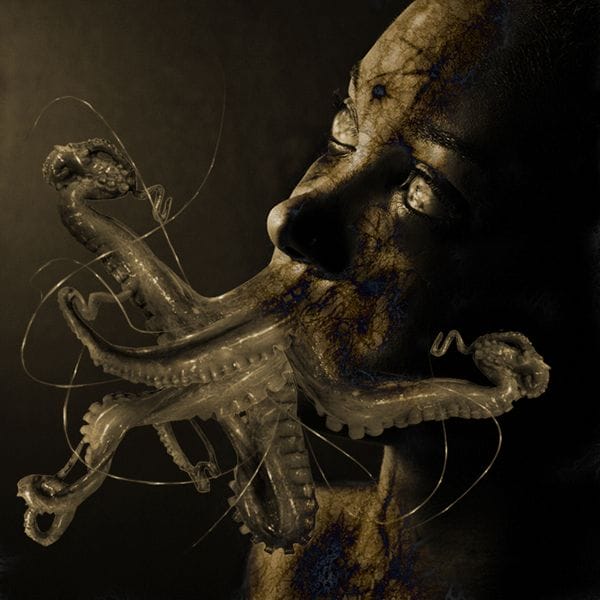
Now change the range to midtones and paint some shadows.
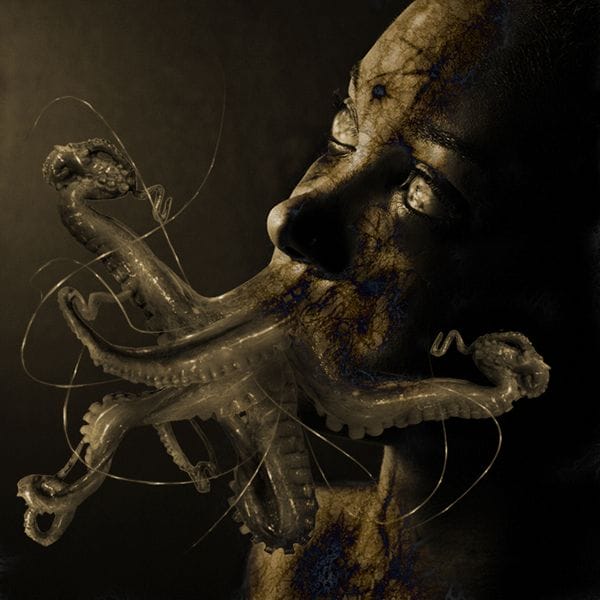
Now change the range to shadows and burn the areas that you feel needs to be darker to add depth.
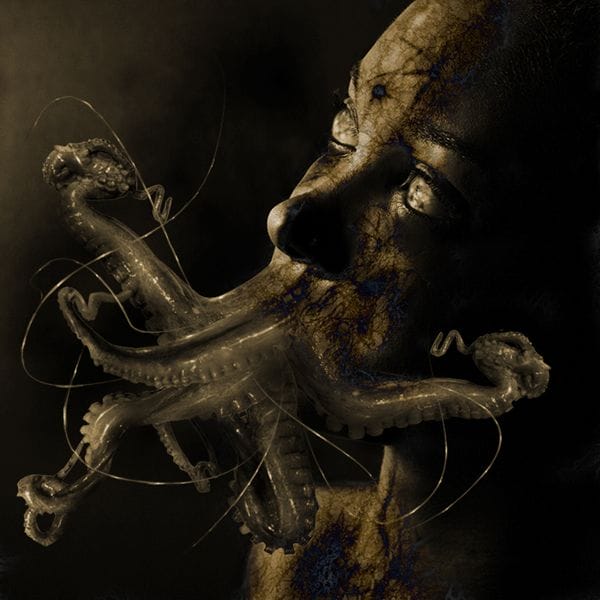
Step 12 – Add a rusty grunge texture
Open the image of the rusty texture and place it into the image of the alien. To do this, choose Select > All then Edit > Copy. Close the image of the texture to go back to the alien image. Choose Edit > Paste to paste the texture as a new layer.
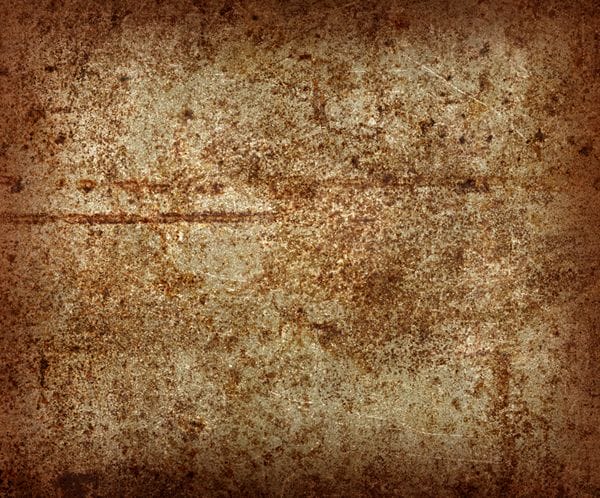
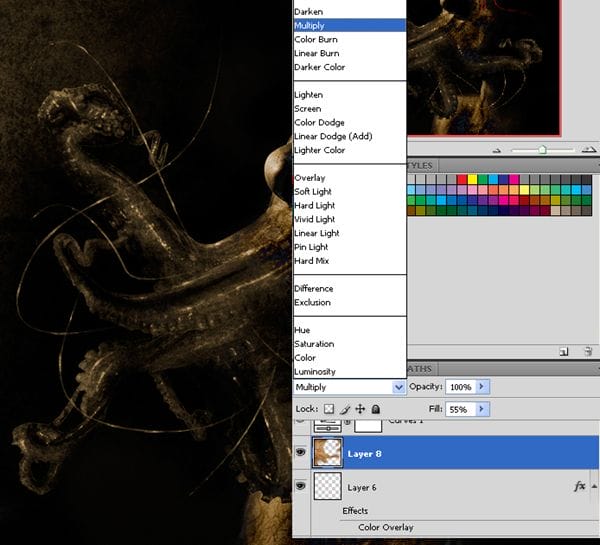
Change the blending mode to multiply then use the erase tool to erase the areas around the face so that the texture only affects the background.
Final Results
Here is our completed image. We added more red abstract lines on the eyes using the same technique in step 9.

6 responses to “Alien Photo Manipulation”
-
I hated it
-
show full steps not half
-
Very important information for a Graphics Designer. thaks a lot to share this tips
-
very nice tutorial… loved it… Thanks alot..
-
Hey!! no one just uses “v” for very! Jack! be a man and type it out
-
Yo
I don’t like how you made the instructions because it is v confusing. I loved this tutorial until you added in the marble overlay and it is v frustrating.
Thanks
yur not special


Leave a Reply