Turn any photo into a dot grid artwork with these Photoshop actions. You'll get great results with dots that change size. They get larger in brighter areas and smaller in darker areas. Free download available.
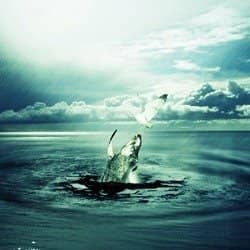
Learn how to create this photo manipulation using five stock photos. The final results is of a hungry whale stealing a goldfish from a seagull. This tutorial will show you how to combine stock photos, apply a rain effect, then finish it off with a dramatic photo effect.
Preview of Final Results
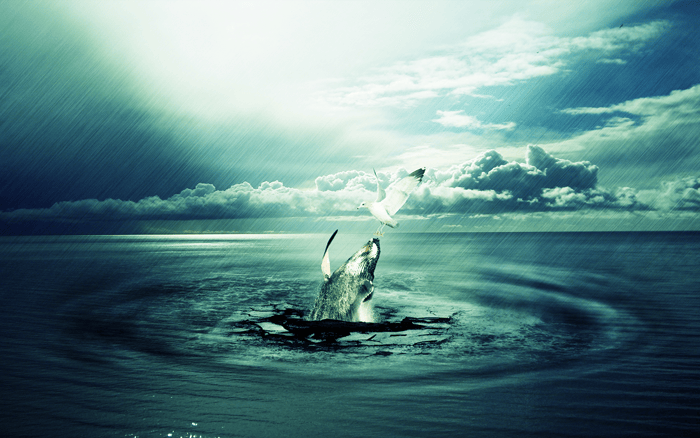
Whale Stealing from a Seagull Photoshop Tutorial
Resources
- Crack Brushes TWENSTUDIO
- WaterFalls Brushes TWENSTUDIO
- Bird - Larry Ye | Dreamstime.com
- Fish - yoink | sxc.hu
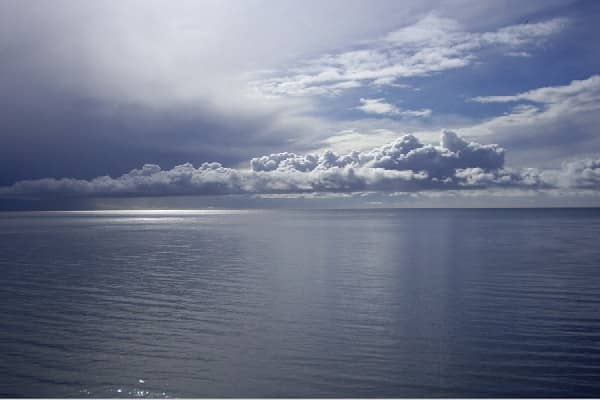
- Sea - Patricia Aline Willis | Stockvault.net
- Whale - BrettAtkins | istockphoto.com
Step 1
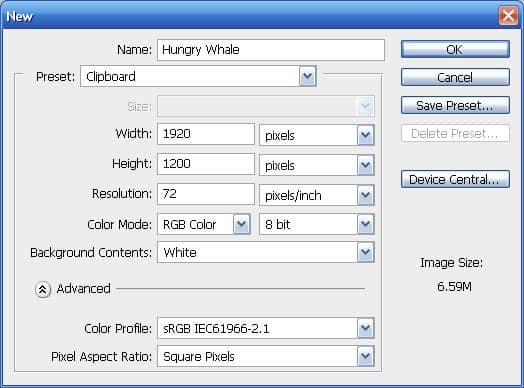
Create a new document using Photoshop with the following dimensions: 1920 X 1200 Pixel. Make sure to remove the lock option from the background and rename it to: Bg.
Step 2
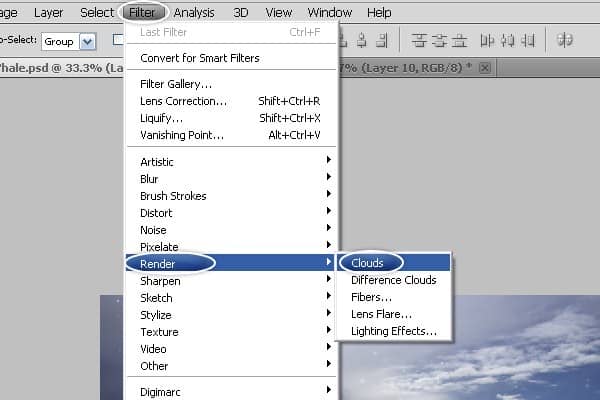
Create new layer and call it Vortex. Afterwards, apply effect Clouds using those steps: Filter > Render > Clouds. .
Step 3
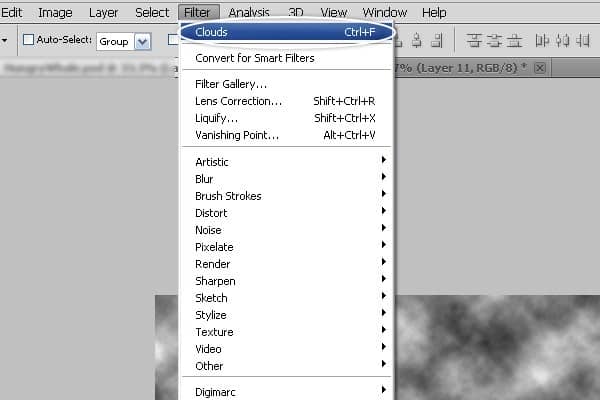
Use the same steps to apply the effect again by clicking CTRL+F or Filter > Clouds.
Step 4
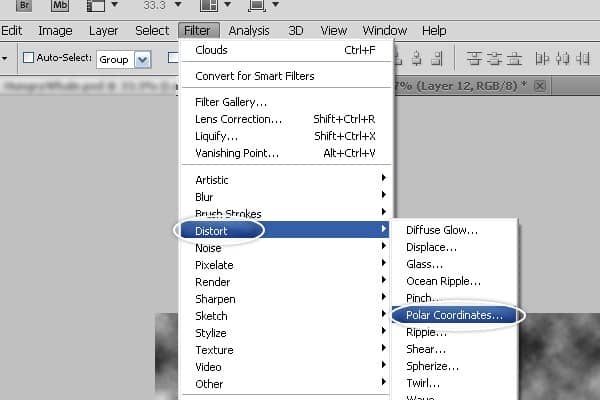
Next, convert Clouds to Vortex with Filter > Distor > Polar Coordinates.
Step 5
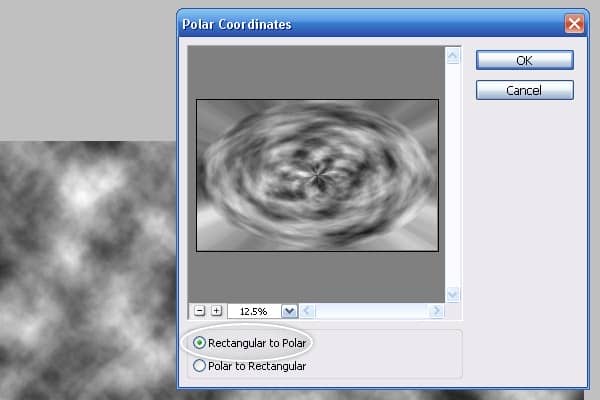
Select Rectangular to Polar and Click Ok!.
Step 6
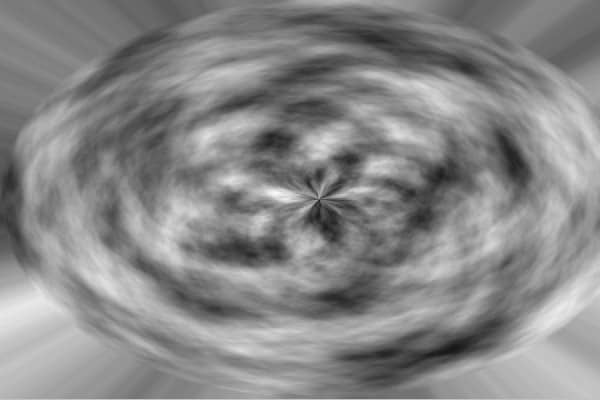
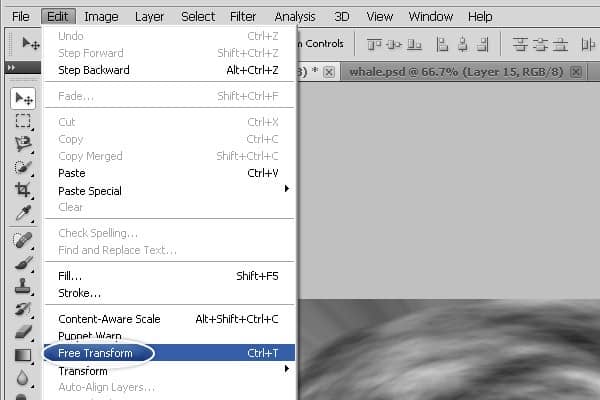
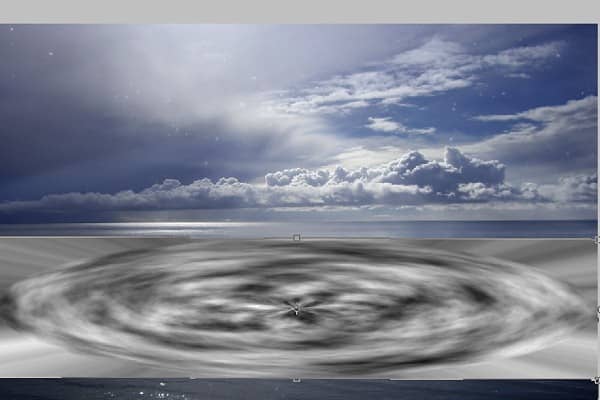
Change the Vortex size Layer by clicking Edit > Free Transfrom or CTRL+T..
Step 7
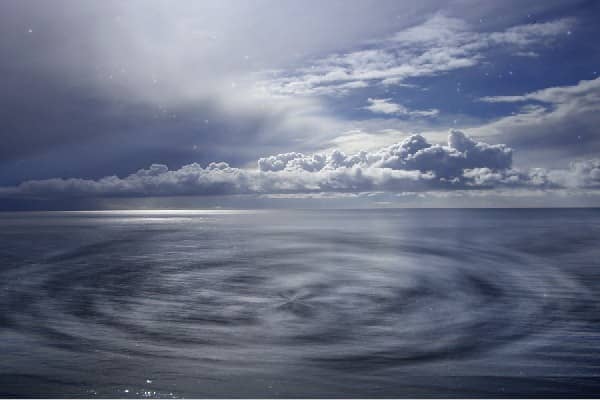
Change mode to Soft Light.
Step 8
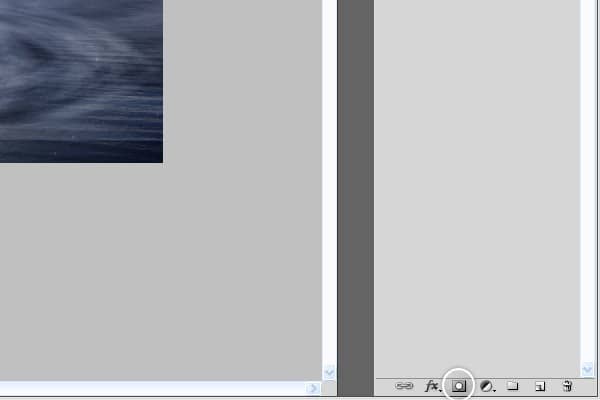
Add new mask to Layer Vortex.
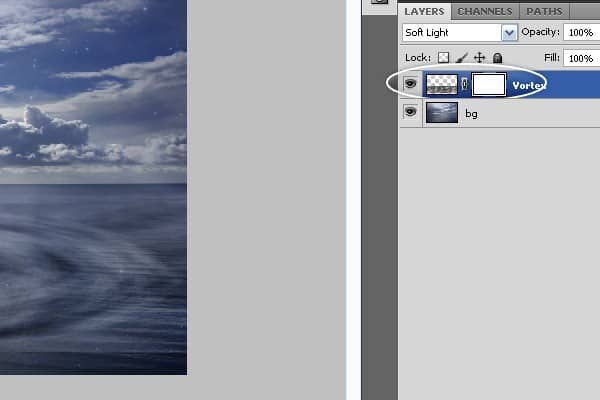
Step 9
Select Brush Tool and remove Edges by following the steps.
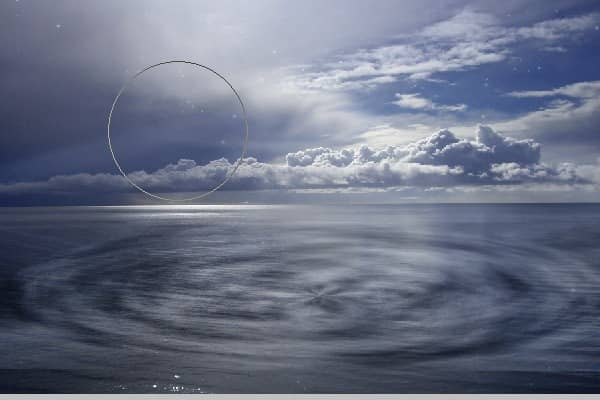
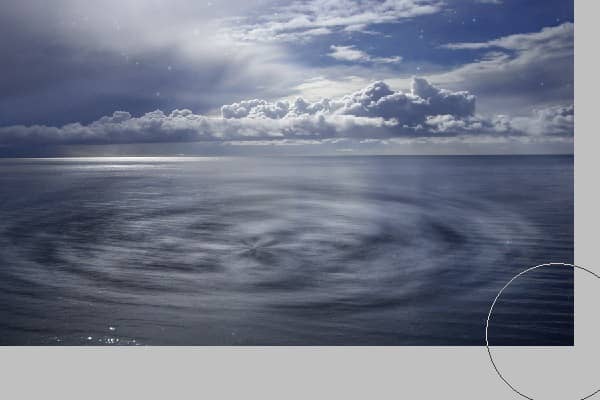
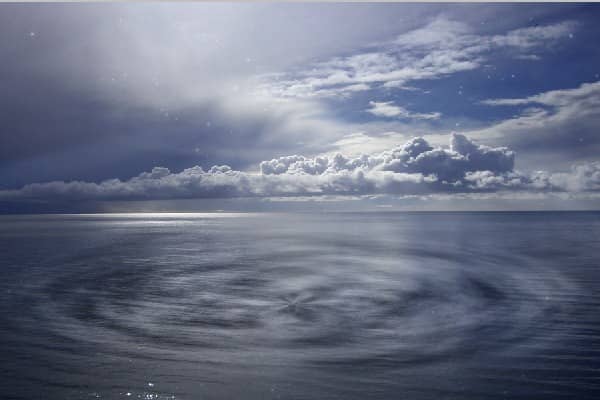
Step 10
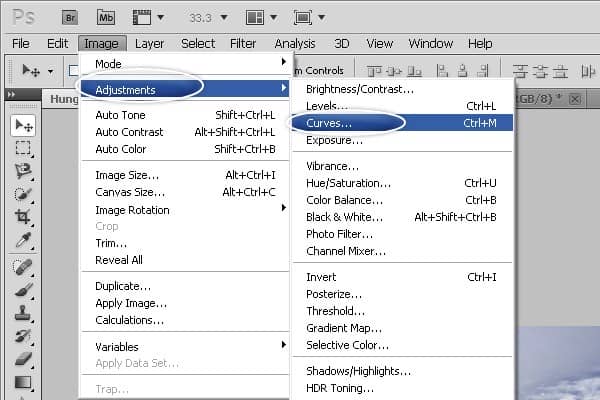
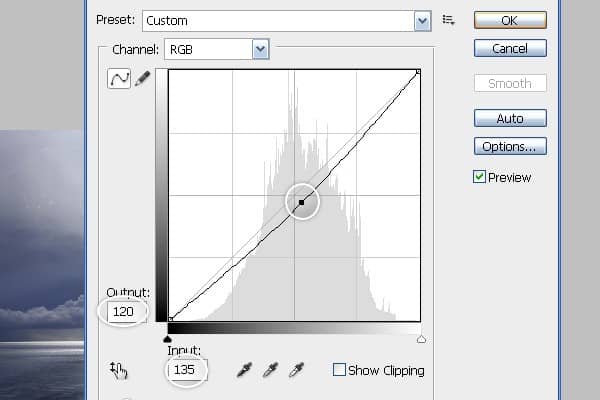
Let's make Vortex little dark go to Image > Adjustments > Curves or CTRL+M .
Step 11
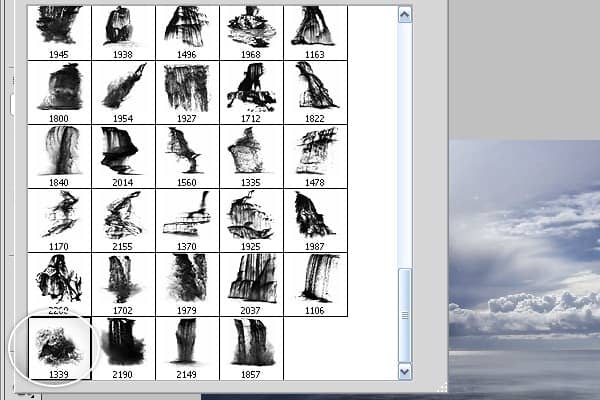
Press B and Select Waterfalls Brush number 1339.
Step 12
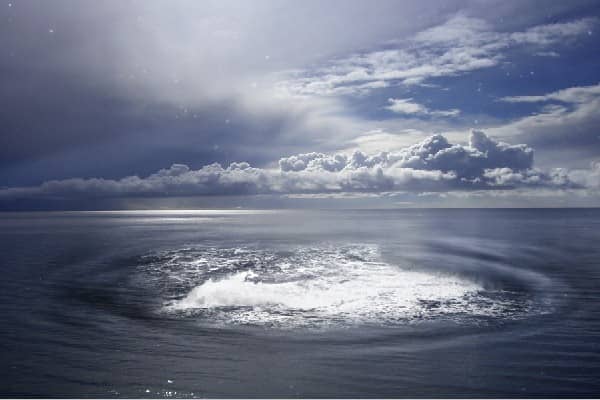
Change Mode to Soft Light.
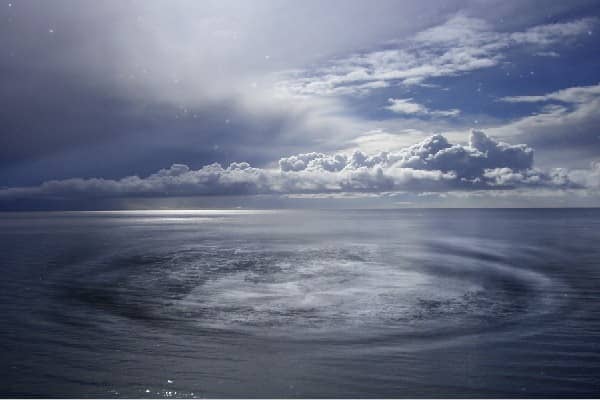
Step 13
Let's add some Crack to work. you can use Crack Brush or just a Picture. copy and paste into project and Press CTRL+T or Edit > Free Transfrom.
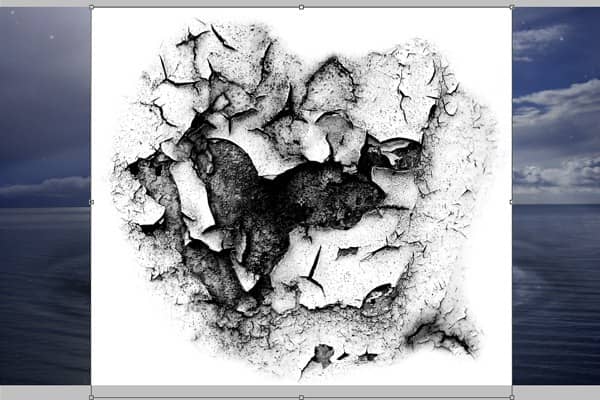
Step 14
Follow the same steps and do the same thing as I did before with the Vortex.
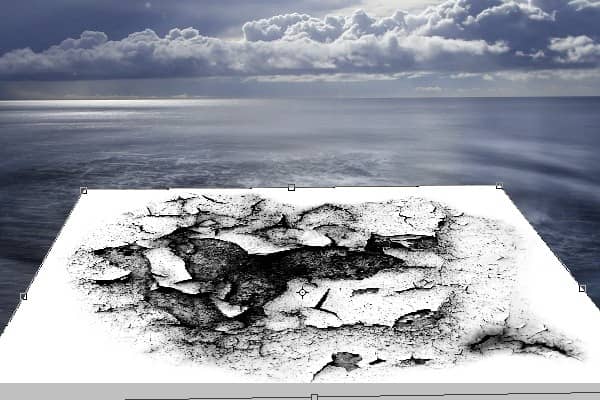
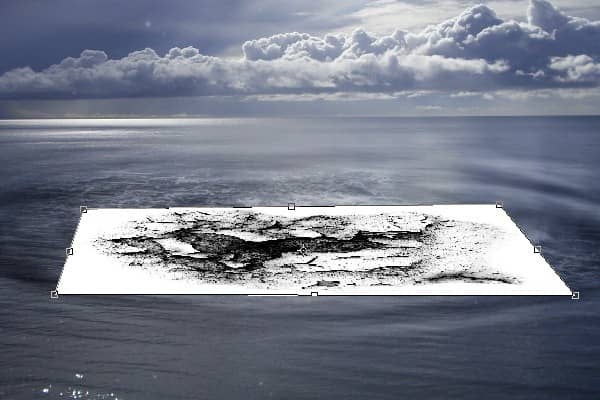
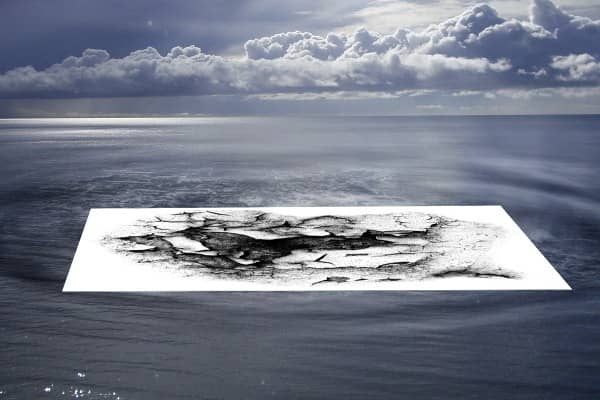
Step 15
Change Mode to Color Burn.
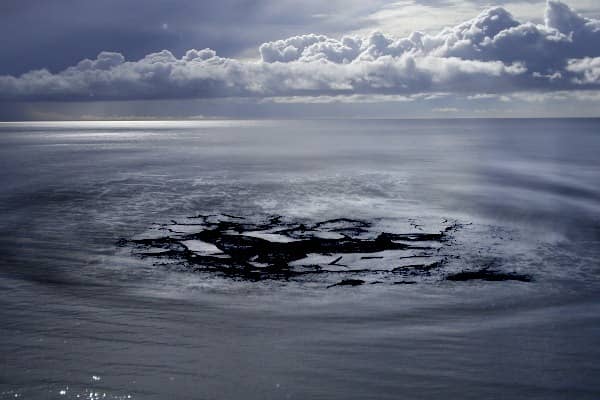
Step 16
Add new Mask to Crack Layer.
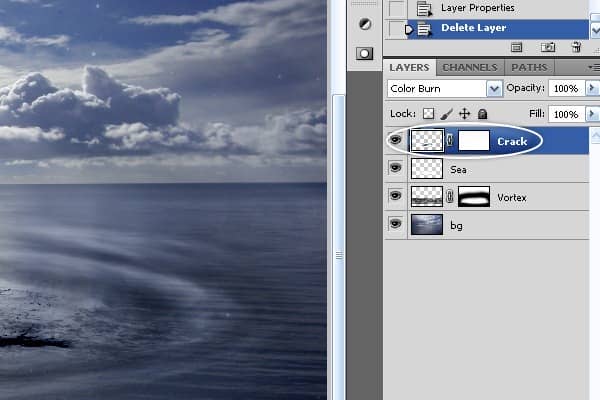
Step 17
Select Soft Brush and remove Edges from Crack.
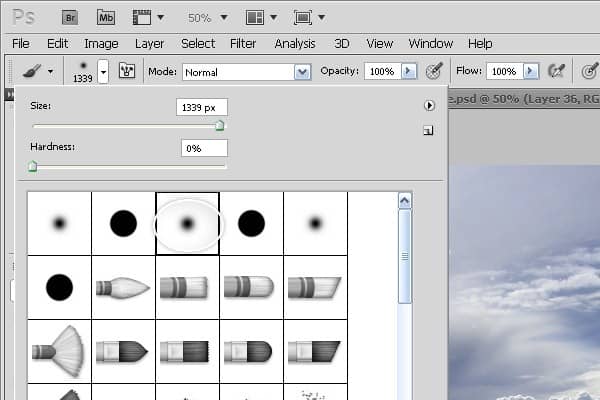
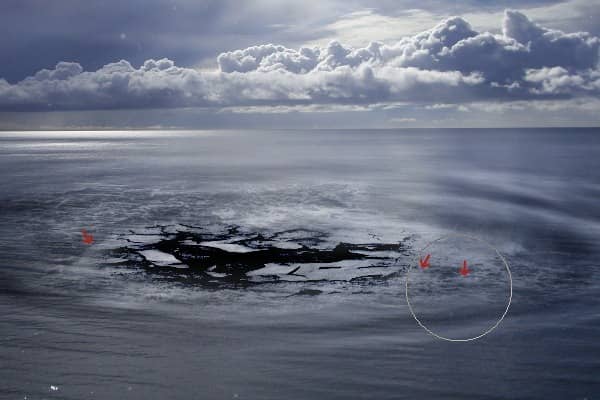
Step 18
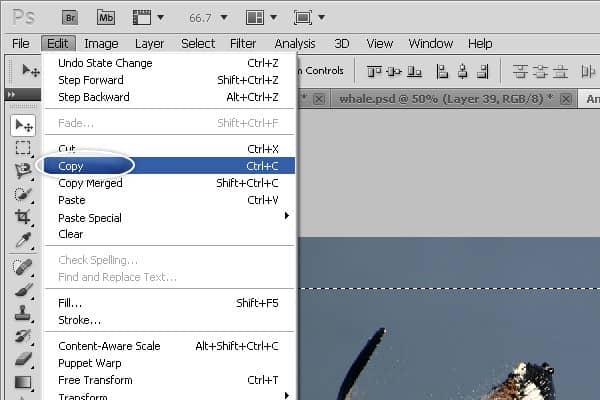
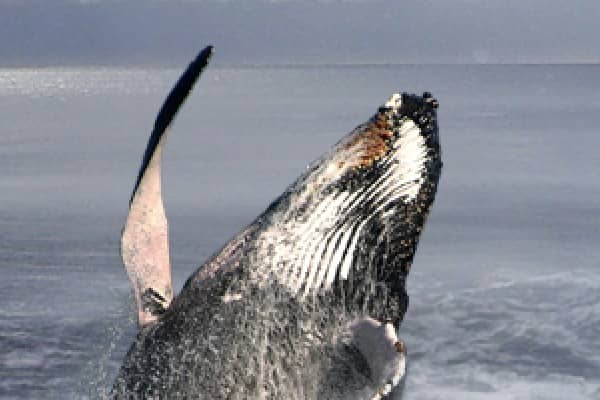
Open the whale picture and Select just part of it. Copy and paste into Project.
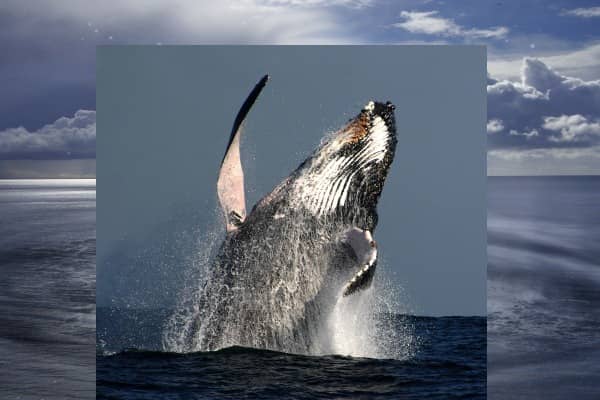
Step 19
Change the size of the whale to small by clicking CTRL+T
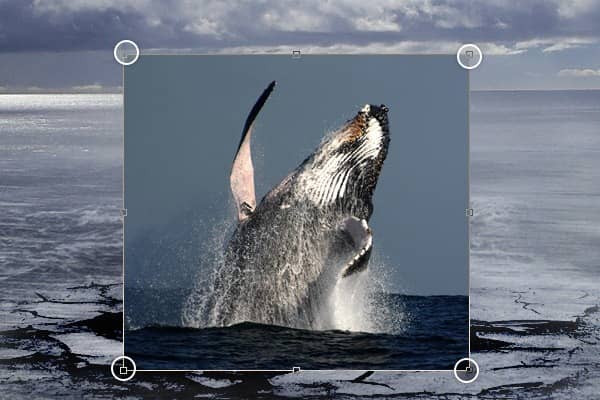
Step 20
Add new Mask to whale layer.
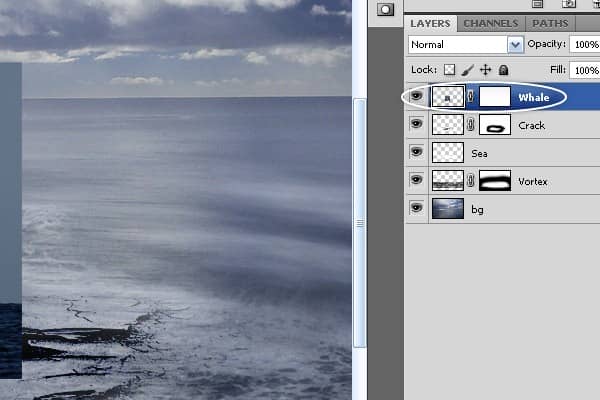
Step 21
With your Brush tool remove the background from the Whale's picture.
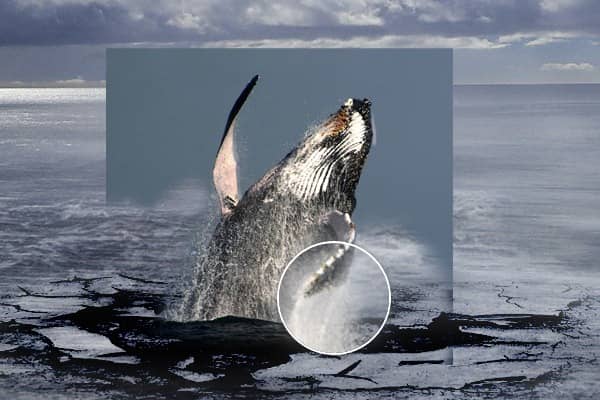
Step 22
After doing an amazing job with the whale, let's Open the Bird picture.
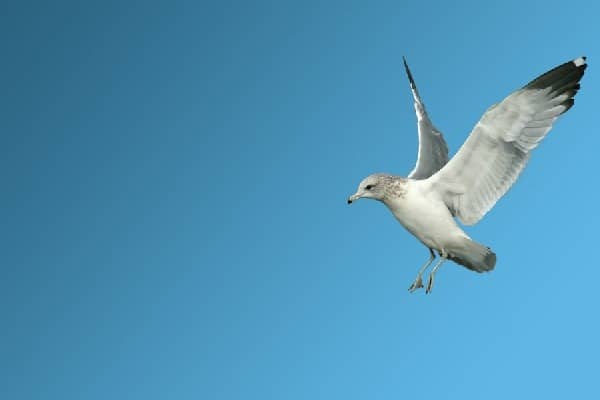
Step 23.
Let's Remove the background from the Bird's image! it's an easy process. just follow my foot steps and you'll do great!!!! First Make sure you Remove the Lock from the Background. to remove the lock from the background press ALT+Double Click on the Background, right?!! Looks like everything is ok right now. So let's remove it with Select > Color Range.
Step 24
Select a white Color from the Background and make sure you apply this settings.

Step 25
Now go to Select > Inverse.


Step 26
Add new Mask Under the Box Layers.


Step 27
now let's remove the mask from the layer. drag the mask to the buttons and delete the layers follow the images.


Step 28
Copy and paste the new Bird to your main Project with the wheal on it!.

Step 29
You're doing great!!! Now, Open the Fish Image.

Step 30
Let's Remove the Background From the Fish image but First let's make sure you remove the lock from background. Select layer fish and go to channels and Select Channel Blue or you cat just Press CTRL+5.

Step 31.
Now do the same thing as I did with the Bird Image. Select > Color Range and Select color from background. Inverse Layer.


Step 32
Go back to channels and select RGB Channel or Press CTRL+2.

Step 33
Press Delete button on your Keyboard to remove background.

Step 34
Copy and paste the Fish image into your main project and Flip it with CTRL+T as you can see in the Pictures.


Step 35
Select Polygonal Lasso Tool and Add 4 Points in the Picture to make a Light Sun.


Step 36
Select Paint Bucket Tool and Fill the Layer with a White color.


Step 37
Add new mask to the light layer and Select a Soft Brush From Brush Tool and Remove some parts from the Light Layer or simply use Gradient Tool

Step 38
Change Mode to Soft Light and use the Opacity to 88%.

Step 39
Create another new Layer and Call it "Rain" and go to Edit > Fill or Press SHIFT+F5 then Select Use: 50% Gray and Click Ok.


Step 40
Let's add some Noise with Filter > Noise > Add Noise and Apply the Settings. Also don't forget to use 400% as a number of the noise| Distribution: Uniform | Monochromatic.
![step-070[1] step-070[1]](https://cdn.photoshoptutorials.ws/images/stories/cb37ce03e1fe_31C8/step-0701.jpg?strip=all&lossy=1&quality=70&webp=70&avif=70&w=1920&ssl=1)


Step 41
Now Let's Convert the Noise to some Rain. Go to Filter > Blur > Motion Blur and Apply the following settings: Angel: 45° | Distance: 58 Pixels.


Step 42
Change Mode to Overlay.

Step 43
Add a new Mask to the Rain Layer and let's Remove some part from the Layer as well. First Select Gradient Tool and make sure you Select Color Back with 0% Opacity.

Step 44
Now with Gradient Tool press and Drag little down.

Step 45
again do the same thing up to the top.

Step 46
You will get the amazing result as you see in the picture bellow

Step 47
Almost there!!! Create new layer and Call this layer Apply Image. now Apply the following settings: Image > Apply Image. don't change anything just Click Ok.


Step 48
Remove the Color From Layer with CTRL+SHIFT+U or Apply following settings Image > Adjustments > Desaturate.

Step 49
Change Mode to Soft Light and Opacity to 50%.

Step 50
It's time to add some effect with the Curves.

Step 51
Apply following settings RGB | Red | Green | Blue.


Step 52
We will have this Result afterwords!

Step 53
Create new layer and Call this layer Apply_Image_01 now Apply the following settings: Image > Apply Image. change the Channel: RGB to Blue.


Step 54
Change Mode to Soft Light and the Opacity to 25%.


Final Results
As difficult as it looks I'm very sure if you follow my tutorial you will find a lot of help using your skills and images to produce your own creation! Ones again Thank you for using our tutorial, we will be very happy to answer any questions that you may have, You can simply leave a feedback and or a comment bellow.
![final-results[1] final-results[1]](https://cdn.photoshoptutorials.ws/images/stories/cb37ce03e1fe_31C8/final-results1.png?strip=all&lossy=1&quality=70&webp=70&avif=70&w=1920&ssl=1)
Download the PSD
Hungry Whale.zip | 26.6 MB
3 comments on “Create a Dramatic Photo Manipulation of a Whale Stealing from a Seagull”
thanks alot
Awesome..!
wonderful. Thanx