

Luminar AI lets you turn your ideas into reality with powerful, intelligent AI. Download the photo editor and see how you can completely transform your photos in a few clicks.

Step 64
On a new layer use same brush with with larger size to add more red to the symbol and model. Change the mode to Overlay 70%:

Step 65
Continue adding more red to the model neck, hip, waist and arm with same color but with Soft Light mode 100%:

Step 66
Make the hair redder with this brush, opacity 50% and Overlay mode 70%:

Step 67
Add more highlight to the hair with color #f9e665 and change the mode to Vivid Light 70%:

Step 68
Final step: Make a new layer and use Dodge and Burn to enhance light and contrast of model and wings:

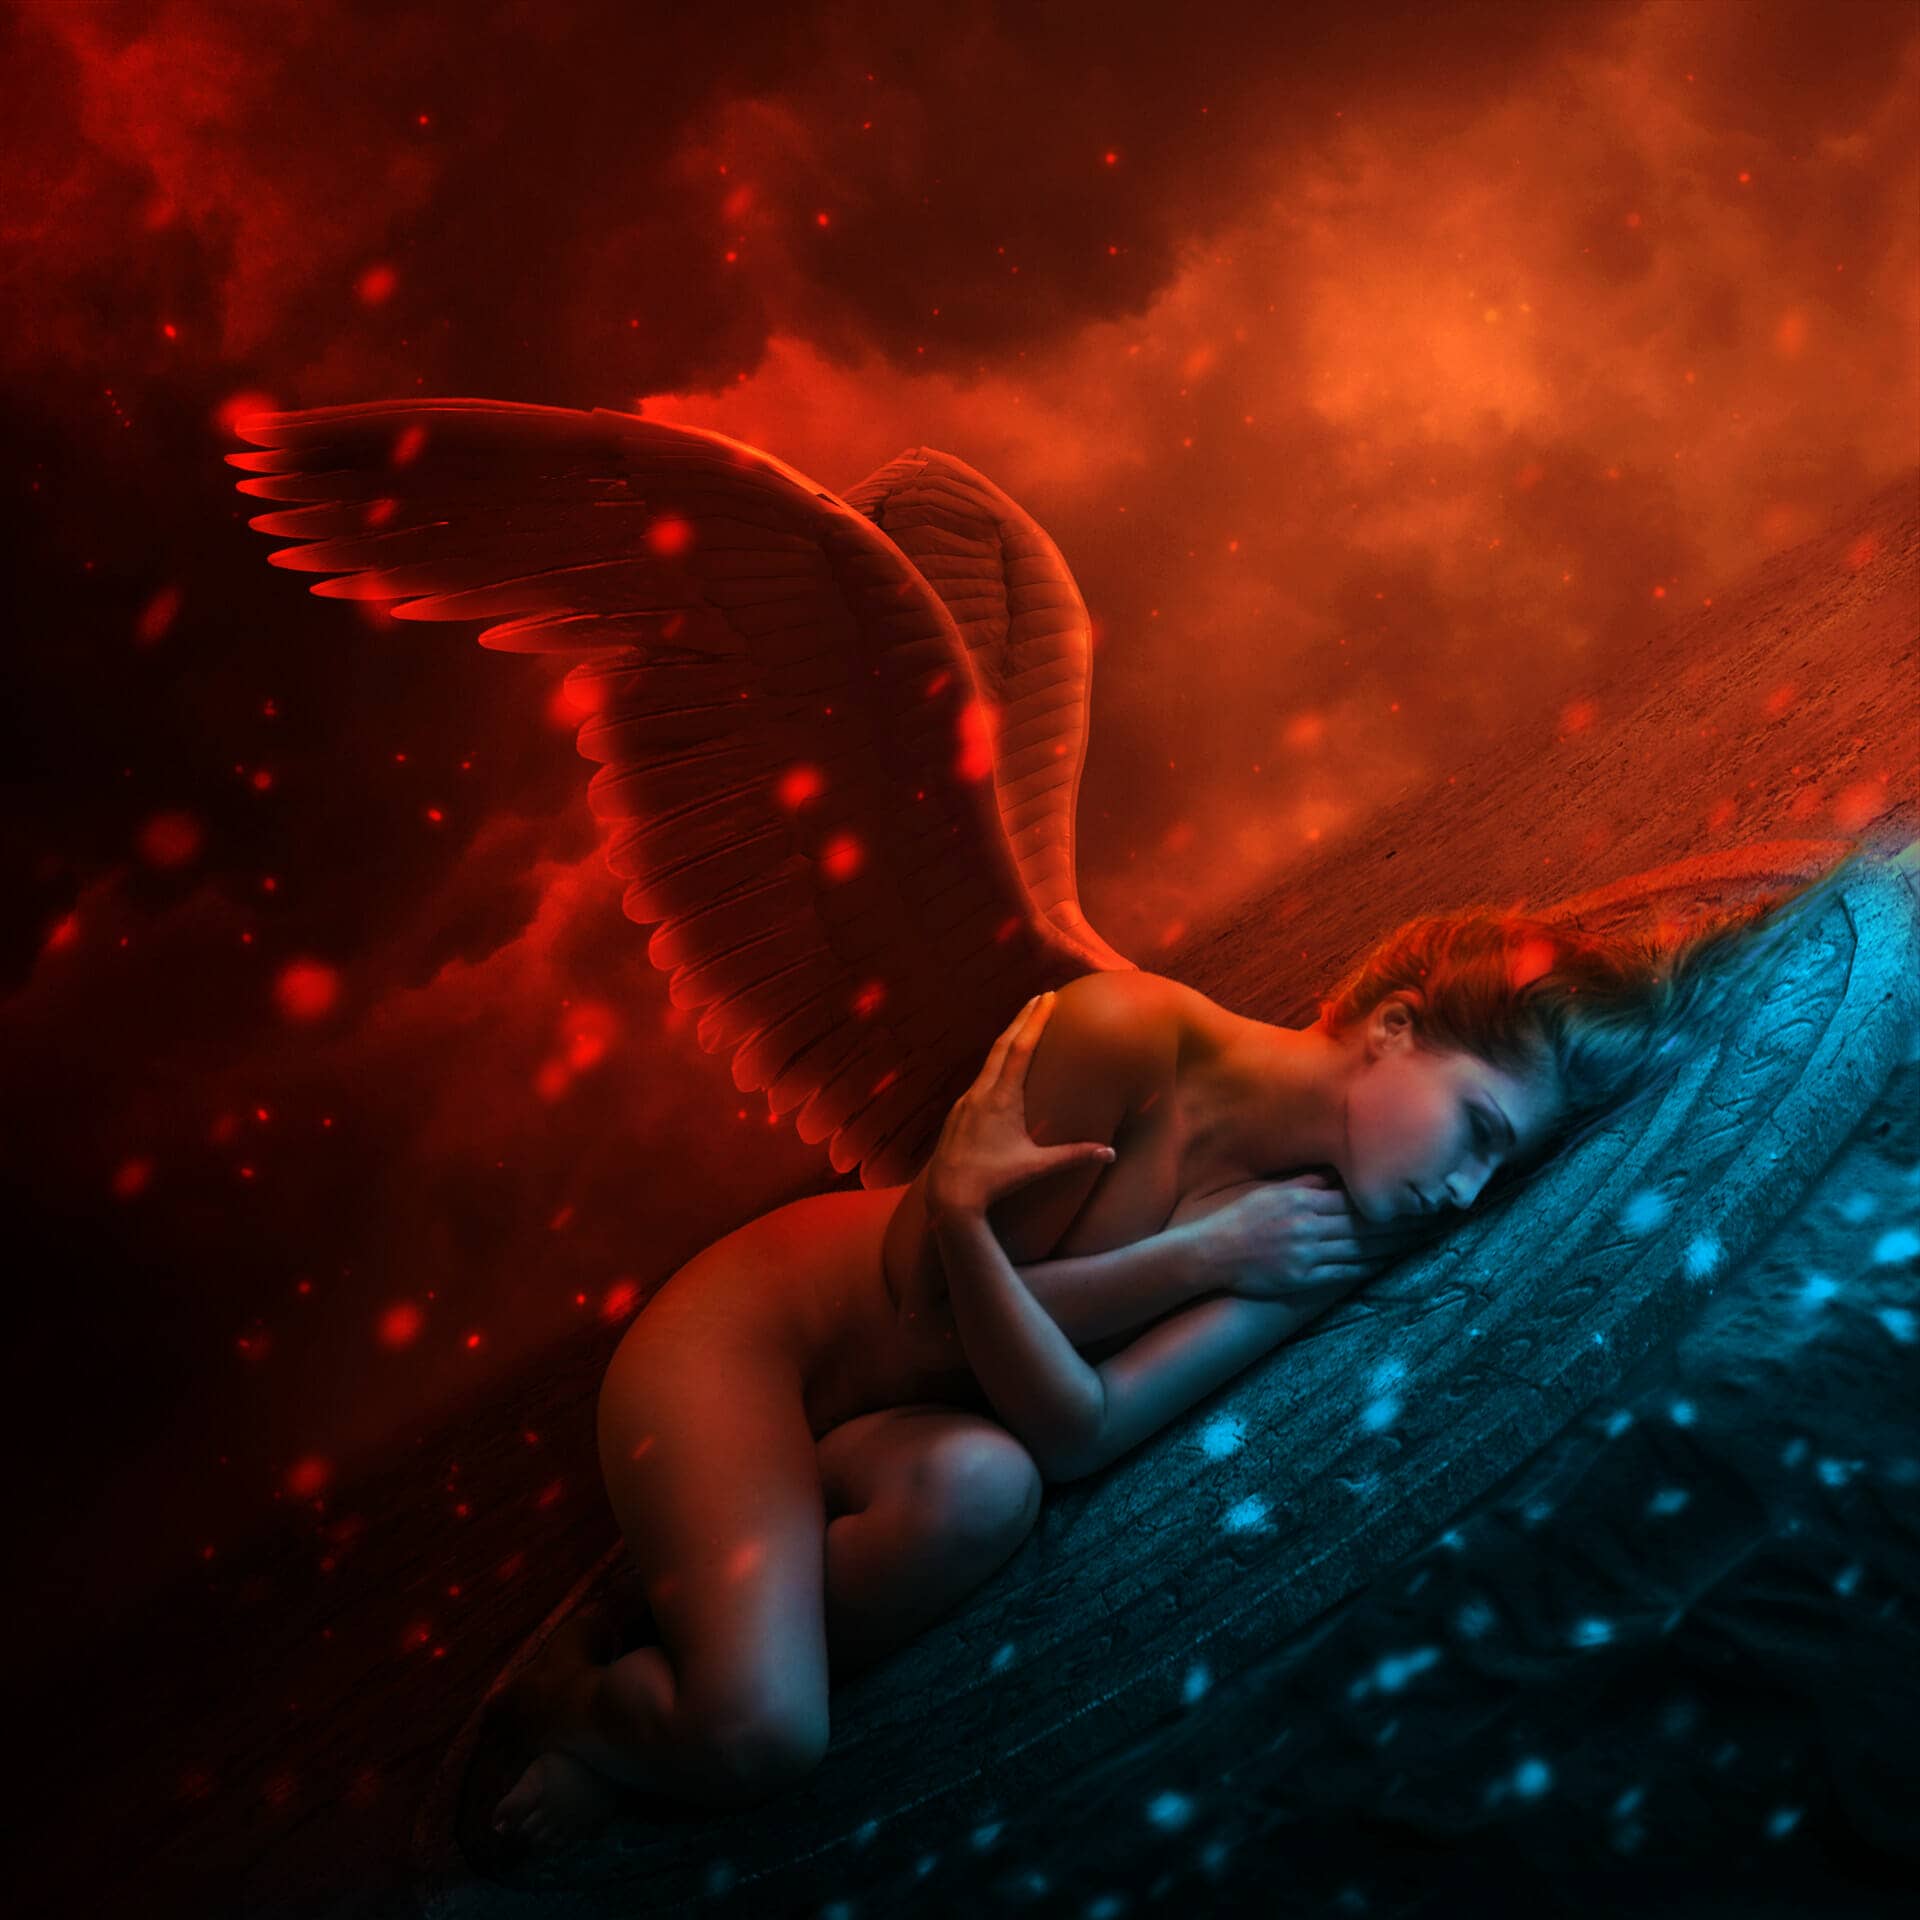
Final Results
![angel68-final[1]](https://cdn.photoshoptutorials.ws/wp-content/uploads/2014/01/angel68-final1.jpg?strip=all&lossy=1&quality=70&webp=70&avif=70&w=1920&ssl=1 "angel68-final[1]")
Download the PSD
Tutorial by Jenny Le
Thank you for reading this tutorial, I hope you enjoyed it. If you want to view my other arts and tutorials you can follow me on Facebook or visit my website . Enjoy photoshopping!
- Jenny
10 comments on “Create an Intense Fallen Angel Composition in Photoshop”
This is a great tutorial. The desert and wings stock links don't work but I found other ones to use.
Awesome Post. Lighting is most beautiful. Thanks for the Post.
So Good Tutorial Photoshop
where can i download files required
Hey Jenny,
Could I use this tutorial and create a front cover for my bands album? Thanks :)!
Thank you for this great tutorial that I tried:
http://cartes-mireilled.eklablog.com/composition-d-un-ange-dechu-avec-photoshop-a106623770
please give me download options
Nice tutorial
I love your tuts Jenny!
Beautiful work and tutorial!