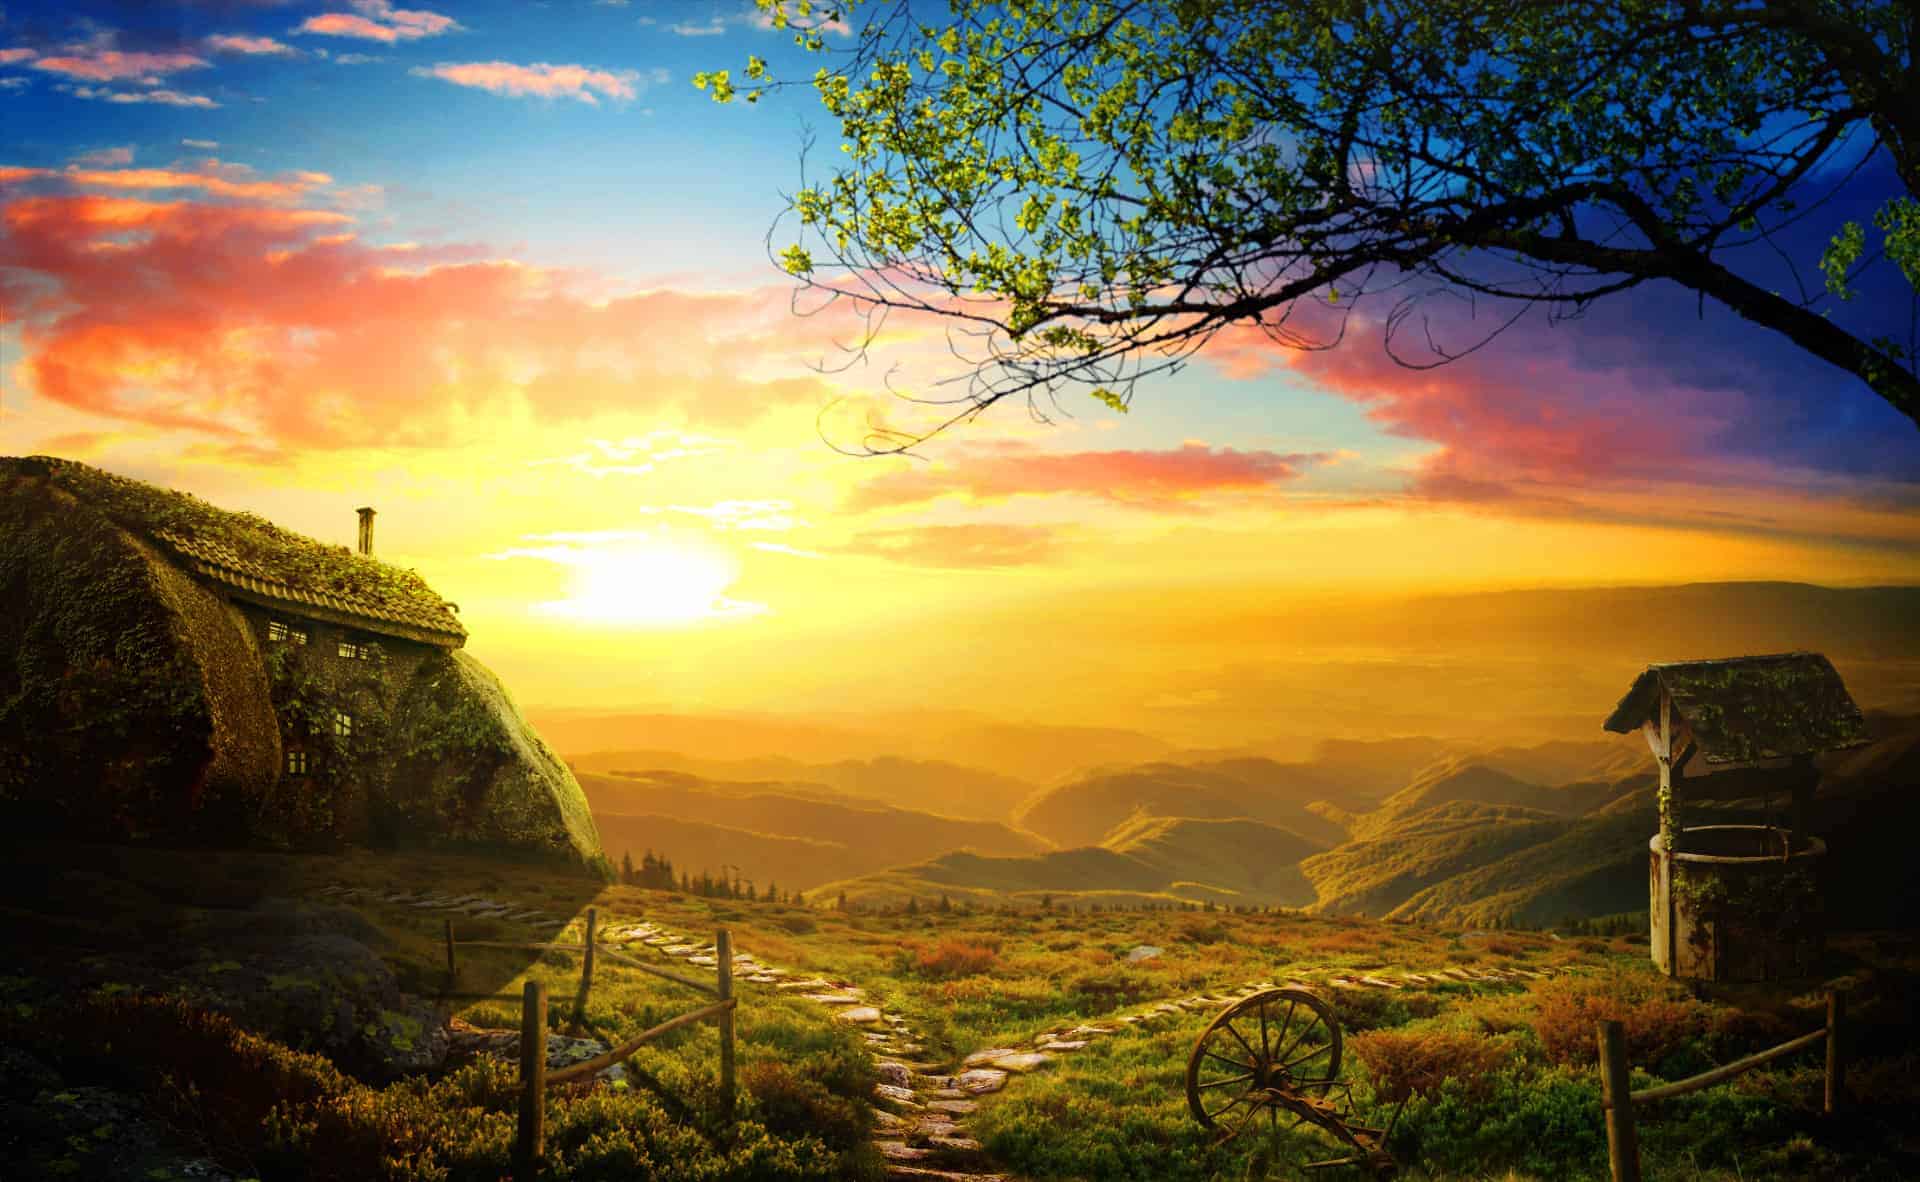
Make skin look perfect in one-click with these AI-powered Photoshop actions.
Preview of Final Results

Tutorial Resources
Step 1
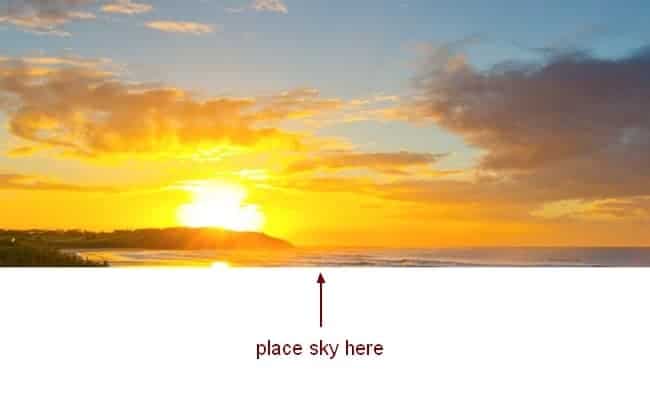
Create a new document with size 1300x800 px and fill it with white (or any color you like). Open sky stock. Use Retangular Marquee Tool to make a selection on sky part and use Move Tool (V) to drag it into our white canvas, place it at the top: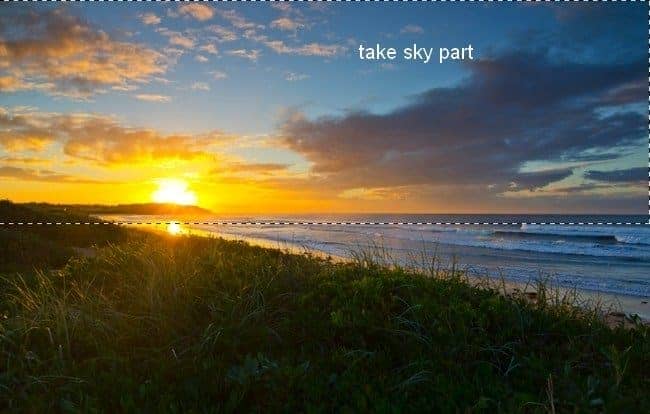
Step 2
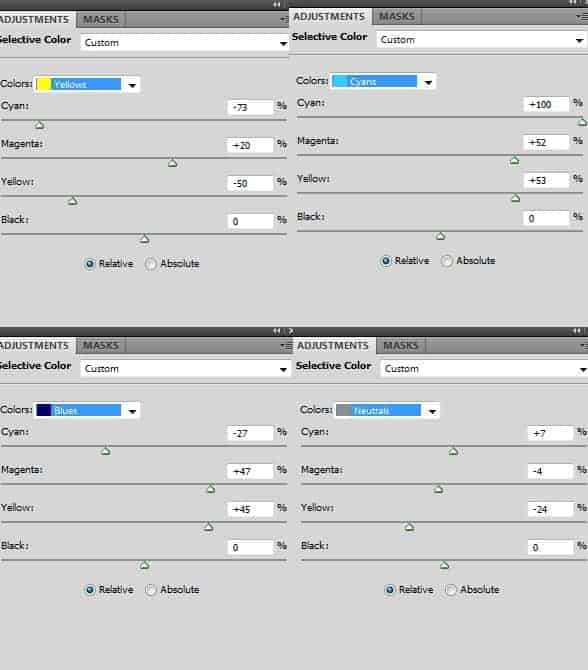
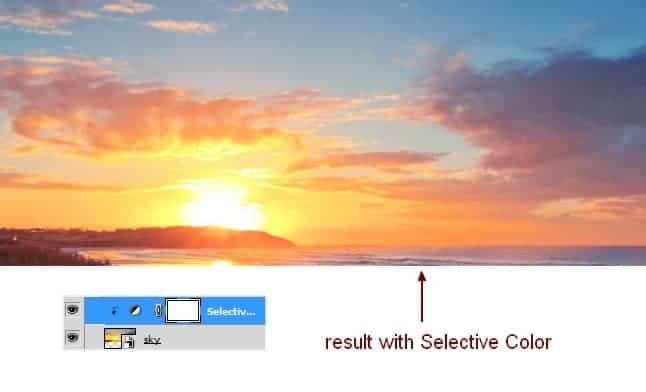
I use an adjustment layer with Clipping Mask to make colors of the sky richer and more vibrant. On sky layer, go to Layer-New Adjustment Layer-Selective Color: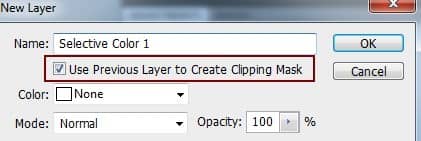
Step 3
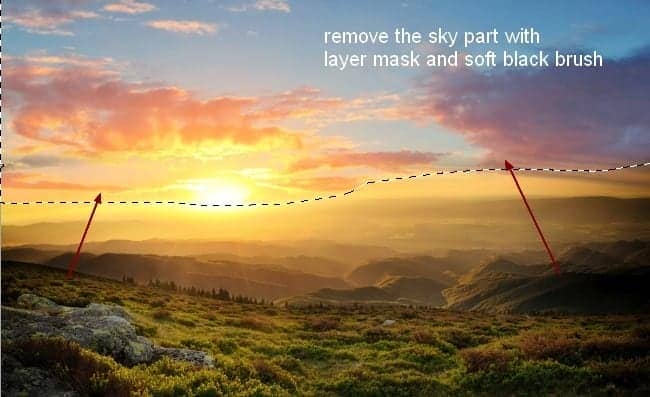
Drag landscape stock into our picture, convert it to Smart Object and use Cmd/Ctrl+T to resize it: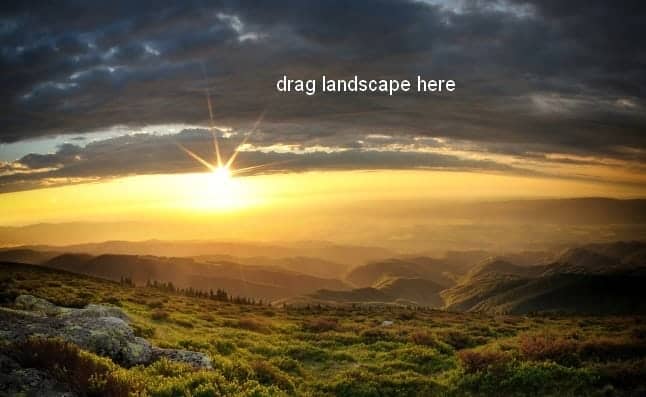
Step 4
I make a new layer with Clipping Mask and active Clone Tool (S). Use this tool to remove some light rays: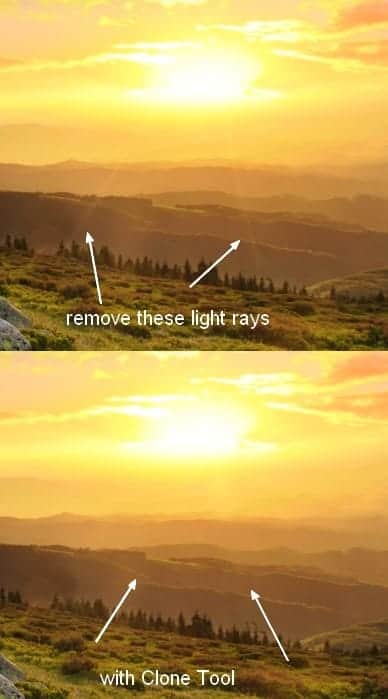
Step 5
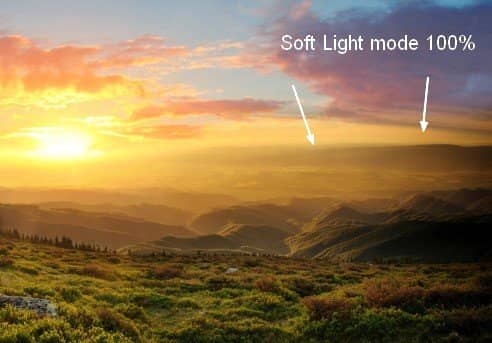
Make a new layer, I use soft brush with color #a97c3c to paint on the right side of the mountains to add more warm color to them. Then change the mode to Soft Light 100%: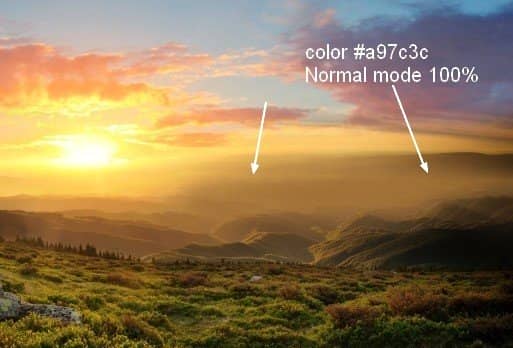
Step 6
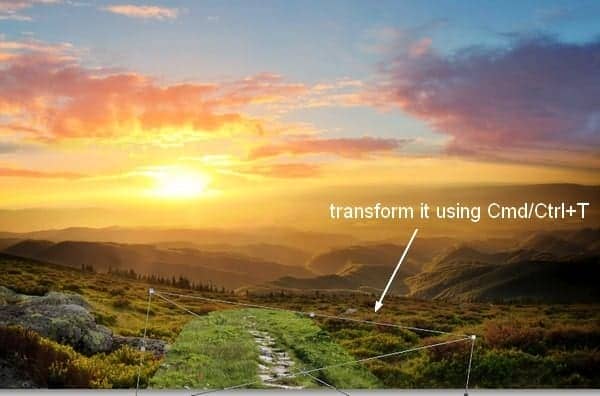
Open path stock. Copy path part and place it at the middle section of our image, transform to get a look below: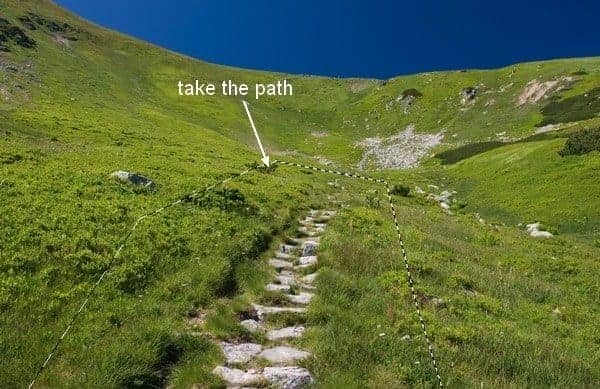
![sunrise6a[1] sunrise6a[1]](https://cdn.photoshoptutorials.ws/wp-content/uploads/2013/11/sunrise6a1.jpg?strip=all&lossy=1&quality=70&webp=70&avif=70&w=1920&ssl=1)
Step 7
Duplicate this layer four times, use Cmd/Ctrl+T and Warp Tool (Edit-Transform-Warp) and layer mask to make the path longer. You can see how I arranged them on the screenshot below: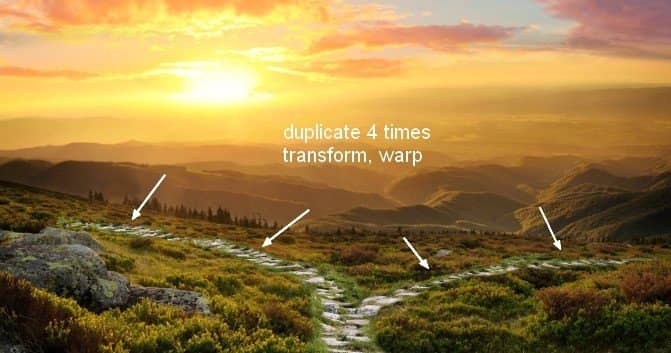
Step 8
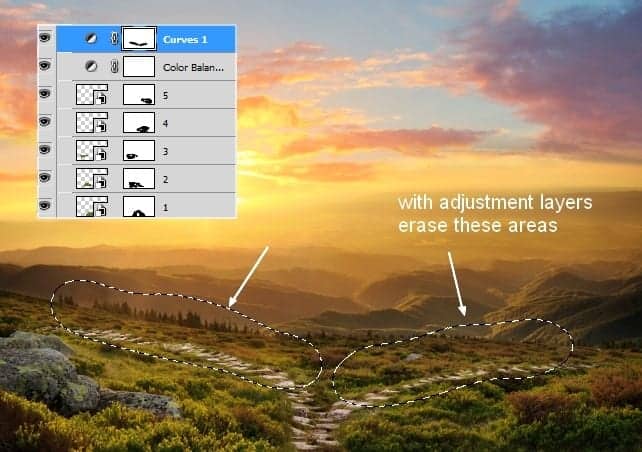
I add two adjustment layers within this group to match color and brightness of the paths with the rest.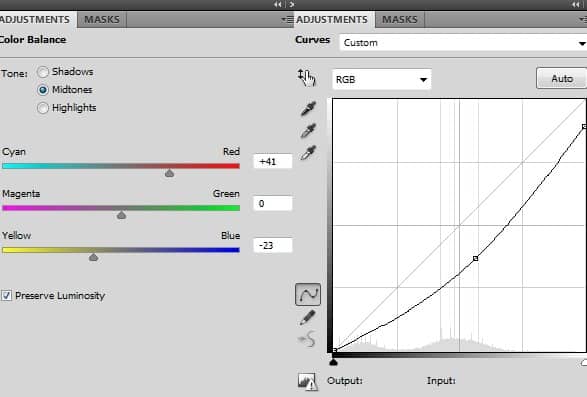
Step 9
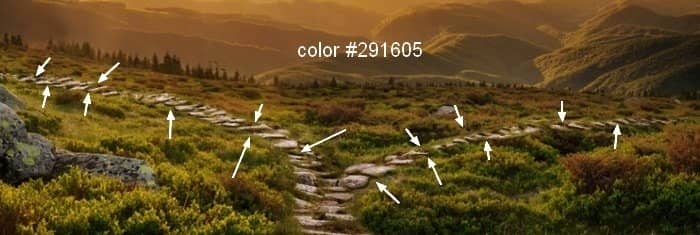
After transforming and warping, the path parts look a bit flat. To fix it, I make a new layer within this group, use brush with color #291605 to create the shades under the steps: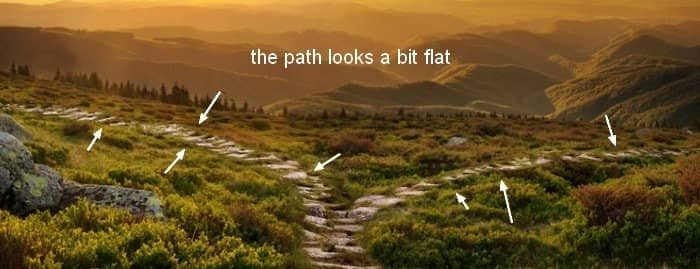
Step 10
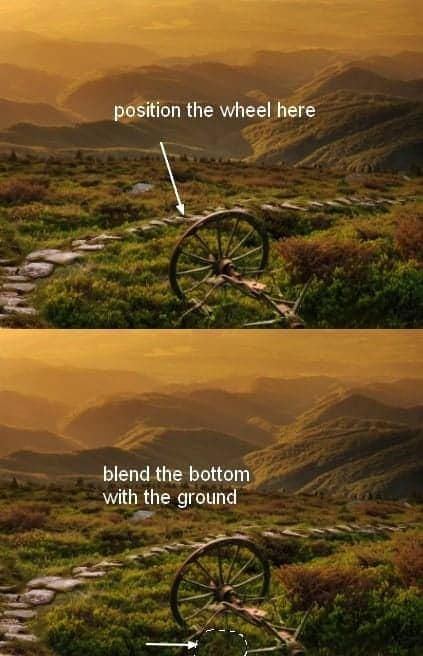
Open wheel stock. Extract this wheel part and place it at the right of the ground, convert to Smart Object and flip it horizontally (Edit-Transform-Flip Horizontal) and use layer mask to blend the bottom with the ground: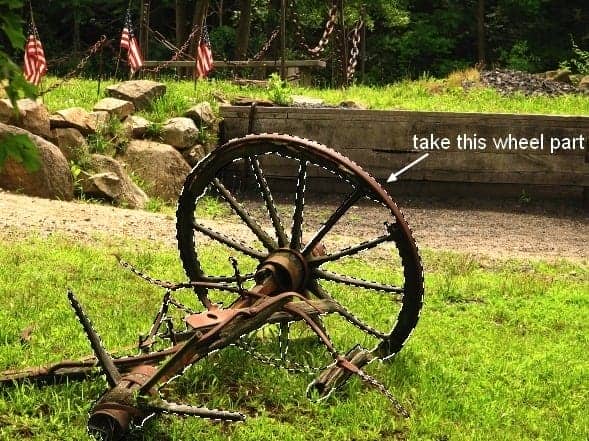
Step 11
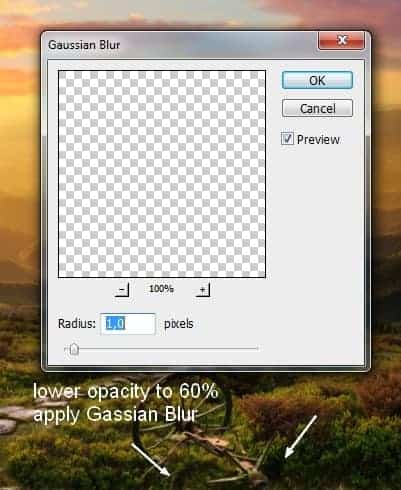
To make shadow of the wheel on the ground, I make a new layer under the wheel one. Hold the Cmd/Ctrl while clicking wheel thumbnail layer to load its selection: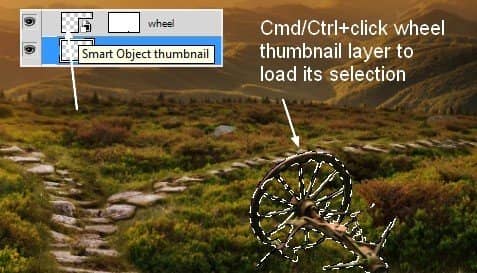

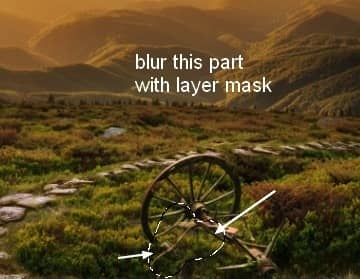
Step 12
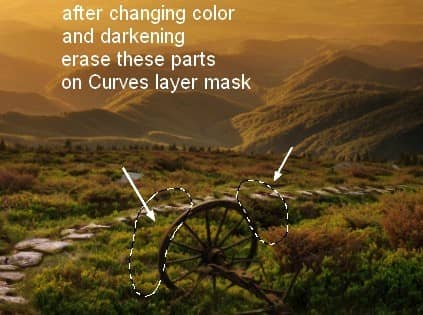
Make group for the wheel and its shadow, remember to change the mode to Normal 100%. Create some adjustment layers within this group to change color and darken the wheel: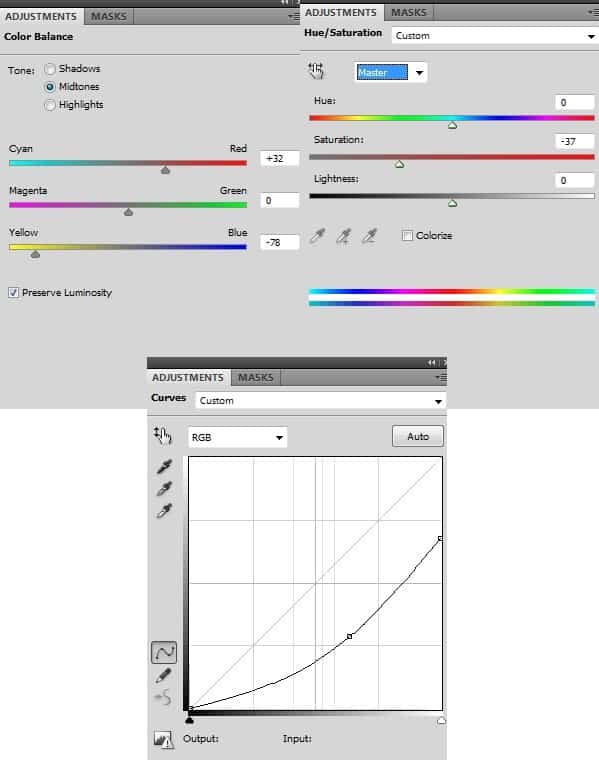


27 comments on “Create a Beautiful Sunrise Scene with an Old House”
man...this is some next level edit!
This is nice! I love your tutorials! Thank you!
Su
I started downloading everything so I could do this tutorial, even signed up for another site. But then it wants a credit card!! Sorry, not gonna happen.
So I deleted all the downloads and forgot about this tutorial.
Note to authors... just cause you're a member of a stock site, doesn't mean the rest of us want to be. Verify the images are truly free!
Wow, I love this. Thank you for a great tutorial!
wow amazing
Wow. Thank you for sharing this experience with us...........and for the challenge.Thanks Amazing designs, best of luck in your design career!
Wow! So cute, nice blog, I found it interesting. Thanks for sharing.
Thankyou very much.
Every link to sxc.hu redirects to a broken link on freeimages.com. Is there any way to find those images?
excelente
thank u! very much
Agreed with the stock photos. It's too hard to download them and easier to google it. On one hand, free stock photos are free. But on the other, they always disappear. So I am not sure whether I prefer paid or free stock photos. But I wish there are more tutorials where the writer provides their own so that there are no problems like these.
Sorry for multiples posts, but I found the picture on a wallpaper website.
http://www.stumbleupon.com/su/2gBZek/wallpapers-start.com/images/wallpapers/sunset-time-117525.jpeg/
I doubt he'll ever reply our request. He's selling the same pictures at shutterstock.
http://www.shutterstock.com/pic-120994354/stock-photo-majestic-sunset-over-the-little-mountain-peak-picture-is-made-from-frames-with-exposure-blending.html
ana nahab na3mal photo shop kifach na3mlahoum stp
photo shop
For the house google stone house Portugal and you'll find several pictures.
I have to agree with other viewers regarding the images used. I've had to join 2 more sites to obtain the individual images. Free Stock Images are not free. Get one free, but pay for the rest????!!!!! http://www.sxc.hu is the best one; I've been a member for years; but the sunset........waiting for owner to send permission to use Ha!
To create this tutorial, it would have been easier to google the images. I've wasted over an hour so far trying to get the images and I've still not had chance to fire up Photoshop yet. I might have to give this tut a miss. Nice end image; but the image resource gathering lets it down big time!!
I'm also waiting for the permission request to be answered. As for the path, google and you'll find several stone paths that can be used to replace the paid image.
very nice work
nice composition
Great app for fashionable scene --
Very nice work !!
Great image.
It's a shame I have to wait to get my request answered on the stock site for the landscape before I can do it.
I'm also struggling to get the path picture. When I click on it, it keeps taking me to a page and asking me to pay. I can't work out how to get it for free.
Hi all, This is Nice Project. Many Photo But One. I like this.
so beautiful
so cool!
wow so colorful!!!