
Make your artwork look like they're from an alternate universe. These Cyberpunk presets work with Photoshop (via the Camera Raw filter) and Lightroom. Download all 788 presets for 90% off.
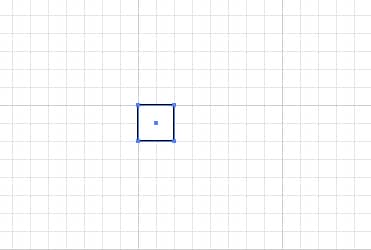
Step 2
With your rectangle still selected, go to the main toolbar and change the fill to one of the colors in your color scheme and set it to no stroke like in the image below. If you were wanting an outline round your text you would have to draw a line only at the left and right side of this rectangle for reasons that will become apparent later on.

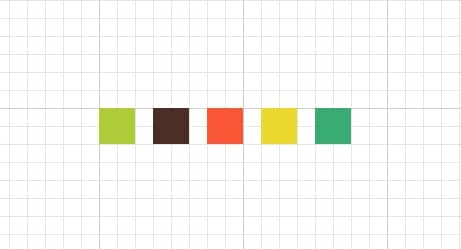
Step 3
Create four more of these rectangles, each with a different fill and a 1 subdivision space between each.
Step 4
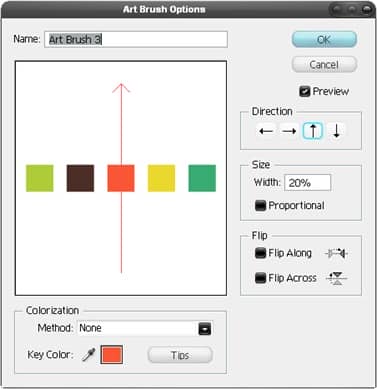
Hit V to use the selection tool then drag a box round all five rectangles then hit F5 to bring up the brushes panel. Inside this click the new brush button and select new art brush. Now change the settings to mimic the ones shown below. It should be fairly obvious why we changed it from a horizontal to a vertical direction.
Step 5
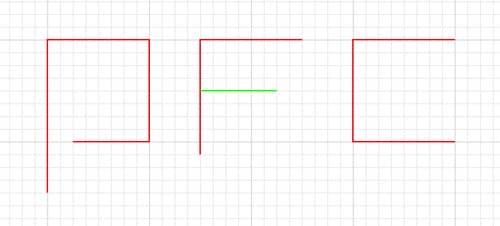
Next I worked out a rough typeface I was going to use, we are not using a real font here but rather, creating a path then stroking it with the brush we created. Below I've shown the path I would make if I wanted to make a P, an F and a C; the red lines being the first path and the green; the second path. From this you should be able to work out roughly how to create any letters. At the moment don't actually do this in Illustrator but maybe sketch out the kind of letters you want. I'll show more details on how I created the letters in RETRO. The main points here were to make most letters 1 major gridline in width and half a major gridline between the letters. Note that on the F, it extends 1 minor gridline below, this is to acount for the extra width from the brush on letters like the C. If this doesn't make too much sense at the moment; don't worry I'll go through a full example in the following steps.
Step 6
First I made a new layer, the plan was to have two layers as I needed two paths for some of the letters. This meant that I could export it to Photoshop as two layers also. We will create all of the first layer (red) then afterwards create the second (green). Hit P to select the pen tool, the pen tool in Illustrator works in the same way as in Photoshop. We don't want any bezier curves so click once at each point and don't drag the mouse. Draw this shape in your document; starting from the lower left point. We have to start at the right end or else the colors wont match up when we add layer 2.
5 comments on “Retro Text”
This is a great post for inspiration and tutorials, you can use in soo many ways..... Thanks
I like text.
Finally got it. Wasn't the easiest but I recommend it just for the fact that it teaches you how to make a vector.
Is there a chance you can make a template for this project? Im new to this stuff :$
whaaaaaaaaaaaaaaattttttttttttttttttttttt?????????????????????