Photoshop’s Pen tool lets you create precise selections or paths. Using the Pen tool is easy once you understand the basic concepts. This guide will teach you everything you need to know about the Photoshop Pen tool so that you can start using it like a pro.
What can you do with the Pen tool?
Create Selections and Cutout Images
The Pen tool is the most precise way to create selections in Photoshop. With it, you can draw straight or curved lines with great accuracy. You can also use the Pen tool to create a vector mask, which is a resolution-independent way of isolating an area of an image. However, the Pen tool takes more time and effort to use than the other selection tools. But if you need precision, it’s the best tool for the job.

Draw Shapes
Not only can the Pen tool be used to create precise selections, but it can also be used to draw vector shapes. Vector shapes are ideal for creating logos and illustrations because they can be scaled up or down without losing quality.

The Pen Tool
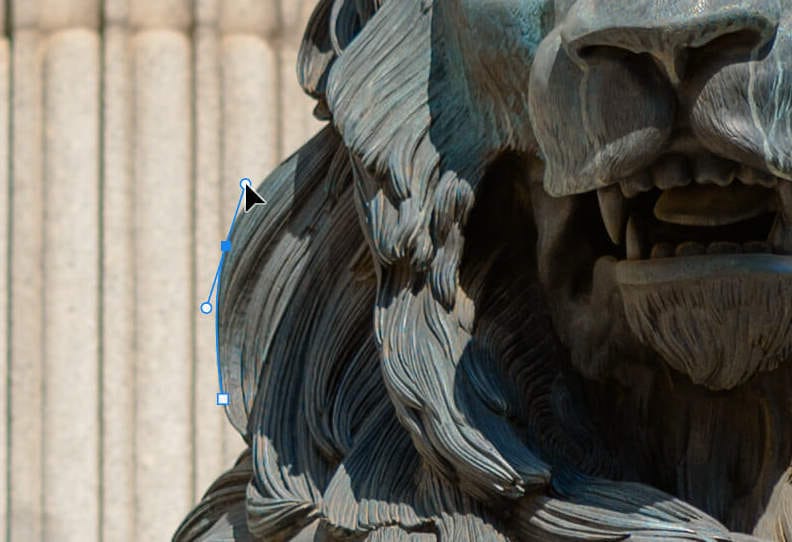
The first thing to understand about the Pen tool is that it creates what are called vector paths. A vector path is a line made up of anchor points and segments. Anchor points are like the corners of a shape, while segments are the straight or curved lines that connect them.
The Pen tool can be found in the toolbar on the left side of the Photoshop interface. There are seven versions of the Pen tool. Each of these tools has a specific purpose.
- Pen Tool – for drawing straight or curved paths with precision
- Freeform Pen Tool – for drawing paths freely like a pen on paper
- Content-Aware Tracing Tool – for tracing objects quickly and easily
- Curvature Pen Tool – for drawing curved paths easily
In addition, there are 3 tools for modifying your path
- Add Anchor Point Tool – for adding anchor points to existing paths
- Delete Anchor Point Tool – for removing anchor points from existing paths
- Convert Point Tool – for converting smooth anchor points to corner anchor points or vice-versa

How to Use the Pen Tool
In this tutorial, you’ll learn how to use the Pen tool to trace an image. You’ll then learn how to turn that path into an image cutout and a vector shape.
Step 1
Open any image in Photoshop.

Select the Pen tool (P) from the toolbar.

From the tool options near the top, set the mode to Path.

Step 2
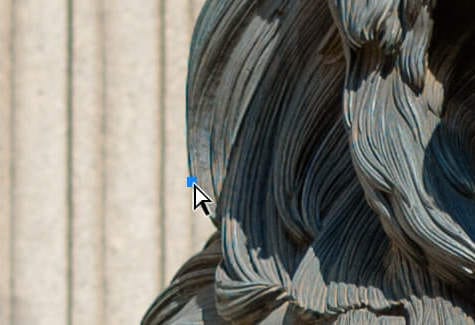
Zoom in close to your image. Click on the edge of the object to create an anchor point.

Create another point but this time click and drag to create a curved path.

Step 3
If you place the point in the wrong area and need to move it, hold the Ctrl/Cmd key and drag the point.
When you reach a corner, you’ll need to convert the curved point into a corner point. To do this, hold the Alt/Option key and click on the point.
Step 4
If you need to delete or add anchor points, select the Add/Delete Anchor Point tools from the toolbar and click on the anchor point.

Repeat the previous steps until you have the entire object selected.

Step 5
Repeat the same steps above for any inner areas of your selection.


Step 6
Your path is complete – congratulations! Now you can choose what to make with the path.
From the options bar near the top, select one of the options:
- Selection – Convert the path into a selection
- Mask – Cutout the layer with a vector mask
- Shape – Create a vector shape


Leave a Reply