

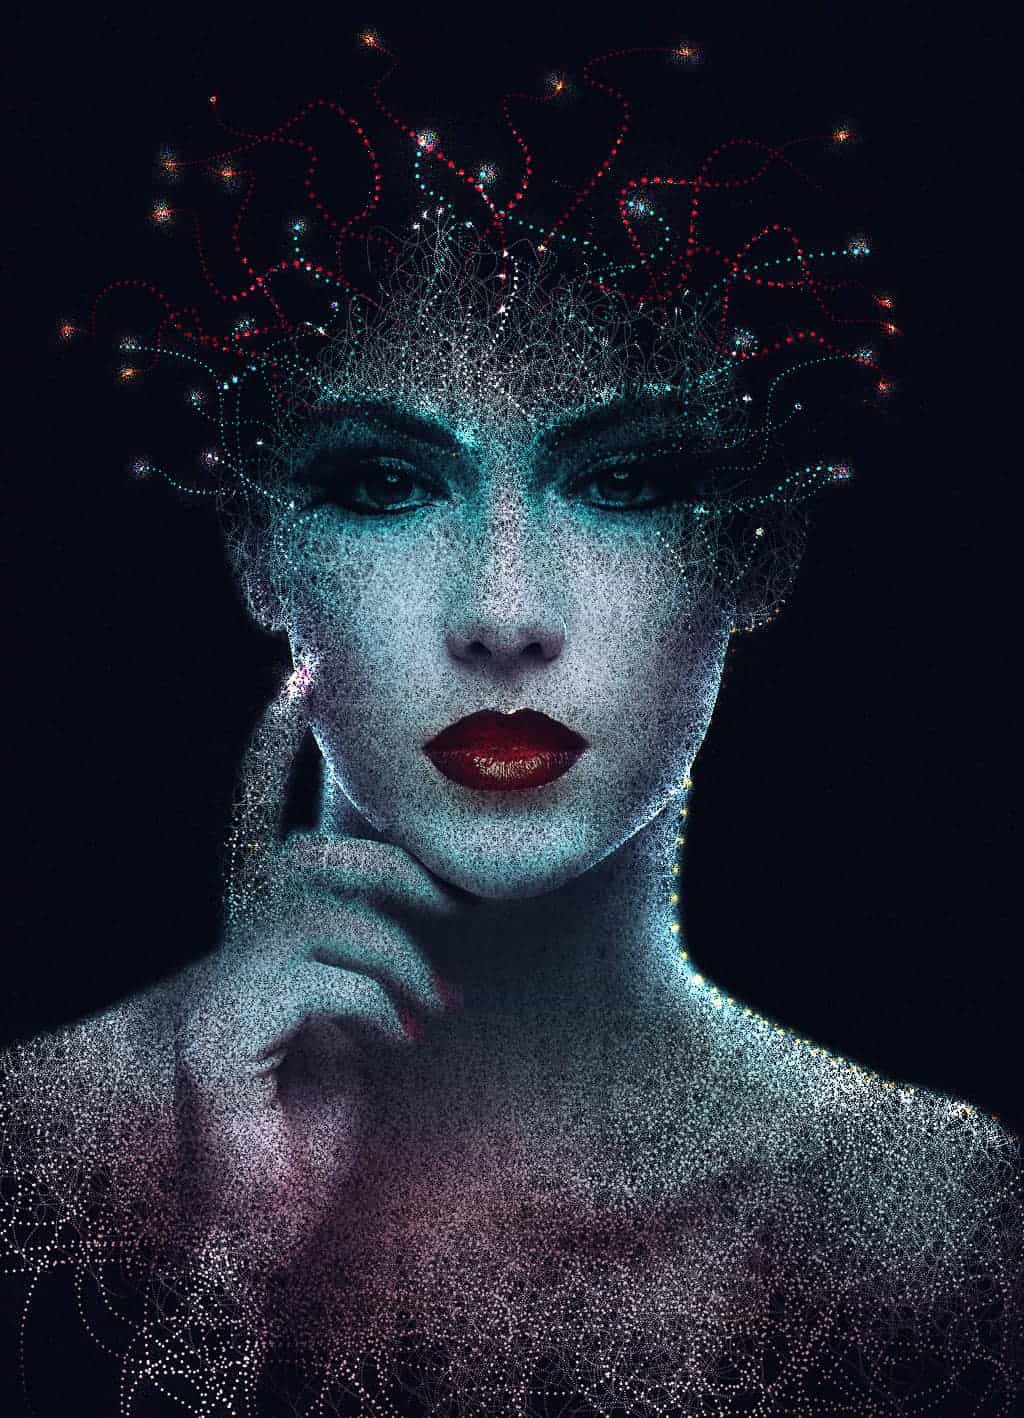
In this tutorial, we will create an abstract photo artwork of a girl portrait with a disintegration effect on it. We will learn to create a disintegration effect in a handy and practical technique, adorn the photo with stunning lightning and then complete it with color adjustment. Throughout the tutorial, we will have fun learning simple and handy tricks to create photo artwork in photoshop.
What you’ll be creating
In this tutorial we will create an abstract scene of a girl with a disintegration effect on face and body. We will use some essential techniques for doing photo manipulation. We will work with paths, brush tools, some filters, color adjustments, and textures all through the steps in this tutorial. This tutorial is done with Photoshop CS3. Don’t forget a glass of coffee and optionally a pack of cigarettes for your companion. Ready..?
Tutorial Resources
- Girl – Pixabay
Step 1
Well, start by opening the girl image in photoshop. Grab the Magic Wand tool (W) located in the tool panel on the left side of the photoshop. Set the value of tolerance to 32.

Click the white background of the girl image to make a selection on it indicated by blinking small dots around the white background.

Let’s inverse the selection by hitting Shift+Ctrl+I. Now hit Ctrl+ J to duplicate the girl. Hide the original image by clicking the eye icon beside it.


Step 2
We will alter the tone of the girl’s skin by giving it some new layer adjustments. Firstly, while being active on layer 1 (the extracted girl image), go to layer > new adjustment layers > brightness/contrast. Set this adjustment layer to these values:

Give more two other adjustment layers: curves and selective color.


Given the tree adjustment layers, the look of the image should like the one in the screenshot below. Select layer 1 and the tree adjustment layers, hit Ctrl+E to merge them into a new single layer. Name this layer, say, girl.

Step 3
Now let’s start creating the main canvas for the scene we are going to create. Hit Ctrl+N to create it. Set the canvas/document to the size given below:

Next, open the girl image to the main document and convert it into a smart object layer by going to layer > smart objects > convert to smart object. Use the Free Transform tool (Ctrl+T) and scale down the size of the image to fit the size of the new canvas. Here is the position and size of the girl for your reference:


