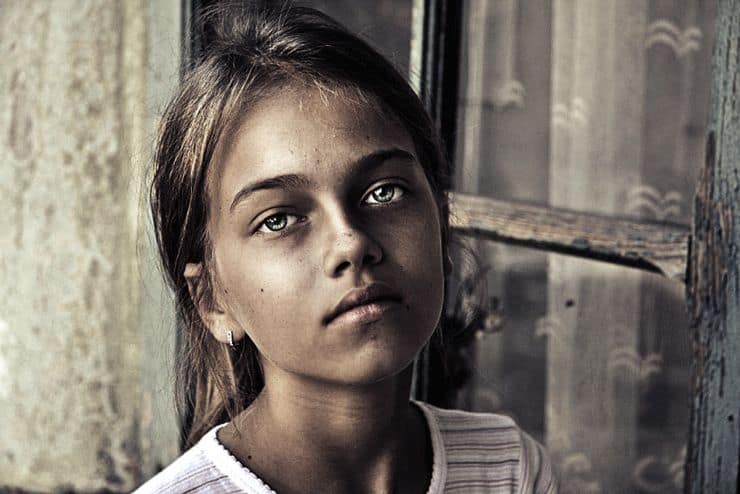
Learn how to create the popular orange teal look in Lightroom or Adobe Camera Raw. This is a very easy tutorial it’s perfect for beginners. You’ll learn how to use the Camera Calibration sliders to shift the hues and use the Tone Curves create a simple faded look. This technique can also be used to create other similar warm and cool color combinations. For example, if you don’t want orange and teal, you can create pink and cyan. If you only use Photoshop, you can still follow along with the Camera Raw filter ().
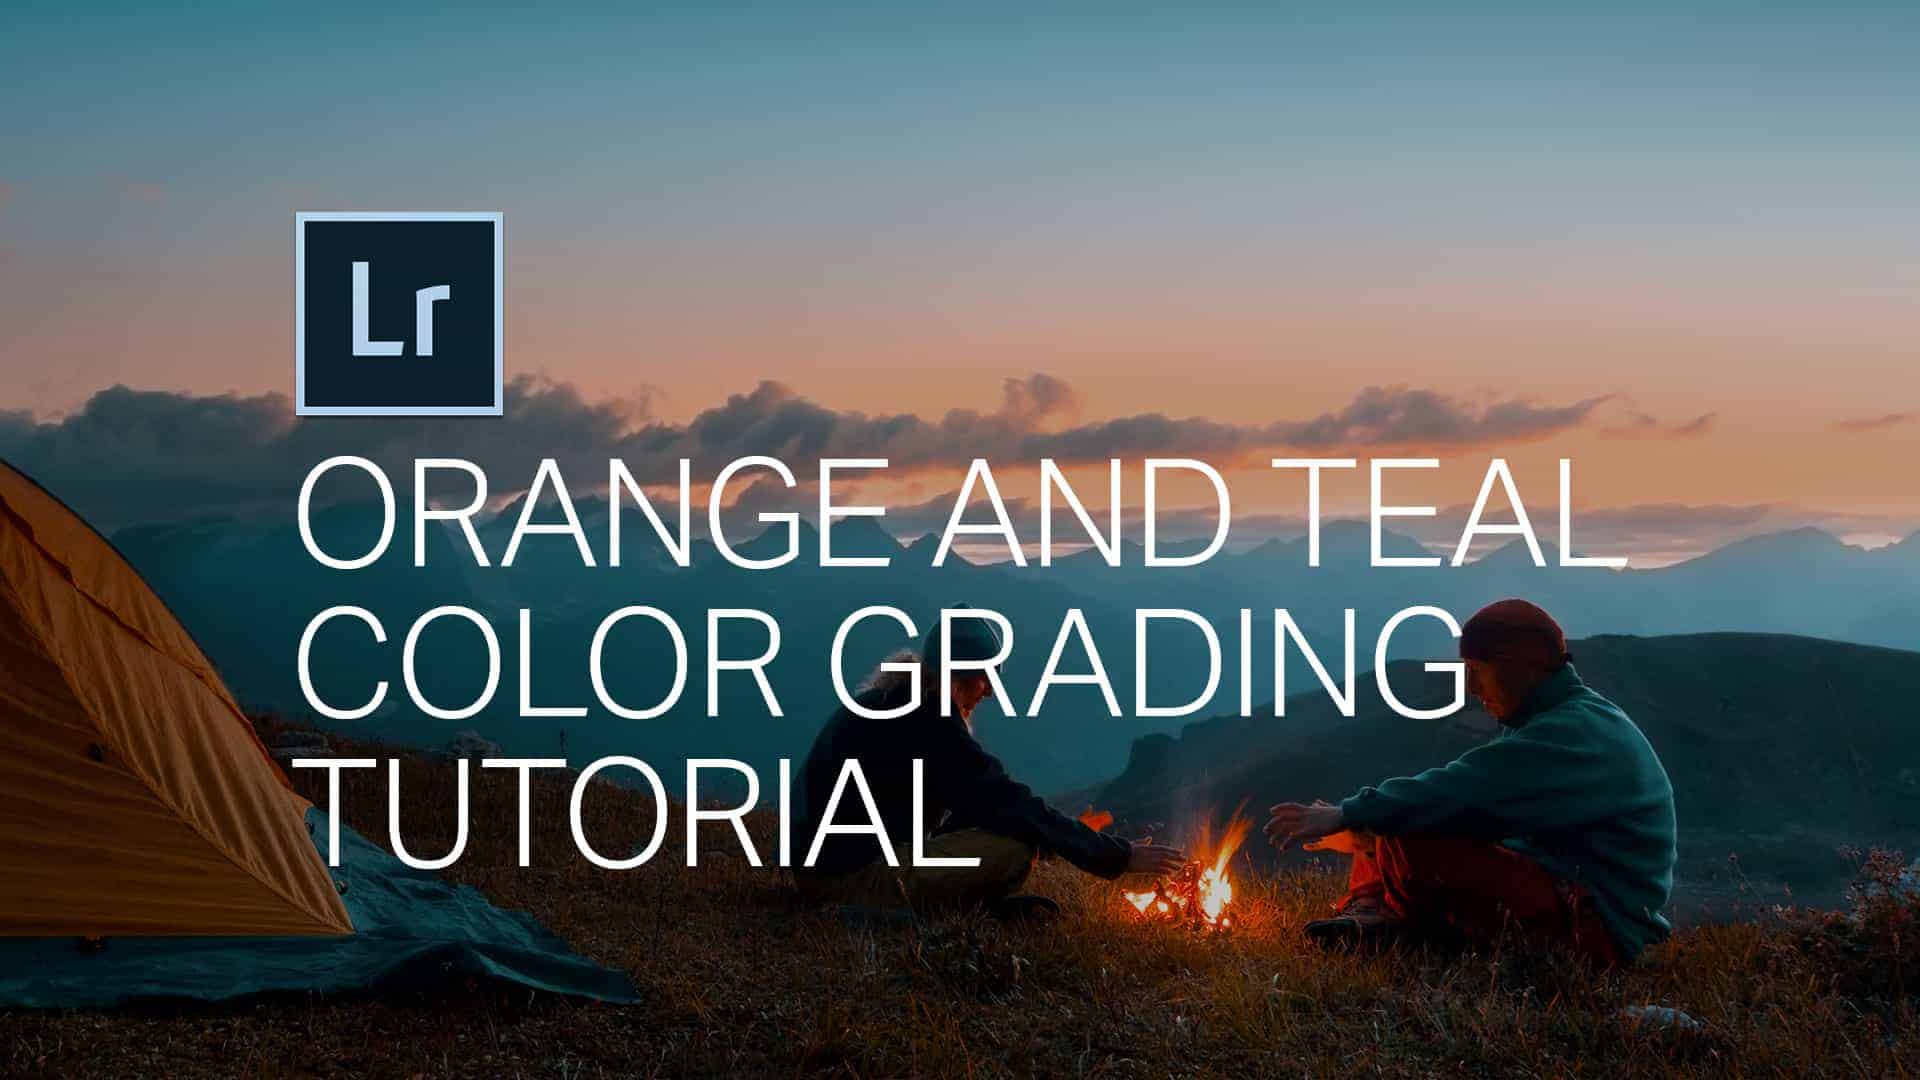
How to Create the Orange and Teal Look in Adobe Lightroom and Camera Raw

Published
3 comments on How to Create the Orange and Teal Look in Adobe Lightroom and Camera Raw

3 responses to “How to Create the Orange and Teal Look in Adobe Lightroom and Camera Raw”
-

Nice but A written tutorial would be nice.
-
awel slugger daar zeg je het nu eens zie sou dat ook nog wel eens willen
-
Why does everything have to be video nowadays? A written tutorial would be nice.