
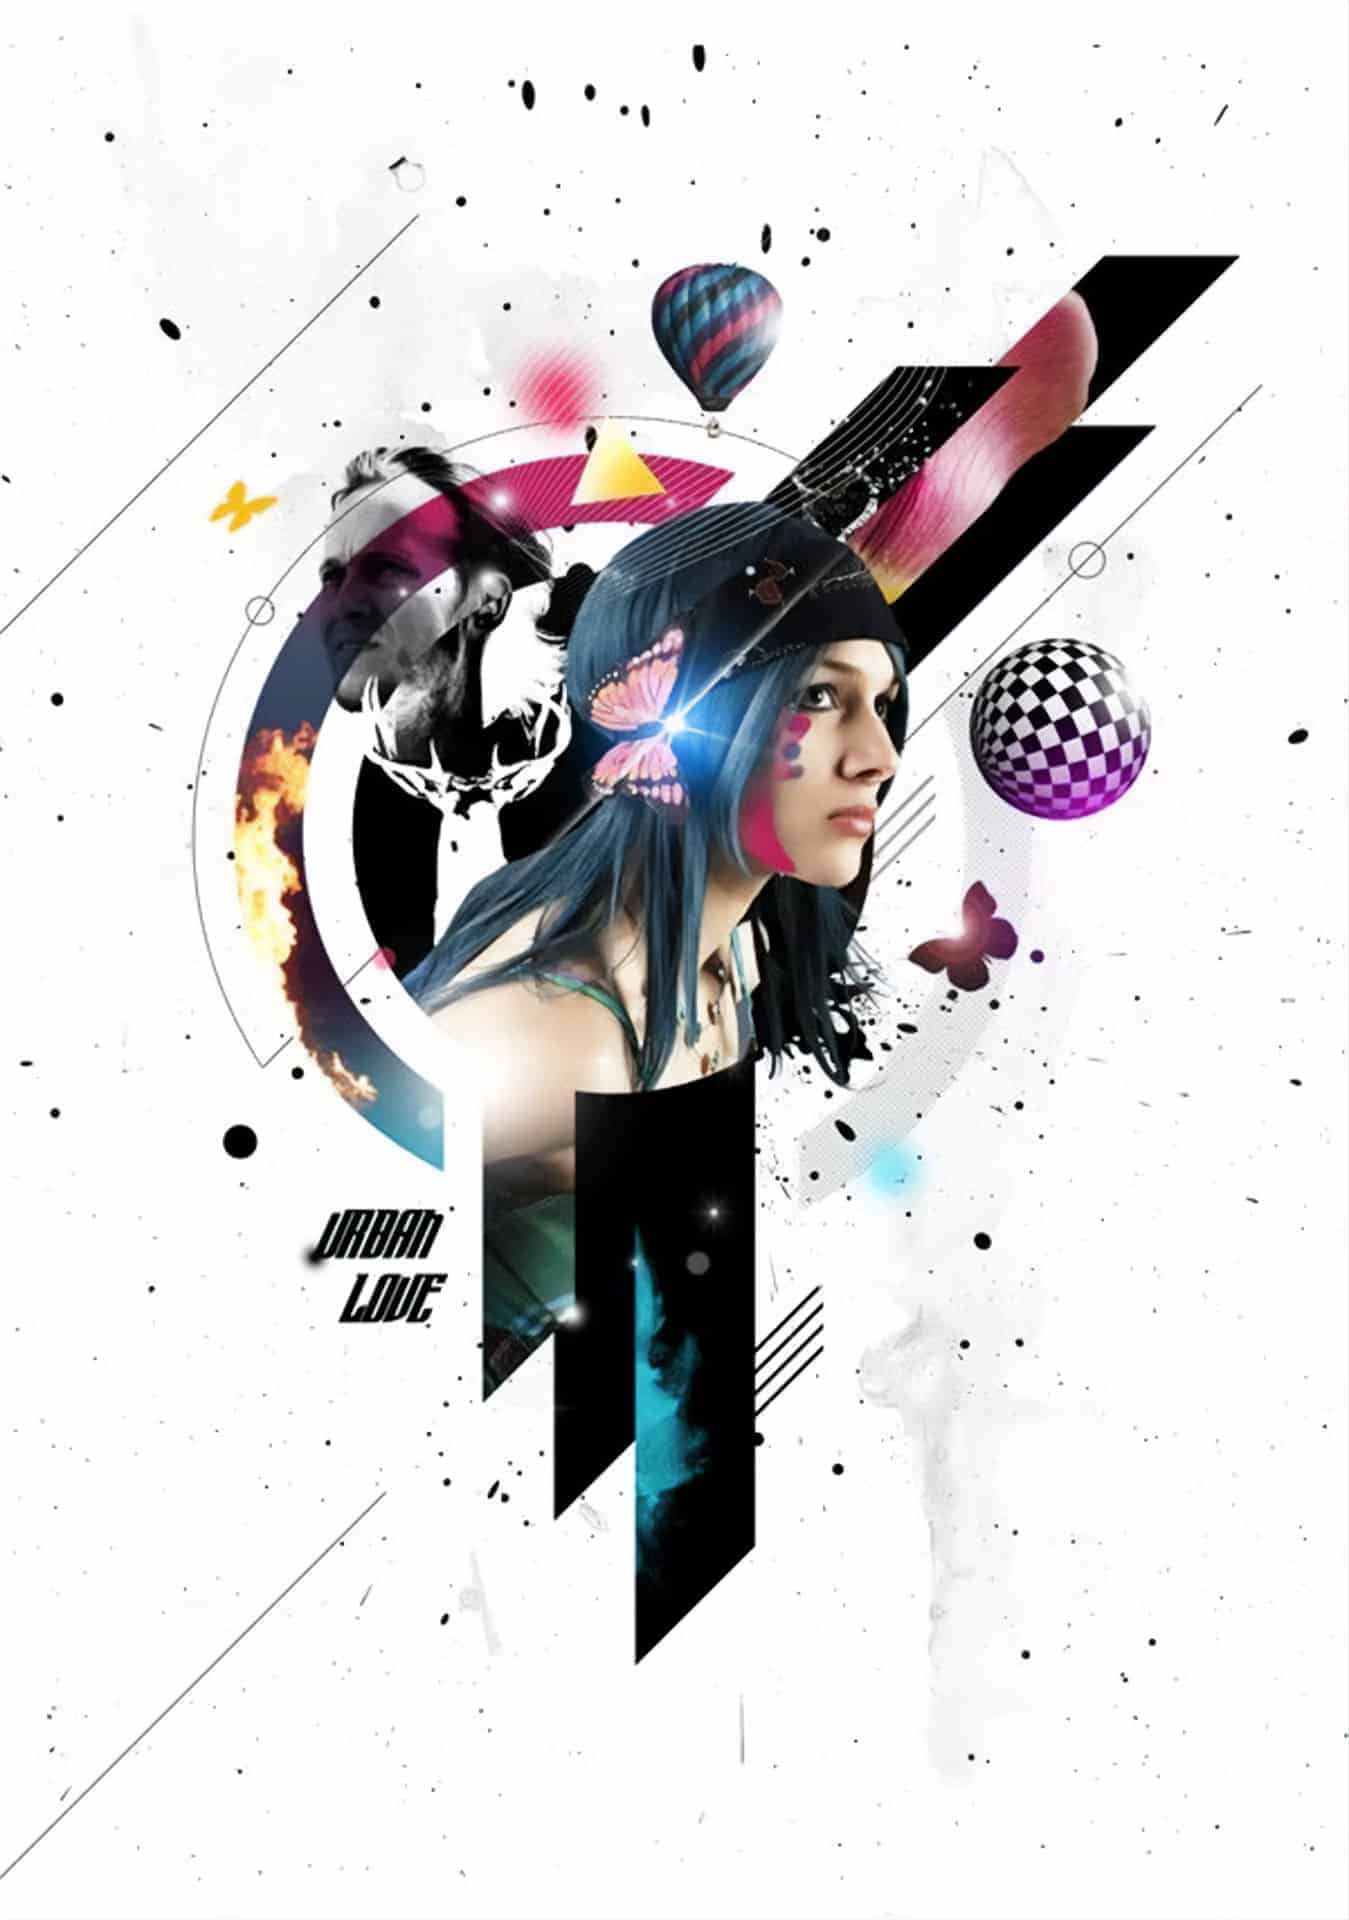

Preview of Final Results

Tutorial Resources
- Water SplashSXC (Alternative)
- Male Head– SXC
- Paint Splatter – SXC
- Tulip Petals – SXC
- Star Brushes– Qbrushes
- Grunge Brushes – Qbrushes
- Patterned Spheres– Media Militia
- Hot air Balloons– Media Militia
- Stag– Mediamilitia
- Paint texture– Mediamilitia
- Model– Deviantart
- Flames– Deviantart
Step 1
Let’s create a blank document similar to these dimensions.
Step 2
A subtly textured background works well than a plain one. Locate the paint texture and bring it into Photoshop. Drag and drop it into the composition.


Step 3
We now need to create several shapes that will define the overall design and contain other graphic elements. Set the color to . Let’s Start off from the middle by drawing a circle with the Ellipse Tool. Choose the Shape layers option on the Options panel. Working with shape layers is very productive and time saving. They are resolution independent and can transform them without losing any quality.


Step 4
Create another circle outside the main circle. Duplicate the circle ( Ctrl+J). Scale it approximately by 145%. Hold Alt+Shift while scaling to maintain the center point.


