Download Lightroom presets and LUTs, absolutely free. Use the presets to add creativity and style to your photos.
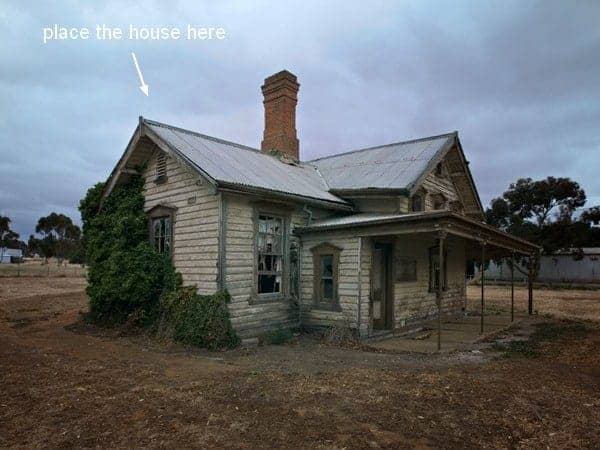
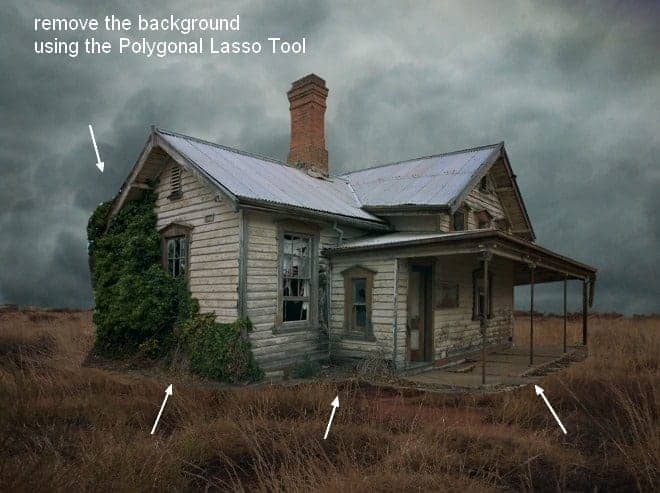
First I removed the background of the house using the Polygonal Lasso Tool:
Step 11
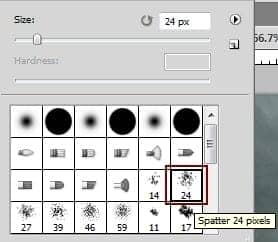
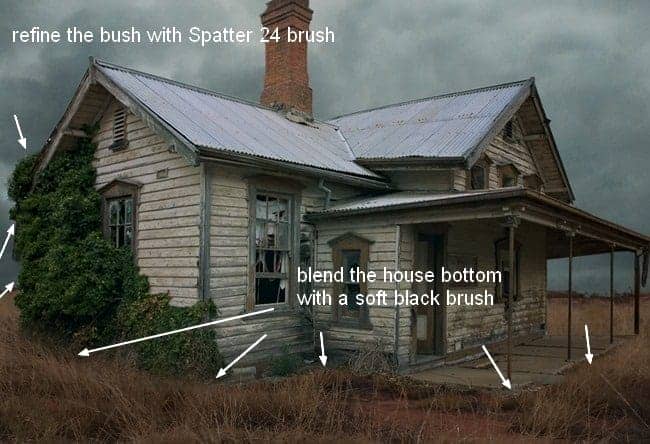
You can see that the edges are still very hard after using this tool, especially the bush around the house. To correct it, click Reset Brushes from the brush menu to set the brushes to the default ones. Choose the Spatter 24 pixel brush to refine the edges of the bush and make it more natural. Also, use a soft black brush to soften the edges of the house bottom and blend them with the grassy ground:
Step 12
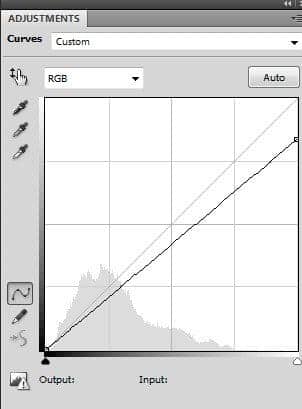
Use Curves to darken the house a little:
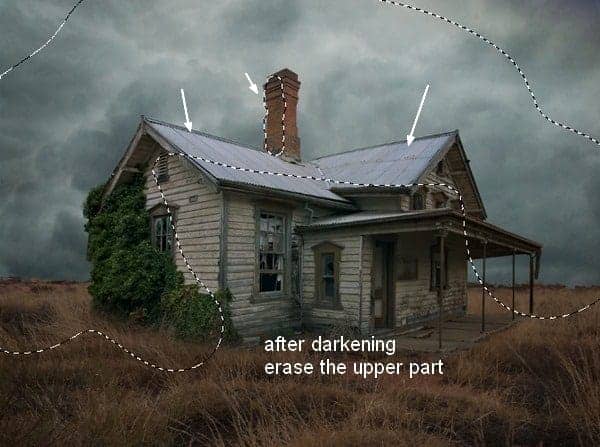
Apply brush masking on this layer mask to refine the light and shade there, to keep the upper part brighter and the lower one darker:
Step 13
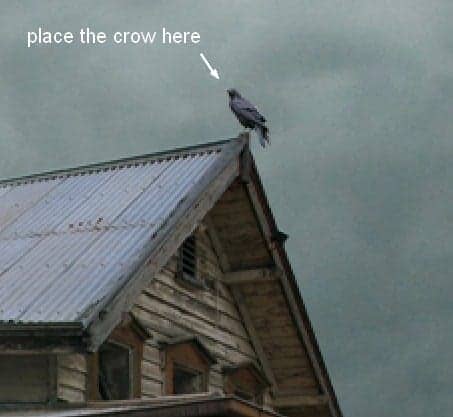
Isolate the crow and place him at the top of the roof:
Step 14
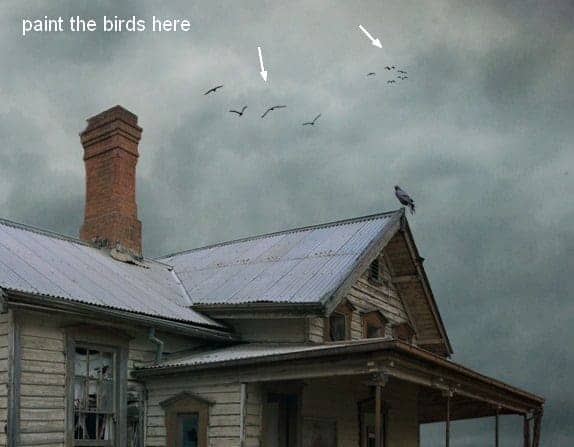
Make two new layers on the top. Change the foreground color to black and the brush kind to the birds ones. Paint some birds in the sky as I did below ( remember to lower the size of the birds in the further distance to create a depth look):
Step 15
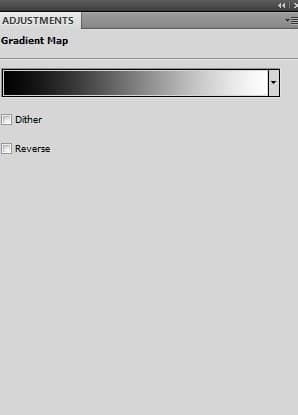
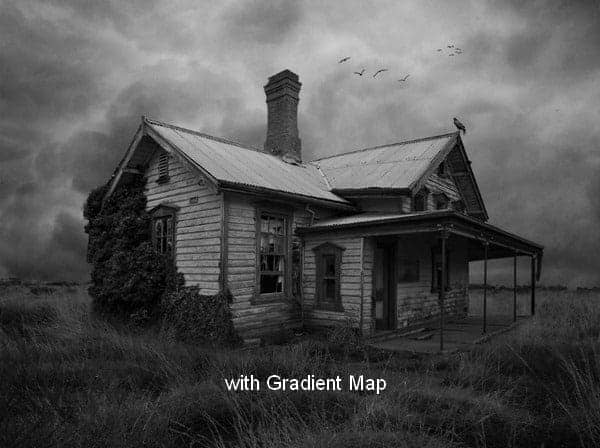
Make a Gradient Map adjustment layer on the top of the layers with the default colors (black and white):
Step 16
I want to create an eerie mood in this scene. Create a new layer and change the foreground and background to #9d9d9d and #121212. Go to Filter > Render > Clouds:
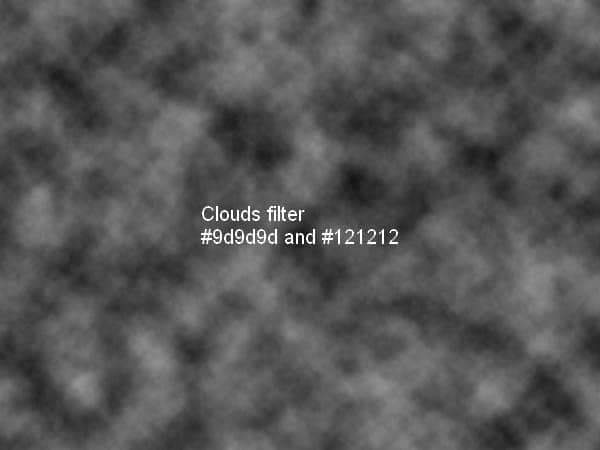
Convert this layer to a Smart Object. Lower this layer opacity to 50%:

Step 17
Add a mask to this layer and use a soft black brush to remove the mist effect on the sky part:
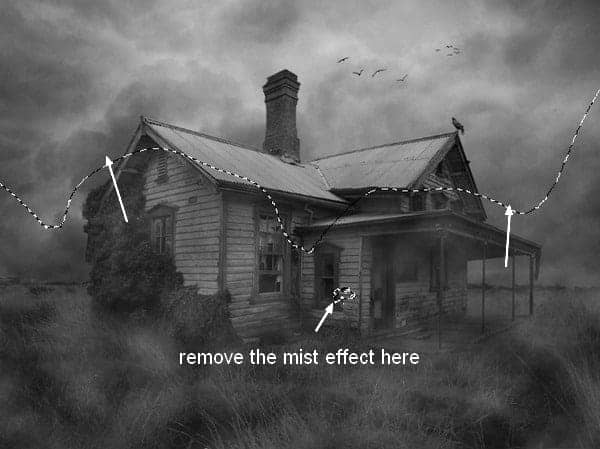
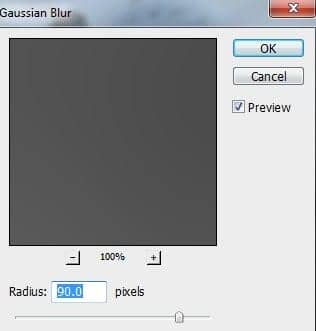
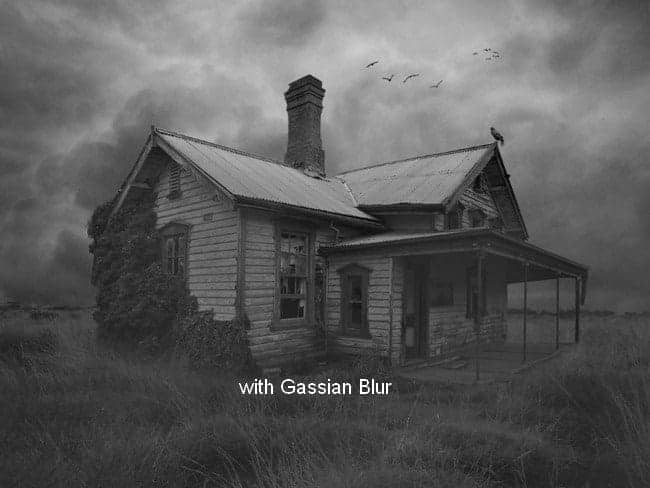
To refine the mist effect, go to Filter > Blur > Gaussian Blur and set the radius to 90 px:
Step 18
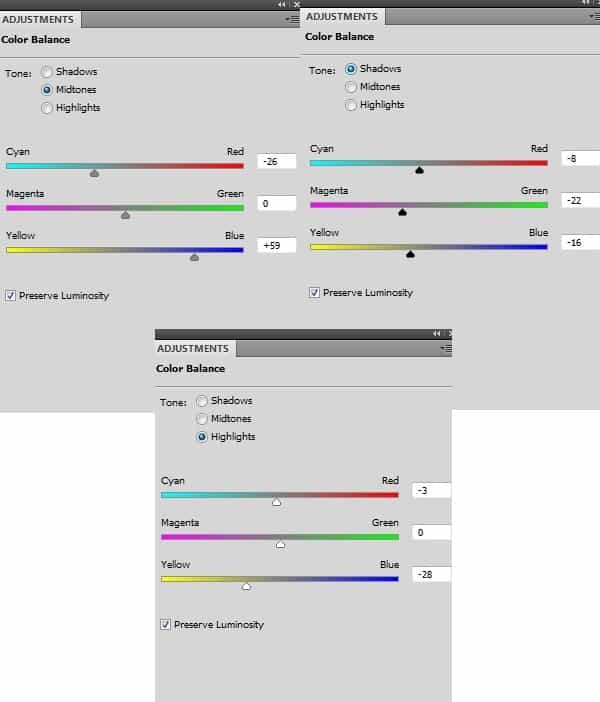
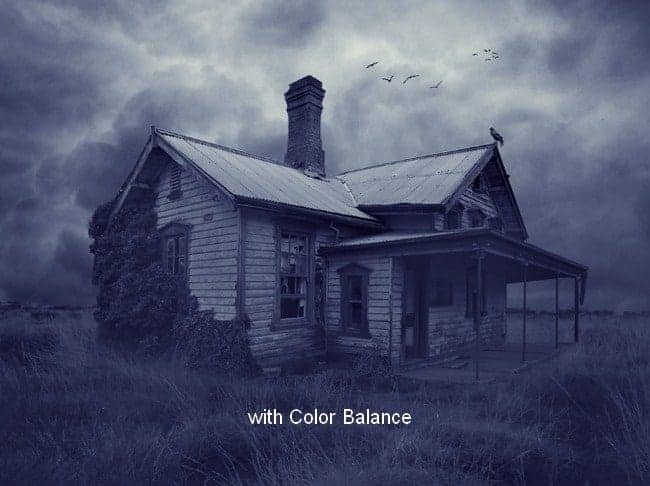
It's time for coloring the scene. Make a Color Balance adjustment layer on the top:
Step 19
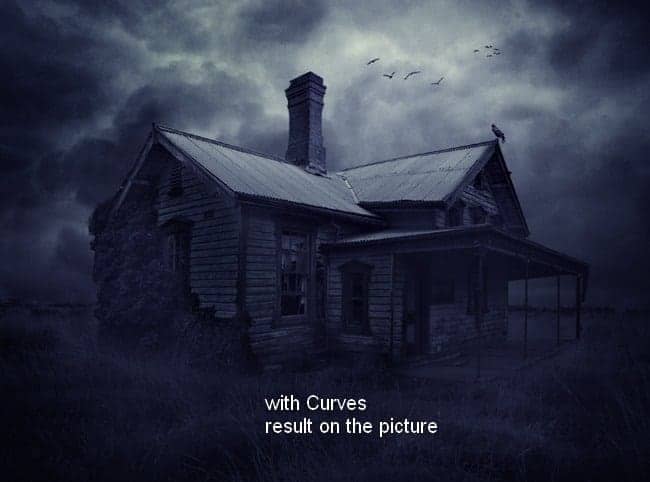
Use Curves to darken the scene:
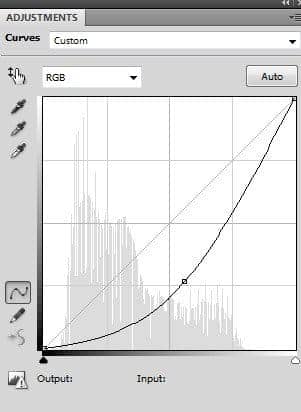
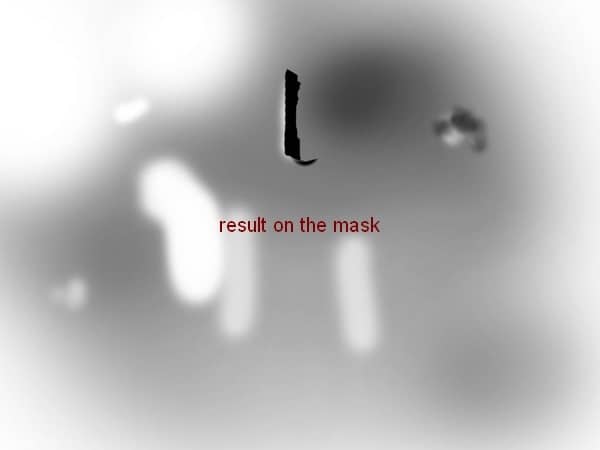
On this layer mask use a black brush to refine the contrast there:
Step 20
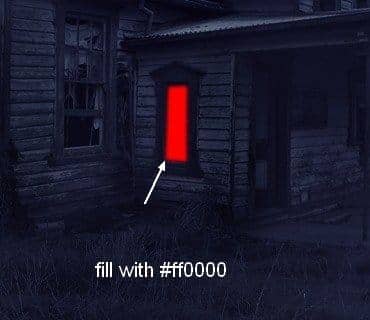
In this step, we'll make the red light glowing from one of the house windows. Make a new layer, use the Polygonal Lasso Tool to make a selection on the window below and set the feather radius to 3:
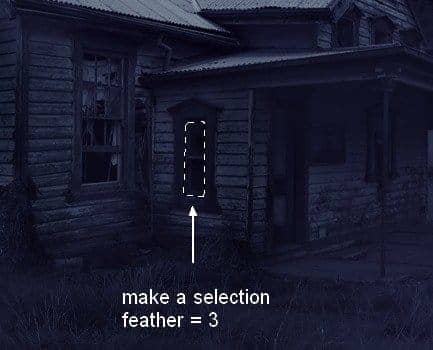
Go to Edit > Fill (Shift+F5) and fill with a red color (#ff0000):
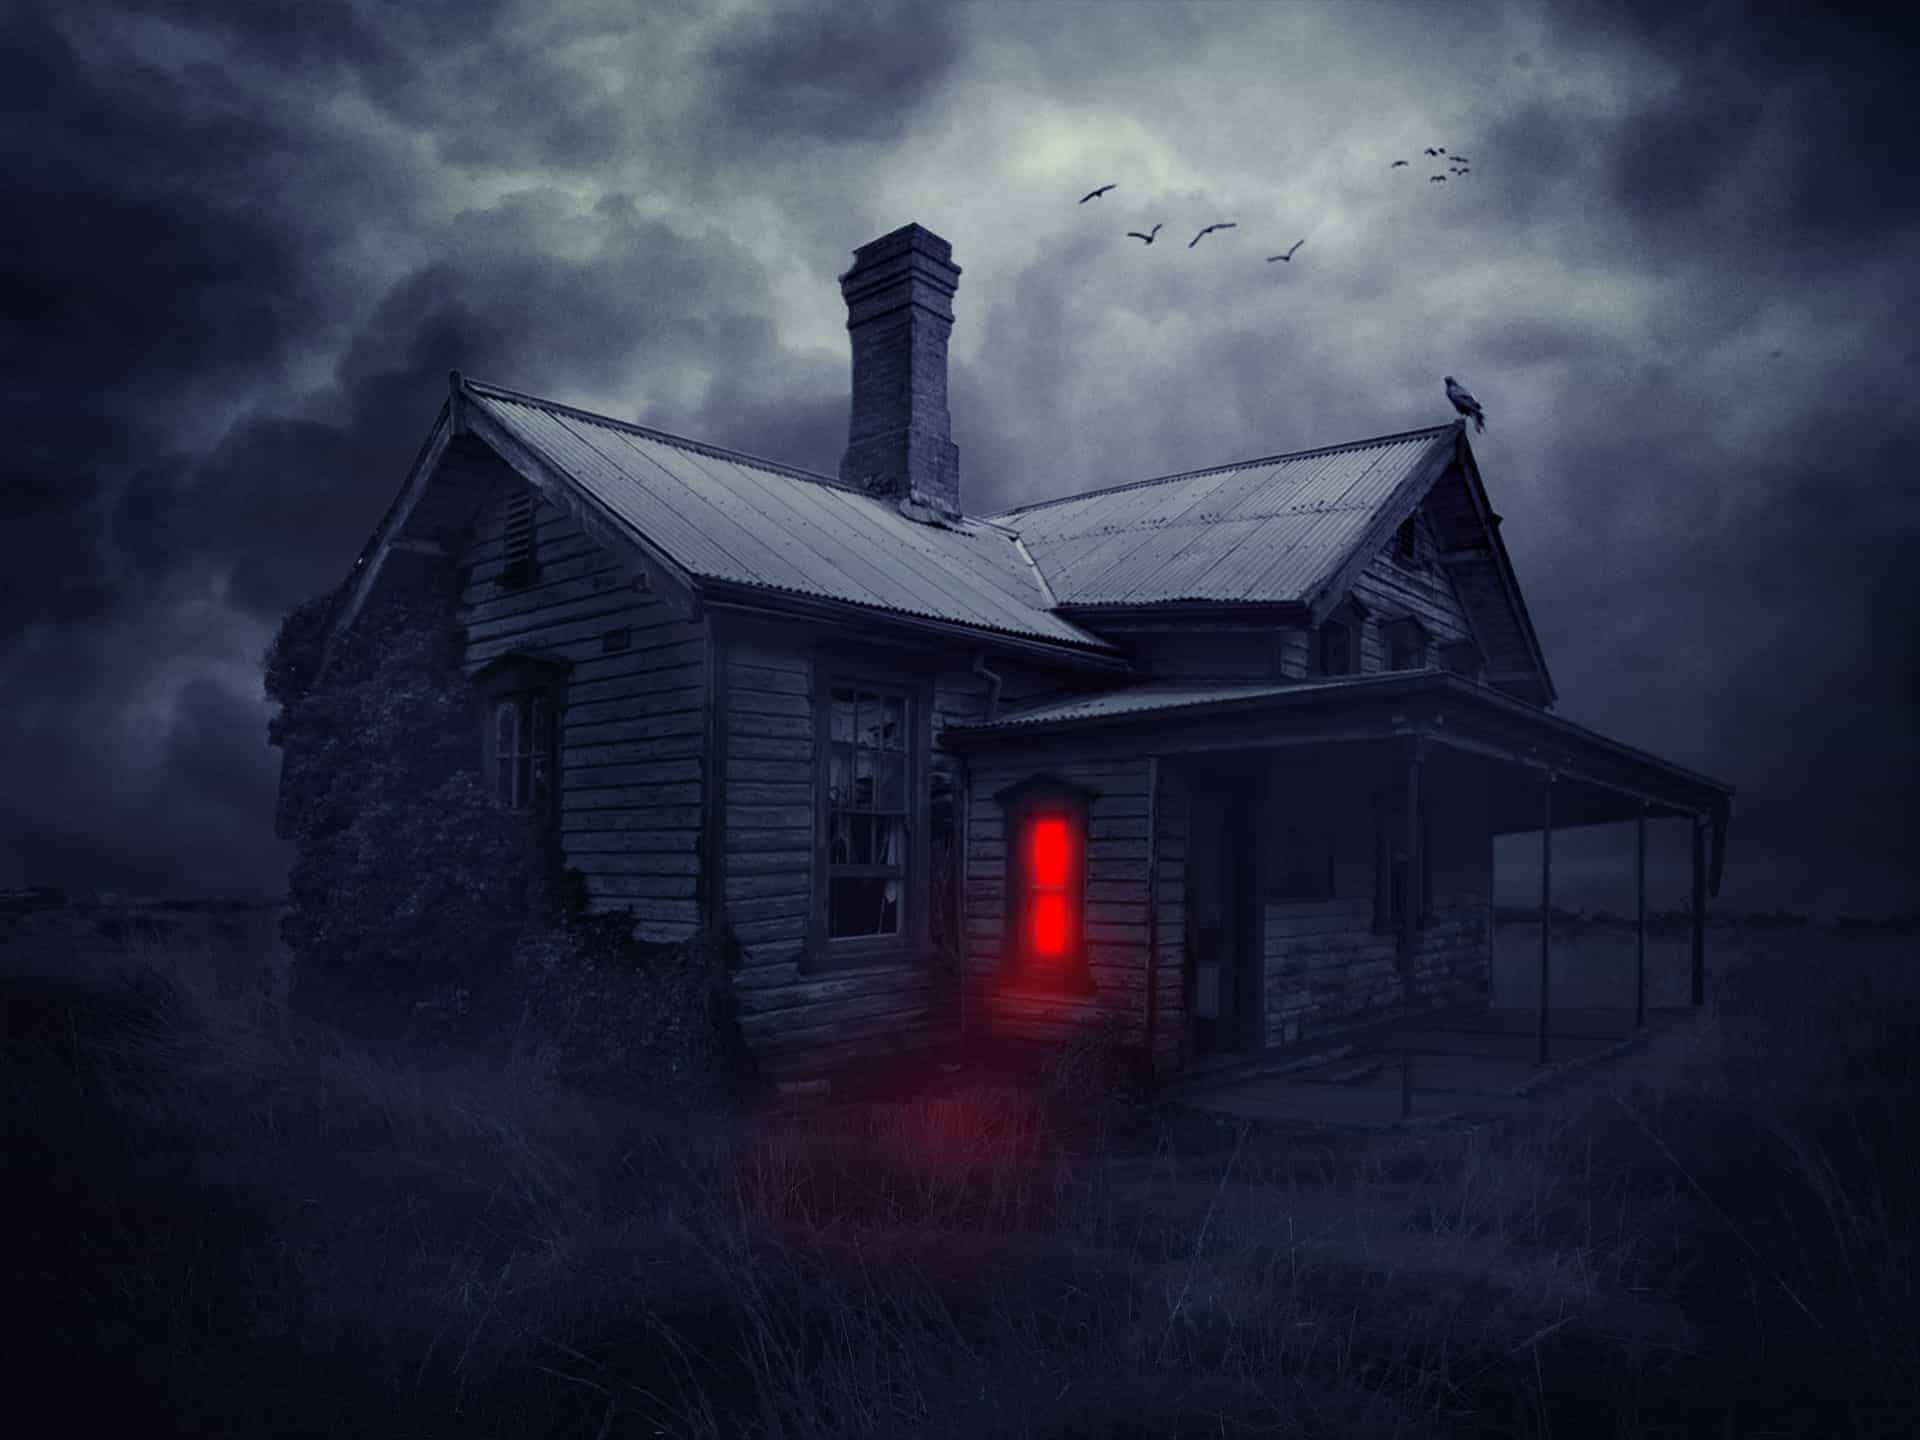
Use the Polygonal Lasso Tool again to make two selections with the feather radius =3 as shown below:

6 comments on “22 Easy Steps to Create This Haunted House Scene”
tried it , works nice adds to my tools for photo manipulation
This was a great tutorial! Thanks so much for sharing this
this tutorial was so easy to follow and very fun to make!! thank you :)
The red light isn't realistic...projections (wall) and reflections (windows) aren't repected...
But the athmosphere is great !
your awesome, simple yet easy to follow and understand...i find it very useful thanks...keep it up!!!
This is one of the coolest tutorials that I have ever seen for photoshop. Even as a new user, I feel like I could follow your instructions beginning to end.