A cloud does not know why it moves in just such a direction and at such a speed, it feels an impulsion… this is the place to go now. But the sky knows the reason and the patterns behind all clouds, and you will know, too, when you lift yourself high enough to see beyond horizons .” In this Photoshop tutorial, we will learn how to create a photo manipulation. First, create a background scene. Add clouds and sky for the background, then place rocket and comets, stars, rays, and blended it with adjustment layers. For the final adjustment, we used Camera Raw Filter.
Preview of Final Image

Tutorial Resources
Step 1
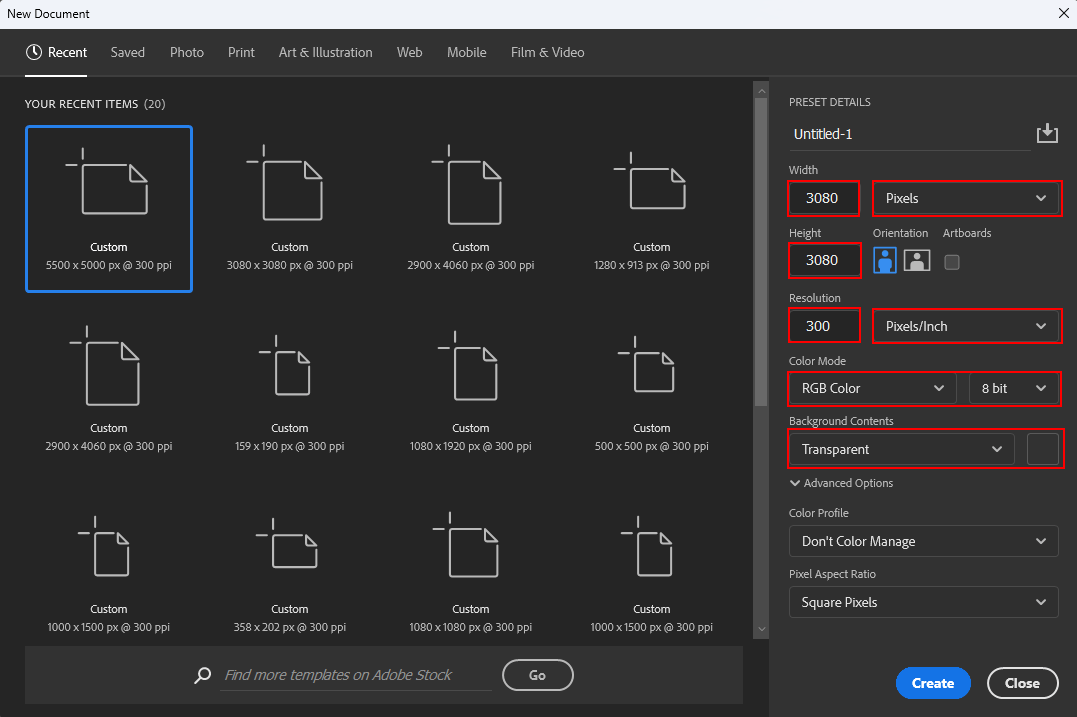
Now, let’s start by creating a new image file, go to the Menu bar and click File > New, and then input the following values on their respective fields
- Preset: Custom
- Width: 3080px
- Height: 3080px
- Resolution: 300
- Color Mode: RGB Color 8-bit
- Background Contents: Transparent
Step 2
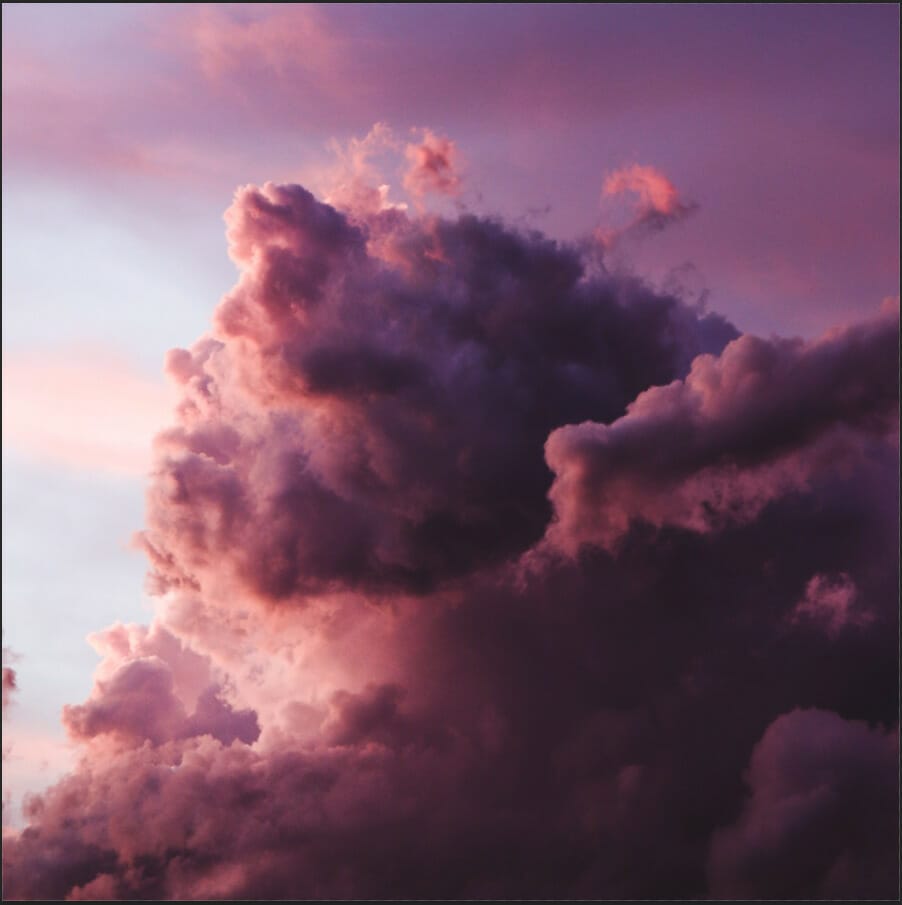
Now, place Clouds1 Go to File > Place and select clouds, then place it to our work canvas and position the image with the transform tool (Ctrl / Cmd + T). Hold Alt + Shift and rasterize like the image below. In Photoshop CC only hold Alt to rasterize all sides together.

Step 3
Next, add another cloud Go to File > Place and select clouds2, then place it to our work canvas and position the image with the transform tool (Ctrl / Cmd + T). Hold Alt + Shift and rasterize like the image below. In Photoshop CC only hold Alt to rasterize all sides together.
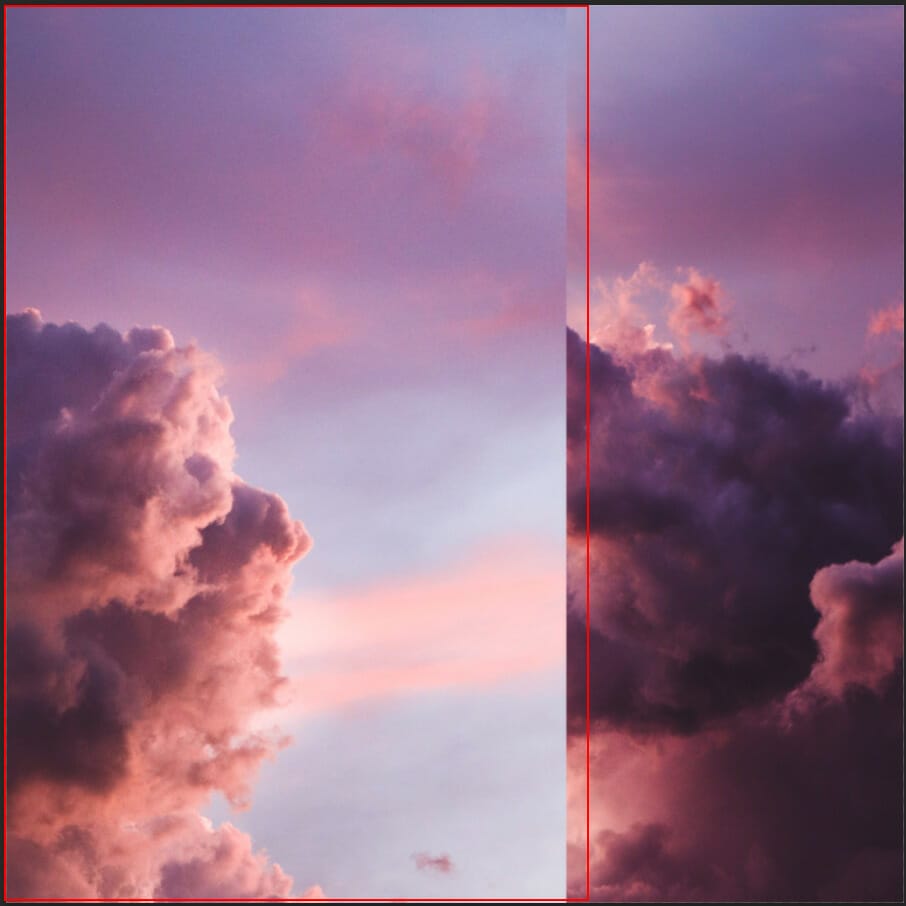
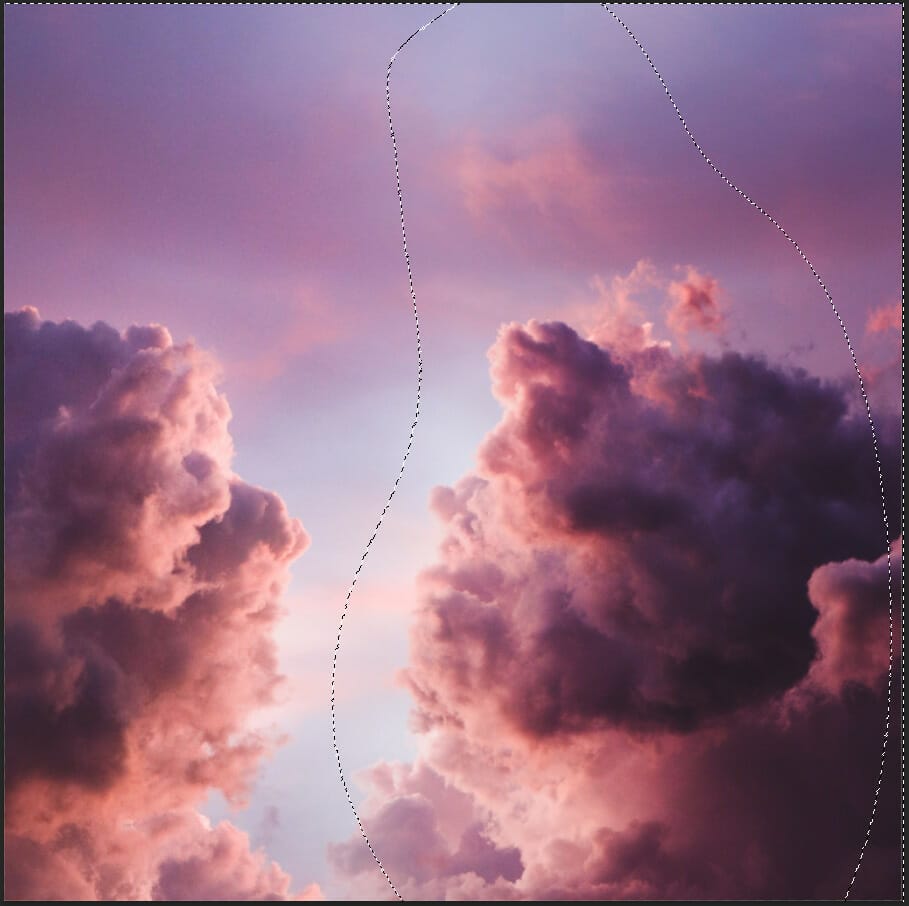
Now create a layer mask and with a soft round brush tool delete sky…

Step 4
Next, we will open Planet. After you open the image, use Rectangular Marquee Tool(M).

After the selection area has been created, simply copy (Ctrl / Cmd + C) and Paste (Ctrl / Cmd + V) it to our work canvas. Then position the image with the transform tool (Ctrl / Cmd + T). Hold Alt + Shift and resterize like image below. In Photoshop CC only hold Alt to resterize al sides together.
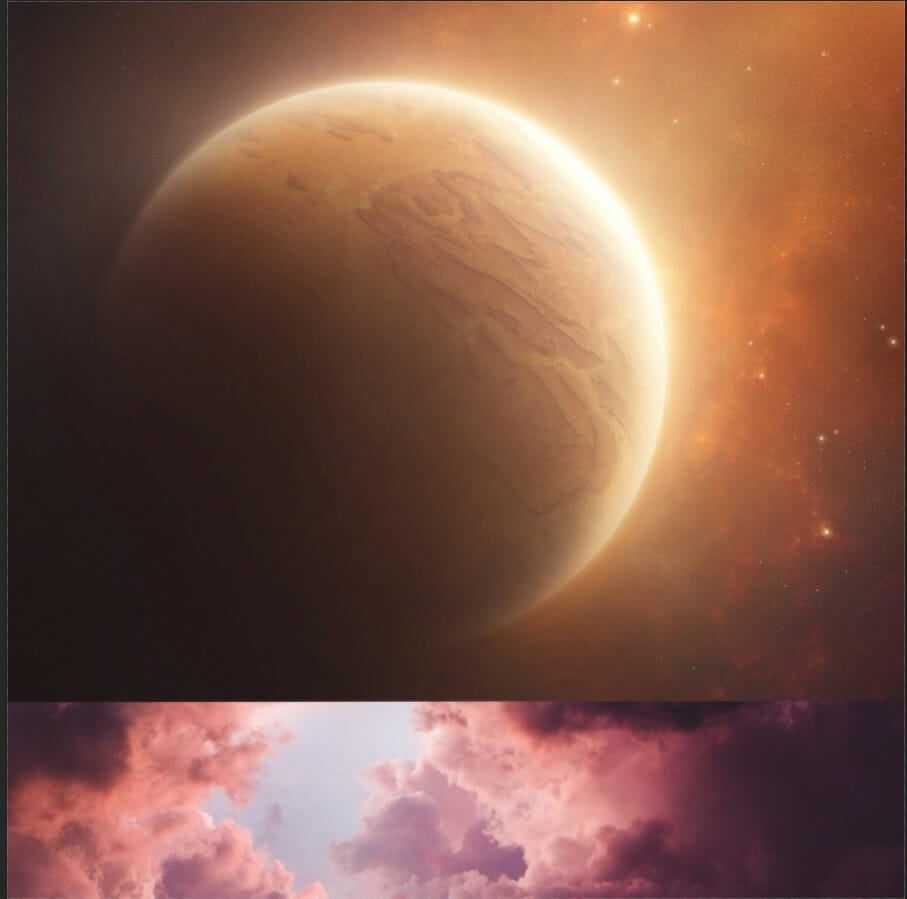
Now create a layer mask and with a soft round brush tool delete stars around the planet… Blend mode change to Soft Light.

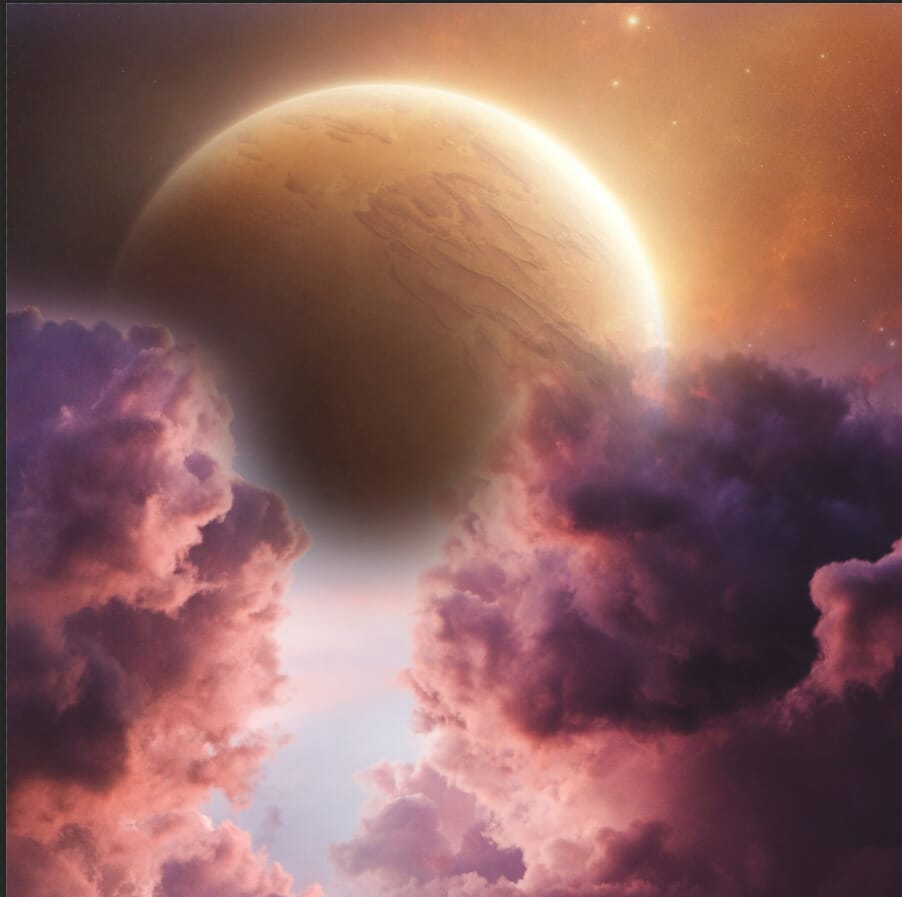

Step 5
Next, we will open Stars. After you open the image, use Rectangular Marquee Tool(M).

After the selection area has been created, simply copy (Ctrl / Cmd + C) and Paste (Ctrl / Cmd + V) it to our work canvas. Then position the image with the transform tool (Ctrl / Cmd + T). Hold Alt + Shift and resterize like image below. In Photoshop CC only hold Alt to resterize al sides together.


Leave a Reply