Make skin look perfect in one-click with these AI-powered Photoshop actions.
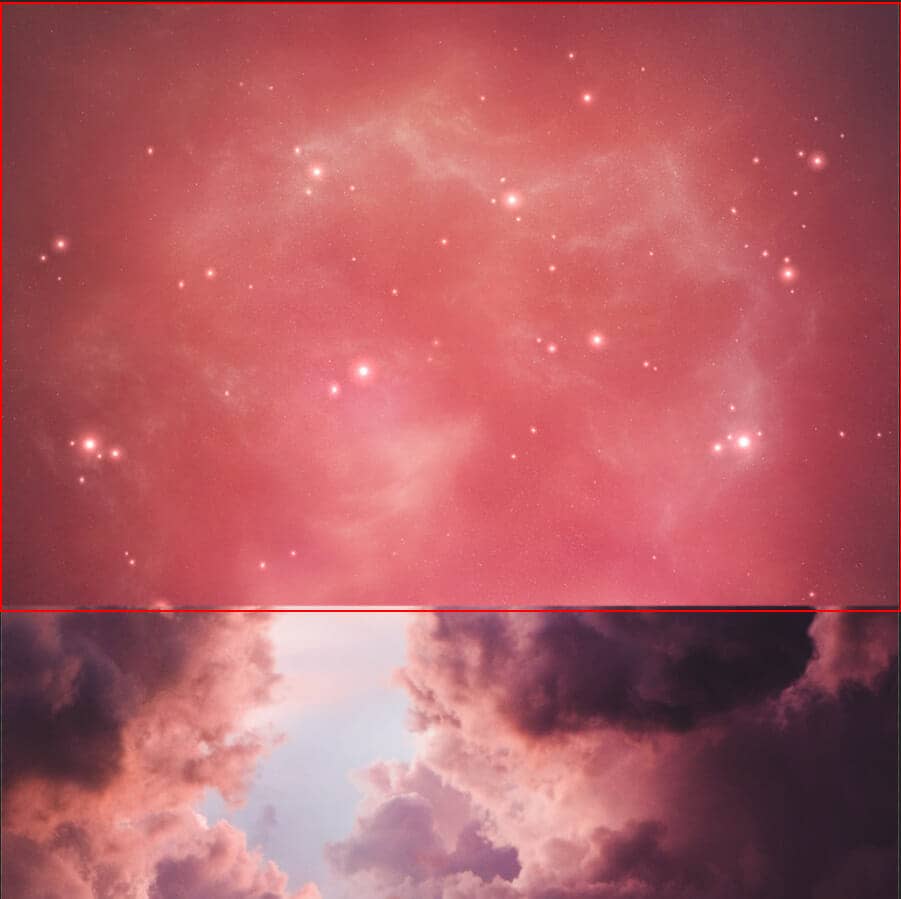
Now create a layer mask and with a soft round brush tool delete some areas like in the picture below... Blend mode change to Soft Light.

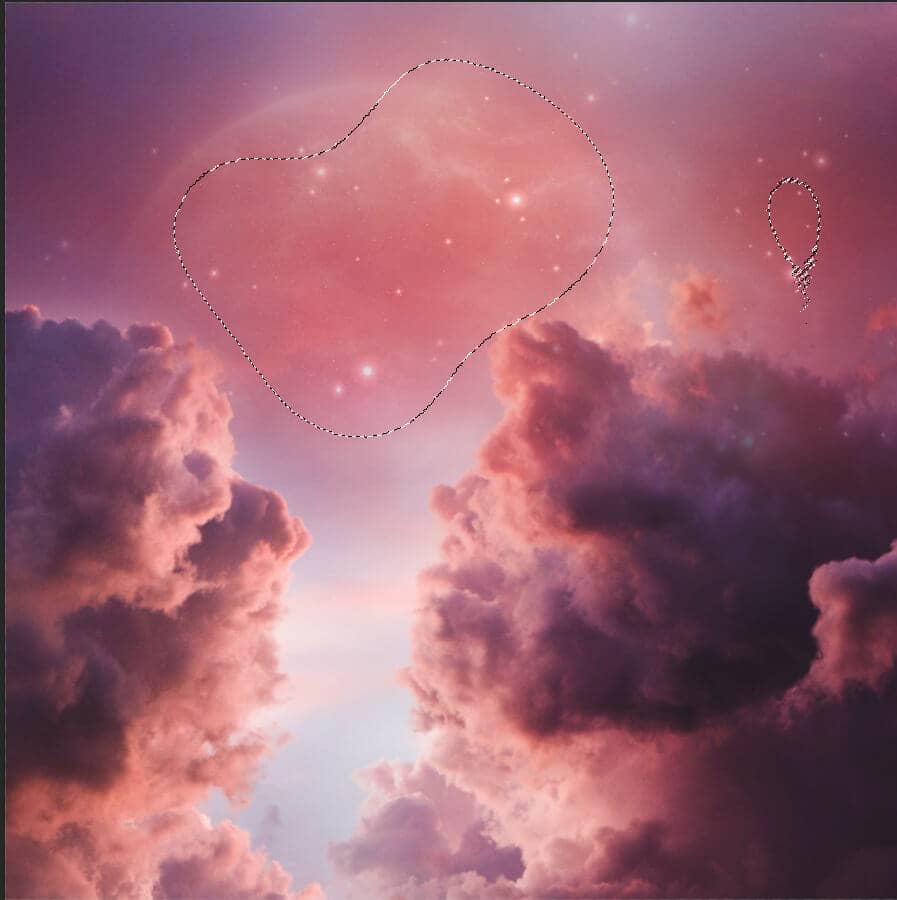
Step 6
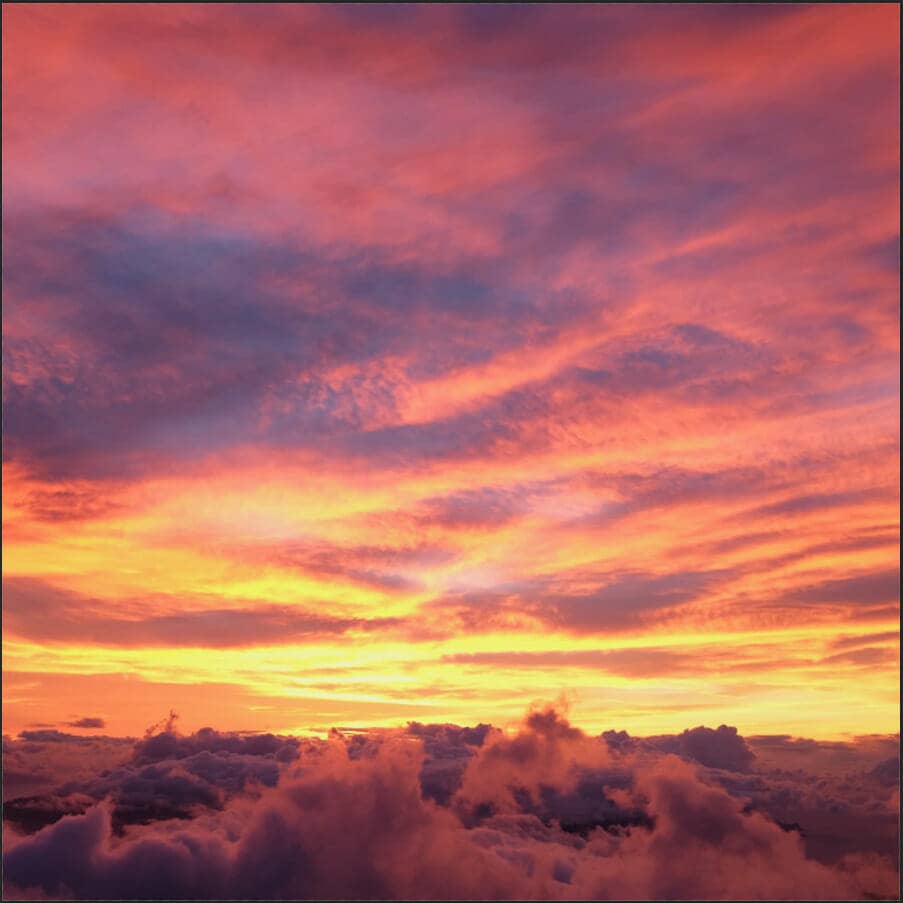
Now, in this step repeat process from the previous step. Place Sky and with Brush Tool delete some areas.
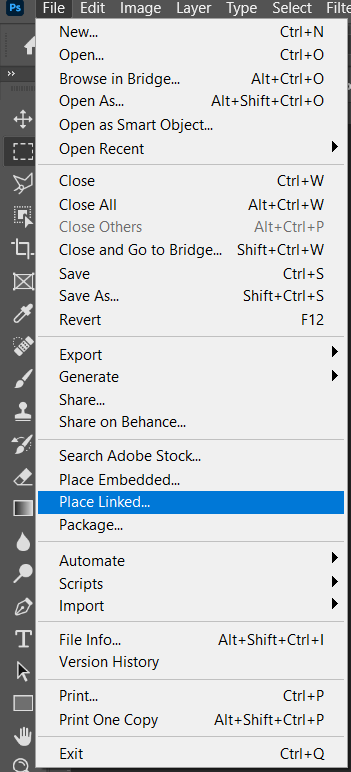

Step 7
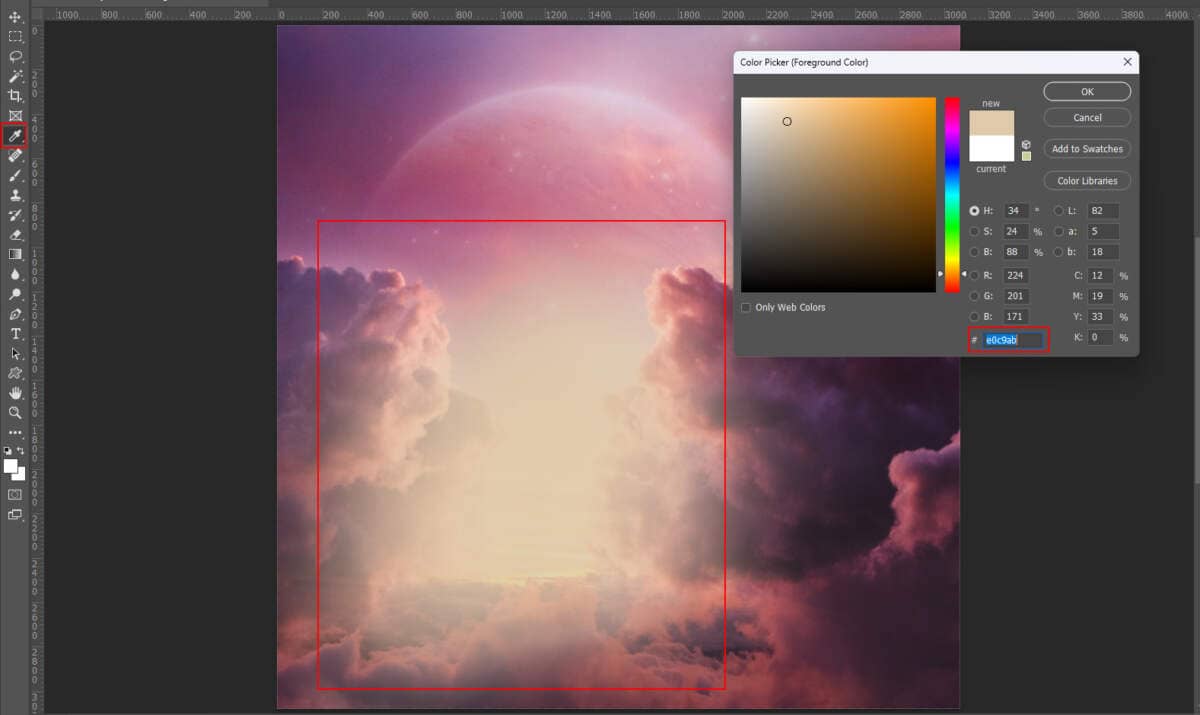
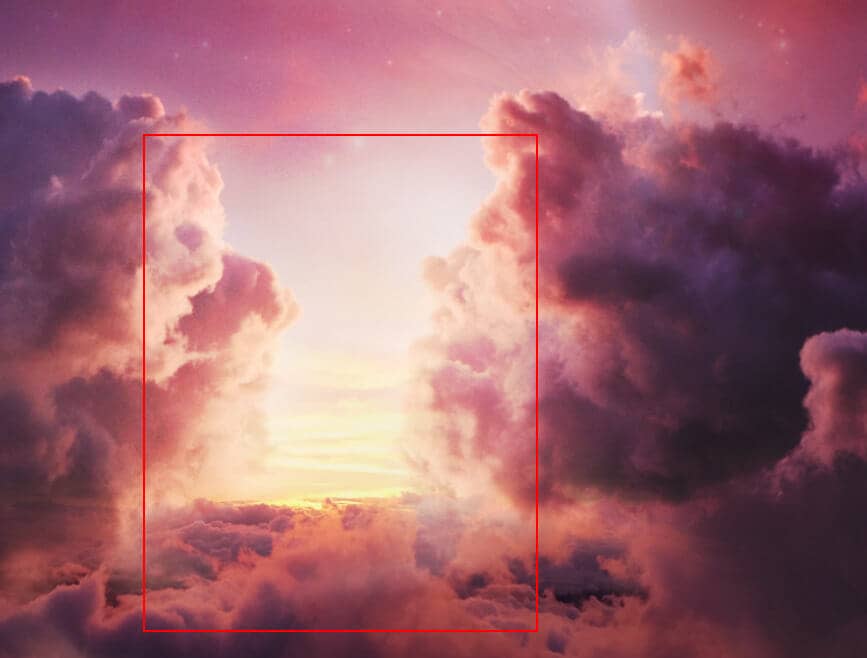
Create a new layer and change the blend mode to Overlay, then use a Brush Tool(B) Soft Round with foreground color orange #e0c9ab. Then paint, but flow set to 10%.

Step 8
Next, place Moon Go to File > Place and select Moon. Then place it to our work canvas and position the image with the transform tool (Ctrl / Cmd + T). Hold Alt + Shift and rasterize like the image below. In Photoshop CC only hold Alt to rasterize all sides together.

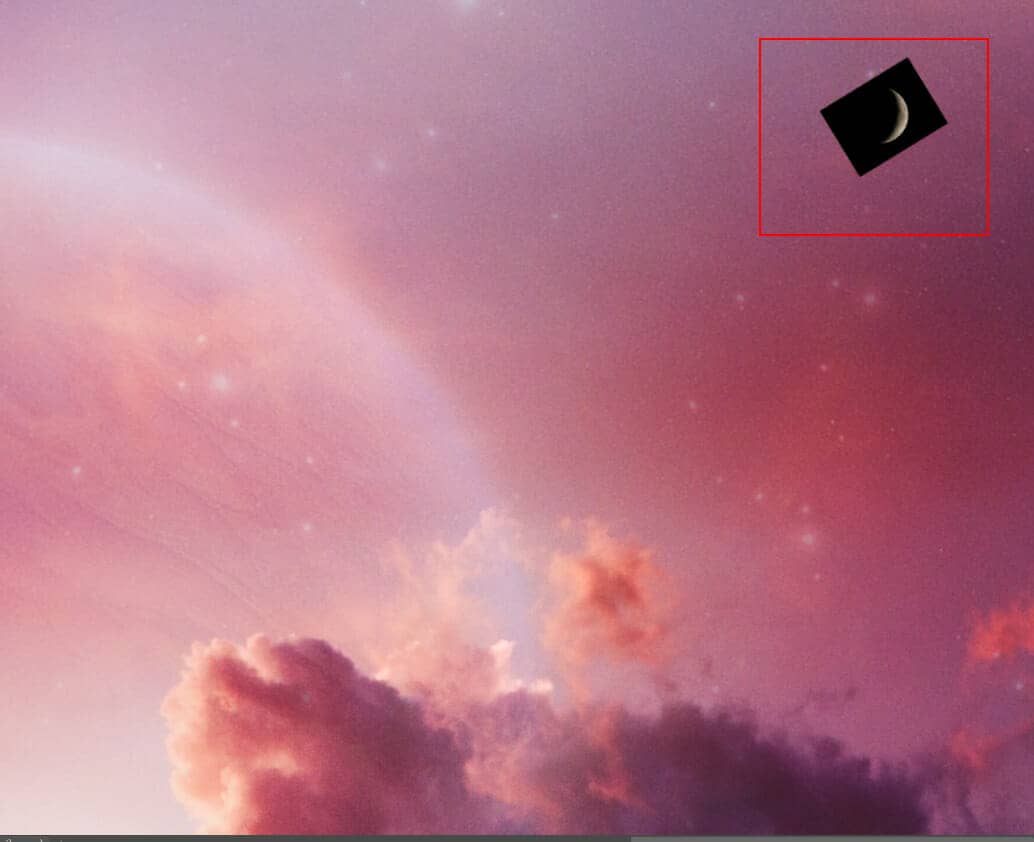
Blend mode set to Screen.

Step 9
Next, we will open Rocket. After you open the image, use the Quick Selection Tool(W) and start selecting. After the selection area has been created, simply copy (Ctrl / Cmd + C) and Paste (Ctrl / Cmd + V) it to our work canvas. Then position the image with the transform tool (Ctrl / Cmd + T). Hold Alt + Shift and resterize like the image below. In Photoshop CC only hold Alt to resterize all sides together.
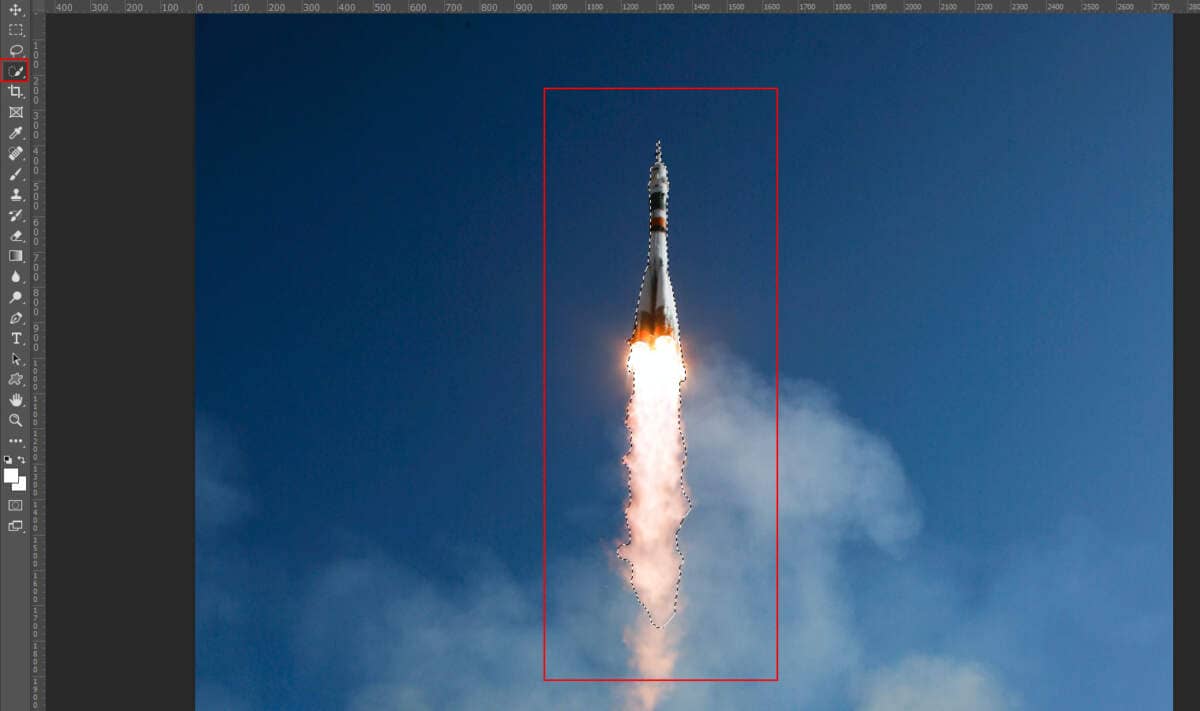
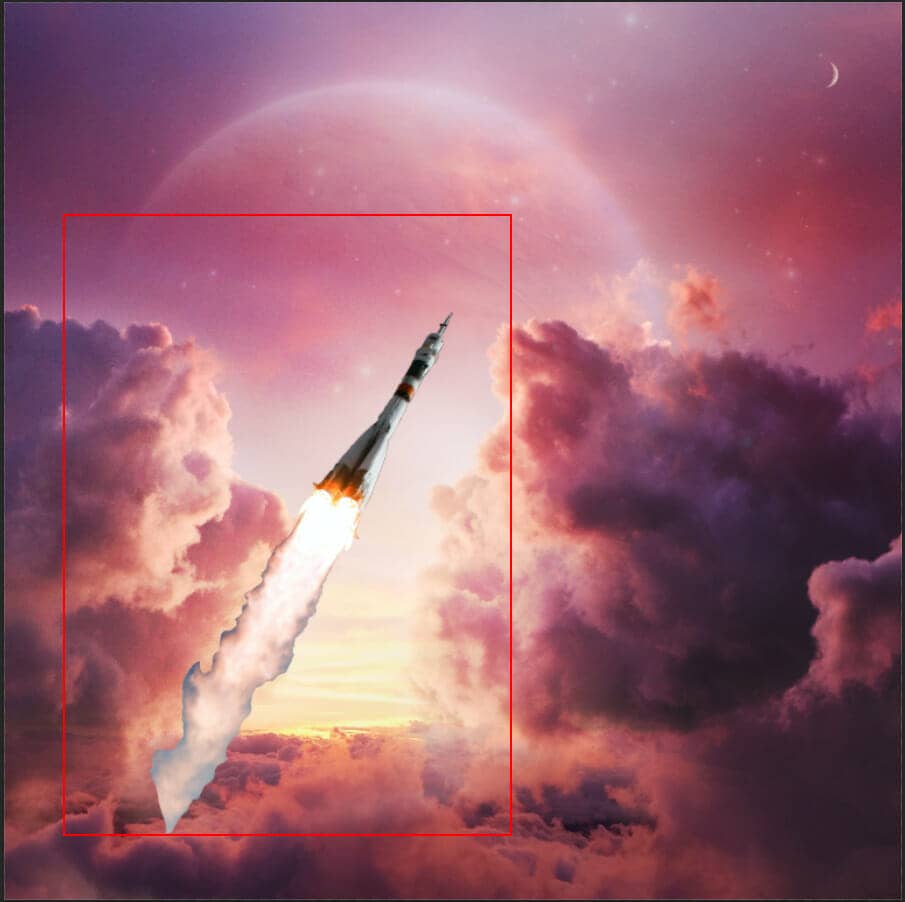
Create a layer mask and with Brush Tool(B) Soft Round delete smoke...


Step 10
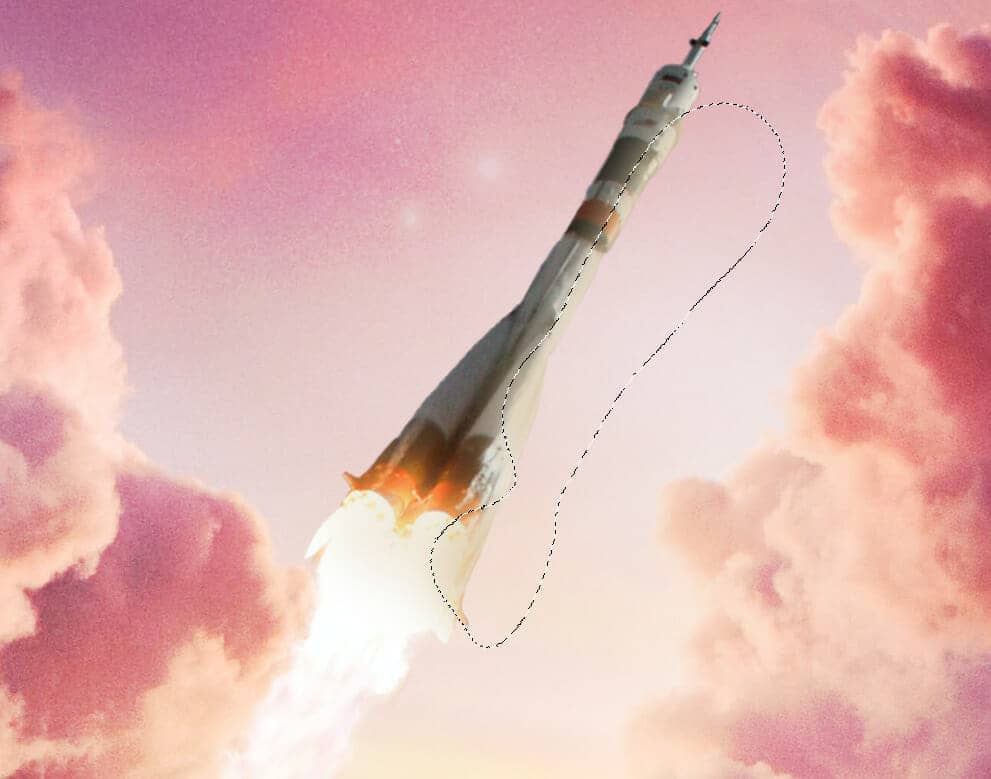
Create a new layer and use Brush Tool(B) Soft Round with foreground color Orange and paint the right side of the rocket. Blend mode change to Overlay.

Step 11
Repeat the same process in this step, but the color change to red... Blend mode set to Overlay with Opacity 50%.


Step 12
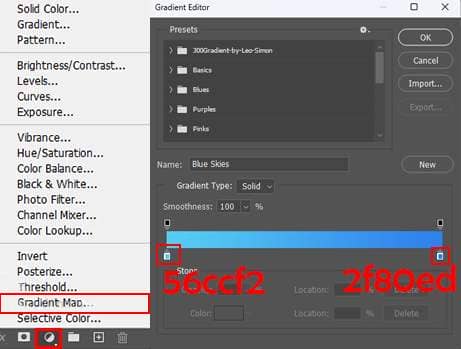
Add Adjustment Layer "Gradient Map" Blend mode set to Soft Light with Opacity 40%.
Step 13
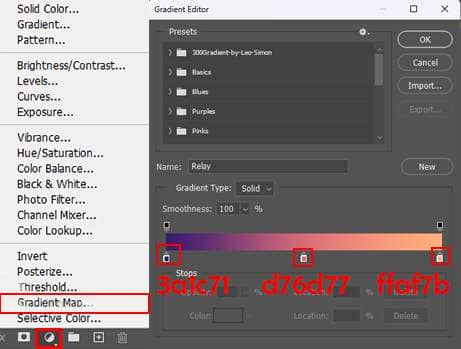
Add Adjustment Layer "Gradient Map" Blend mode set to Hue with Opacity50%.
Step 14
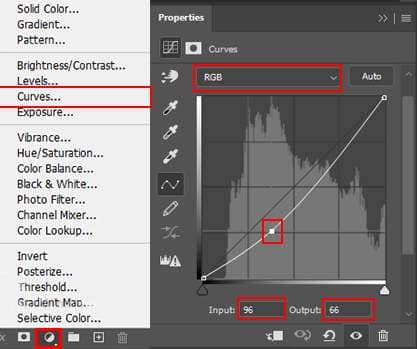
Add Adjustment Layer "Curves"
Step 15
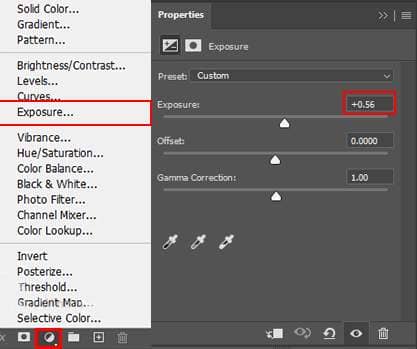
Add Adjustment Layer "Exposure" and press Ctrl/Cmd + I to invert. Then use Brush Tool(B) Soft Round with foreground color white and paint on highlight parts.

Step 16
Next, we need comets and stars for the brush but first, we need to import brushes. Select a Brush Tool(B) and right-click on the background. Now click on the gear icon and Import Brushes (Select a downloaded brush).

