Make your artwork look like they're from an alternate universe. These Cyberpunk presets work with Photoshop (via the Camera Raw filter) and Lightroom. Download all 788 presets for 90% off.
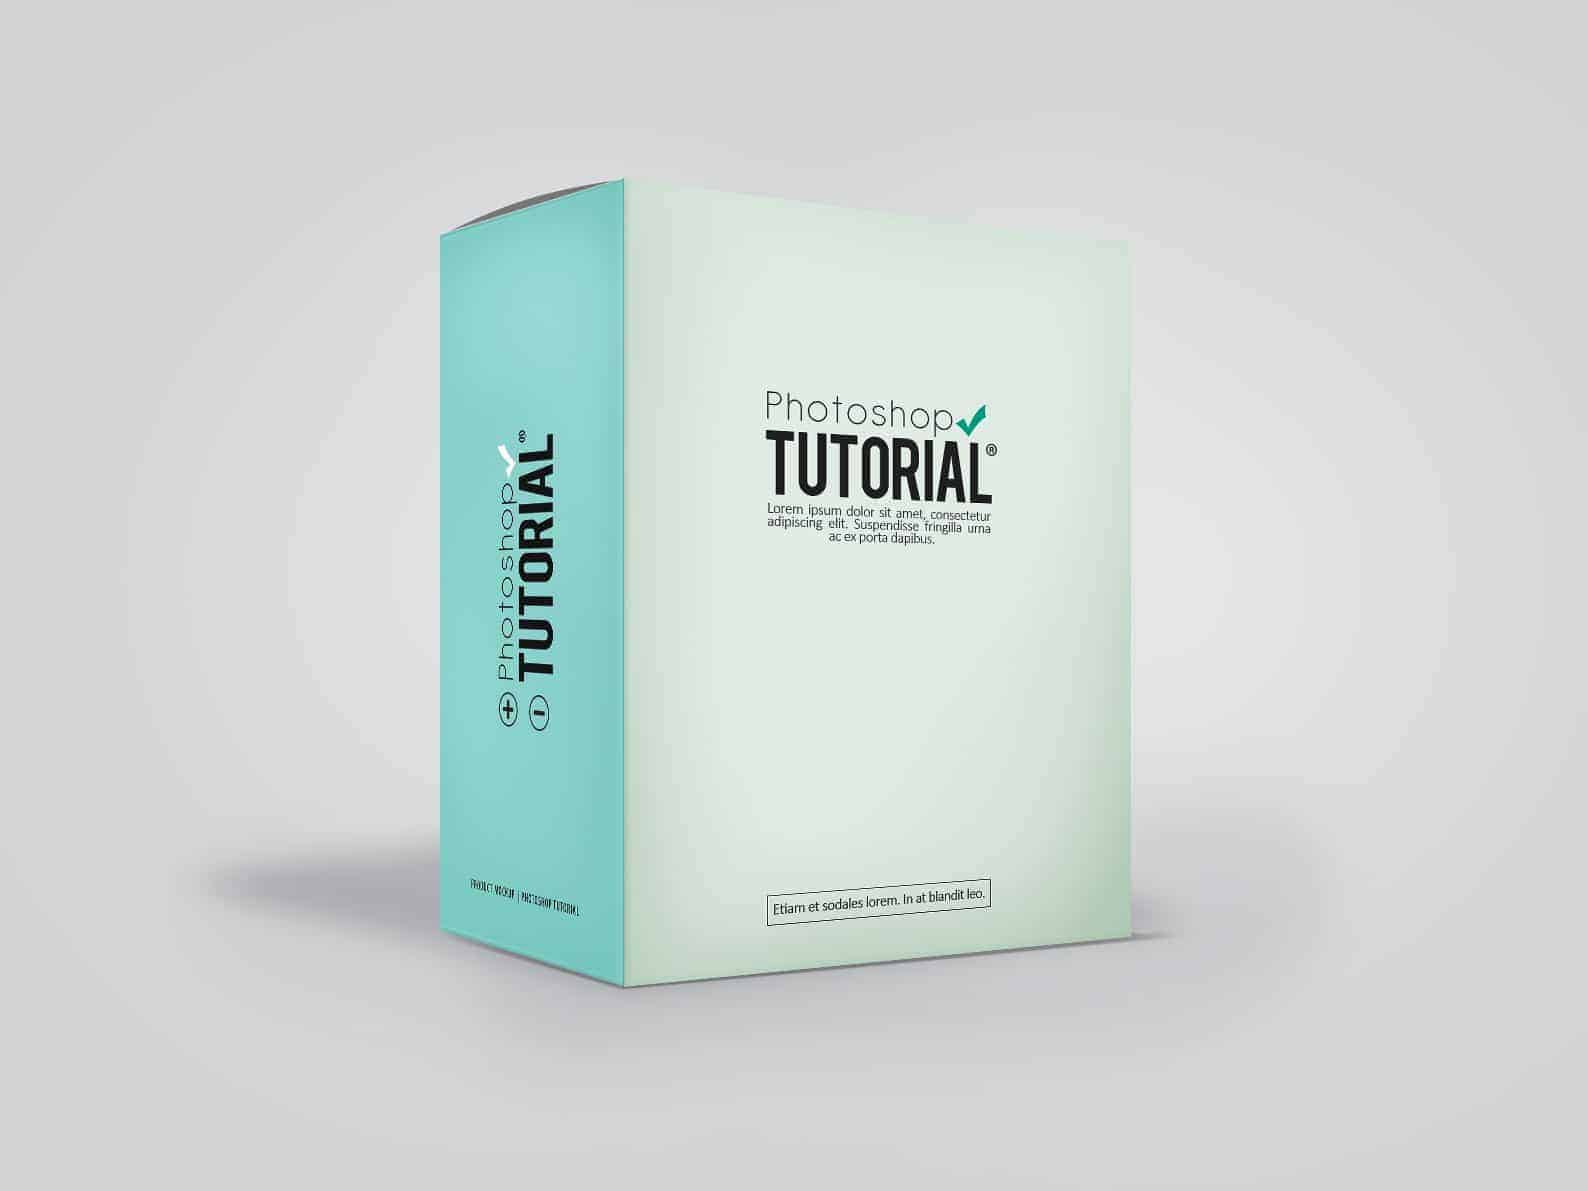
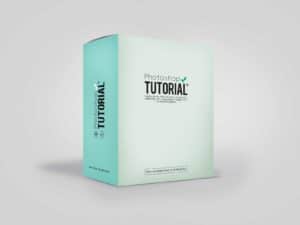
Learn how to create your own realistic looking Product Mockup Box in Photoshop with this very easy tutorial
This image was made to help readers create their very own product mockup. To create this, we'll start by making the boxes. Next, we'll add some designs to the box. Finally, we'll finish it up with shadows and highlights to make the work look more realistic. You'll need Photoshop CS3 or newer to follow this tutorial.
Tutorial Resources
Step 1
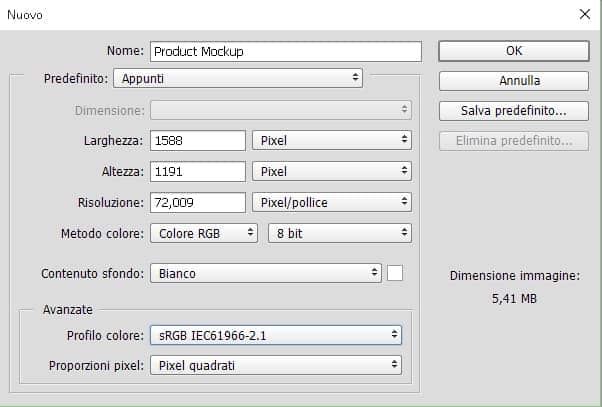
Let's start by creating a canvas at 1588x1191 pixels big then proceed by changing the background color to #d2d3d5;
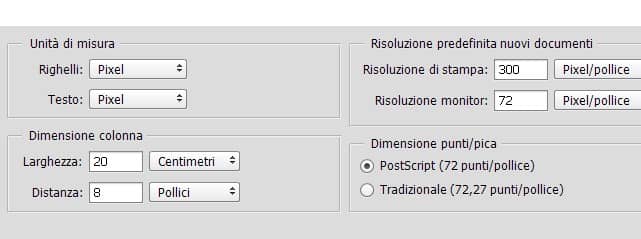
To make this graphic more neat-looking and not disorganized to work with, we need rulers and grids. You can access the rulers by going to View > Rulers (or press Ctrl + R) as for the grids go to View > Show > Grids ( or press Ctrl + , ). Here is my settings for the grids, be sure to change yours the same as mine so that the following steps won't be confusing.
Step 2
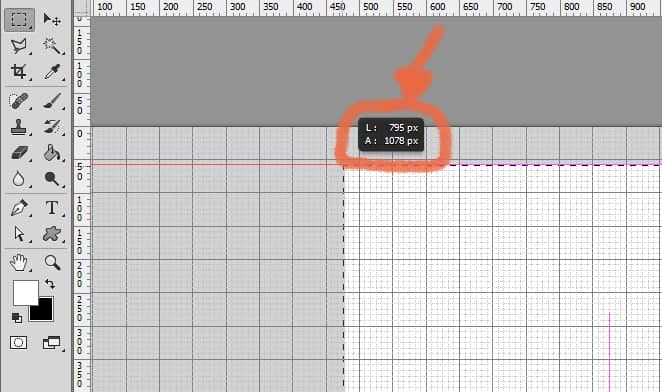
Create a New Group and rename it 'Right Side'. Create a New Layer and name that as 'Right Side' as well. Using the Rectangular Marquee Tool, make a selection that is 795x1078 pixels big. Once you've done that fill the selection with a random color. I just filled it with white (#FFFFFF).
Then proceed by making it a smart object, you can do so by right-clicking the layer then selecting 'Make A Smart Object'. Doing so would let us change everything we want we this layer without actually 'ruining' it.
Step 3
Create another Group but this time name it 'Left Side'. Create a New Layer and name that as 'Left Side' as well. Just like what we did before, we need to make a selection and then follow up by filling it with a random color. This time, make a selection that is 483x1078 pixels big. Then just like what we did in the previous step, transform the layer into a smart object.
Step 4
Before actually doing the design part, let's adjust the layers and transform them into a 3d realistic box. And we'll start with the Right Side of the box. Select that layer and then press Ctrl + T we need to transform it and we'll start by actually shrinking it (shrink it by 75%) a bit until it's only 814~ tall. Be sure that you don't forget to click on the chain icon when shrinking it. Then Go to Edit > Transform > Perspective and transform it like so: (basically you just want to touch the right side....)

5 comments on “How to Create Your Own Product Mockup Box in Photoshop”
Thanks so much - this was really helpful!
Thanks for this tutorial :)
Thank you for your efforts you're at level
this great idea ...for making my own mockup !!!! simple ,,,, just play in contrast :)
like your photoshop tutorial
I have always wanted to create my own mockups and this was a great tutorial on how to do a product box using smart objects. Thanks!