Download Lightroom presets and LUTs, absolutely free. Use the presets to add creativity and style to your photos.
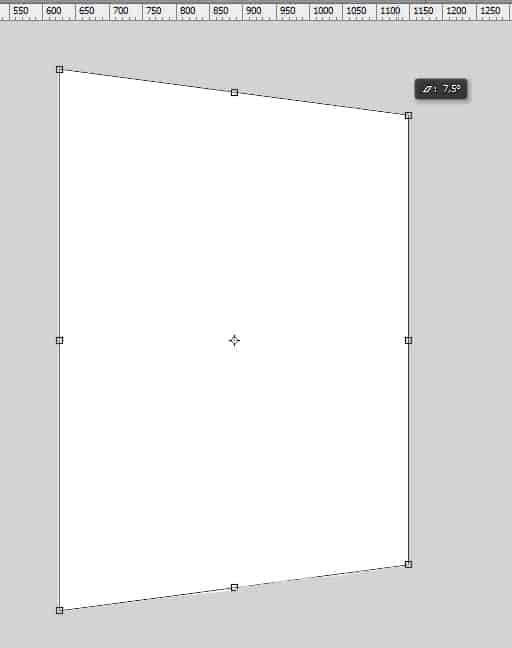
Then Press Ctrl + T, hold the Ctrl key and you want to shrink the right side just a bit to make it look more like a rectangle rather than a fat square.

Step 5
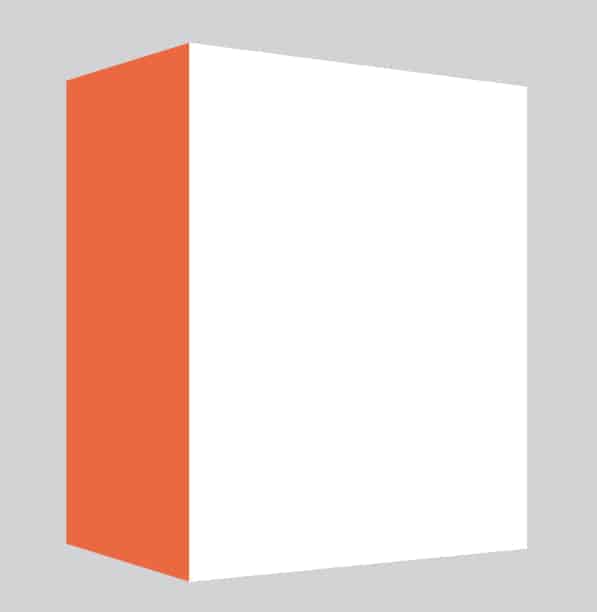
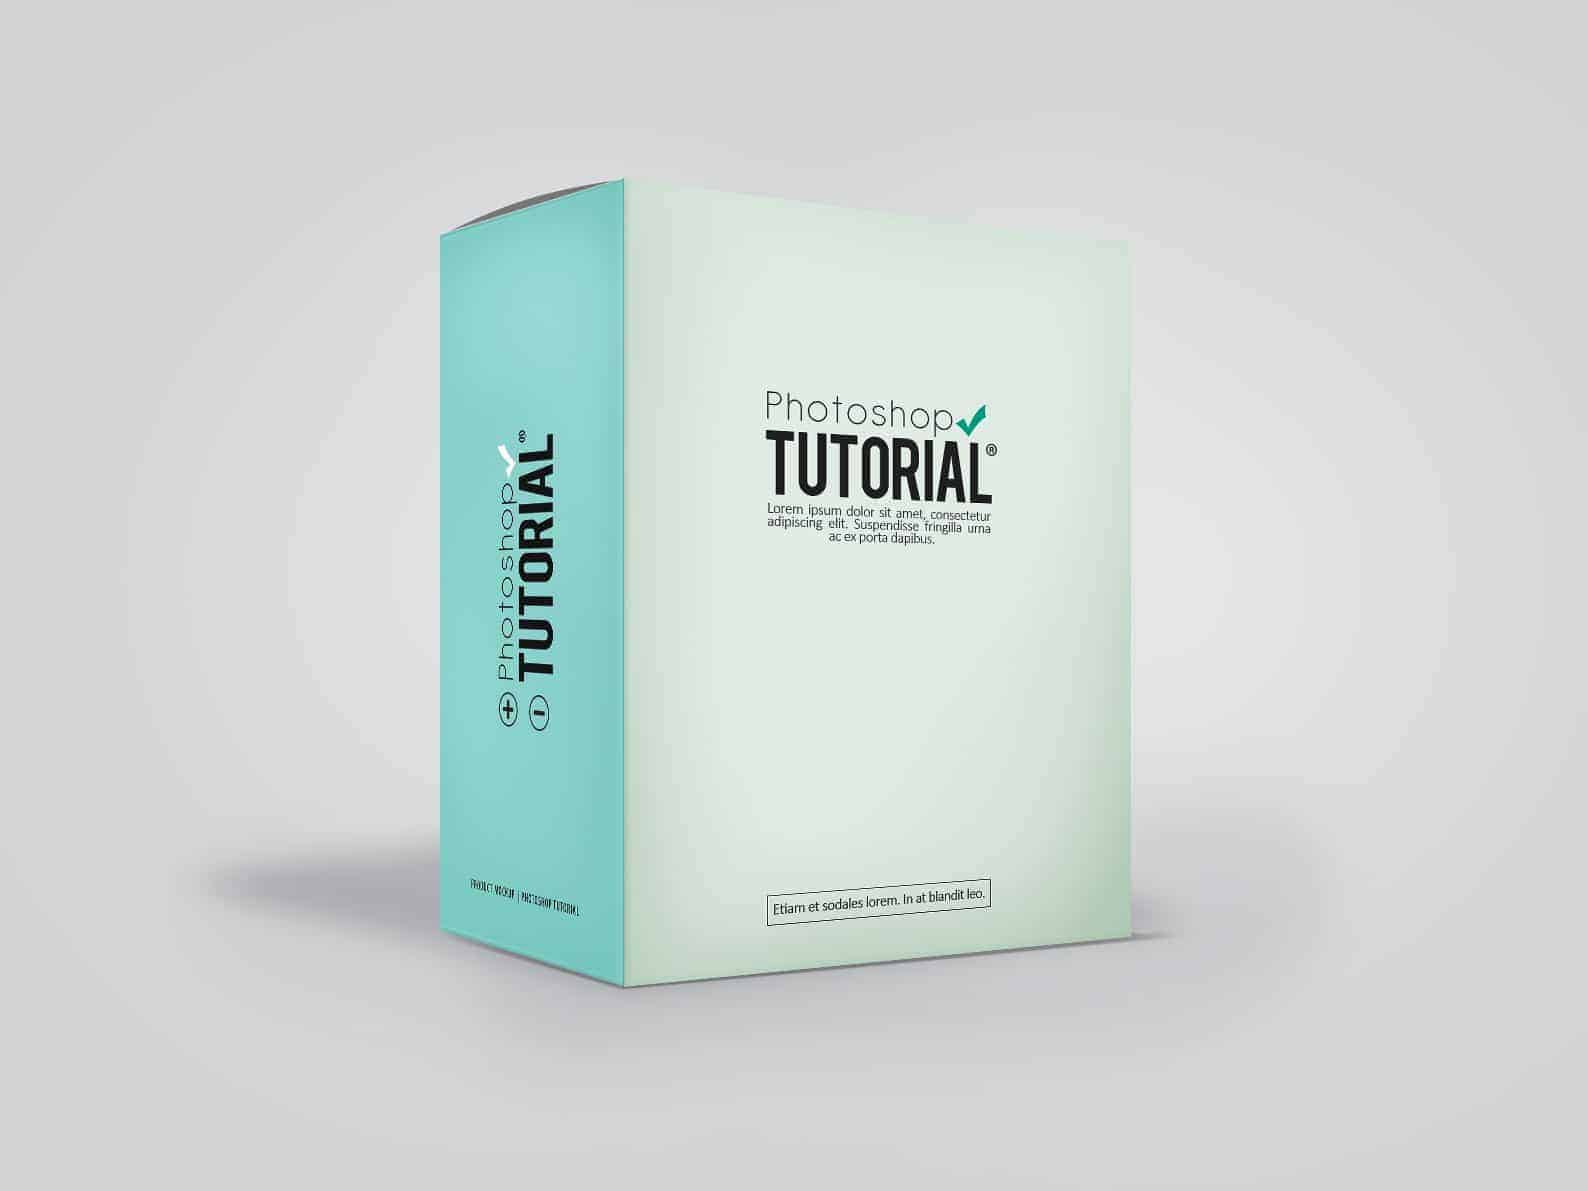
As for the left side of the box we will be doing another thing. First just like what we did before, you want to shrink it by 75%. With this section of the box, you just want to use hold the Ctrl key and transform it until you come up with what looks like a 3d box... make sure that the height of the distorted sides are parallel to the distorted part of the right section, don't forget to shrink the left section of the box. You'll have something like this in the end...
Step 6
Now that that's done, we can finally start doing the design part. We'll start with the right section of the box so with that being said, select that layer and double-click the smart object to open it. In this part, you can either create your own design or follow whatI'm doing.
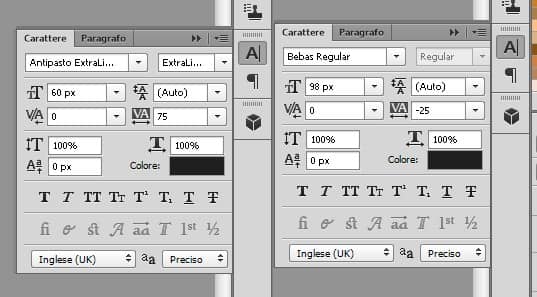
For the design I did, I used a sky blue color scheme for the box. So if you want to follow the design I did, start by changing the background color to #e1ebe4; mine is actually just a simple one. After the background let's proceed by doing the title (placed on the top-center of the design..). I used the following fonts for the title (I used the color #1f1f20;) :
To add more detail, I added a check (#009a81;) and a registered symbol using the Custom Shape Tool.
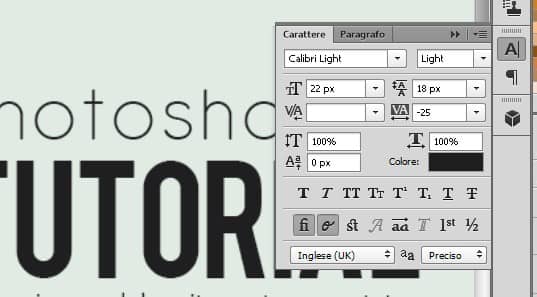
Then to proceed I added a random text under the title using the Paragraph Tool (this can be accessed by selecting and dragging randomly with the Text Tool). I used the following settings for it:
I ended by adding another text on the bottom center then had a box highlight it using the shape tool.
Step 7
Once you've done your design save it and as soon as you save it you'll see that the design you just made will show up on our original canvas. Now let's proceed with the left section... so just like before, select the left section and double-click the smart object icon to open it and then create your design for that section. For those who decided to follow the design I did, change the background color to #a5dfda; then just copy and place the title we did on the right section of the box but tilt the text. Change the color of the check symbol to white and add more symbols (all the symbols I used can be found on the Custom Shape Tool).

5 comments on “How to Create Your Own Product Mockup Box in Photoshop”
Thanks so much - this was really helpful!
Thanks for this tutorial :)
Thank you for your efforts you're at level
this great idea ...for making my own mockup !!!! simple ,,,, just play in contrast :)
like your photoshop tutorial
I have always wanted to create my own mockups and this was a great tutorial on how to do a product box using smart objects. Thanks!