Make your artwork look like they're from an alternate universe. These Cyberpunk presets work with Photoshop (via the Camera Raw filter) and Lightroom. Download all 788 presets for 90% off.
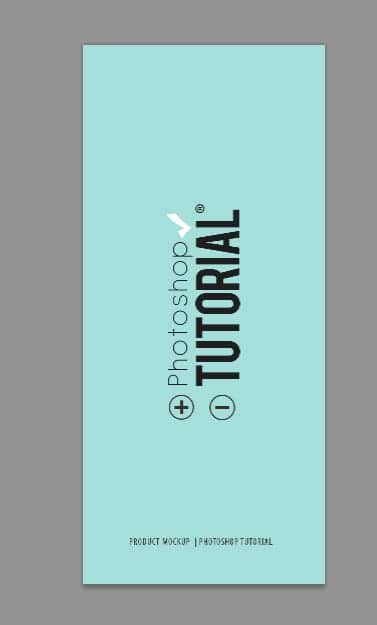
Then just like before, add random text on the bottom part of the design.
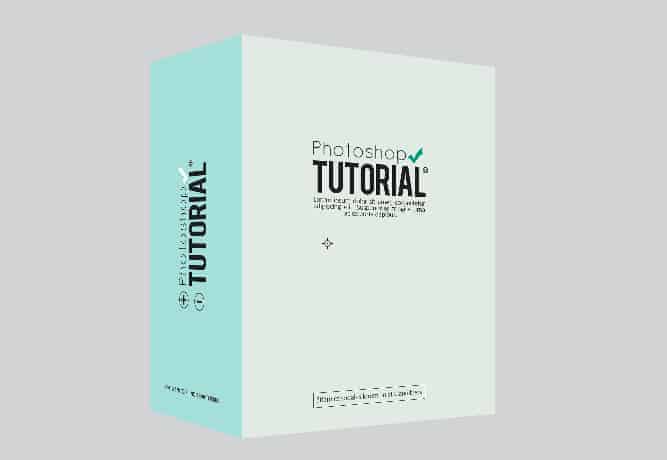
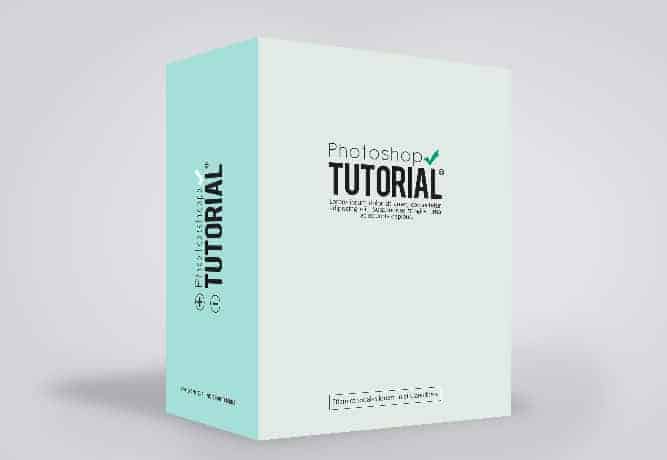
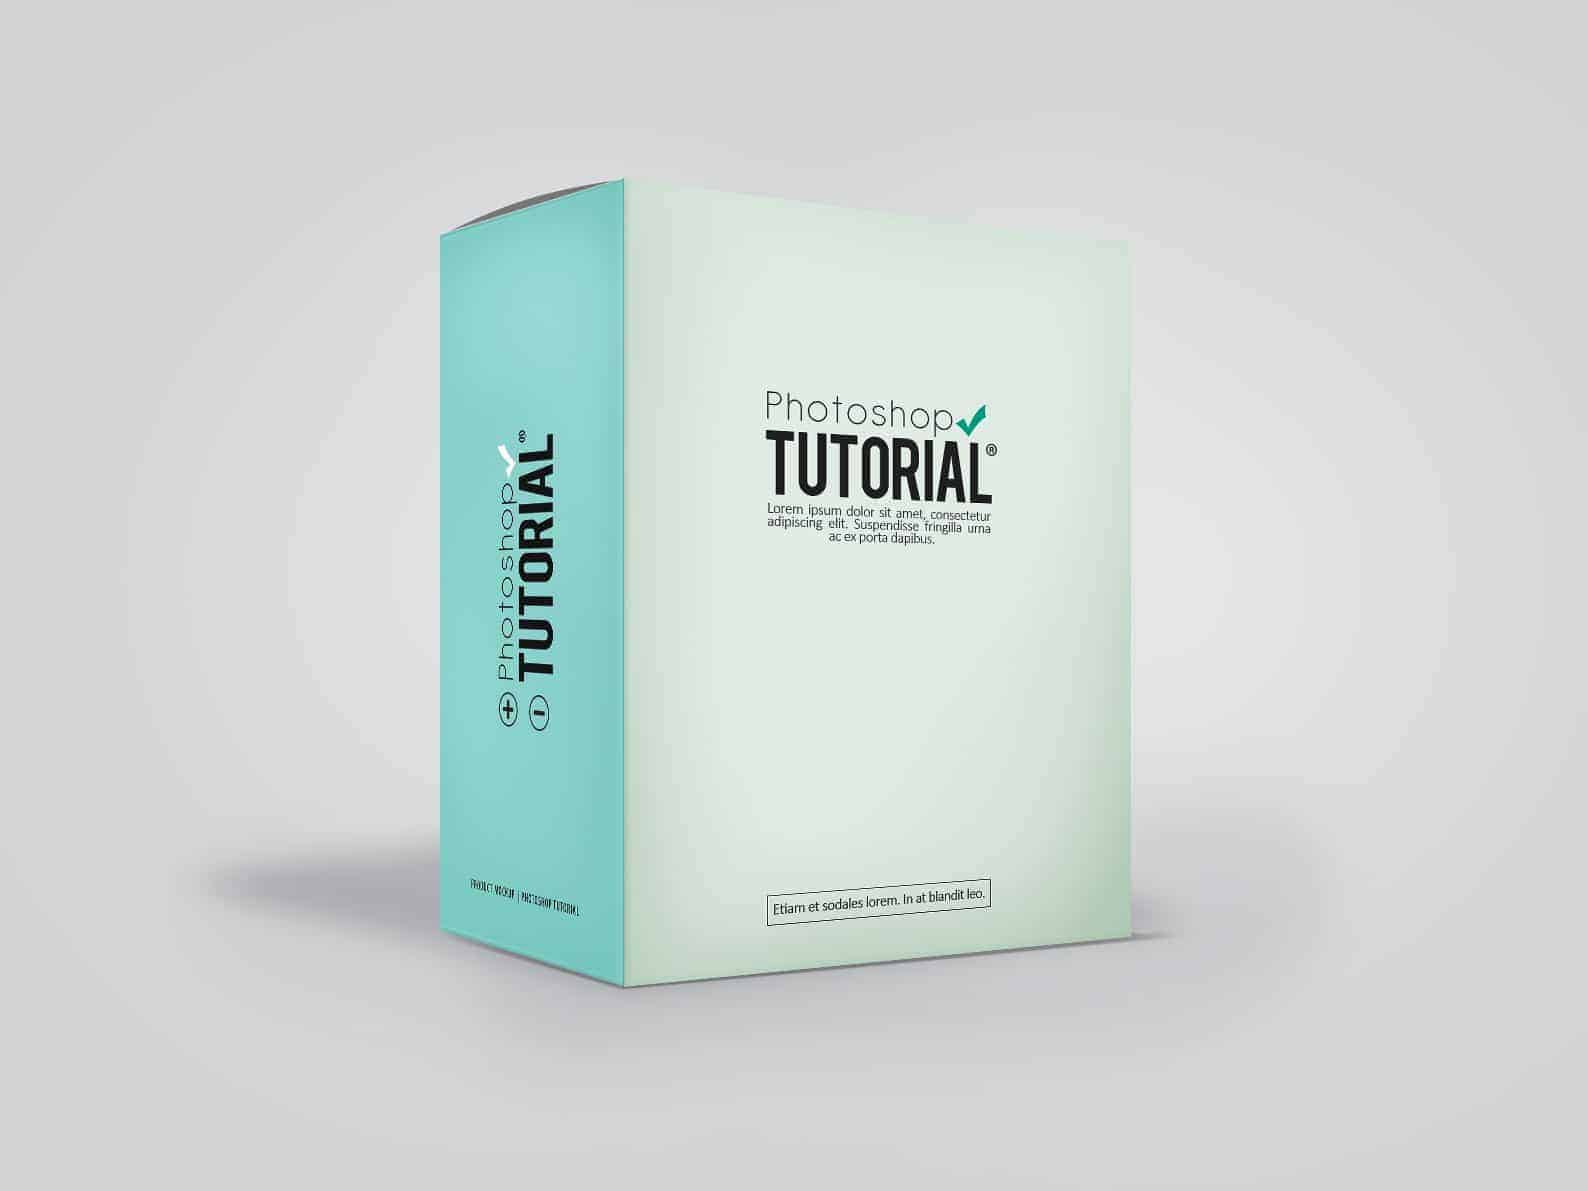
Once you're happy with your design, save it. Here is what it looks like right now:
Step 8
Now that we are done with our design, we'll proceed by adding shadows to make it look more realistic. Let's start by creating a new group and this time name it 'Shadows'. Create a new layer and name it 'Back'. Proceed by making a selection that is as big as our box and then fill it with black. Once you've done that proceed by distorting it by holding the Ctrl key and make it distorted as shown below. Once you're done gaussian blur the layer then change the blend mode to soft light.
Step 9
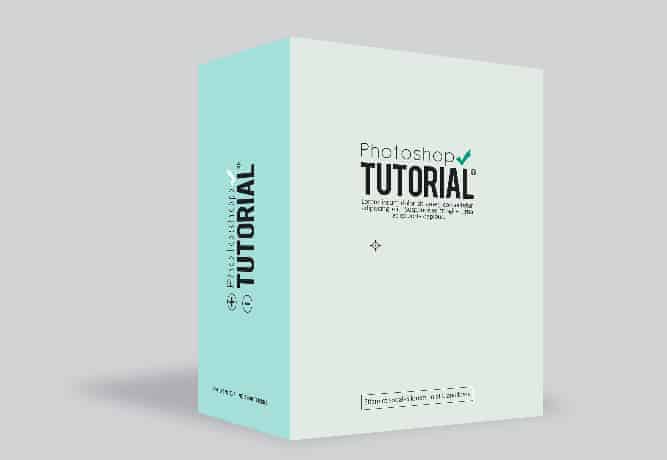
Create a New Layer and name it 'Bottom'. Change your foreground color to #000000; and using the brush tool (brush at a relatively big size, hardness at 0%) brush randomly at the bottom part of the box then change the blend mode to soft light and the layer's opacity to 85%
Step 10
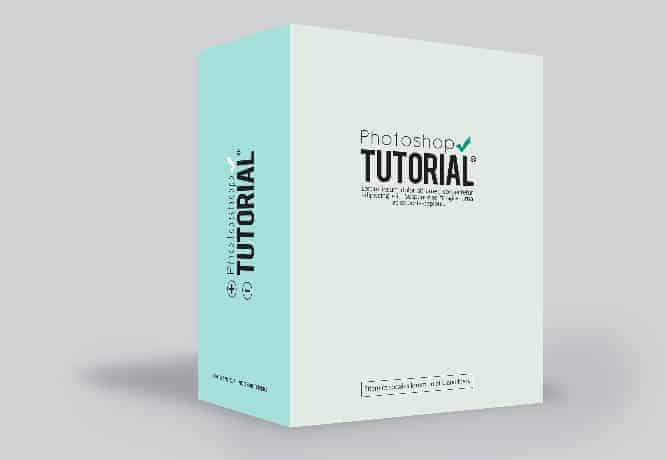
Create a new layer and this time name it 'Light'. Change your background color to #ffffff; make your brush size bigger and brush three times at the center of the box. Change the blend mode to soft light.
Step 11
Create a new layer and name it 'Bottom 2'. Then select the brush tool and change it like so.
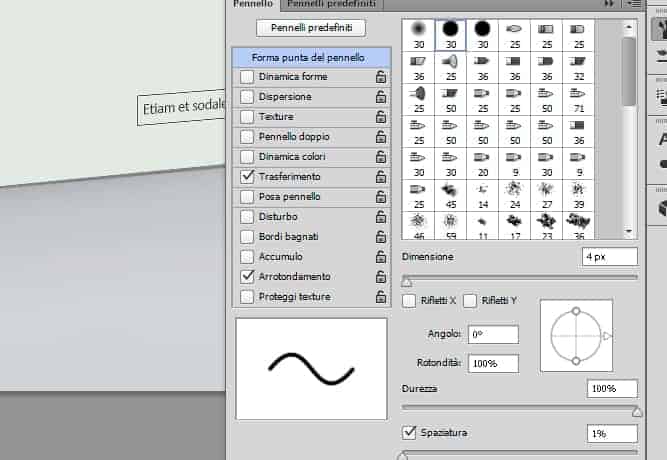
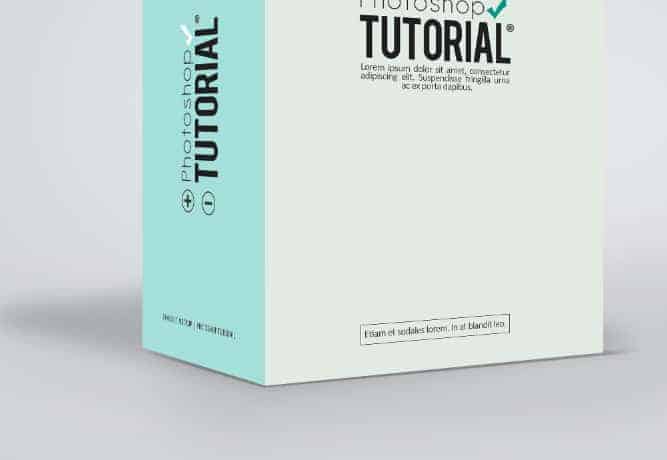
Select the Pen Tool and make a path around the bottom part of the box and then right-click> stroke path and make sure that the box that says Stimulate Preassure is ticked. Follow by changing the opacity and fill respectively to 50% and 55%
Step 12
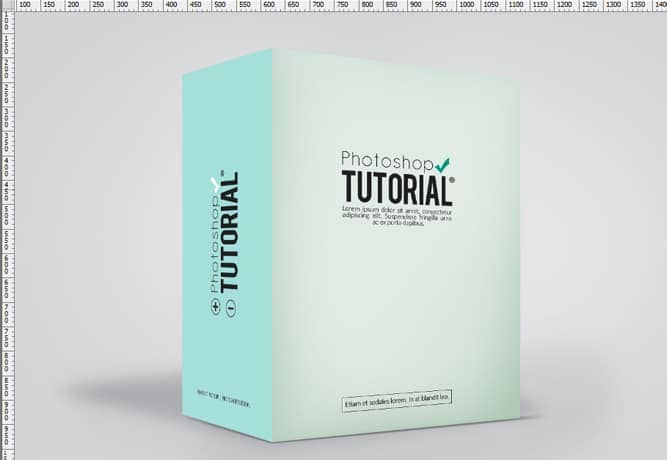
Open the 'Right SIde' Group, create two new layers and name them 'Shadows' and 'Shadows 2' and make sure that they are both clipped to the design layer. Use a soft brush with the hardness at 0%. Set both layers' blend mode to soft light. With the first 'shadow' layer, make a big U shape around the box. With the second one, use the same brush but with a lighter opacity and brush around the text part of the design to give it more depth and emphasis.
Step 13
Create two new layers and name them 'details:shadows' and 'details:highlights'. In this step you just want to repeat step 11. Use #ffffff; for the highlights and #000000; for the shadows. Make a path just above and below the box

5 comments on “How to Create Your Own Product Mockup Box in Photoshop”
Thanks so much - this was really helpful!
Thanks for this tutorial :)
Thank you for your efforts you're at level
this great idea ...for making my own mockup !!!! simple ,,,, just play in contrast :)
like your photoshop tutorial
I have always wanted to create my own mockups and this was a great tutorial on how to do a product box using smart objects. Thanks!