Turn any photo into a dot grid artwork with these Photoshop actions. You'll get great results with dots that change size. They get larger in brighter areas and smaller in darker areas. Free download available.

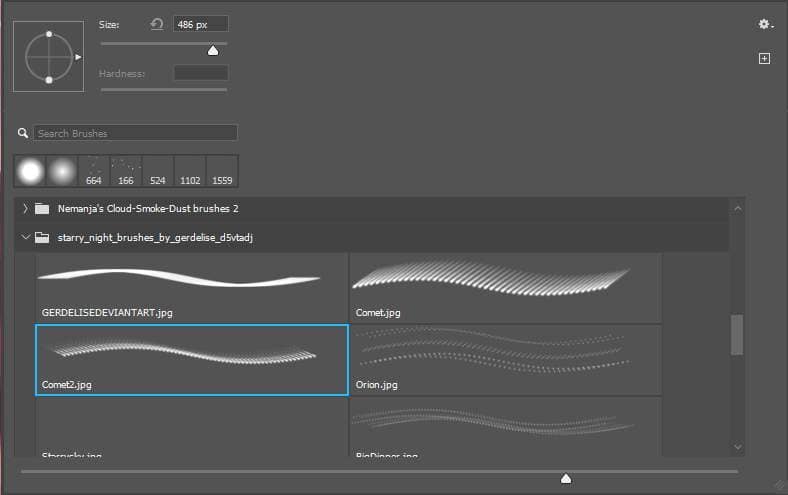
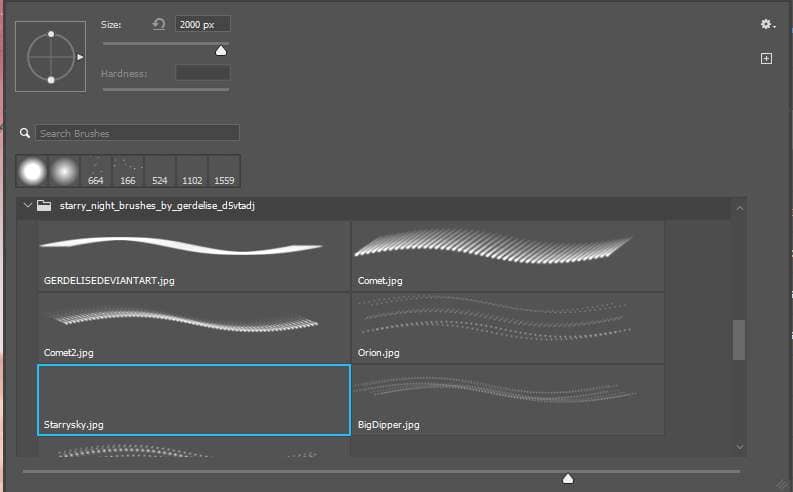
Create a new layer with the Foreground color White and opacity 60%. Select Brush Tool(B) and right-click on the background to select the starry night folder.
Now we can paint comets and stars.

Step 17
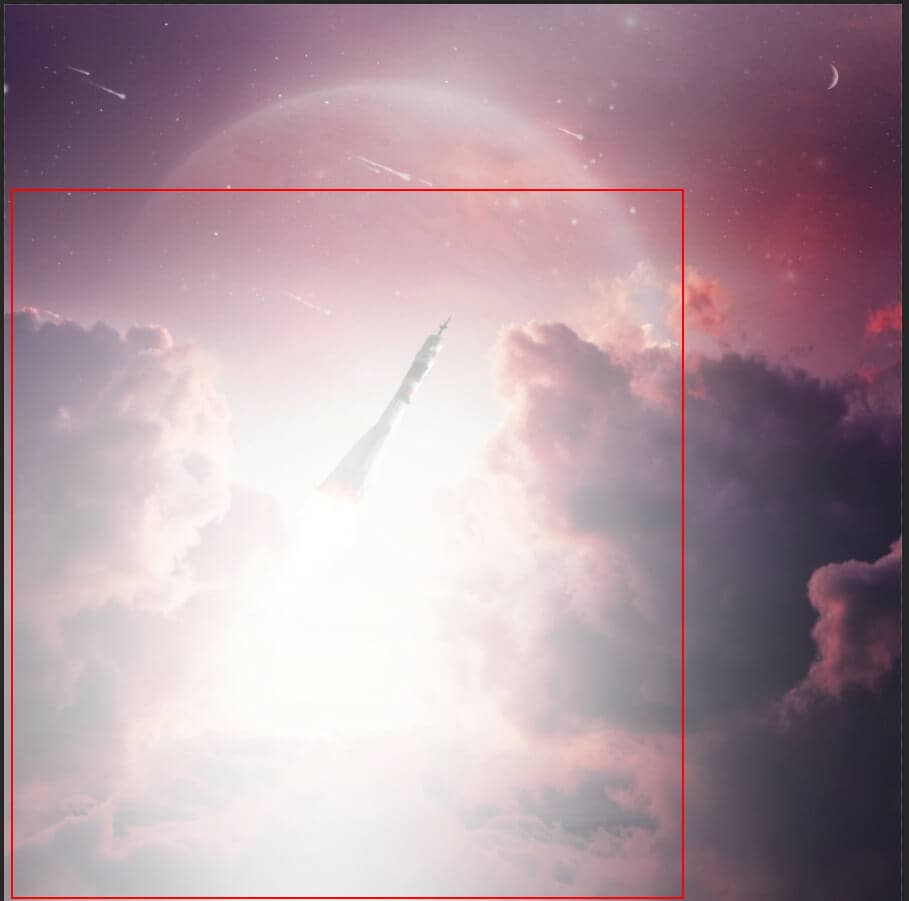
Create a new layer and change the Blend Mode to Soft Light with the opacity of 20%, then use a Brush Tool(B) Soft Round with foreground color white and paint.

Step 18
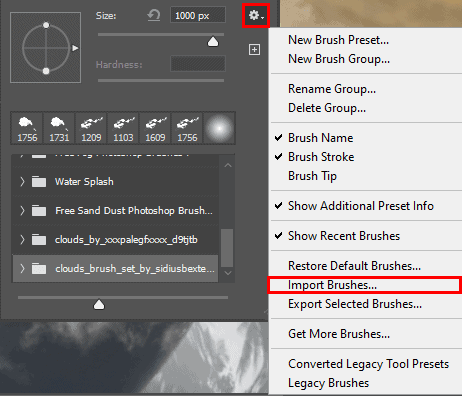
Next, we add Rays but first we need to import brushes. Select a Brush Tool(B) and right-click on the background. Now click on the gear icon and Import Brushes (Select a downloaded brush).
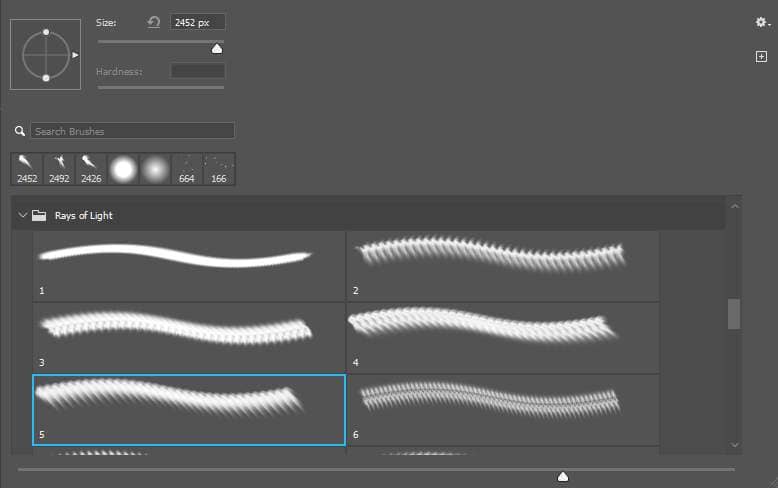
Now create a new layer and paint rays, foreground color set to white with opacity 30%.
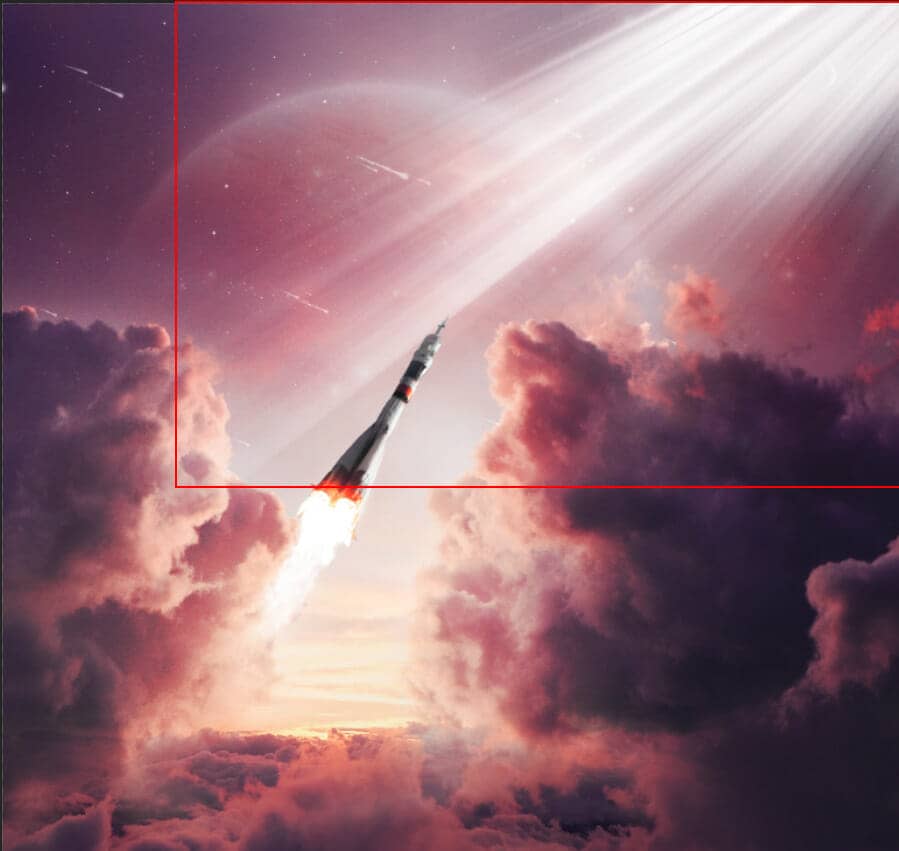
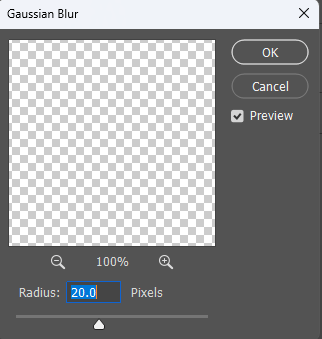
Next, add a blur effect. Go to Filter > Blur > Gaussian Blur and set the radius to 20px.

Step 19
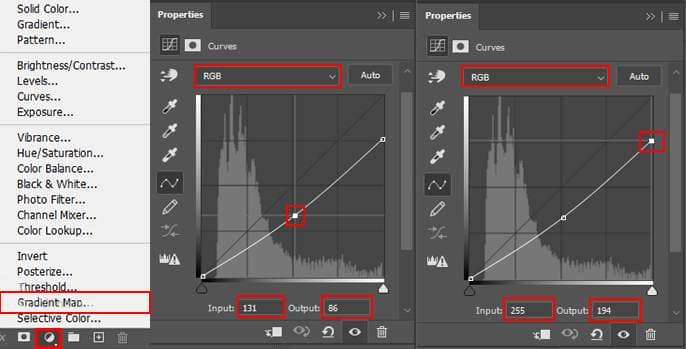
Add Adjustment Layer "Curves" and press Ctrl/Cmd + I to invert. Then use Brush Tool(B) Soft Round with foreground color white and paint on dark parts.
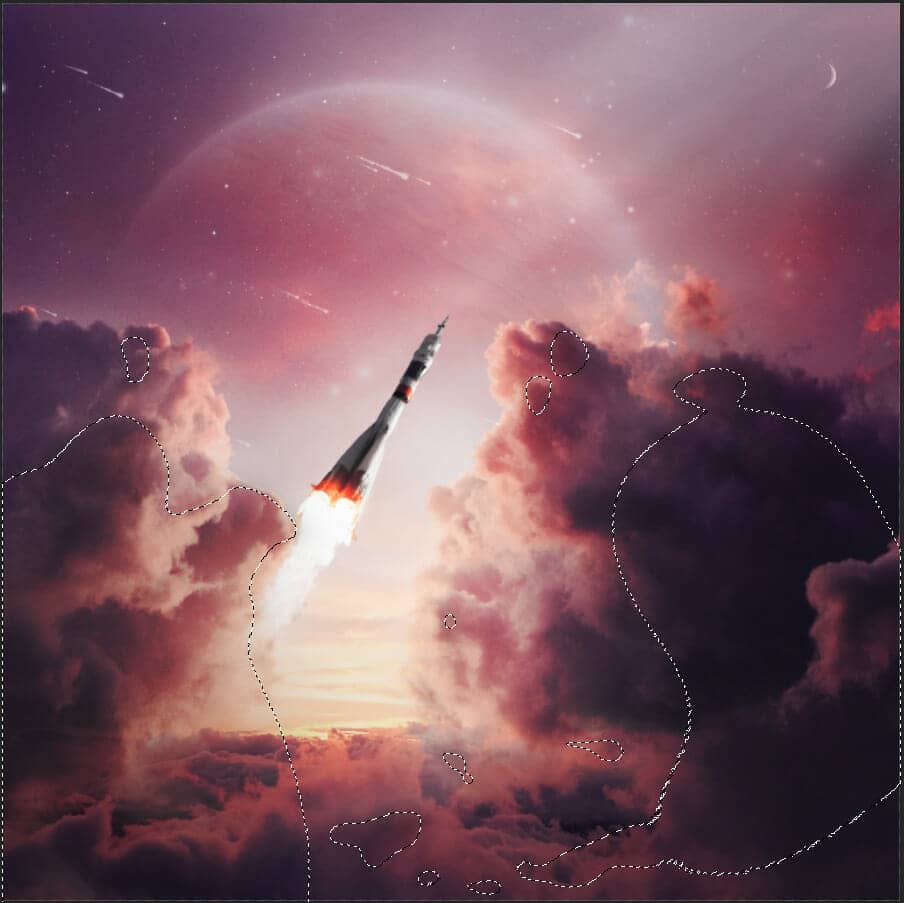
Step 20
Add Adjustment Layer "Curves" and press Ctrl/Cmd + I to invert. Then use Brush Tool(B) Soft Round with foreground color white and paint on highlight parts.
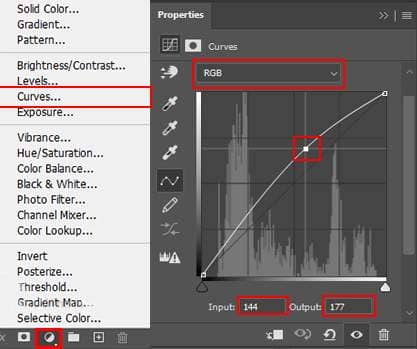
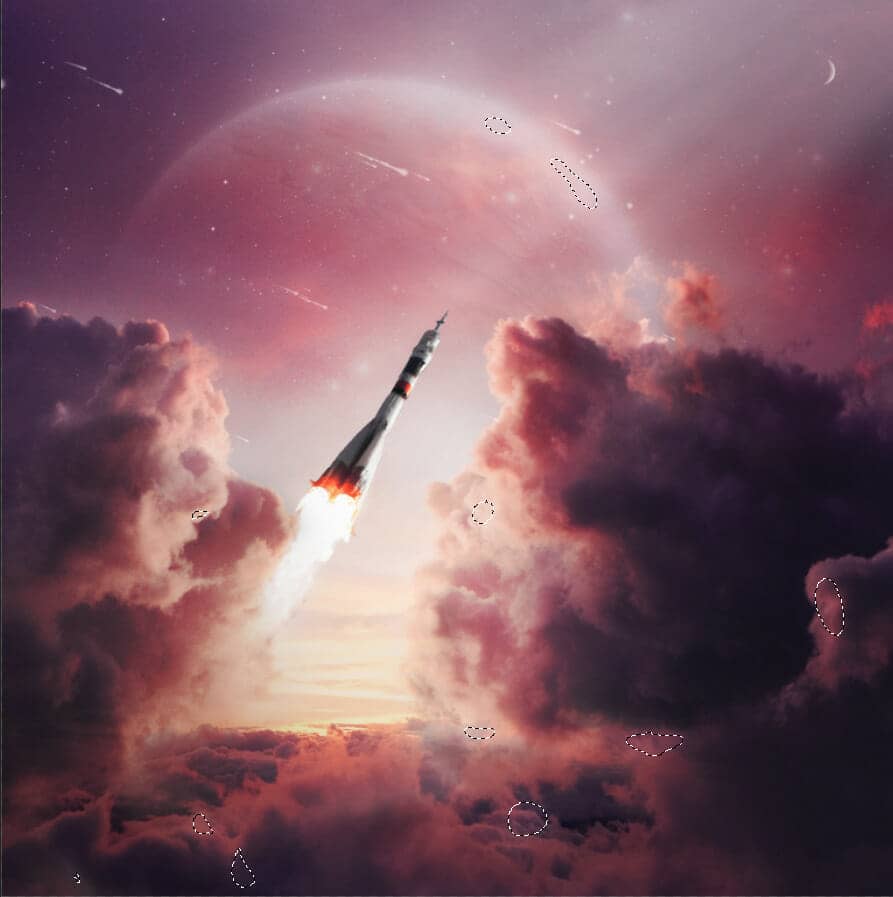
Step 21
Add Adjustment Layer "Color Lookup" and set 3DLut File to "TealOrangePlusContrast"
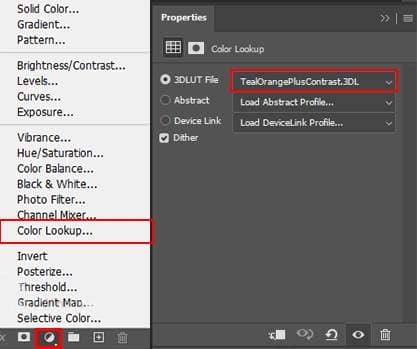
Opacity set to 25%.
Step 22
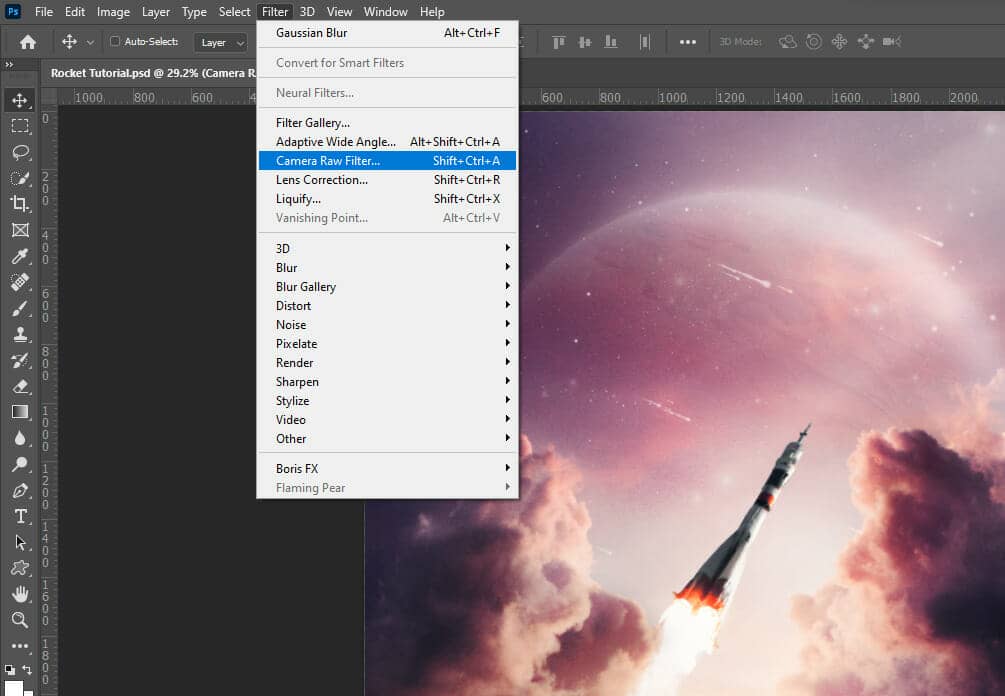
When we finished all this, now merge all layers into one. Select the last layer and hold CTRL/CMD + SHIFT + ALT + E. Now we have a final layer, right-click on the mouse and select Convert to Smart Object. Then go to Filter > Camera RAW Filter. At its most basic, the Photoshop Camera Raw filter allows you to use the functions of the ACR interface at any time within Photoshop.
Step 23
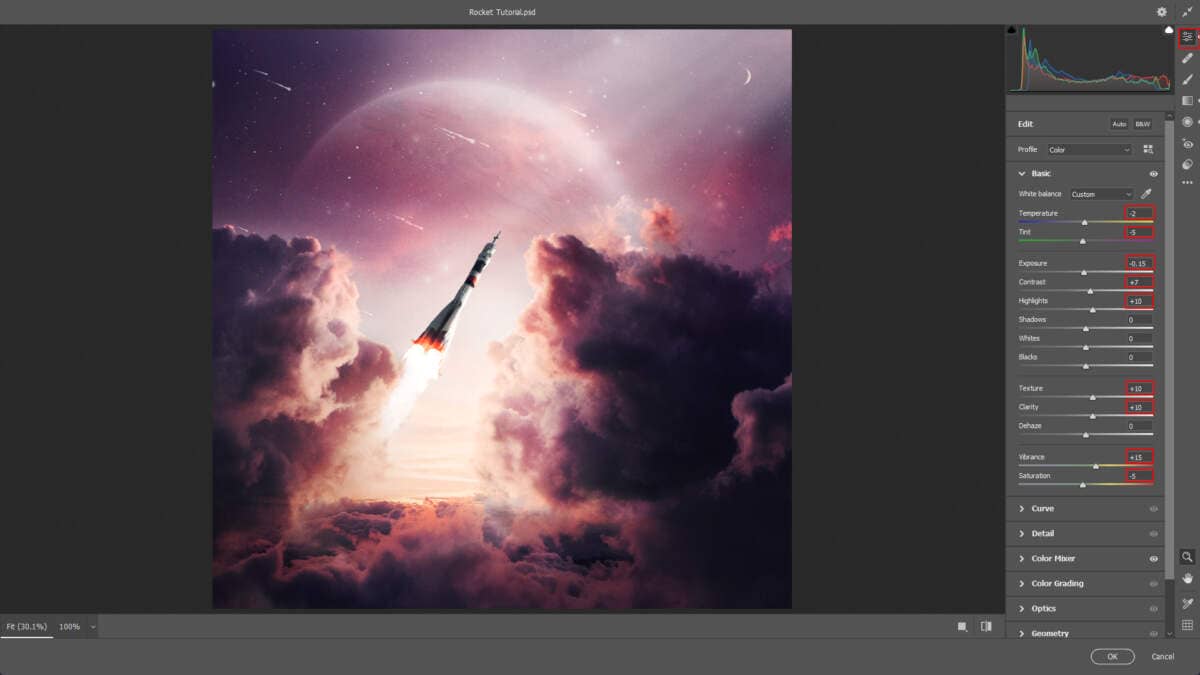
Now in Camera Raw Filter, set the Value: Basic
- Temp: -2
- Tint: -5
- Exposure: -0.15
- Contrast: +7
- Highlights: +10
- Texture: +10
- Clarity: +10
- Vibrance: +15
- Saturation: -5
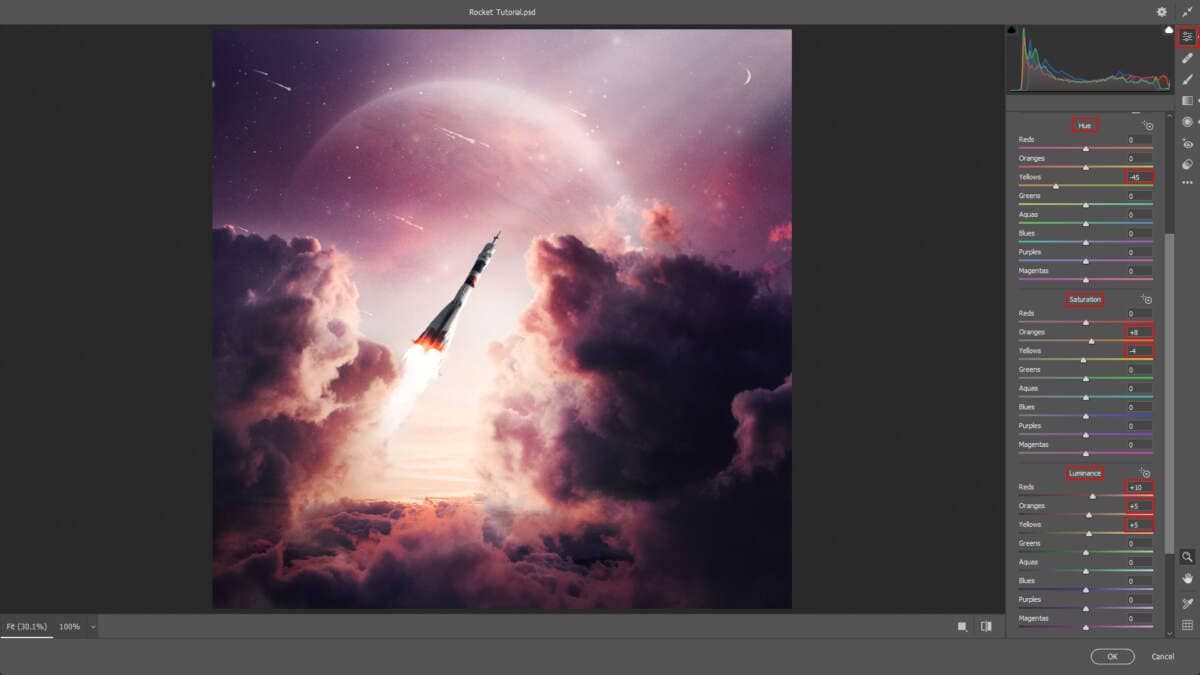
Color Mixer
Hue
- Yellows: -45
Saturation
- Oranges: +8
- Yellows: -4
Luminance
- Reds: +10
- Oranges: +5
- Yellows: +5
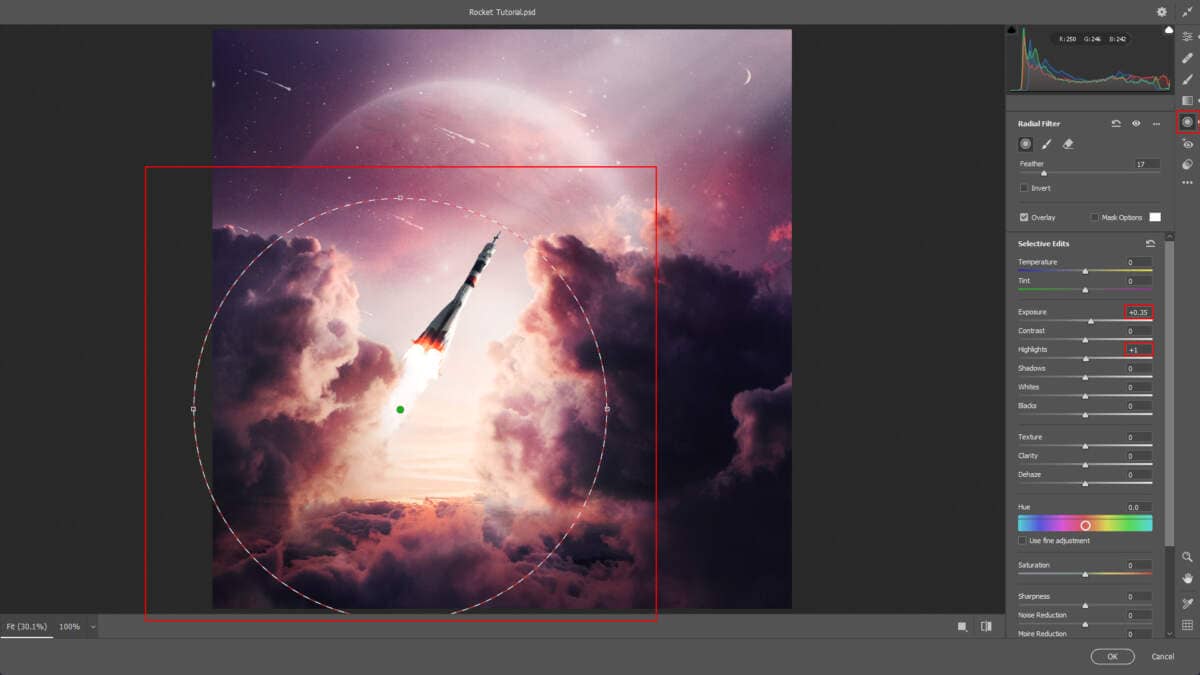
Radial Filter
- Exposure: +0.35
- Highlights: +1
Graduated Filter
- Exposure: +0.45
- Highlights: +1

And finally, everything should look like this.

Final Results


