Luminar AI lets you turn your ideas into reality with powerful, intelligent AI. Download the photo editor and see how you can completely transform your photos in a few clicks.
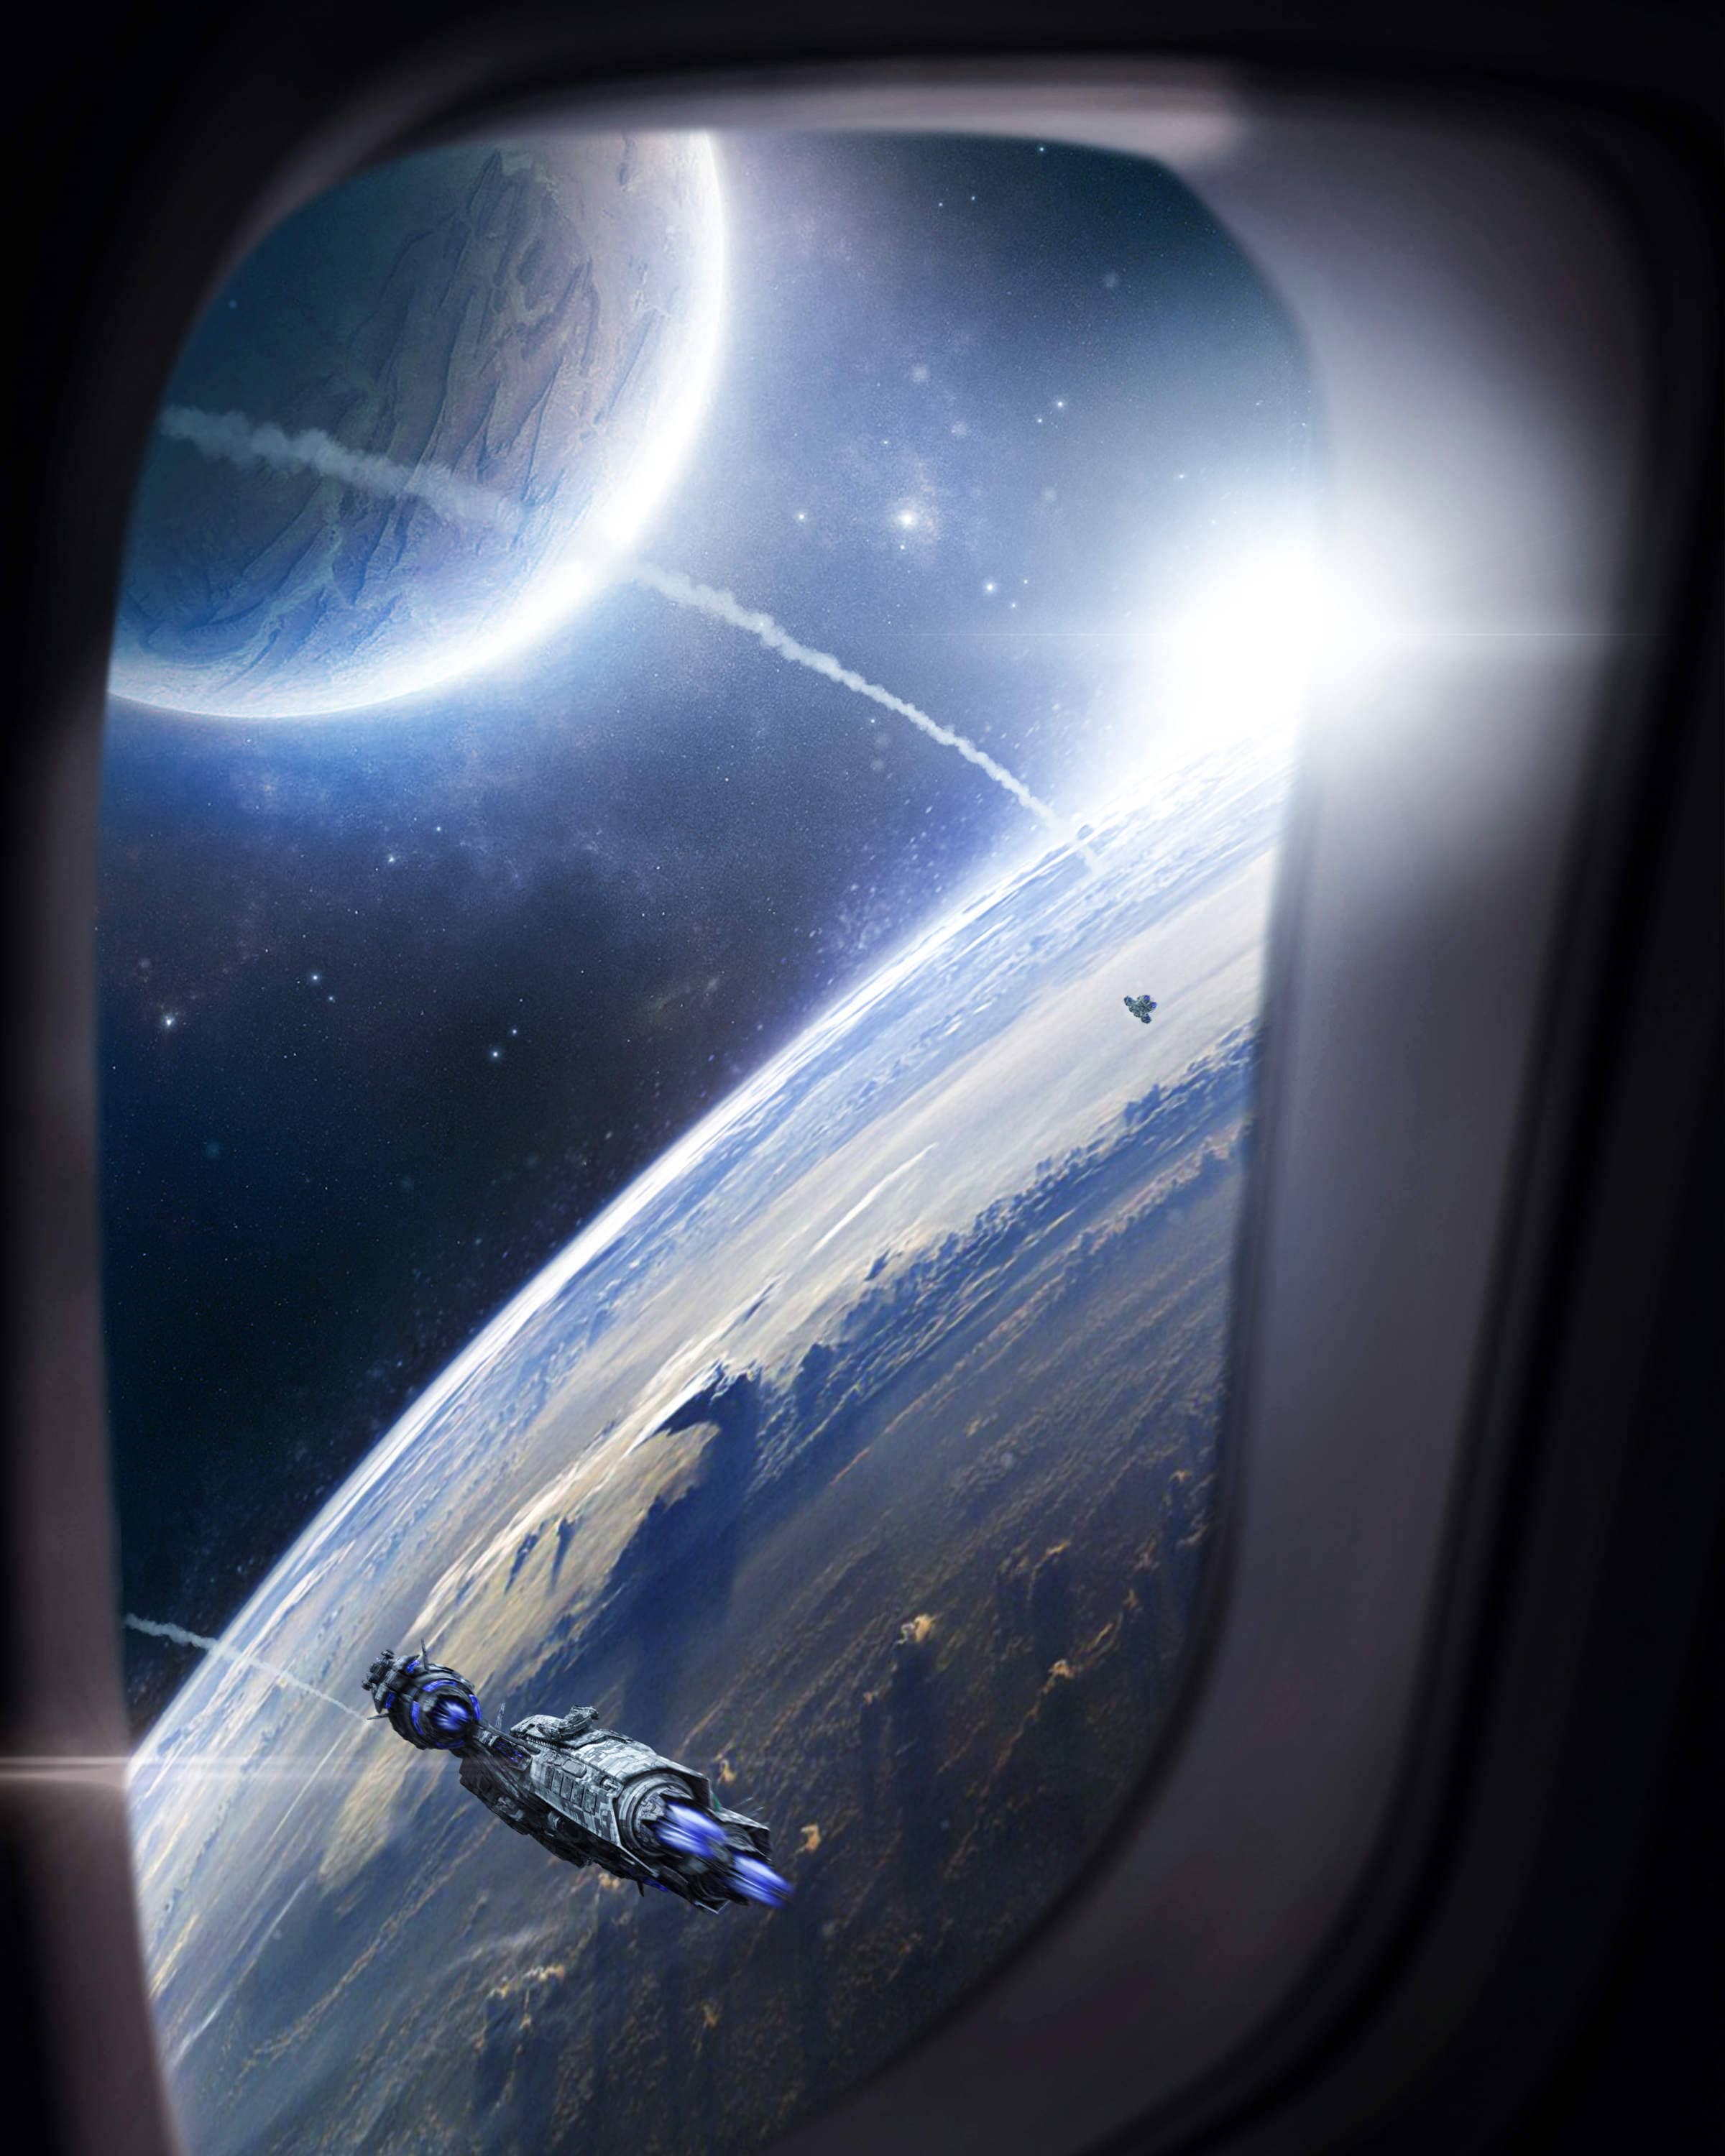
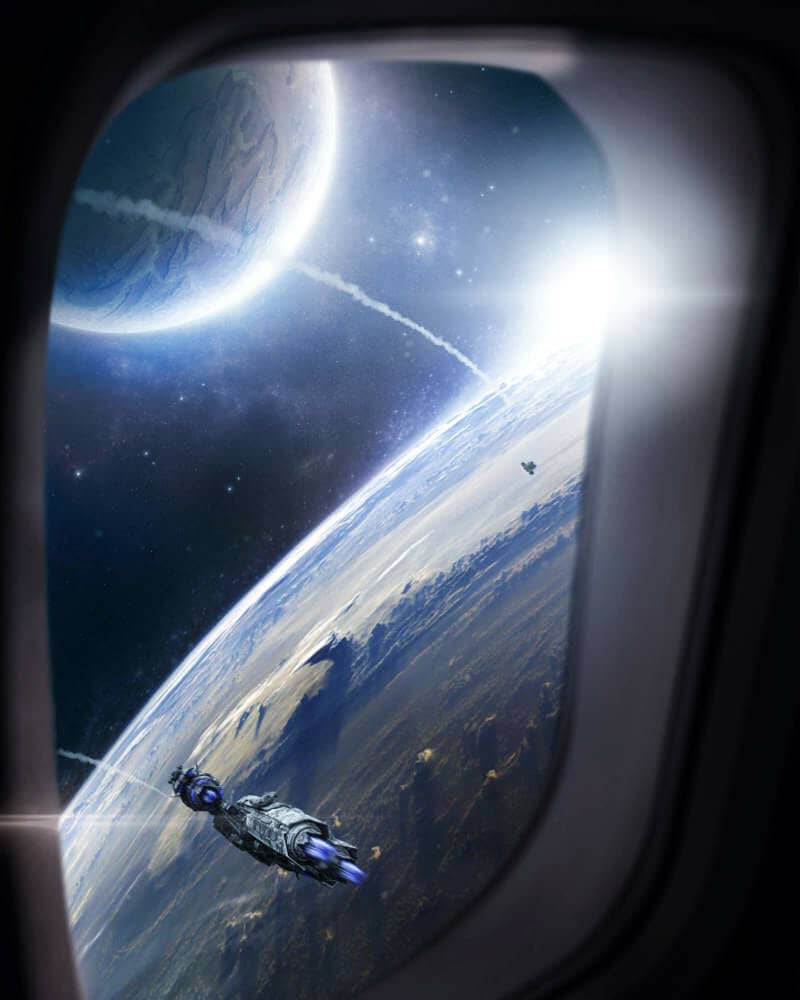
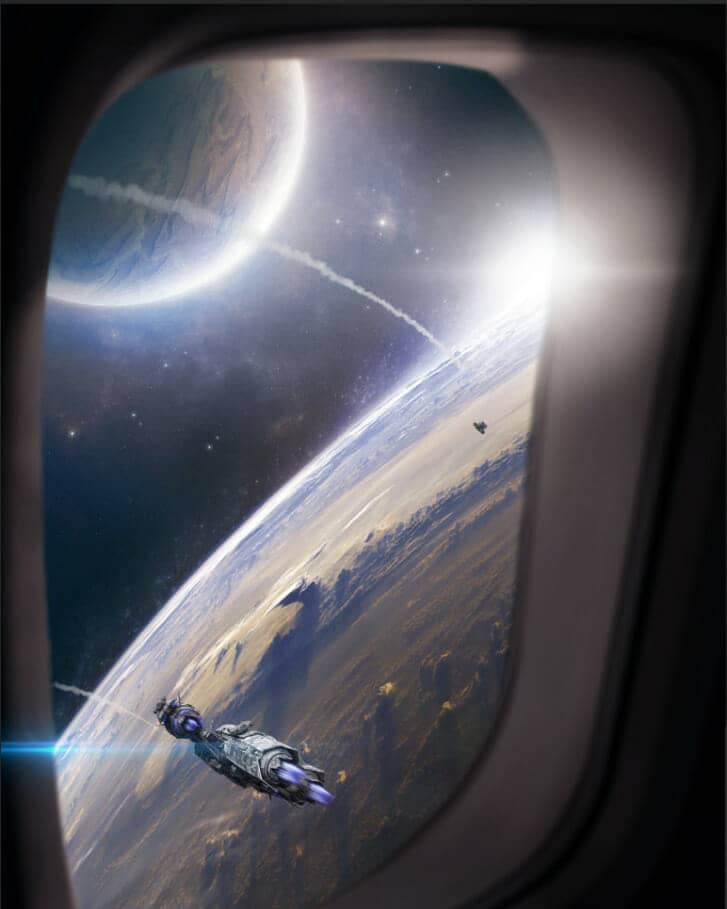
"To see the earth as it truly is, small and blue and beautiful in that eternal silence where it floats, is to see ourselves a riders on the earth together, brothers on that bright loveliness in the eternal cold—brothers who know now they are truly brothers." In this photoshop tutorial, we will learn how to create a view from galaxy to earth. First, we added earth and add another planet, next blended it. Then added spaceships flares and lens flare. Finally, we use Camera Raw Filter.
Preview of Final Image
Tutorial Resources
Step 1
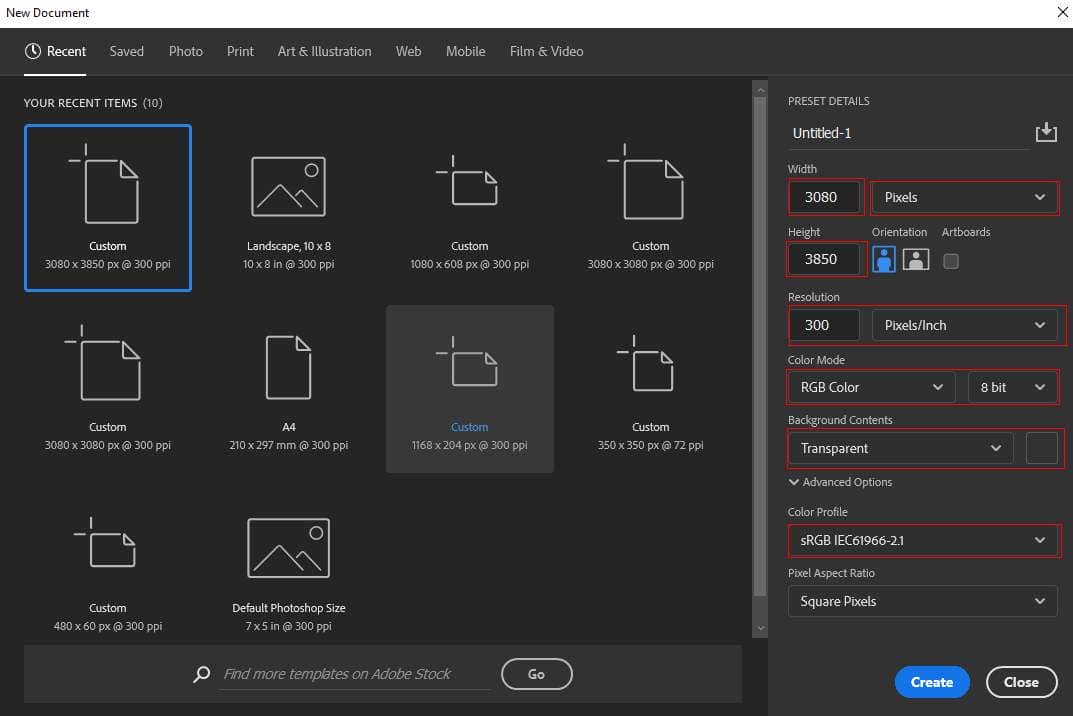
Now, let’s start by creating a new image file, go to the Menu bar and click File > New, and then input the following values on their respective fields
- Preset: Custom
- Width: 3080px
- Height: 3850px
- Resolution: 300px
- Color Mode: RGB Color 8 bit
- Background Contents: Transparent
Step 2
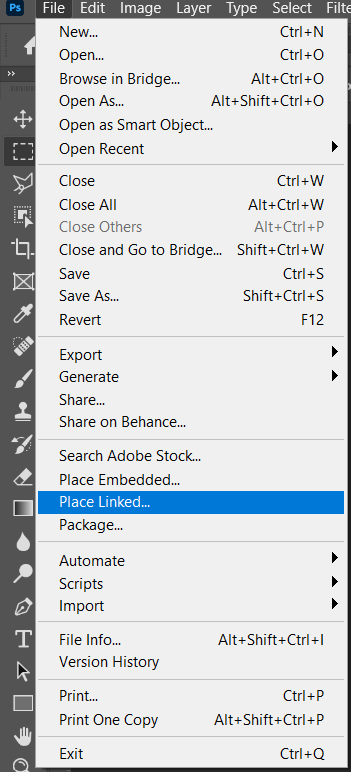
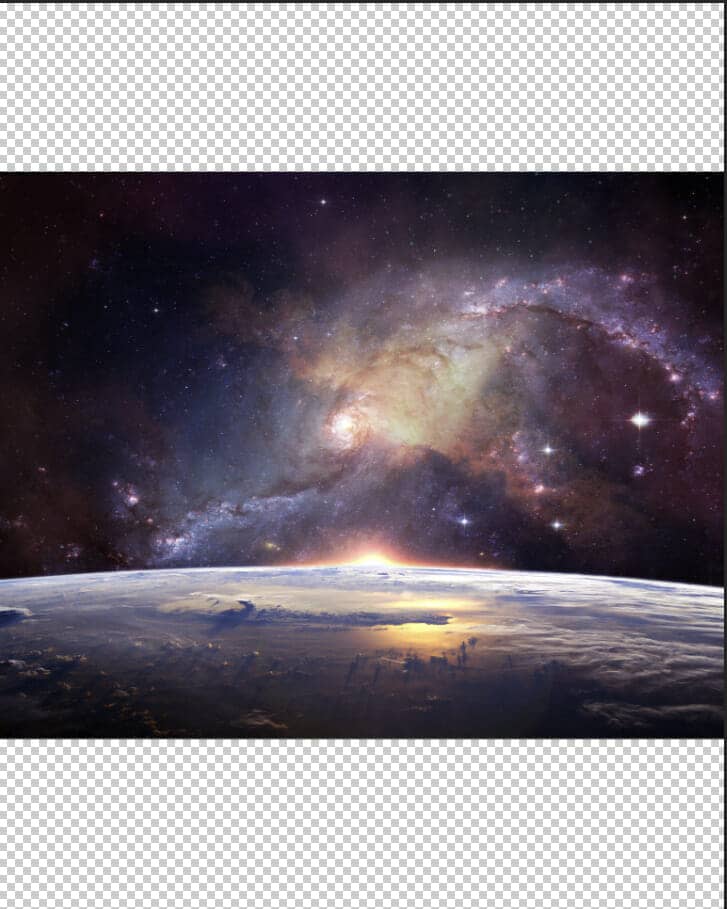
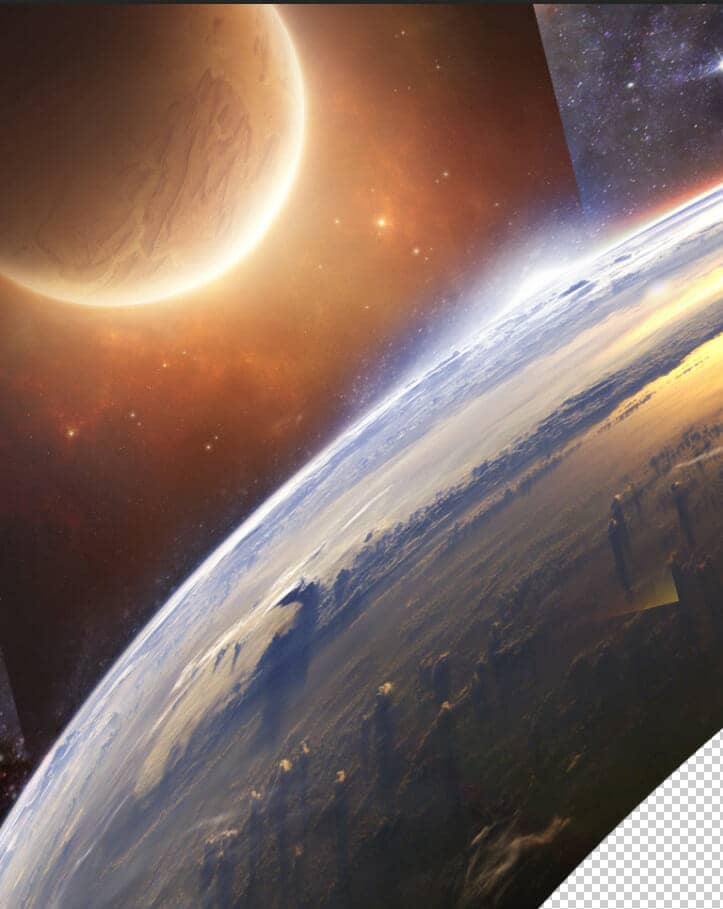
Now, place Earth photo Go to File > Place and select Earth. Then place it to our work canvas. Then position the image with the transform tool (Ctrl / Cmd + T). Hold Alt + Shift and rasterize like the image below. In Photoshop CC only hold Alt to rasterize all sides together.
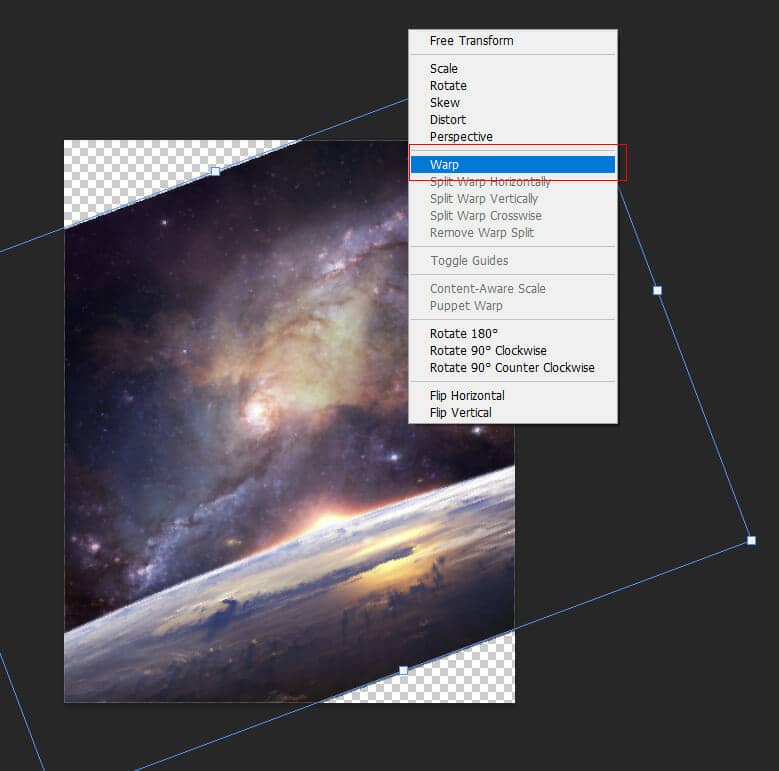
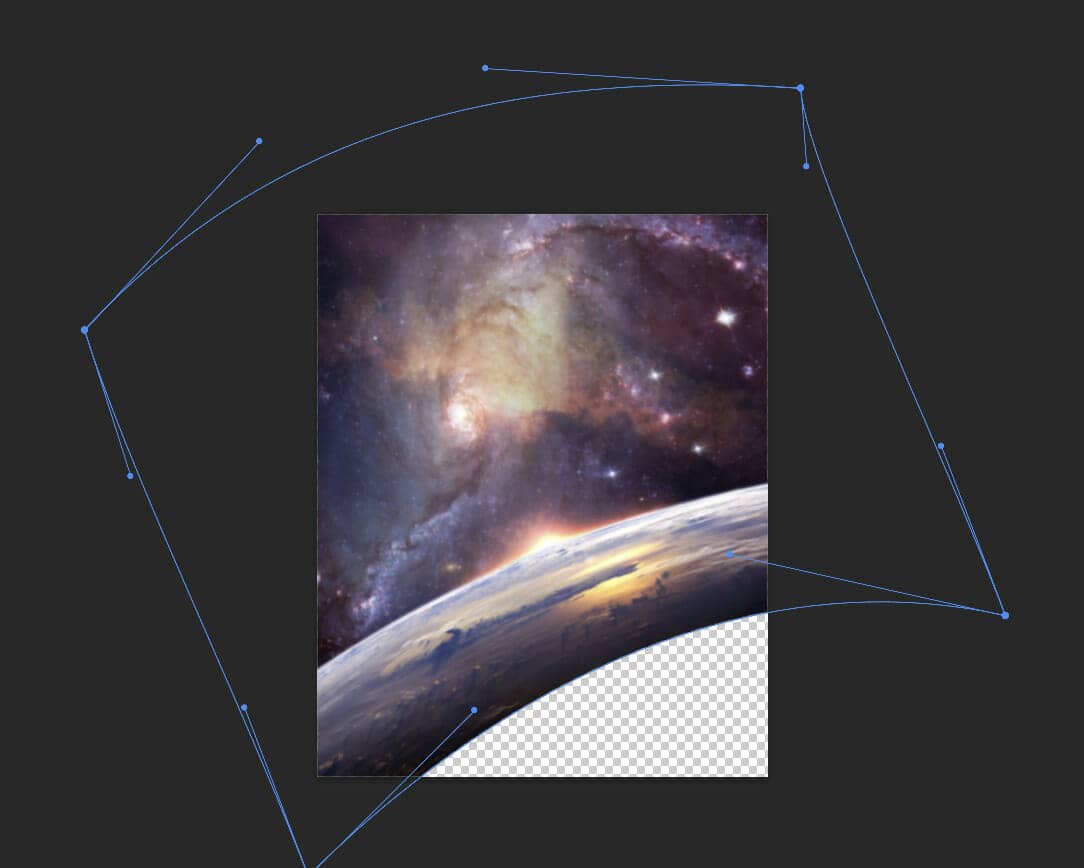
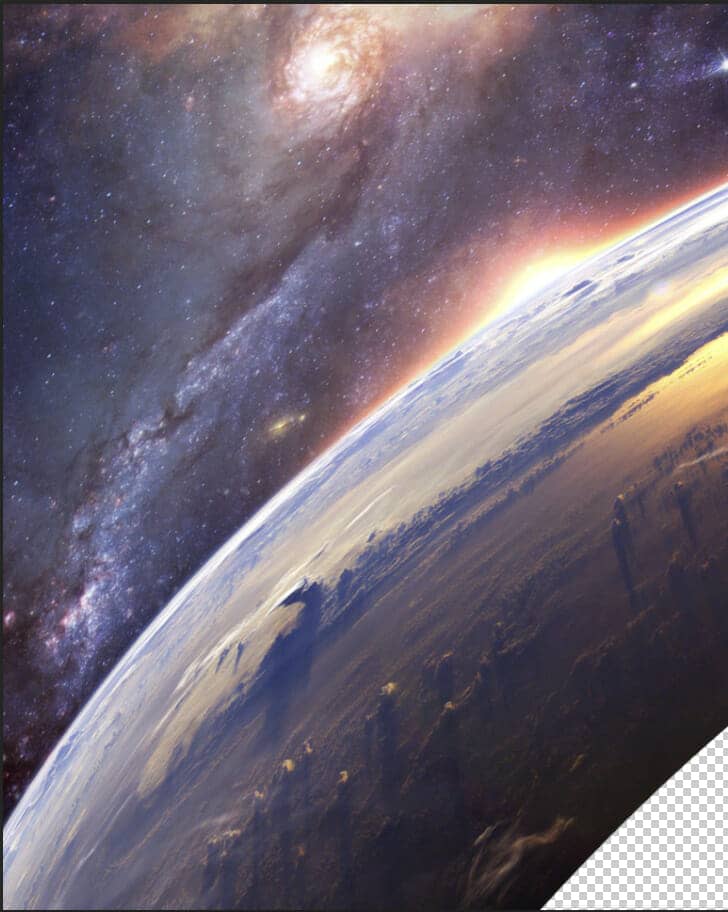
Next, press Ctrl/Cmd + T to transform it and press right-click and Warp. Try to do the same as in the example below.
Final result
Step 3
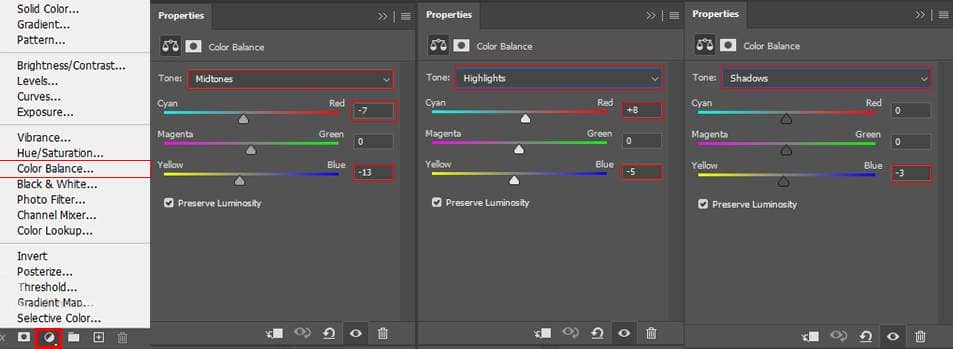
Add Adjustment Layer "Color Balance"
Step 4
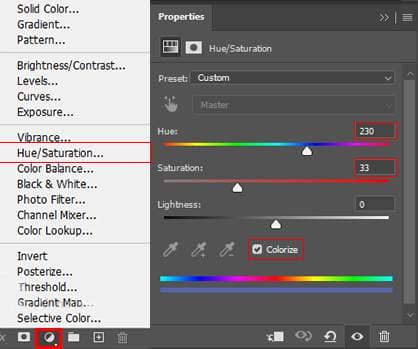
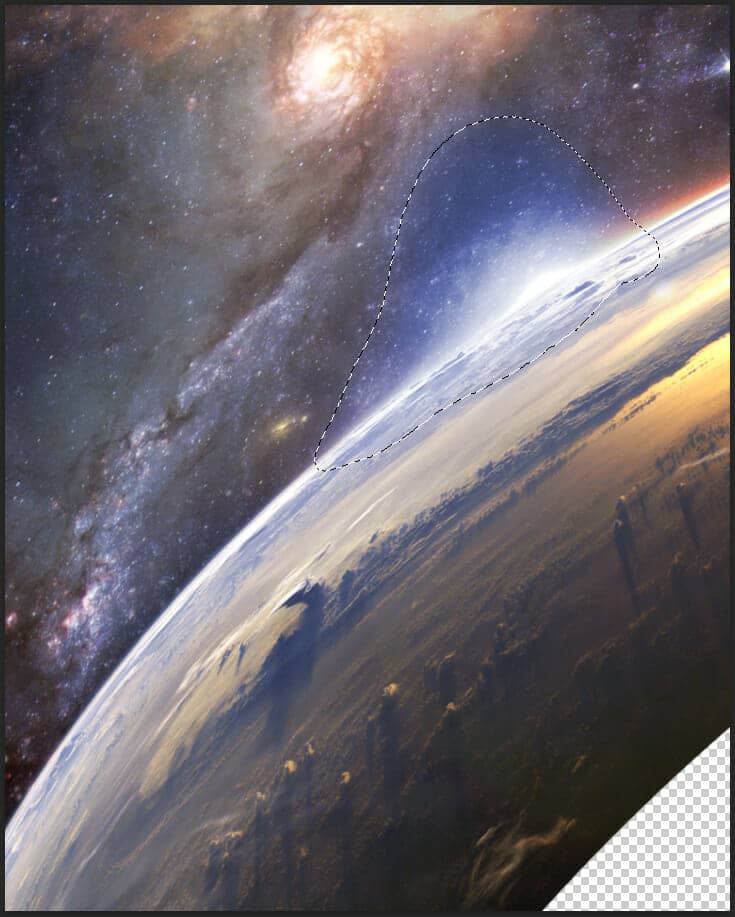
Add Adjustment Layer "Hue/Saturation" and press Ctrl/Cmd + I to invert. Then use Brush Tool(B) Soft Round with foreground color white and paint selected part.
Step 5
Next, place Planet Go to File > Place and select Planet. Then place it to our work canvas. Then position the image with the transform tool (Ctrl / Cmd + T). Hold Alt + Shift and rasterize like the image below. In Photoshop CC only hold Alt to rasterize all sides together.
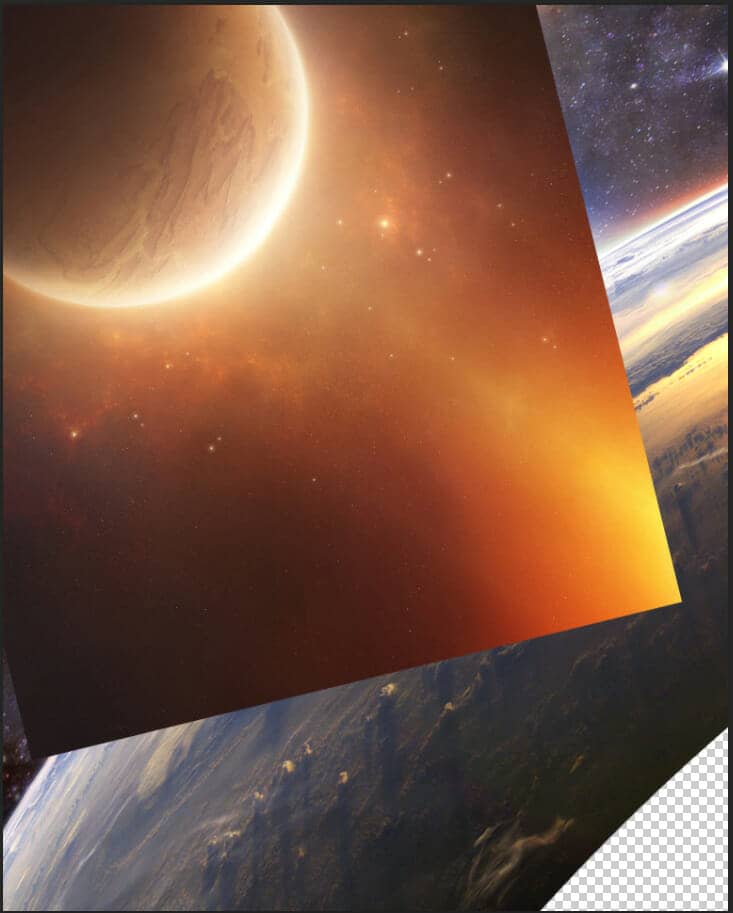
Create a layer mask and use Soft Round brush tool with the foreground color black and paint/delete bottom part.
Step 6
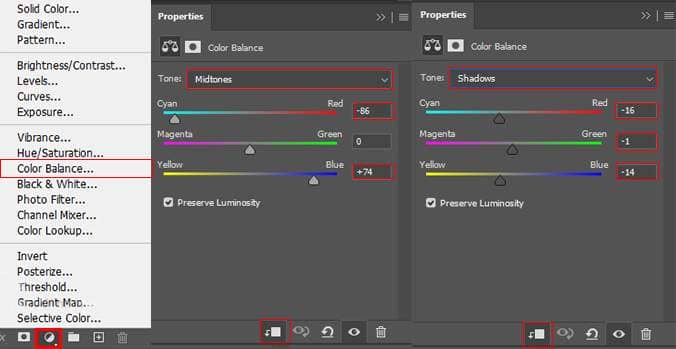
Add Adjustment Layer "Color Balance"
Step 7
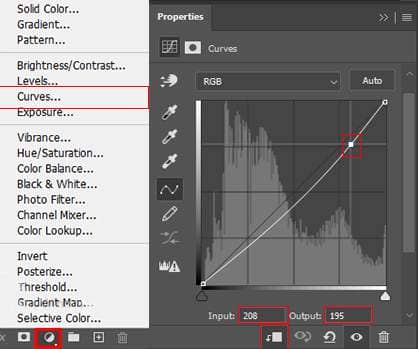
Add Adjustment Layer "Curves"
Step 8
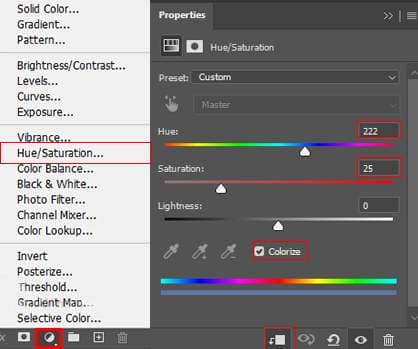
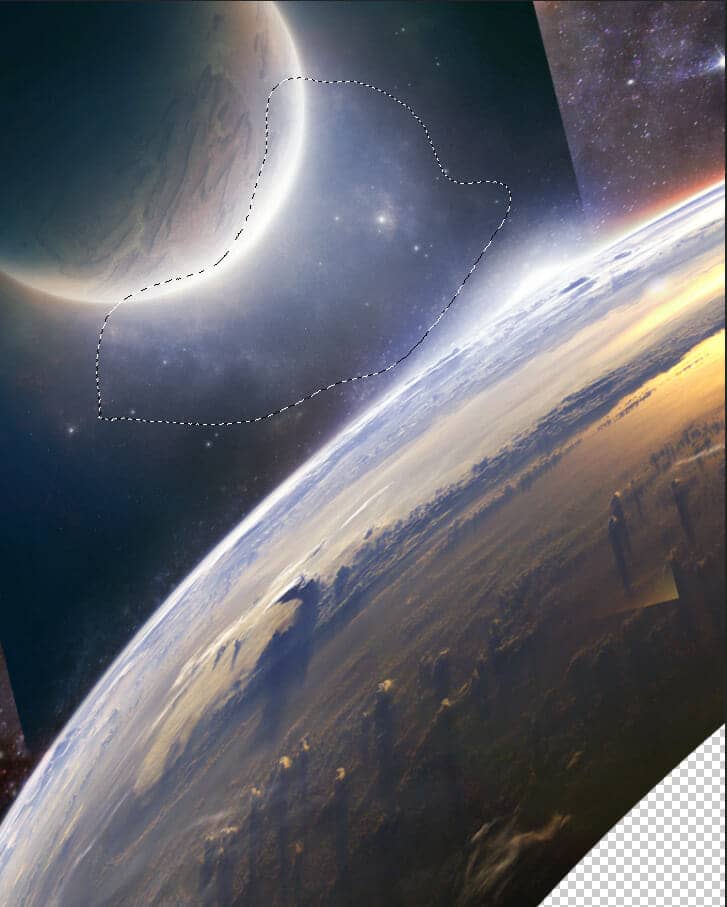
Add Adjustment Layer "Hue/Saturation" and press Ctrl/Cmd + I to invert. Then use Brush Tool(B) Soft Round with foreground color white and paint selected part.
Step 9
Create two layers and change the blend mode to Soft Light, then use a soft round brush tool with foreground color blue #1967d6 and paint on the first layer. On second layer repeat the same process but with orange color #d6b6aa
