Turn any photo into a dot grid artwork with these Photoshop actions. You'll get great results with dots that change size. They get larger in brighter areas and smaller in darker areas. Free download available.
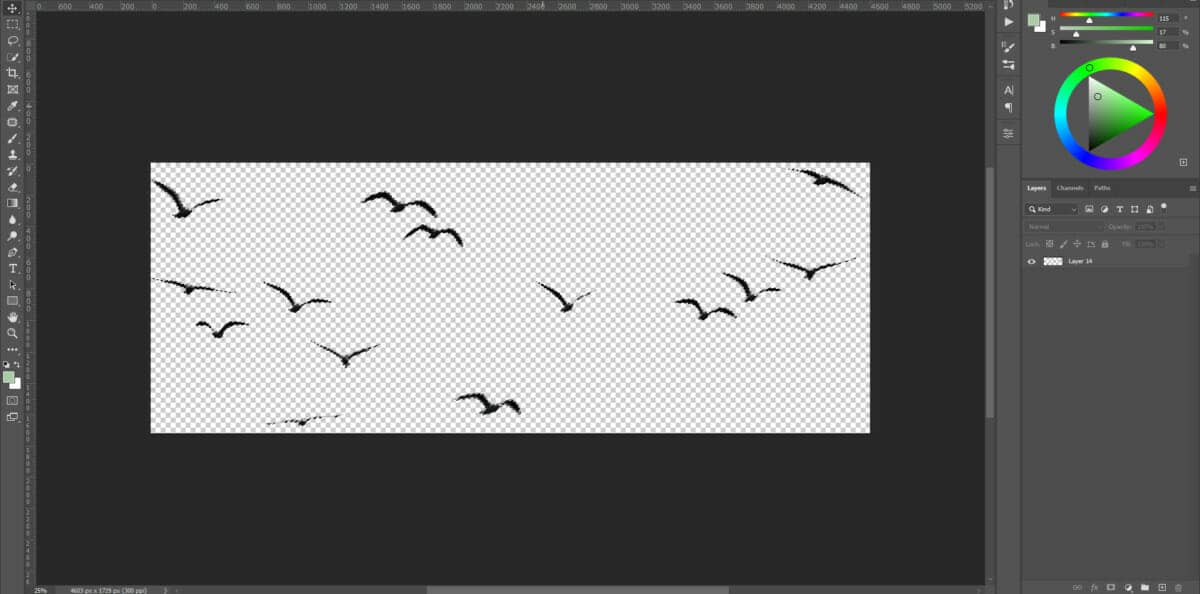
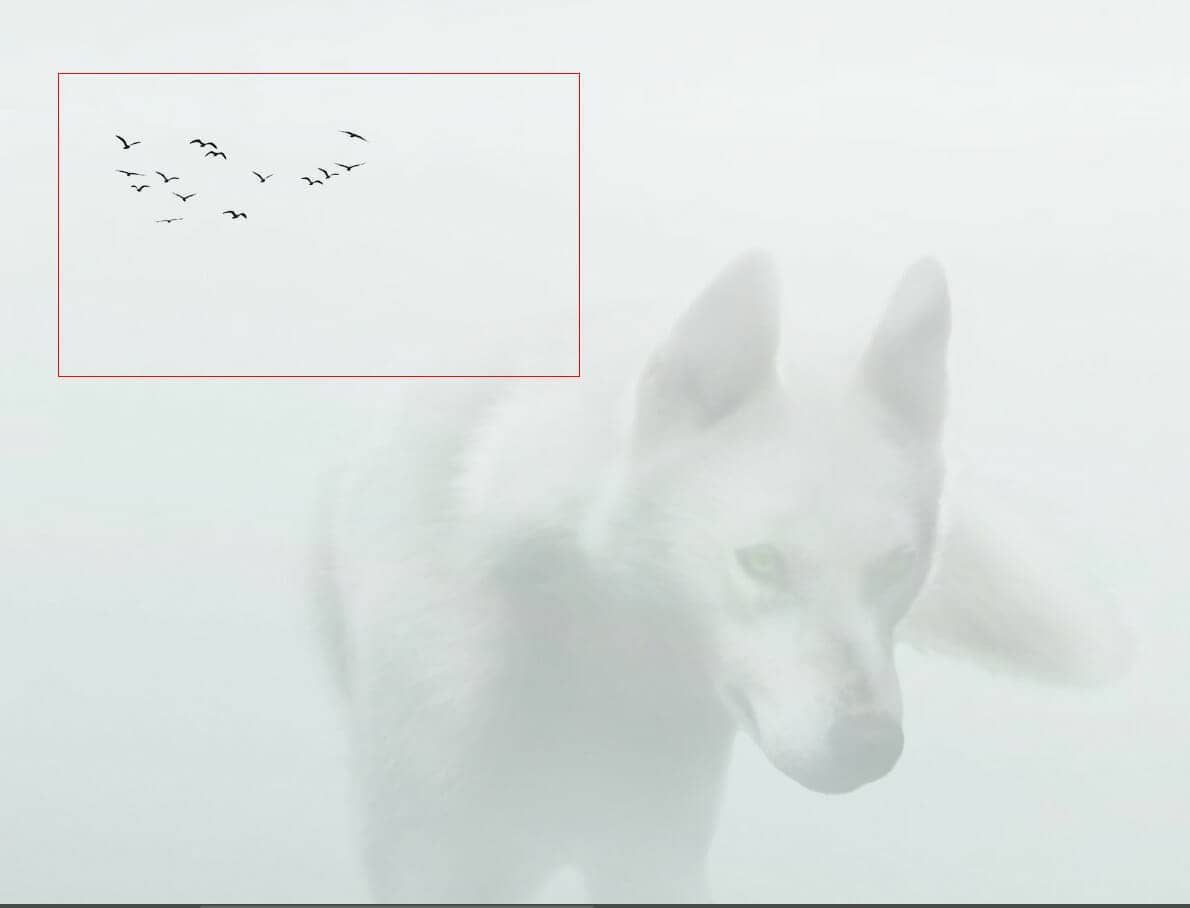
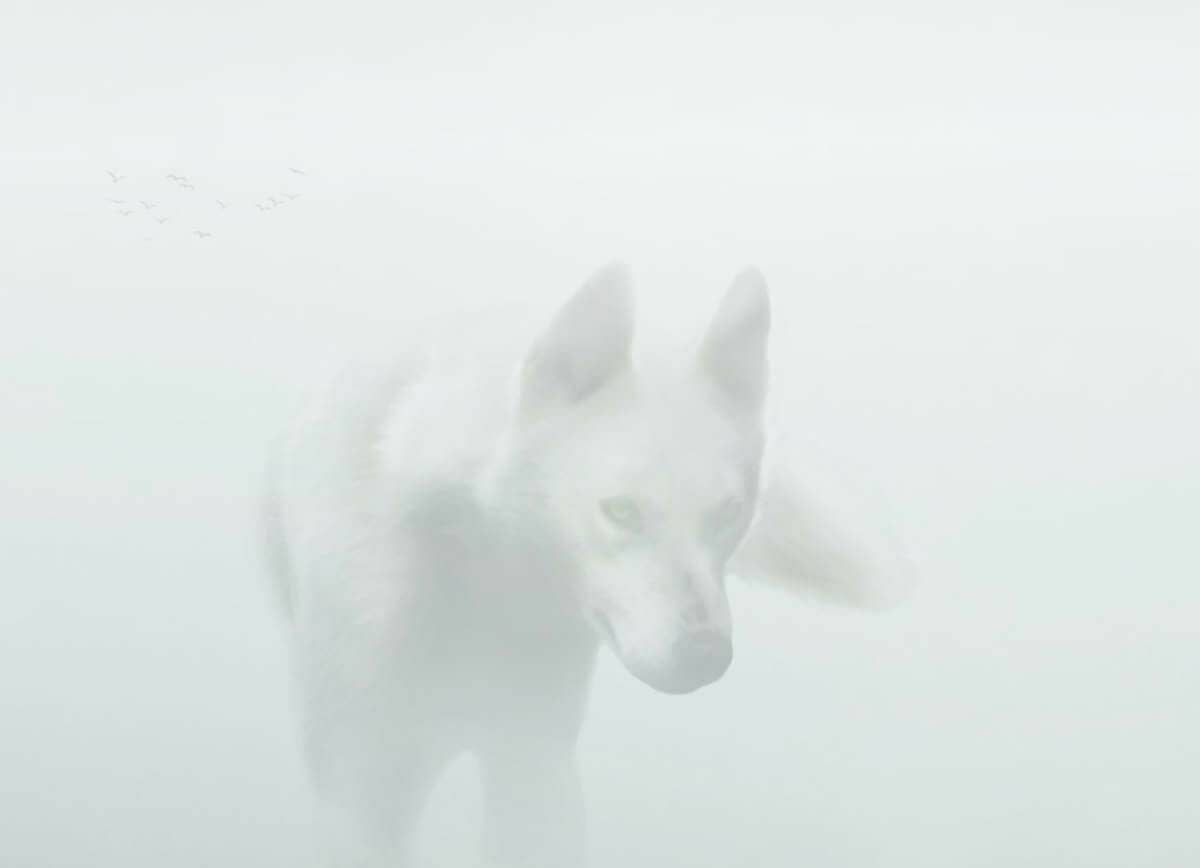
Step 15
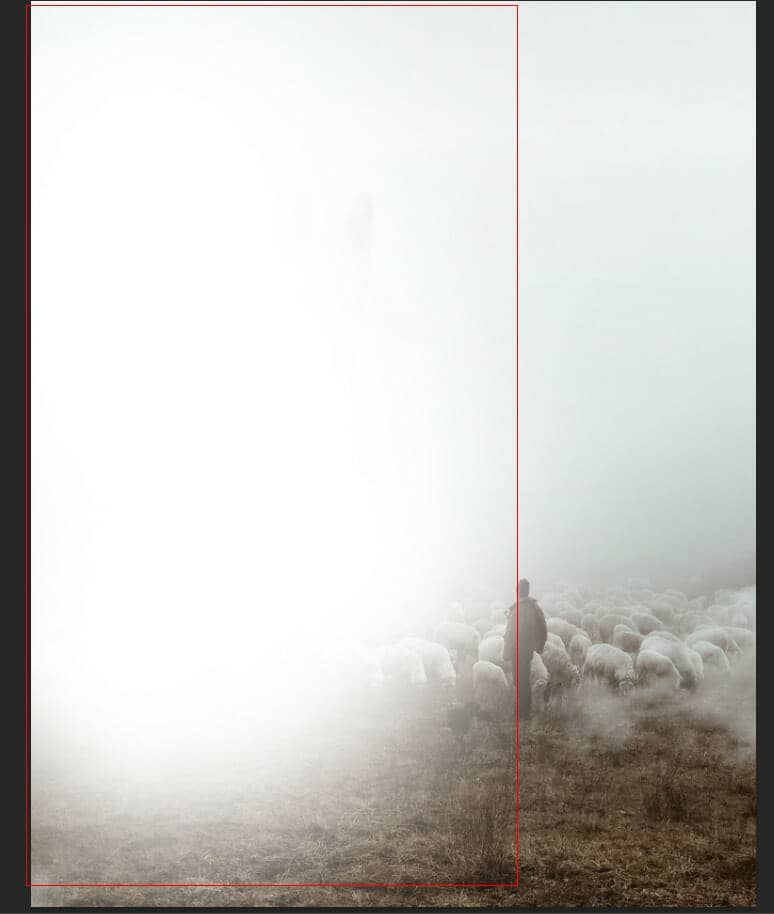
Create a new layer and change blend mode to Soft Light then use a Brush Tool(B) Soft Round with foreground color white. Then paint to the left, opacity set to 28%.
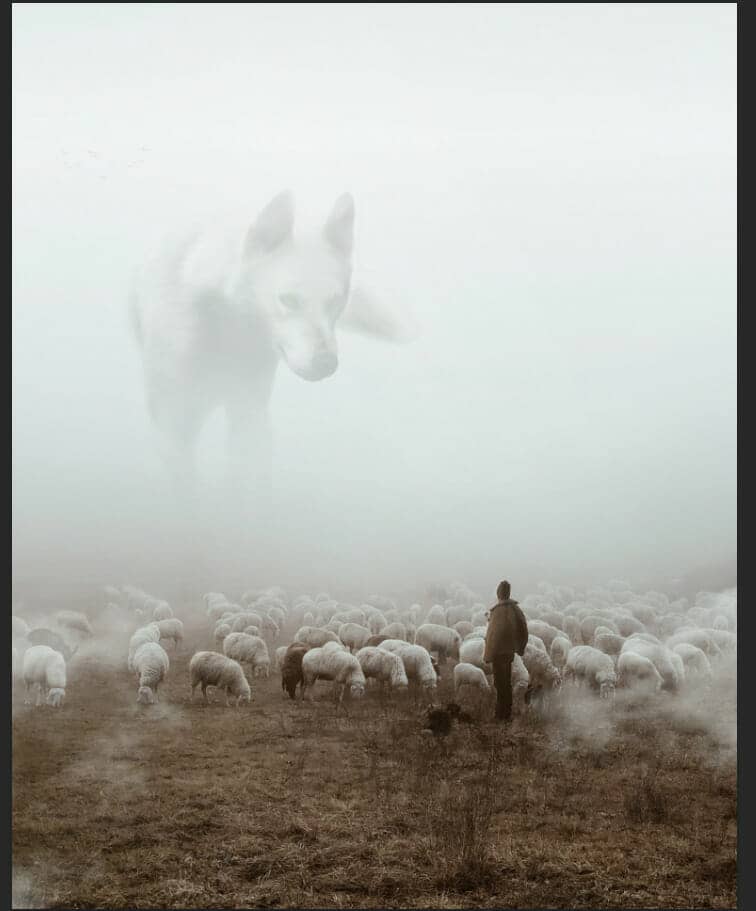
Step 16
Repeat the same process, create a new layer and change blend mode to Soft Light then use a Brush Tool(B) Soft Round with foreground color black. Then paint to the right, opacity set to 19%.
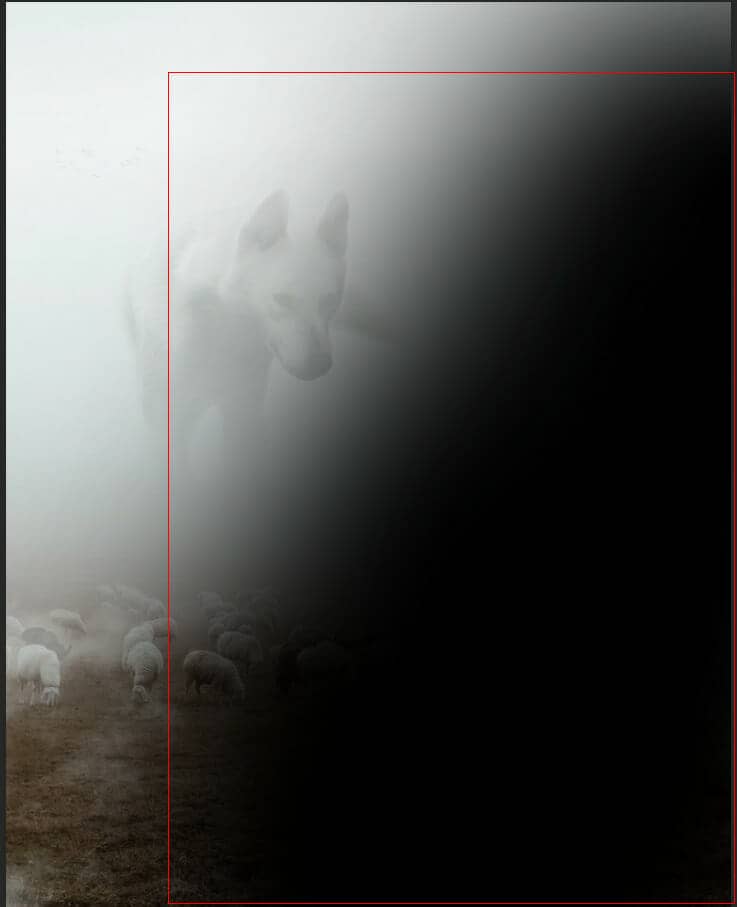
Step 17
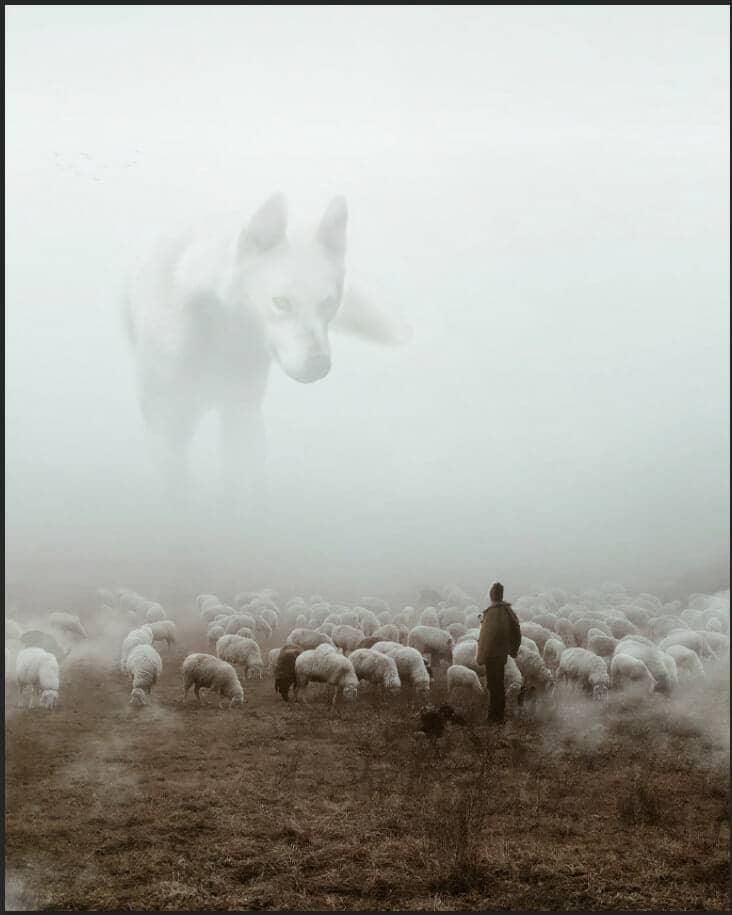
Next, place Texture Go to File > Place and select Texture. Then place it to our work canvas and position the image with the transform tool (Ctrl / Cmd + T). Hold Alt + Shift and rasterize like the image below. In Photoshop CC only hold Alt to rasterize all sides together. Blend mode change to Overlay and opacity set to 35%.

Step 18
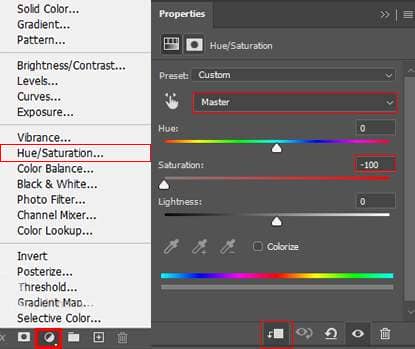
Add Adjustment Layer "Hue/Saturation"
Step 19
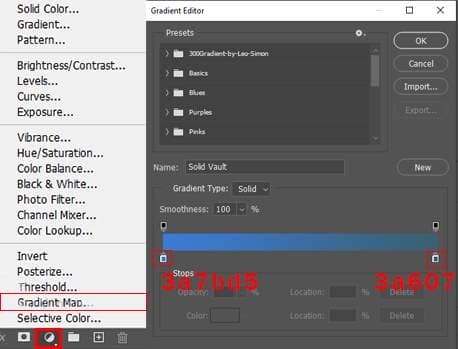
Add Adjustment Layer "Gradient Map" Soft Light and Opacity 25%.
Step 20
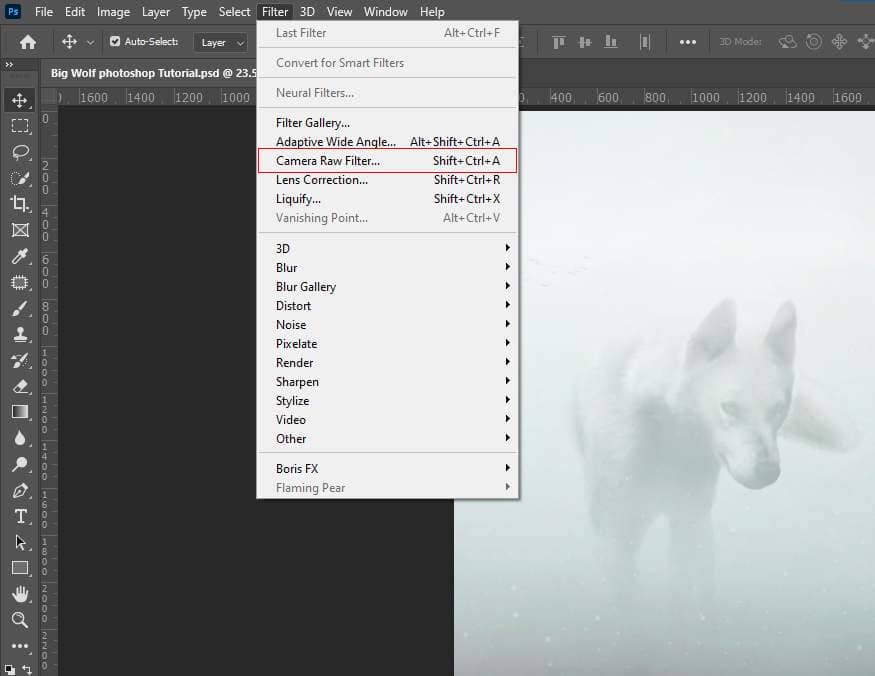
When we finished all this, now merge all layers to one. Select the last layer and hold CTRL/CMD + SHIFT + ALT + E. Now we have a final layer, right-click on mouse and select Convert to Smart Object. Then go to Filter > Camera RAW Filter. At its most basic, the Photoshop Camera Raw filter allows you to use the functions of the ACR interface at any time within Photoshop.
Step 21
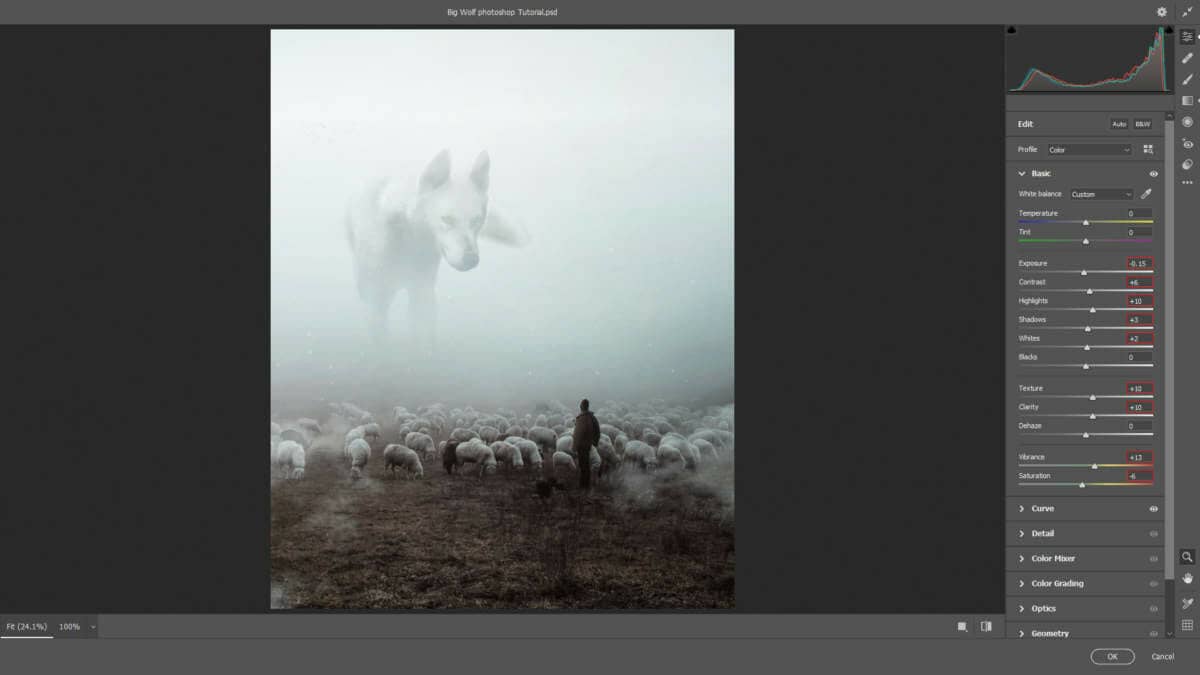
Now in Camera Raw Filter, set the Value: Basic
- Exposure: -0.15
- Contrast: +6
- Highlights: +10
- Shadows: +3
- Whites: +2
- Texture: +10
- Clarity: +10
- Vibrance: +13
- Saturation: -6
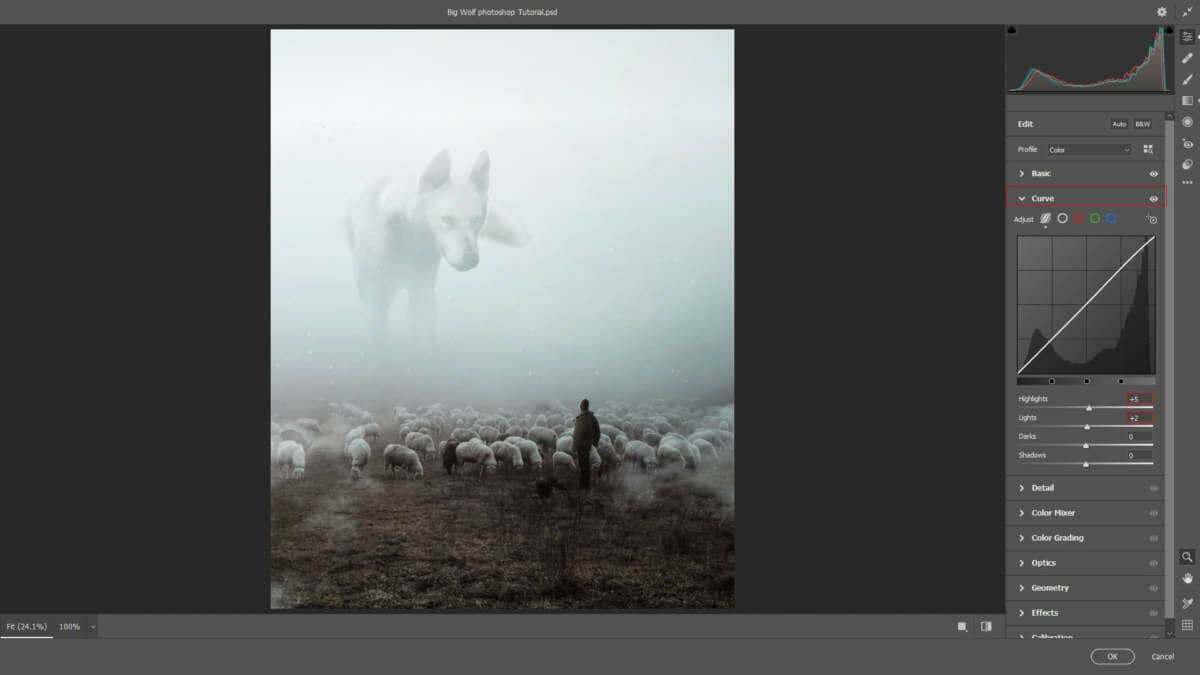
Curve
- Highlights: +5
- Lights: +2
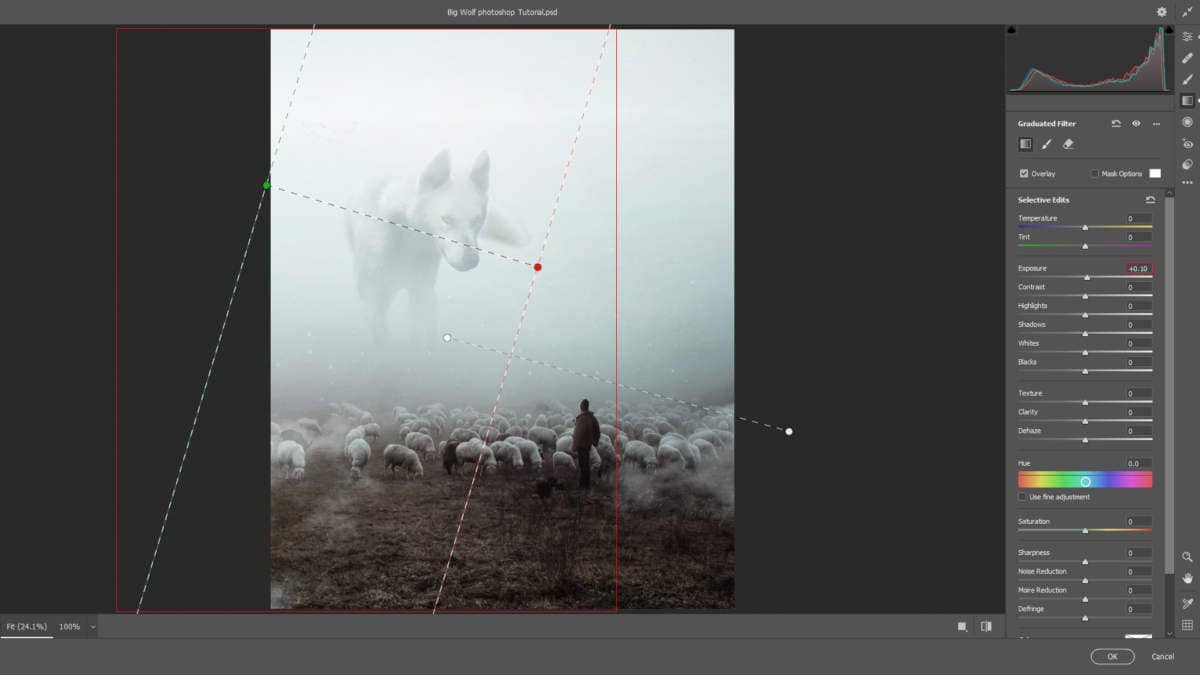
Graduated Filter
- Exposure: +0.10
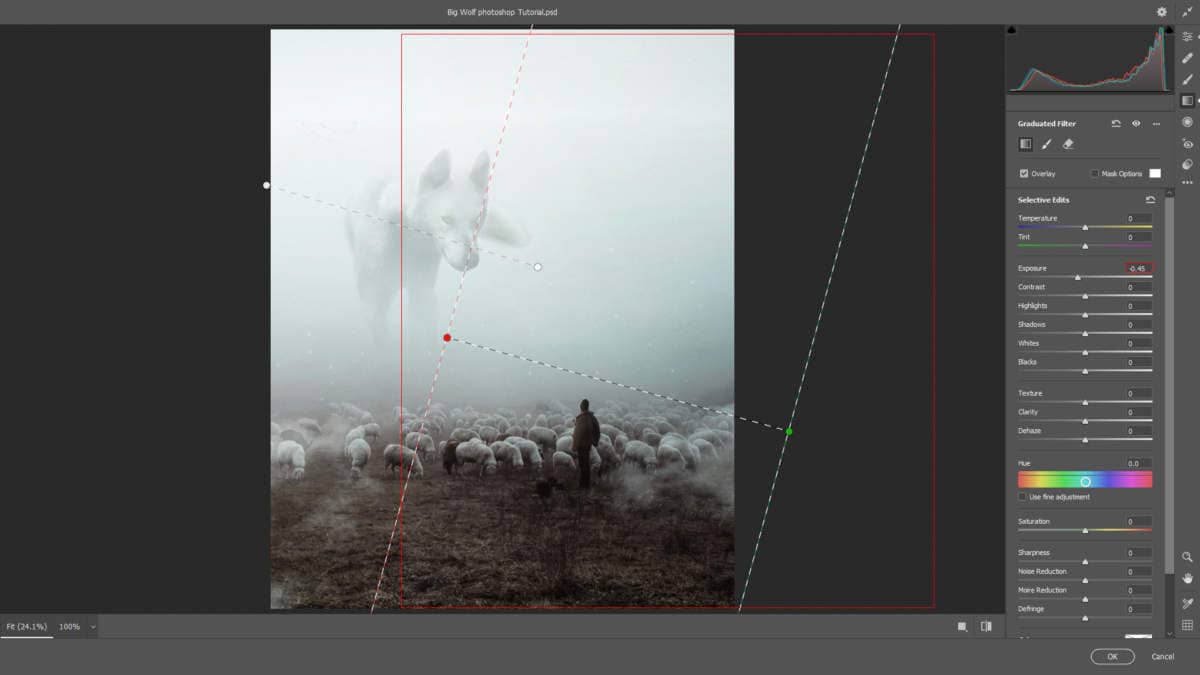
Graduated Filter
- Exposure: -0.45
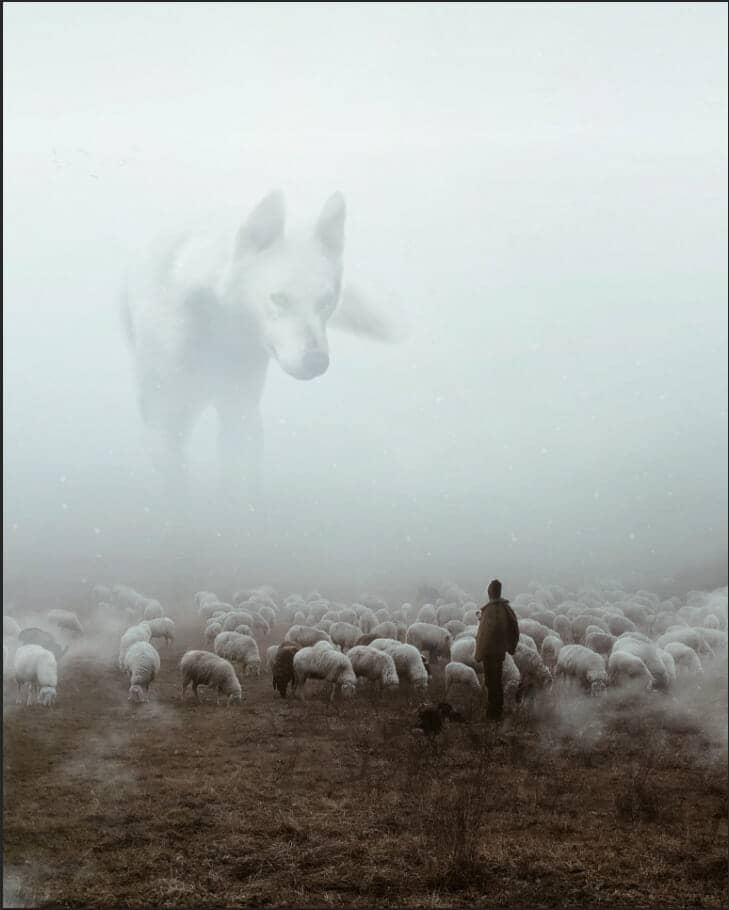
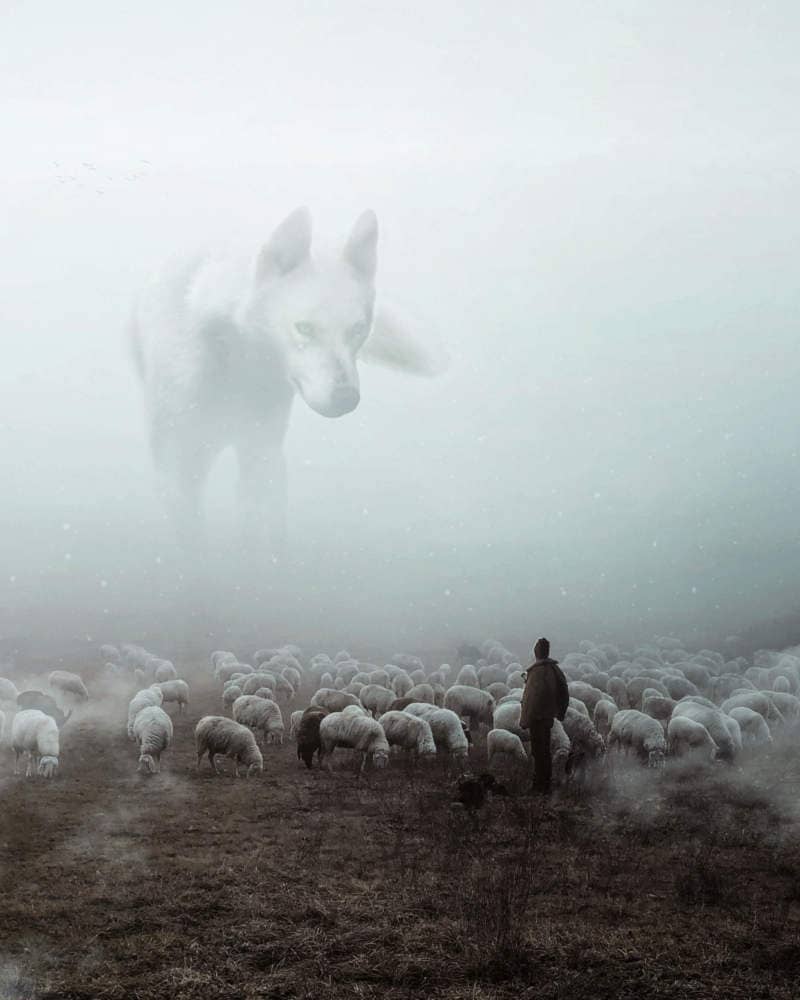
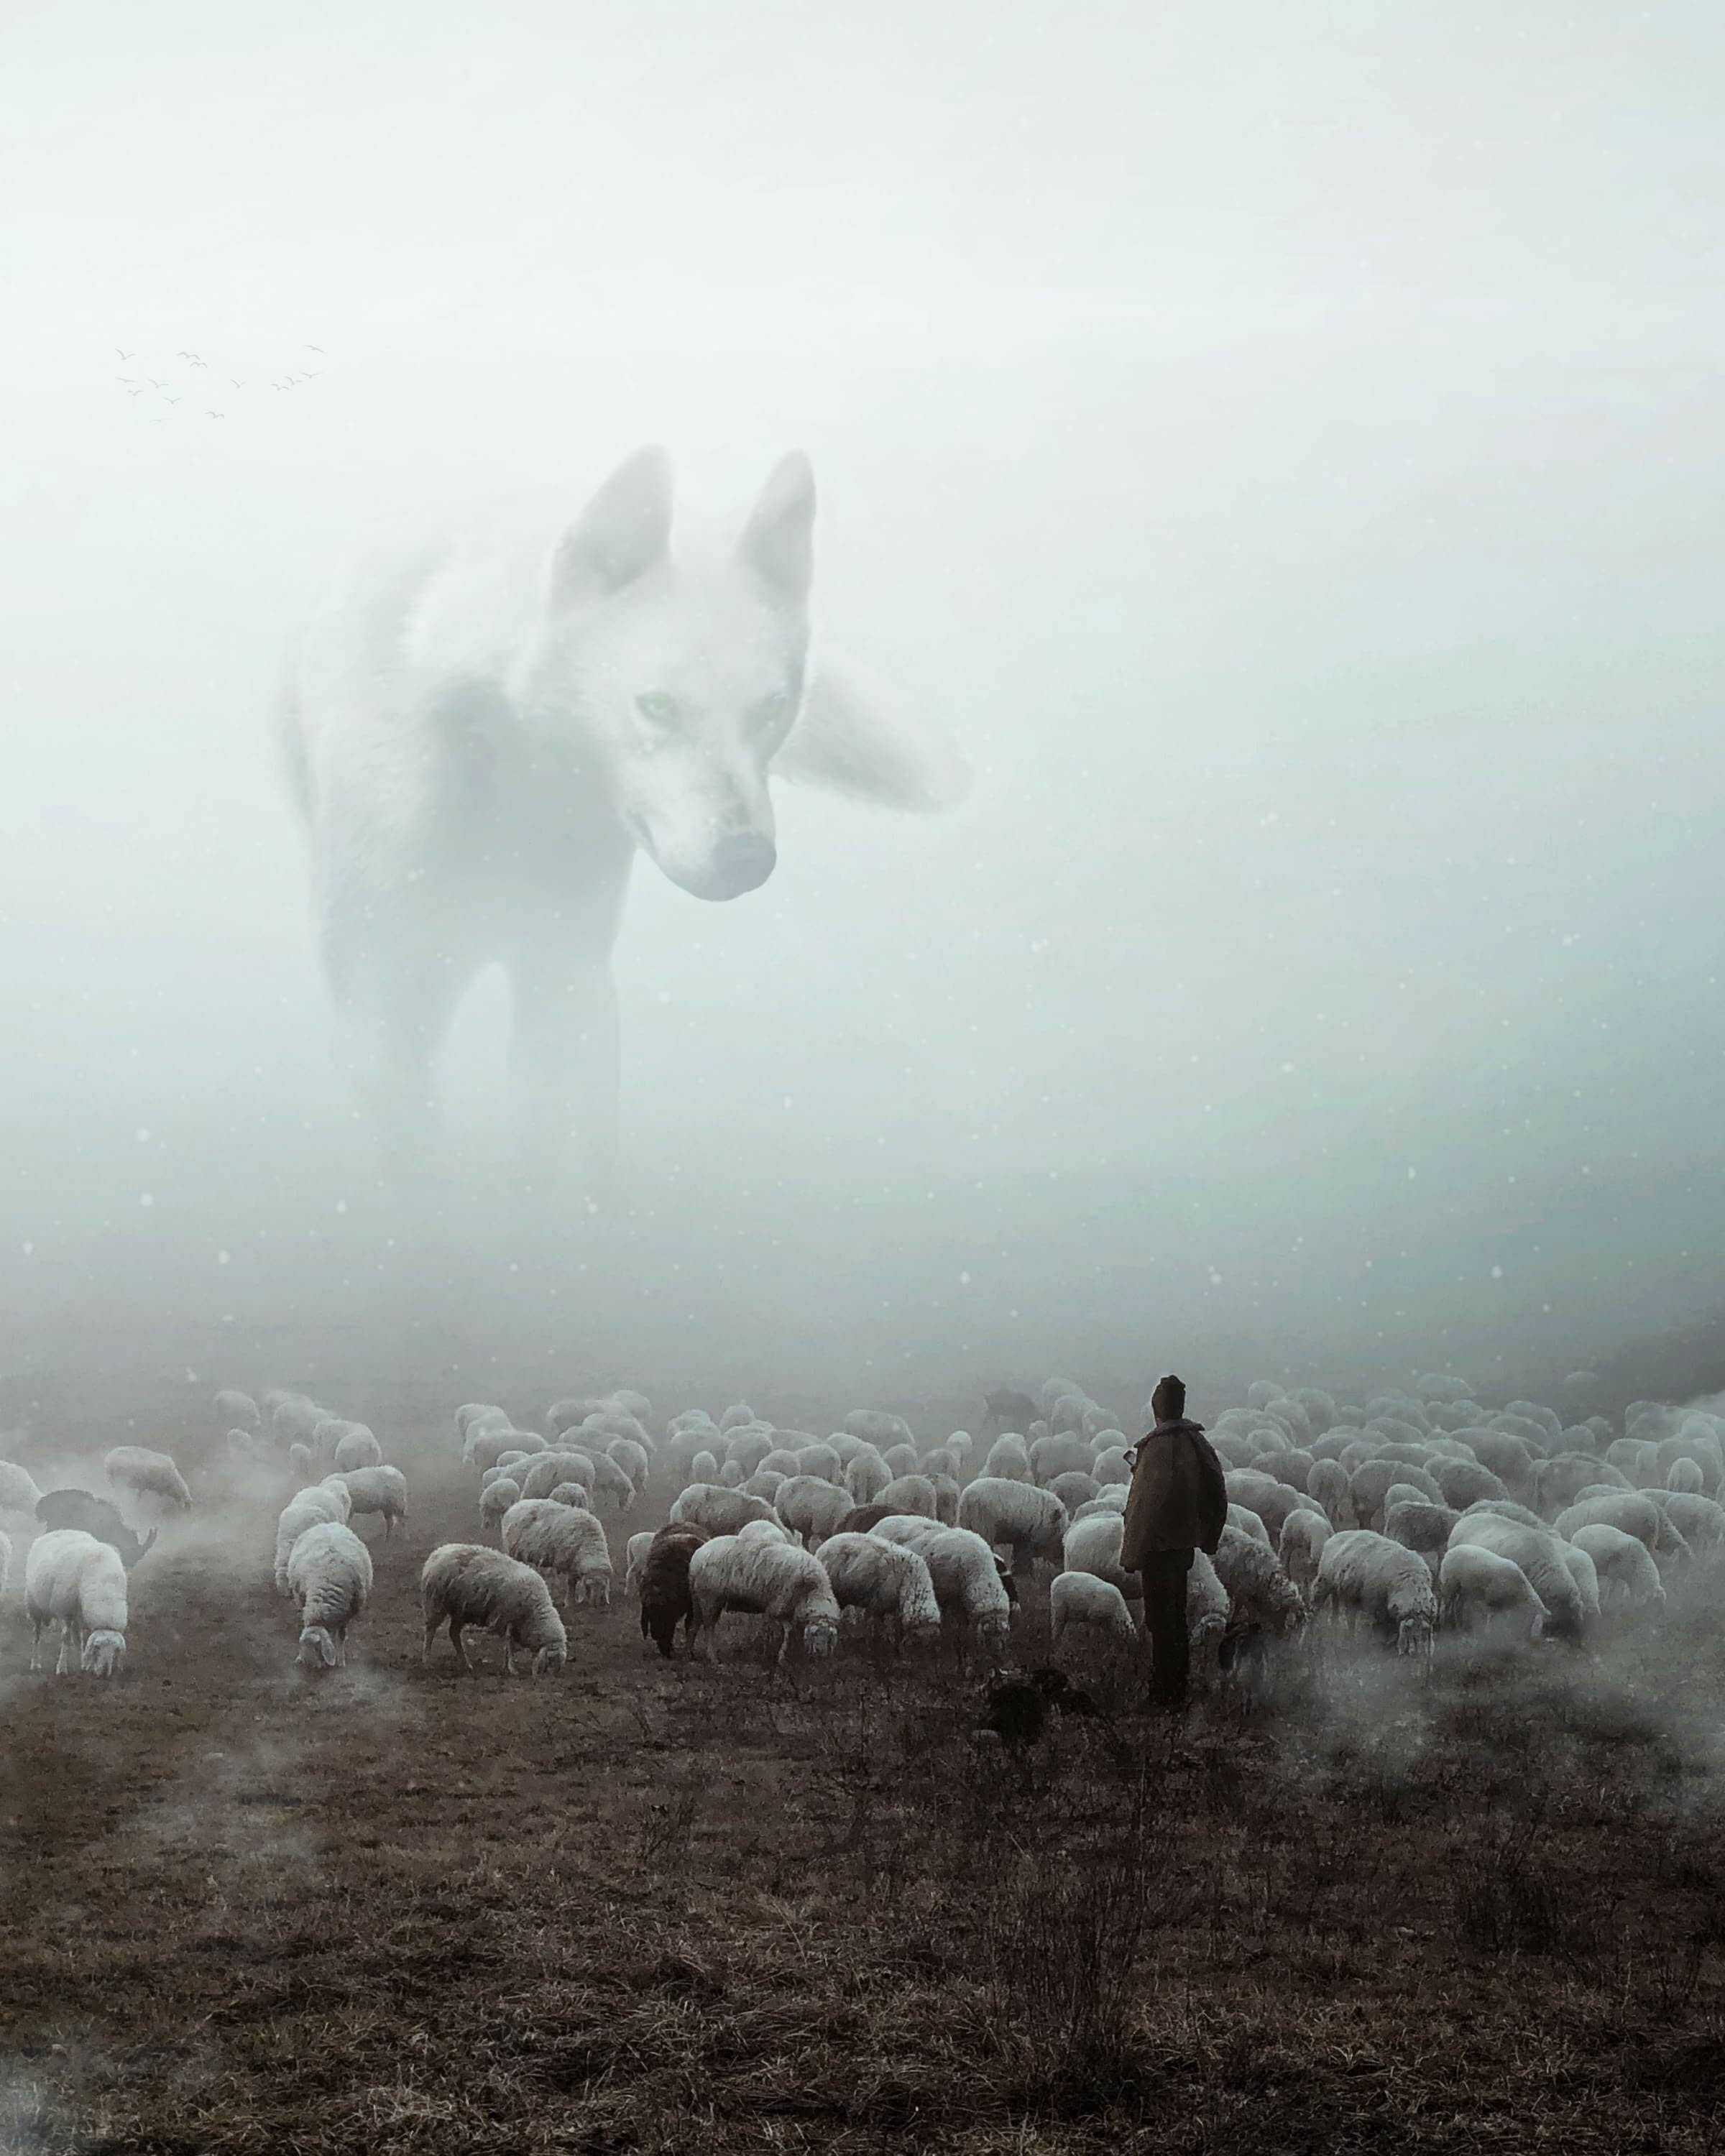
And finally, everything should look like this.

Final Results

One comment on “Create a Gigantic Wolf Scene in Photoshop”
nice :) just fix your link psd , problbem with it :)