Download Lightroom presets and LUTs, absolutely free. Use the presets to add creativity and style to your photos.
Step 6
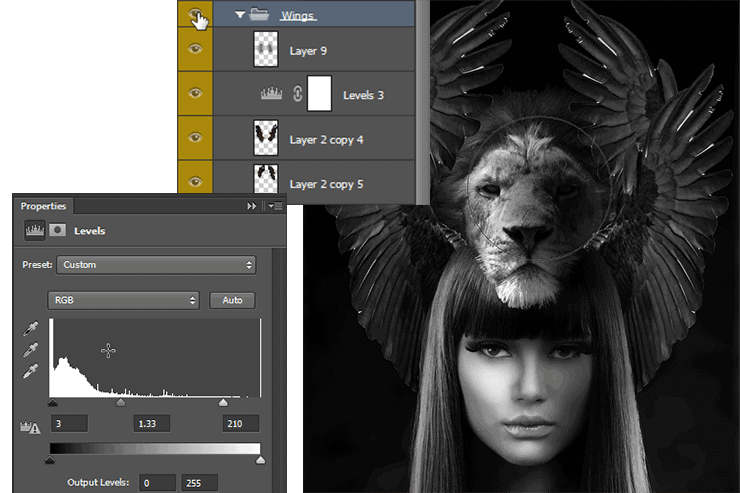
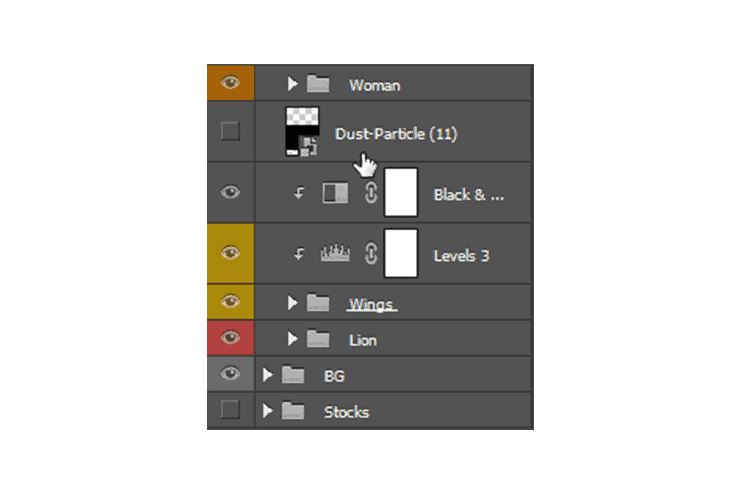
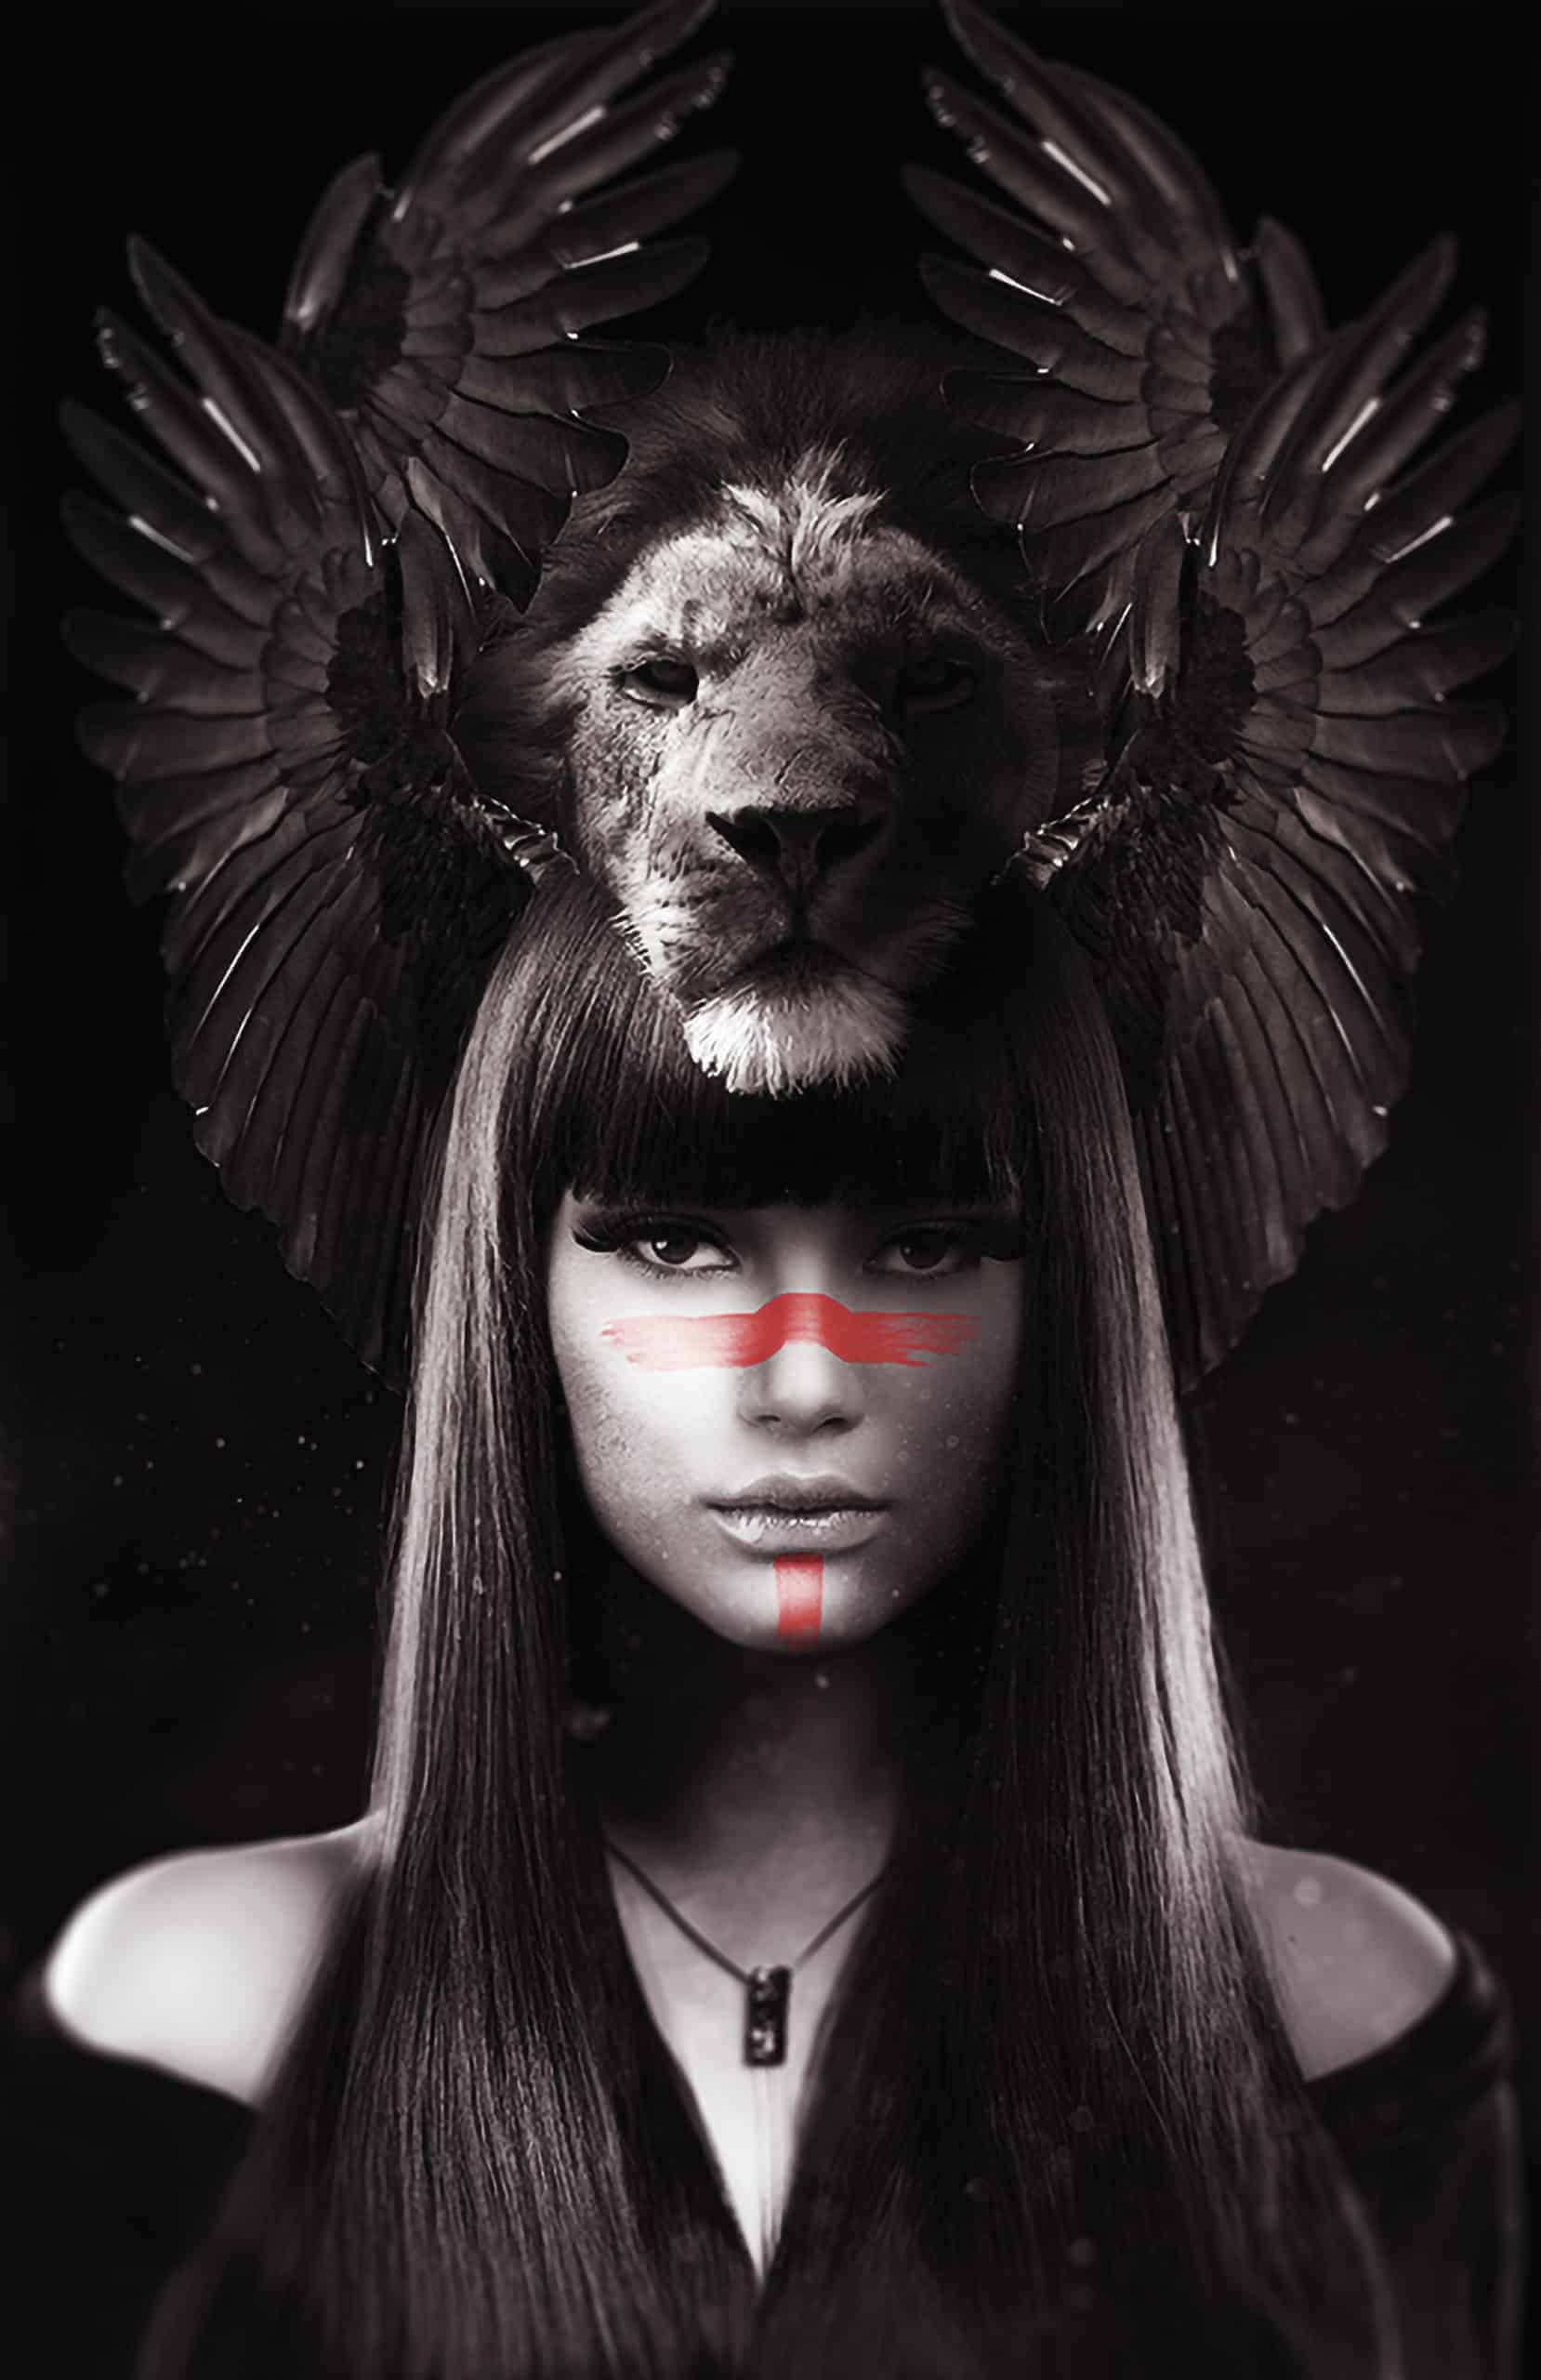
Things are starting to come together here! But there's still a good bit to be done to polish this up. In case you missed any black and white adjustment layers we're going to add one on top (see the image below) with auto settings and a levels adjustment layer below that one with the settings to the left. At this point, your picture should look something like the one on the right. Just for reference the Dust particle layer and Group 3 are the dust particles in the final image but we will be getting to those a little later but this will help you understand their placement, note the one behind to add subtle depth.
Step 7
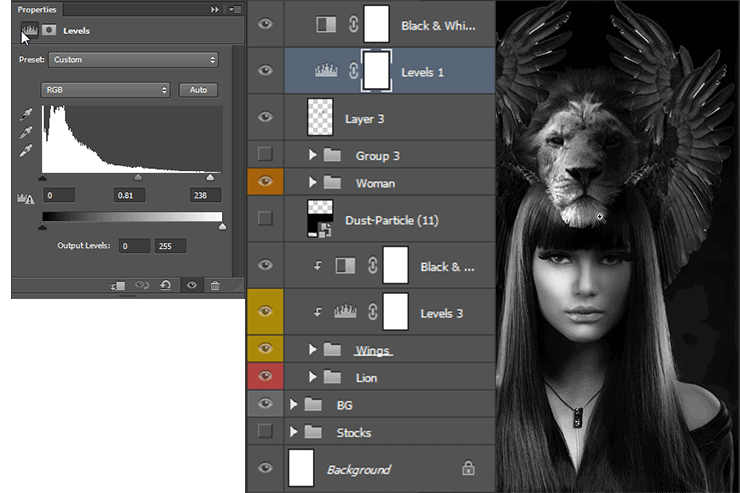
Just a step to stop and go over what we have so far. Nows a good time to go back though, get your layers organized, named, and color-coded. This was a mistake I made when I first started doing this and would end up with a bunch of layers and no idea what did what, so naming is a good habit to get into early on. Next, we're going to move into the red paint, the dust, and finally mastering our image.
Step 8
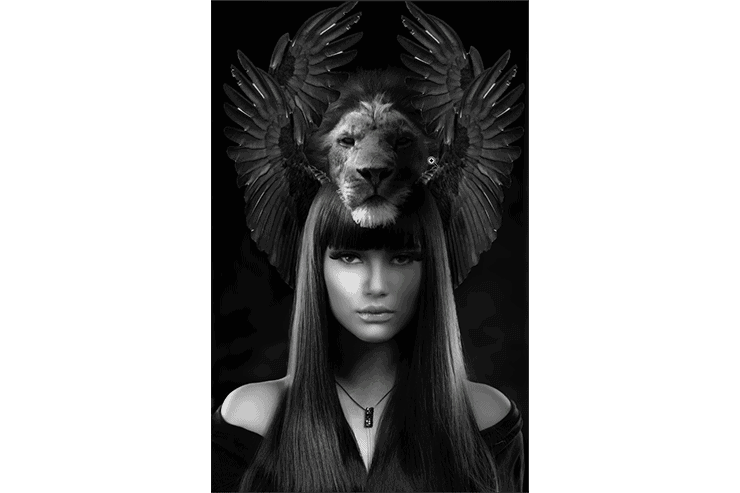
Moving into the paint step I'm going to assume you already know how to import brushes but if not a google search is your best friend! On a new layer place in a nice brush, you like across her face in red on an overlay blending mode. Now as you can see the paint is a straight line but if you can imagine paint on someone's face it wouldn't be a straight line, it would bulge with the curves. For this, we'll use a tool called puppet warp, under Edit > Puppet warp. This tool has plenty of uses and can be very very useful but here we'll be using it to smoothly bumping up the middle of the paint around the nose. With it, you click to place anchors, and then you can click and move those anchors around. Use the image below to see how you would place the anchors but messing around with the tool is the best way to understand how they work. The overlay will give you a nice blend but you can further the look of this paint and make it look more realistic by messing with making more layers of it and changing their blending modes on top of the first.

7 comments on “How to Create an Animal Portrait of a Human in Photoshop”
Hmm, very interesting take on this. I think a person would have to be quite creative to even have an image like this in their mind.
Awesome post very interesting
Awesome post very interesting
Very useful and informative tutorial. Thanks for sharing.
Happy you found the information useful!
I did this lesson with pleasure. Thanks
Glad you enjoyed it!