Download Lightroom presets and LUTs, absolutely free. Use the presets to add creativity and style to your photos.
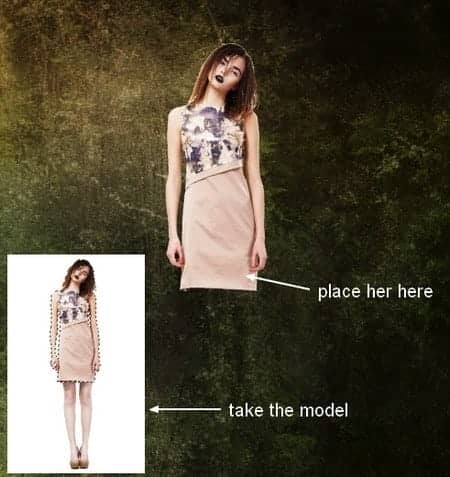
Step 8
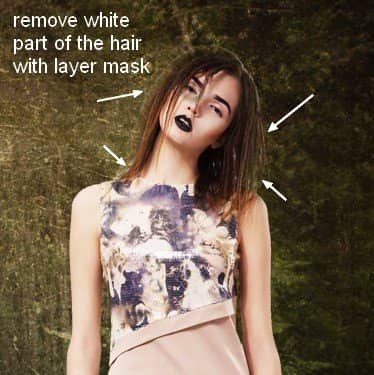
Add layer mask to model one. Use brush to remove white parts of the hair remained after extracting:
Step 9
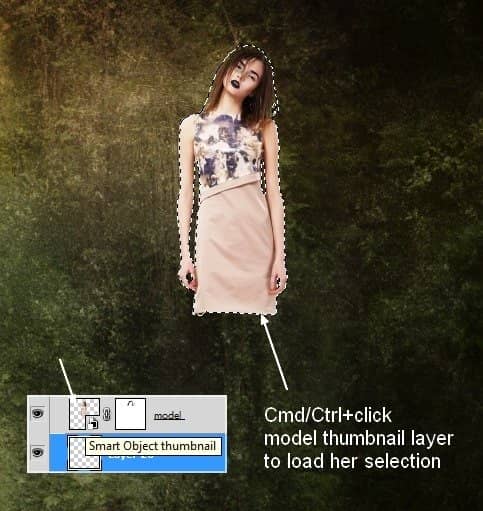
To make shadow of the model on background, create a new layer under model one. Hold Cmd/Ctrl while clicking model thumbnail layer to load her selection:
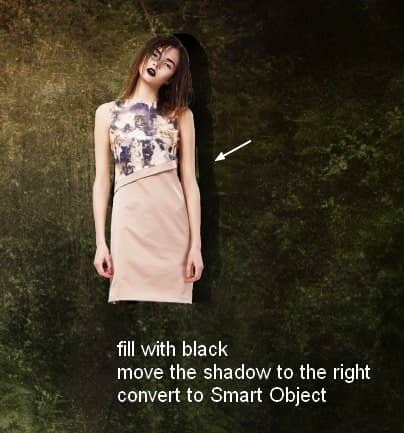
Go to Edit-Fill (Shift+F5) and pick the black and drag it to the right, convert it to Smart Object:
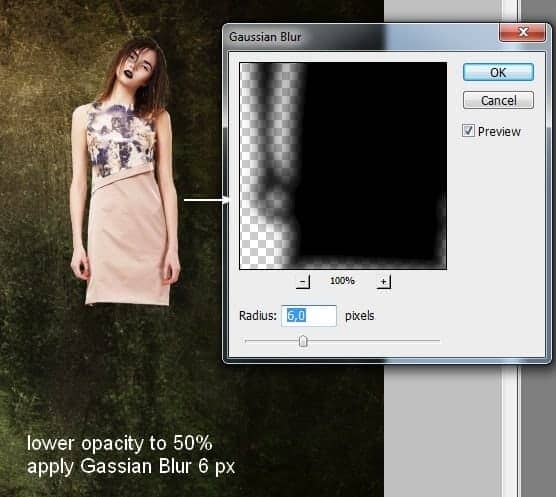
Lower opacity to 50%. Choose Filter-Blur-Gaussian Blur and fill radius as 6 px:
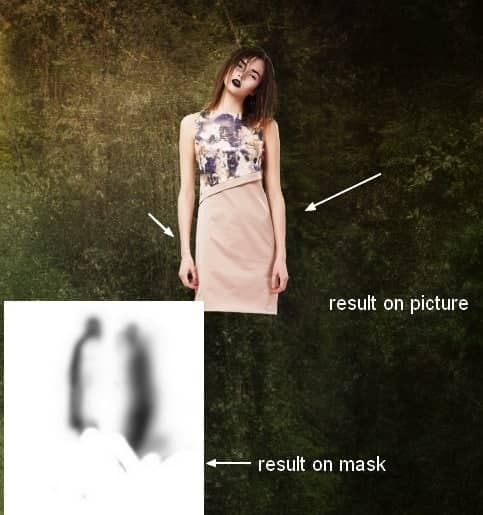
Use layer mask to blur the two sides of this shadow:
Step 10
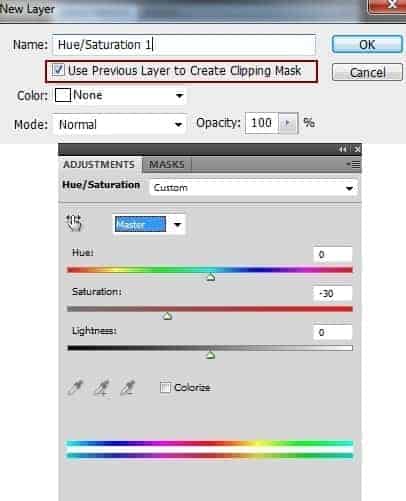
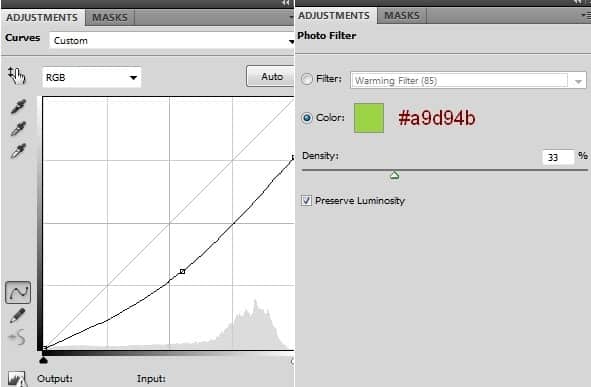
To change color and brightness of the model, I use some adjustment layers with Clipping Mask. On model layer, go to Layer-New Adjustment Layer-Hue/Saturation:
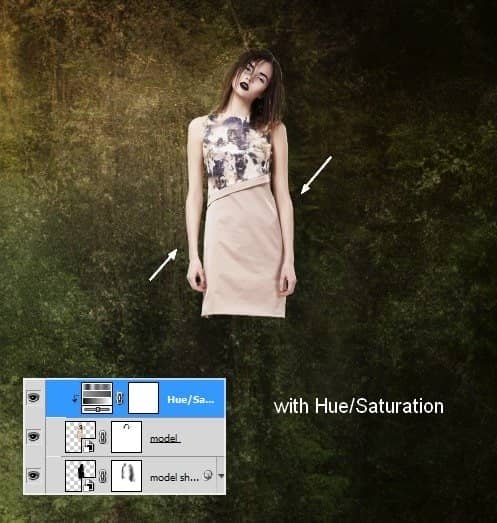
Curves and Photo Filter:
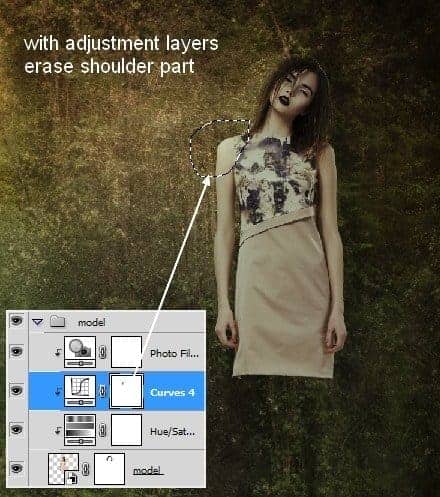
On Curves layer mask, erase the top of left shoulder of the model (from the viewers) to make it a bit brighter:
Step 11
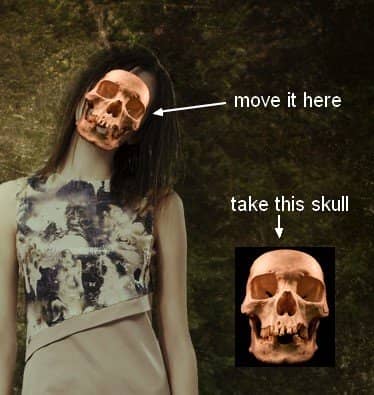
Open skull pack. I choose number 0053 to cut out and place it onto model face after downsizing and rotating:
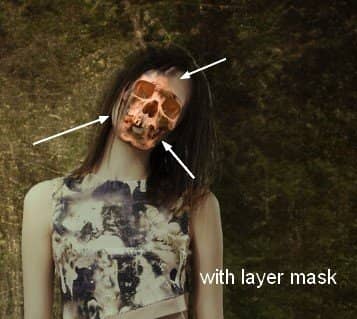
Use layer mask to blend the skull with the face:
Step 12
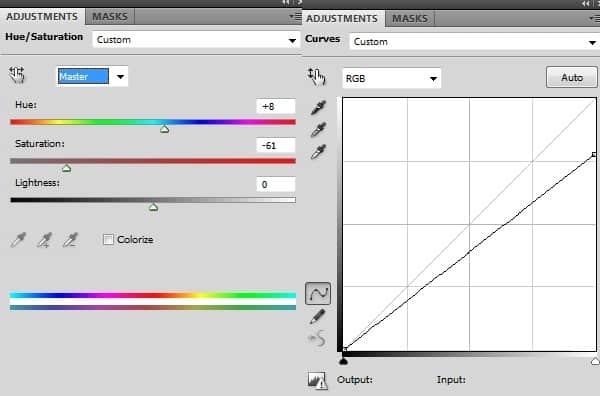
Add two adjustment layers (Clipping Mask) to skull one to reducing saturation and darkening:
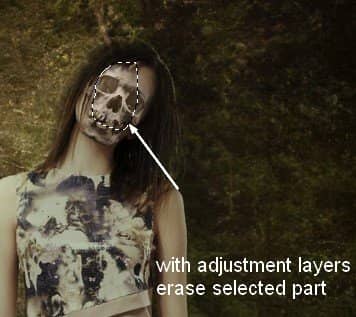
Apply brush masking on the center part of the skull to keep it brighter than the rest:
Step 13
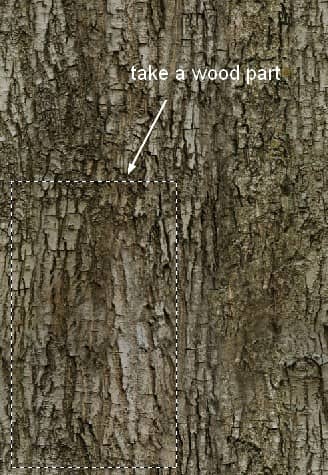
Open wood texture. Use Rectangular Marquee Tool to create a selection on the pic:
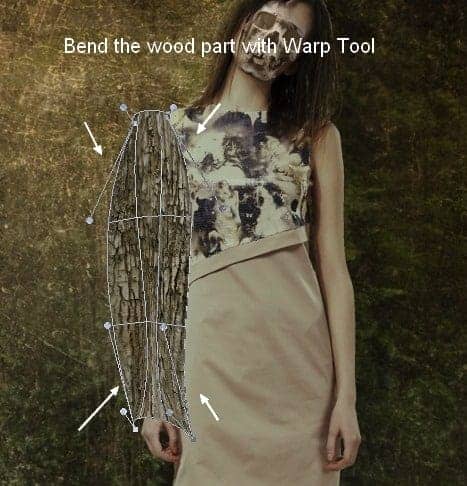
Drag it onto left arm of the model. After lowering the size, use Warp Tool (Edit-Transform-Warp) to bend it as shown below:
Step 14
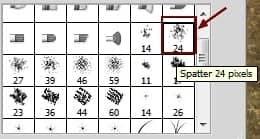
Open brush menu, choose Reset Brushes. Now click to change brush to Spatter 24 pixels:
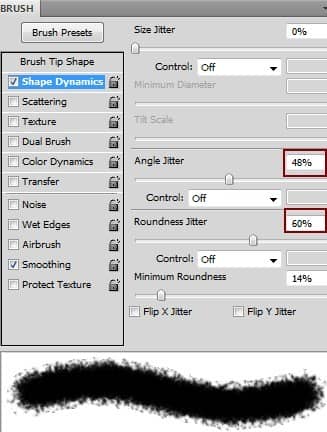
Press F5 to change the settings of this brush:
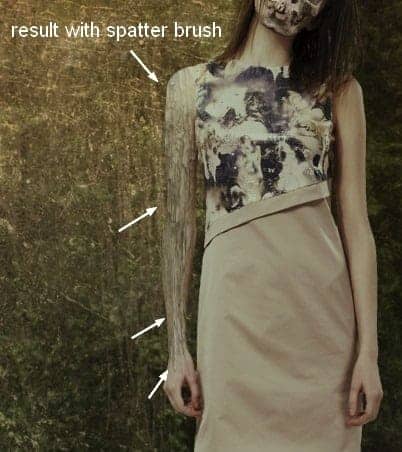
Add layer mask to the wood layer. Use indicated spatter brush to remove the unnecessary parts of the wood and blend it with model arm. You can vary brush size to get more natural result:
Step 15
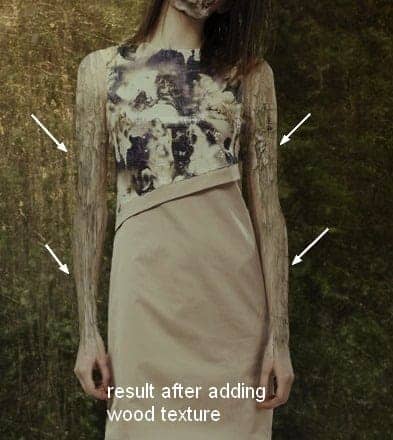
Add wood texture to another arm with similar method:
Step 16
The arms look a bit flat after adding the texture. To fix it, I group wood texture layers and change the mode to Normal 100% . Add a Curves layer to this group:
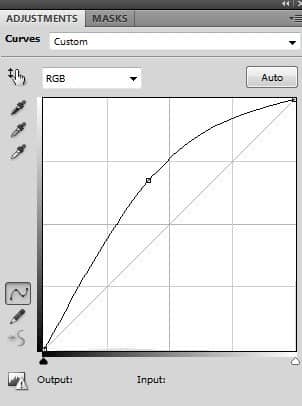
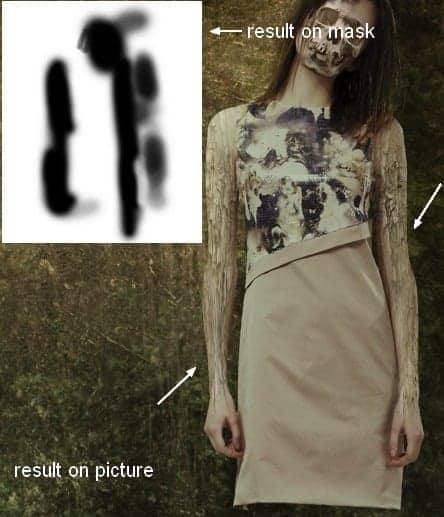
On Curves layer mask I use brush to erase some parts and create contrast to the arms:
Step 17
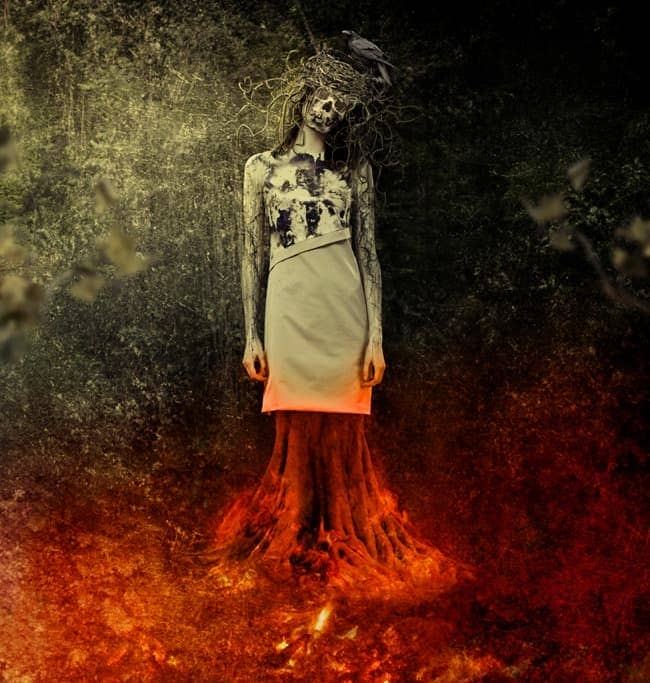
The arms need more contrast so I make a new layer above wood texture group, fill with 50% gray and change the mode to Overlay:

19 comments on “Create a Chilling Abstract Using Photos and Textures”
good
Nice tutorials
Awesome tutorial. I like to do composites that are similar to this, but my process is a bit longer. I think you just showed me a few shortcuts, which is nice!
Wow! Very good! Thanks you very much.!!
Wow.
I believe the purpose is not to have you use the same photo at all. It simply shows you how to do the effects, and you can then choose your own photos to edit.
Absolutely beautiful works.. This is what called “Creativity”.
Very good.
But you can download the PSD file and there are the stock images
WHAT exactly is the purpose of trying to have us follow a tutorial with stock images that are not free?? Are we expected to purchase them JUST for the purpose of following this tutorial? I'm confused.
Try to understand it from the writers view. I wish everything is free but bot everything is free on the web and often times the photos needed are not available free. The way I see tutorials is learn... but don't copy. The tutorial appears like it can be completed with a different model picture. Find a model picture on DeviantART or use Google.
I m Agree jordan sir.
You don't have to use the photo they linked to. There are plenty of free stock photos and they work on this tutorial. The point is to learn not to copy.
Good tutorial. Only downside is you have to pay for the model's picture.
check the PSD ;)
I like this effect but
too much photo-manipulation tutorials
didnt help
good