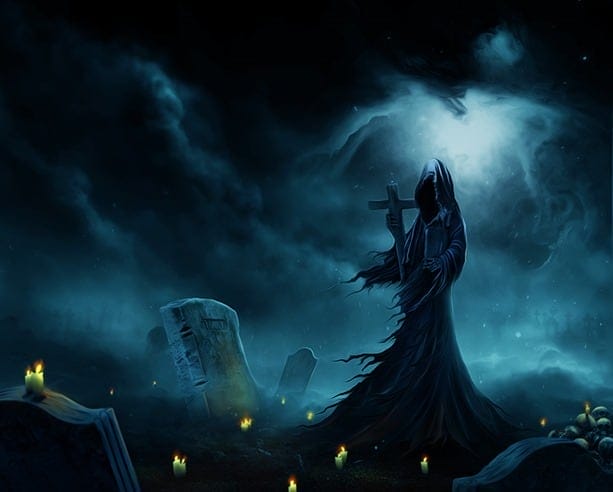


Create again a new layer. Set this layer to hard light blending. Paint some light for each candle on this layer. Use color of . Here is the result I created in normal blending:

Result should be in hard light blending at about 70% opacity.

And ………create again a new layer above the previous layer (don’t worry it is the final new layer ;-) Set this layer to linear light blending. With the same color paint soft highlight on the tombs. Don’t forget to add some shadow for the candles. Use soft black color for this purpose. Here is the result.

Step 26 (Filters)
Make sure we are active on the topmost layer in the layer panel. Hit Shift+Ctrl+Alt+E to merge all visible layers into a single layer. Go to layer > smart objects > convert to smart object. This will change the status of this layer into a smart object layer. Next go to filter > oil paint. Here is the values :

Give another smart filter : custom. Set the value below. Set the blending option for this smart filter to normal at 50-60 opacity.

Result after filtering :

Go select the smart filter mask thumbnail to be active on it. Mask the effect of the filters to some areas as highlighted in red.

Result after masking :

Finally give this layer an adjustment layer : brightness/contrast.

Here is the result should be:

Final Results

Download the PSD
Tutorial by Dek Wid
 Thank you for following this tutorial! Hope that you learn something today and happy photoshopping. Wid’s side – My personal blog
– Dek Wid
End of tutorial