Make skin look perfect in one-click with these AI-powered Photoshop actions.
![image014[4] image014[4]](https://cdn.photoshoptutorials.ws/wp-content/uploads/2012/10/image0144.jpg?strip=all&lossy=1&quality=70&webp=70&avif=70&w=1920&ssl=1)
Step 7
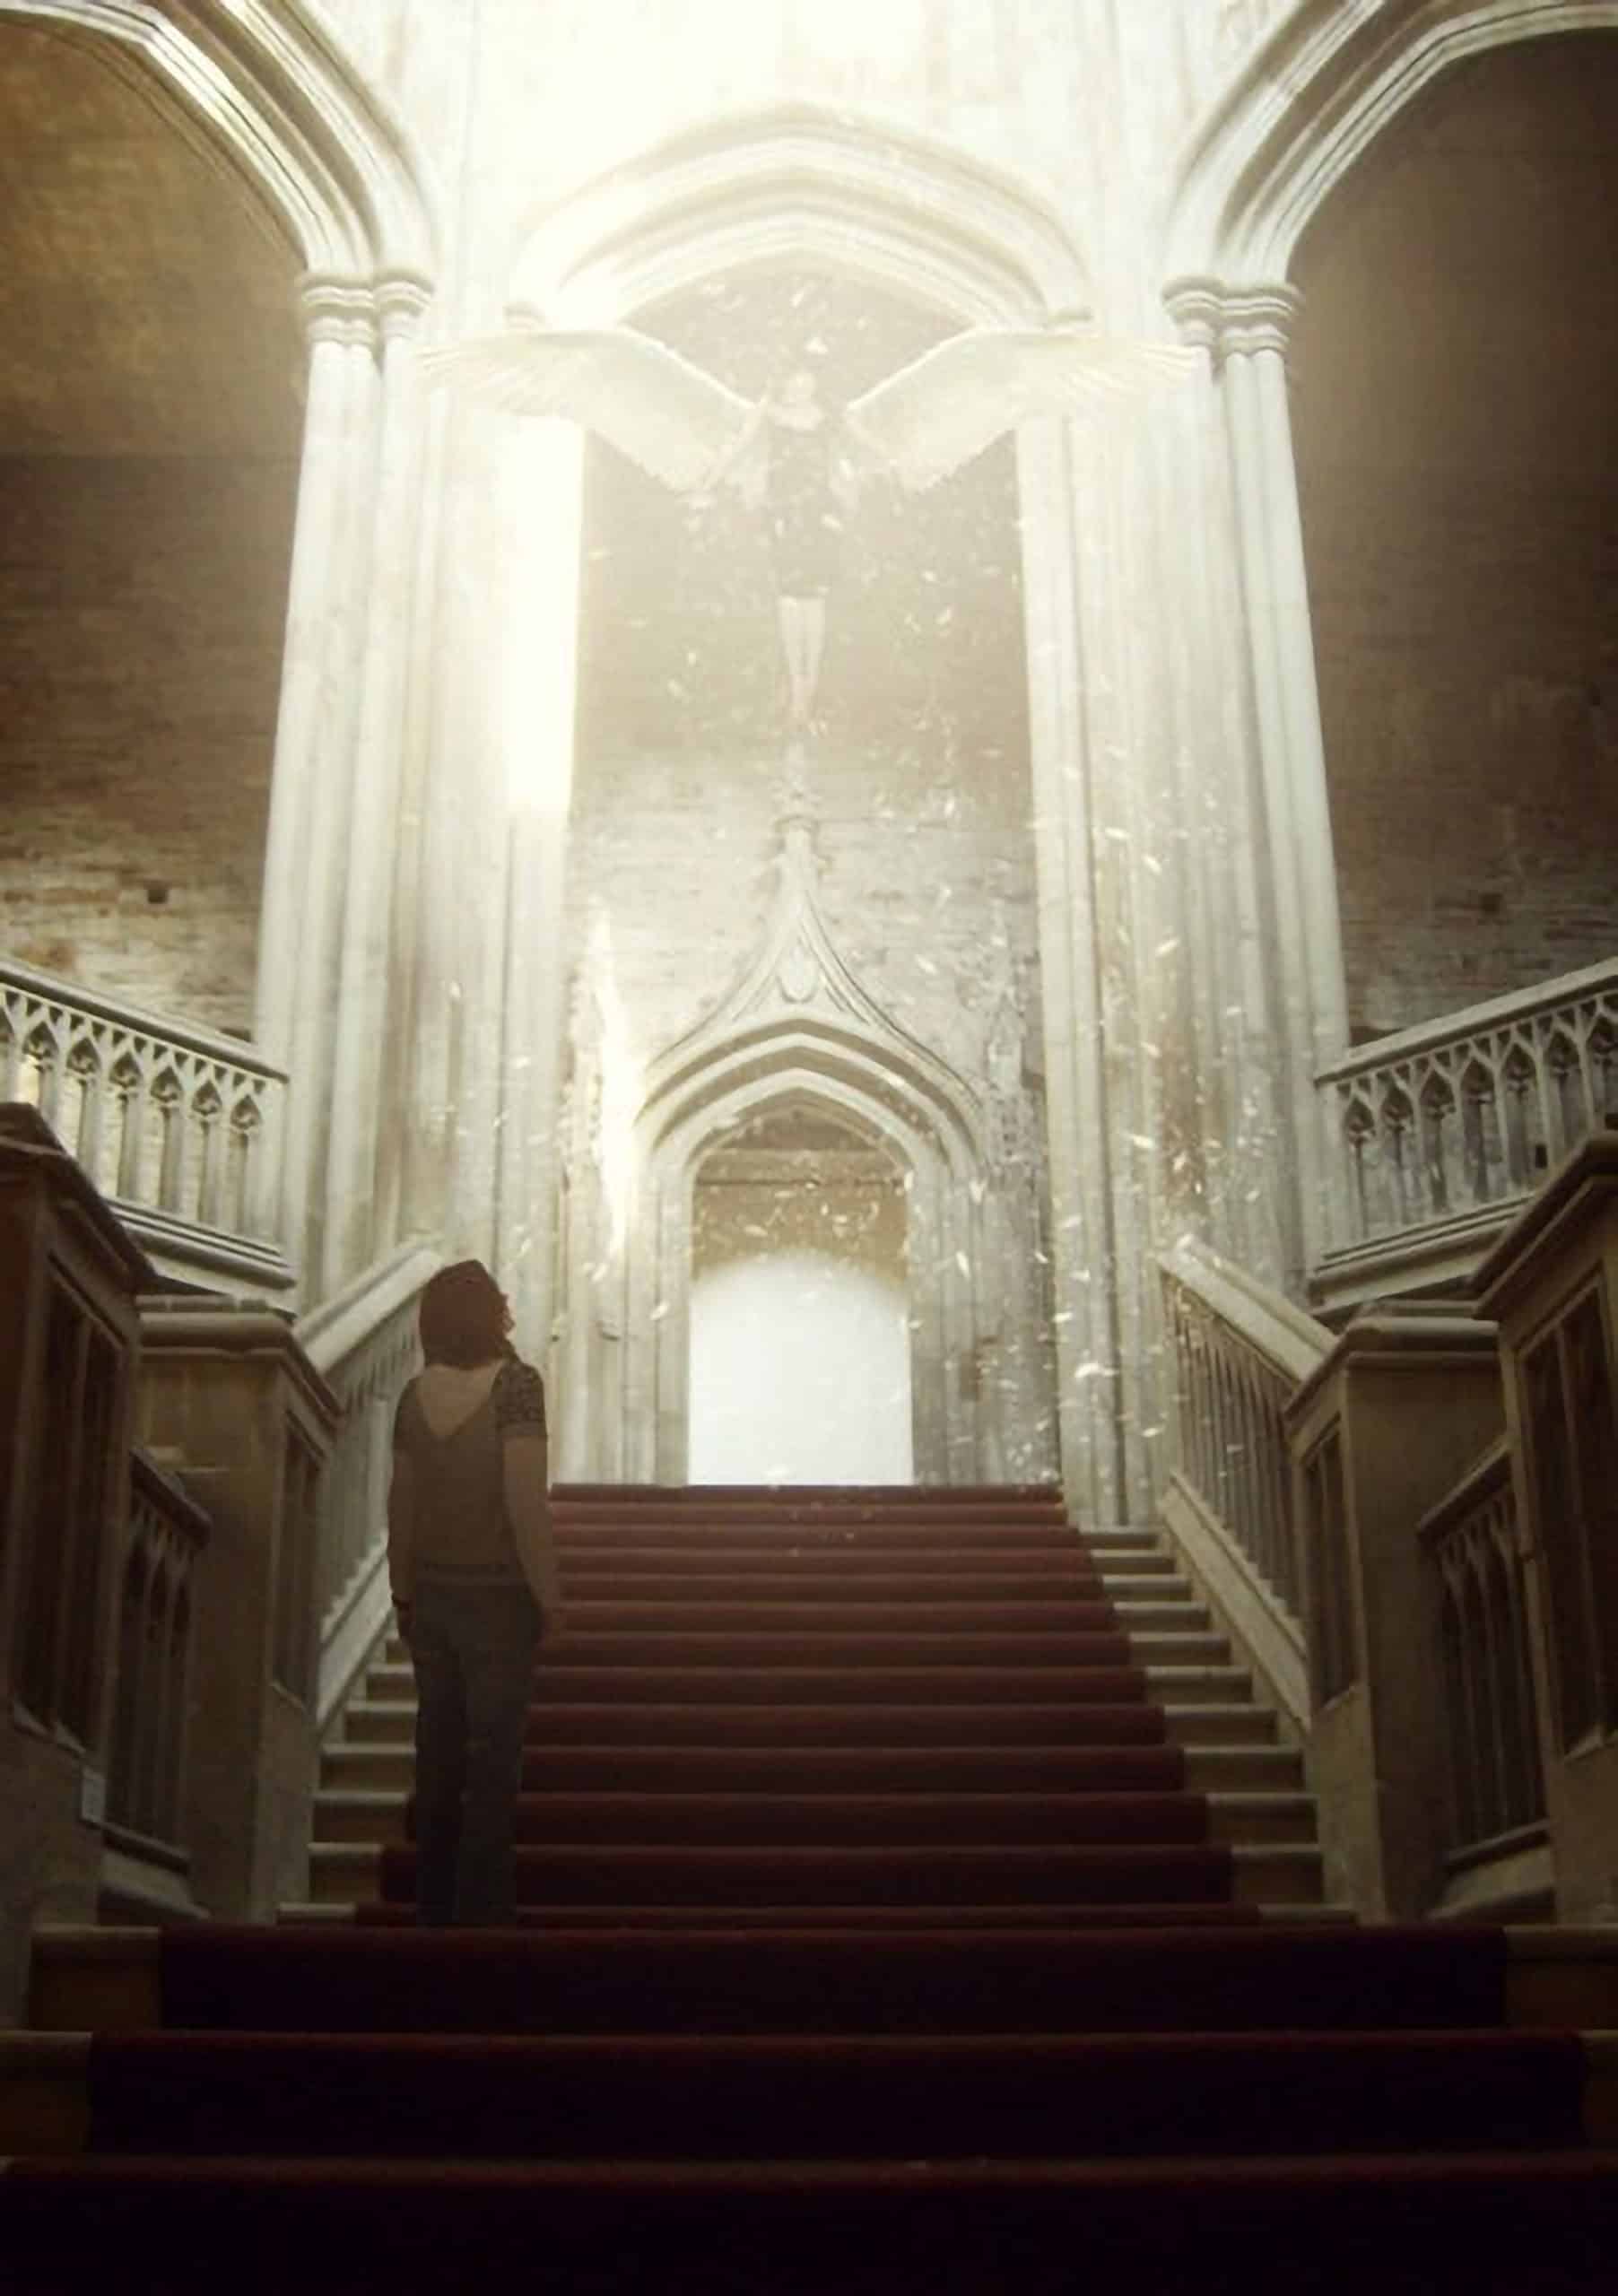
Now, we will be creating the girl who pretended to be a mortal and now is bewildering the woman below on such a holy sighting. To start, let's open "262-float" by wolfcatstock. Now, that it is open, activate the Polygonal Lasso tool (L) because we would use this to select the woman and isolate her from her background.
![image015[4] image015[4]](https://cdn.photoshoptutorials.ws/wp-content/uploads/2012/10/image0154.jpg?strip=all&lossy=1&quality=70&webp=70&avif=70&w=1920&ssl=1)
Now, let's create a selection area around the woman:
![image016[4] image016[4]](https://cdn.photoshoptutorials.ws/wp-content/uploads/2012/10/image0164.jpg?strip=all&lossy=1&quality=70&webp=70&avif=70&w=1920&ssl=1)
Step 8
Now, that we've made a selection area around the woman, activate the Move tool (V) and drag the woman to our canvas. Once on the canvas, rename this layer to "woman".
Note: Renaming a layer is similar to renaming a group; simply double click on the word: "Layer _" and then input the name you want to put.
After moving the "woman" to the canvas, position her using the Move tool (V) as shown on the image below:
![image017[4] image017[4]](https://cdn.photoshoptutorials.ws/wp-content/uploads/2012/10/image0174.jpg?strip=all&lossy=1&quality=70&webp=70&avif=70&w=1920&ssl=1)
Step 9
Now, activate the Transform tool (Ctrl/Cmd + T) and resize the girl as shown on the image below:
![image018[4] image018[4]](https://cdn.photoshoptutorials.ws/wp-content/uploads/2012/10/image0184.jpg?strip=all&lossy=1&quality=70&webp=70&avif=70&w=1920&ssl=1)
The result of that should be similar to this:
![image019[4] image019[4]](https://cdn.photoshoptutorials.ws/wp-content/uploads/2012/10/image0194.jpg?strip=all&lossy=1&quality=70&webp=70&avif=70&w=1920&ssl=1)
Step 10
Next, let's adjust the Hue/Saturation of the woman, since her skin is overly saturated. To start, make sure that the woman layer is selected and then go to Image > Adjustments > Hue/Saturation or simply press Ctrl/Cmd + U. Once the Hue/Saturation box is open, input the following:
- Edit: Master
- Hue: 0
- Saturation: -50
- Lightness: 0
![image020[4] image020[4]](https://cdn.photoshoptutorials.ws/wp-content/uploads/2012/10/image0204.jpg?strip=all&lossy=1&quality=70&webp=70&avif=70&w=1920&ssl=1)
The result:
![image021[4] image021[4]](https://cdn.photoshoptutorials.ws/wp-content/uploads/2012/10/image0214.jpg?strip=all&lossy=1&quality=70&webp=70&avif=70&w=1920&ssl=1)
Step 11
Next, we need to fix the lighting on this woman; we'll need to adjust the light to make her blend with the light coming from above; to start, make sure that the woman layer is selected and then go to Image > Adjustments > Brightness/Contrast. Once open, input the following:
![image022[4] image022[4]](https://cdn.photoshoptutorials.ws/wp-content/uploads/2012/10/image0224.jpg?strip=all&lossy=1&quality=70&webp=70&avif=70&w=1920&ssl=1)
The result:
![image023[4] image023[4]](https://cdn.photoshoptutorials.ws/wp-content/uploads/2012/10/image0234.jpg?strip=all&lossy=1&quality=70&webp=70&avif=70&w=1920&ssl=1)
Step 12
Now, we'll further fix the lighting on the woman; to start, left-click on the woman layer and then create a new layer by pressing Ctrl/Cmd + Shift + N. Creating a new layer while the woman layer is selected will automatically create a new layer above the selected layer. Once the New Layer box opens, input "darken woman" on the name field.
![image024[4] image024[4]](https://cdn.photoshoptutorials.ws/wp-content/uploads/2012/10/image0244.jpg?strip=all&lossy=1&quality=70&webp=70&avif=70&w=1920&ssl=1)
Next, right click on the "darken woman" layer to open its contextual menu. Once open, click on "Create Clipping Mask".
![image025[4] image025[4]](https://cdn.photoshoptutorials.ws/wp-content/uploads/2012/10/image0254.jpg?strip=all&lossy=1&quality=70&webp=70&avif=70&w=1920&ssl=1)
Step 13
Now, let's ready the Brush. Activate the Brush tool by pressing B on the keyboard. Before we start painting, make sure that the active Brushes are the default brushes. The default Photoshop brushes are shown on the image below, if that's not what you see, then follow the instructions below:


12 comments on “Create a Mystical Rising Angel Photo Manipulation in Photoshop”
How do you print the photo to capture the effects? What type of printer?
FOR ME ILIKE ET CECOMADOOO
just like a historical heritage
such a great munipulation
Thanks for the info
Were Can i download photoshop?
Beautiful, creative and acutely enjoy able!thanks for sharing!
A good theme well thought out & executed. A sublime result! Tutorial very easy to follow
Please help, how can i use Winter SnowFlake Brushes PS7??
Was easy to do this! And that says a lot since I've only started learning to use Photoshop CS6 a WEEK ago! Great tutorial Michael!
Great tutorial that was very well described. It was so well instructed all skill levels could work through it. I really enjoyed the finished result too. I would love to see more from you Michael.
Well done Sir!
great,thanks(some steps had easy alternatives, you just made it complicated,any ways thanks a trillion)