
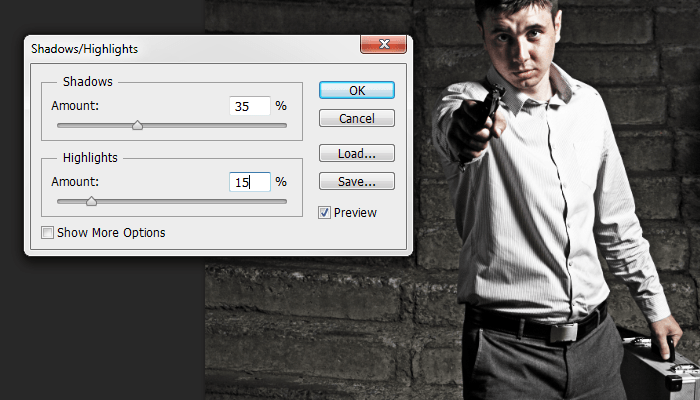
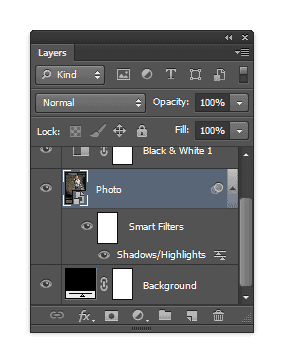
If you look in the Layers palette, you can see that the adjustment was applied as a Smart Filter. This is because in Step 2, we changed the layer into a Smart Object. The benefit of using Smart Filters is that you can change the settings at any time without undoing a bunch of steps.
Step 8
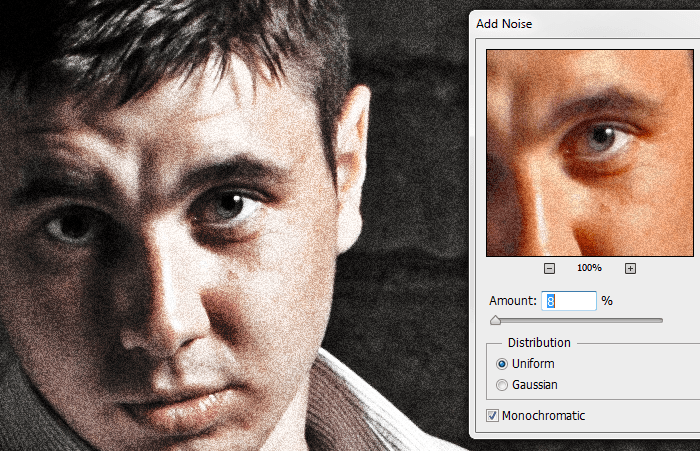
Next, we’re going to add some grain to the photo using the Add Noise filter – which will be applied as a Smart Filter just like the previous step. Make sure you have the Photo layer selected then go to Filter > Noise > Add Noise. Checkmark the Monochromatic option then adjust the settings so that you get an effect like shown in the image below. Click OK to add the noise.
Step 9
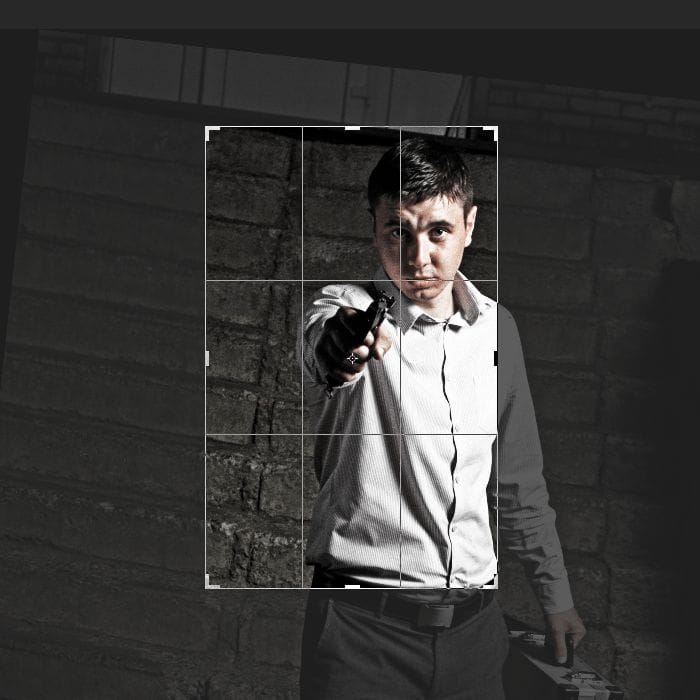
Next, we’re going to crop and rotate the image. Select the Crop tool (C) then in the options bar, disable the “Delete Cropped Pixel” option. This will let us uncrop or make adjustments to the crop at any time.

Crop the image like shown in the image below. We also rotated the image so that the eyes are more horizontally aligned. This is important because when we add the stripes, we want to ensure that the eyes are visible and don’t tilt off the top or bottom edge of the stripes.
Step 10
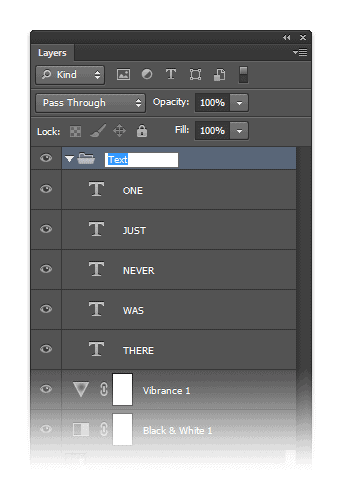
Now we’re going to add some text to the image. We’re doing this first so that we know where to place the stripes later. In the Layers palette, select the top layer so that when you add the text, they all appear above the top layer. Select the Text tool then add some text around the image with each line of text in their own layer. The font used below is Arial.

Step 11
Select all the text layers (hold CTRL to select multiple layers) then add them to a group (Layer > Group Layers or Ctrl+G). Rename the group to Text.
Step 12
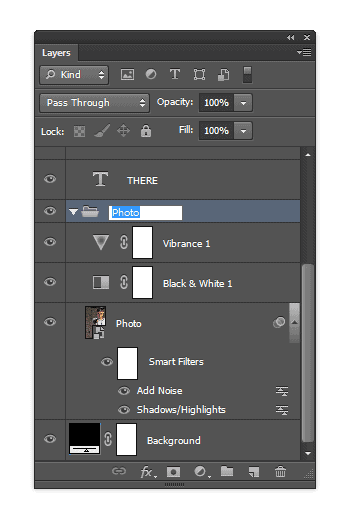
Group the layers associated with the Photo layer (Vibrance, Black & White, & Photo) then rename the group to Photo.
Step 13
Now we’re going to add the stripes. This is really easy to do and the only tool needed is the Rectangular Marquee tool. Select the Rectangular Marquee tool then in the options bar, set the mode to “Add to Selection” which is the second button to the left. You can hover over the icons to see what each one does. Also, ensure that your feather setting is set to 0px.
34 responses to “Create a Poster Inspired by the Movie “The Bourne Legacy””
-

cool
-
it sucks that you have to pay for the image
-
Any picture will work no matter what you use for the tutorial.
I used this one (free):
https://stock.adobe.com/uk/images/confidence-businessman-in-suit-standing/339829407
-
-
tell me which software i have to use to get my photos with effect like this.
-
download link dont work plz help
-
Thanks link has been fixed :)
-
-
thnx man it really help me alot
-
j
-
-
thank you much for share :) really nice
-
quick, take this down. illuminate
-
Guns are bad please take down this tutorial
-
Awesome! Excellent tutorial. Thanks for sharing.
-
very good!! well explained tutorial
-
Nice,cool tutorial
-
i use ps cs3,,cs 3 hvant viberance?so how i do this step 6?? plz help me
-
Thanks A lot. This tutorial was really helpful.
-
awesome
-
gk tau buat’a
-
NICE WRITTEN. EASY TO UNDERSTAND (I DID A LOT OF TUTORIALS AND SOME CONFUSE ME) CLEAR AND WELL EXPRESSED.
THANKS A LOT.
GREETINGS FROM SPAIN -
I couldnt do it in CS4. At step 14 the effect did take place. i dont know where i went wrong.
-
Thank you very much. Now my facebook avatar ‘s cool
-
nice
-
Nice one
-
So… what happens after step 11?
-
Click next page to go to the next page ;)
-
-
thank you…. it worked well
-
nice
-
Thank you so much for this detailed tutorial!
-
Thanks for the great tutorial! Will this work the same in CS4?
-
Thank you so much.You’re way of teaching is very detailed and that’s the biggest part.Keep up the great work.
-
really nice :) couldnt get the stock but used another and went just as well thanks so much
-
hjg
-
Great tutorial!
Simple, nice, well written.
Thank you! -
wow, thank u much for sharing this.
Leave a Reply