Make your artwork look like they're from an alternate universe. These Cyberpunk presets work with Photoshop (via the Camera Raw filter) and Lightroom. Download all 788 presets for 90% off.
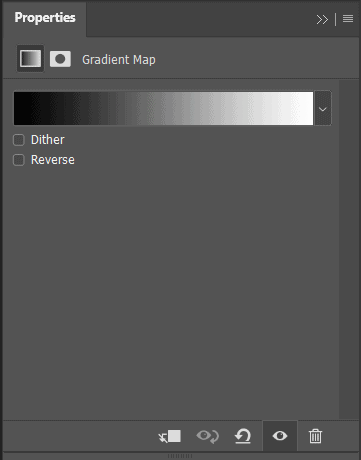
Step 36
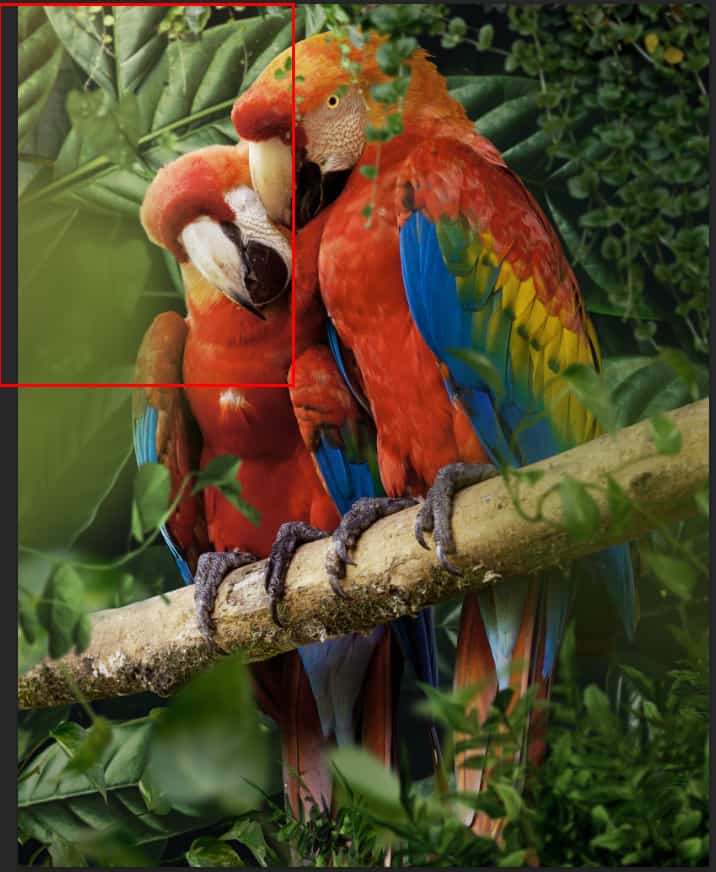
Create a new layer and change Blend mode to Soft Light with Opacity 55% then use a Brush Tool(B) Soft Round with foreground color white then paint to left corner.
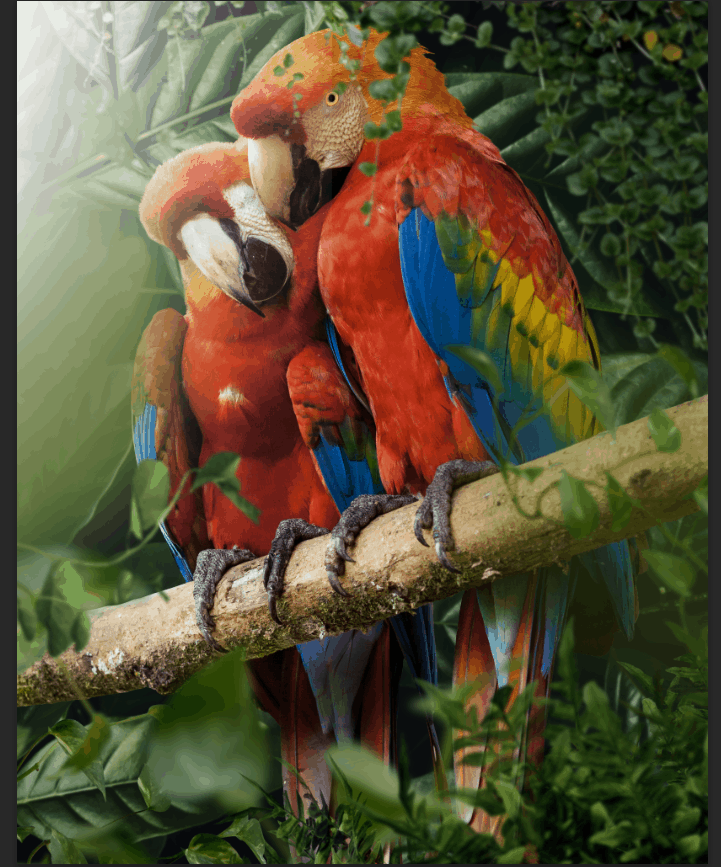
Step 37
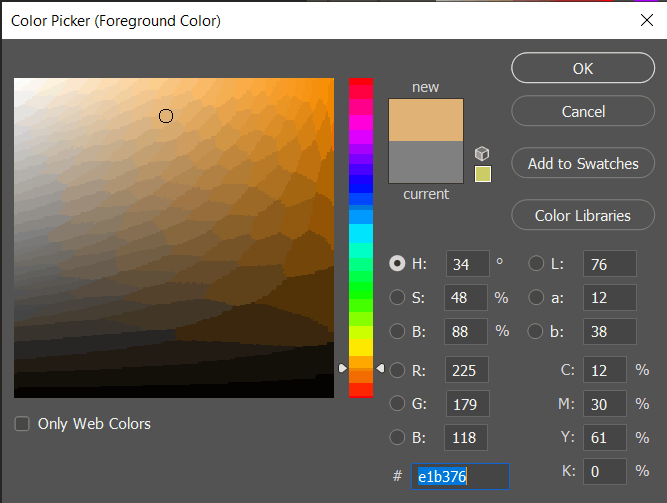
Create another layer and change Blend mode to Soft Light with Opacity 65% then use a Brush Tool(B) Soft Round with foreground color Orange then paint to left corner.
Step 38
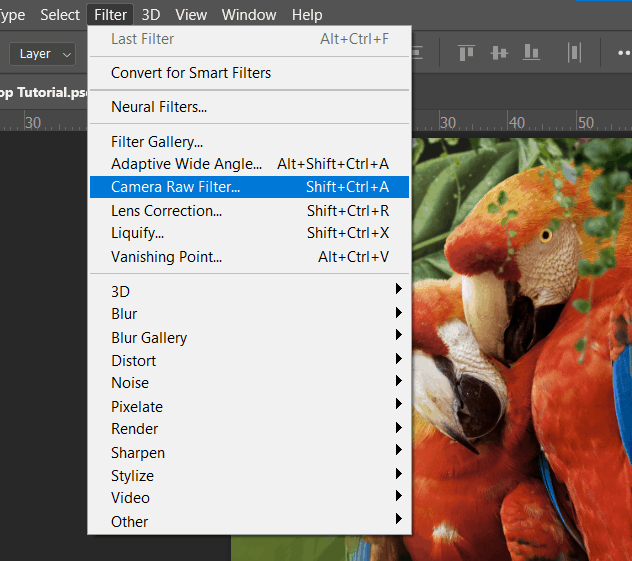
When we finished all this, now merge all layers to one. Slecet the last layer and hold CTRL/CMD + SHIFT + ALT + E. Now we have a final layer, right click on mouse and select Convert to Smart Object. Then go to Filter > Camera RAW Filter. At its most basic, the Photoshop Camera Raw filter allows you to use the functions of the ACR interface at any time within Photoshop. This allows you to make any adjustments within ACR at any time during your workflow instead of just limiting its usage to theraw processing stage.While it would be possible to import your working file into Lightroom to make the same sets of adjustments, doing this in Photoshop saves you from that cumbersome step. It allows you the use of these tools without any extra effort.
Step 39
Now in Camera Raw Filter, set the Value: Basic
- Exposure: -0.30
- Contrast: +5
- Highlights: +29
- Shadows: --
- Whites: +4
- Blacks: -3
- Clarity: +9
- Dehaze: +5

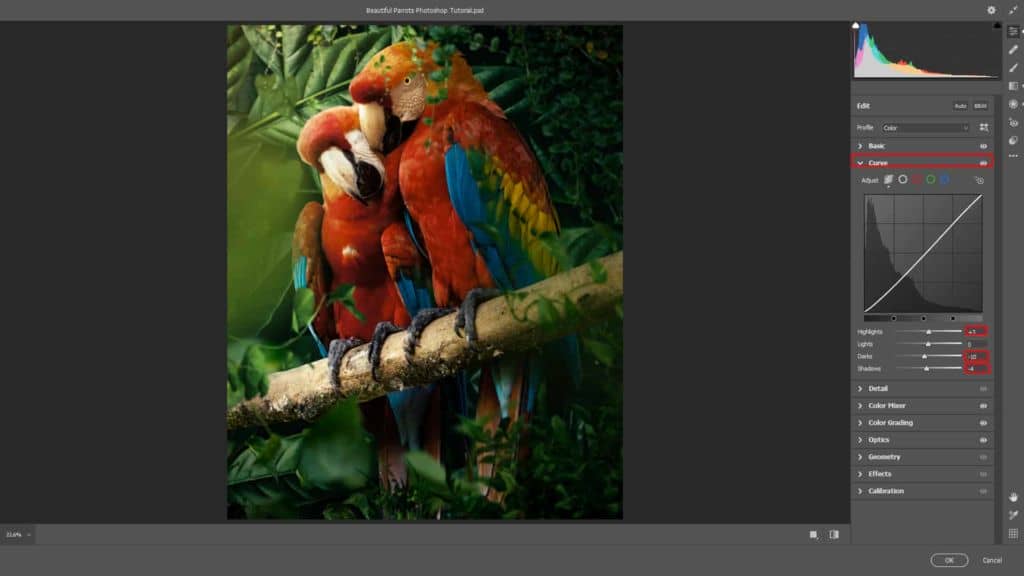
Tone Curves
- Highlights: +3
- Darks: -10
- Shadows: -4
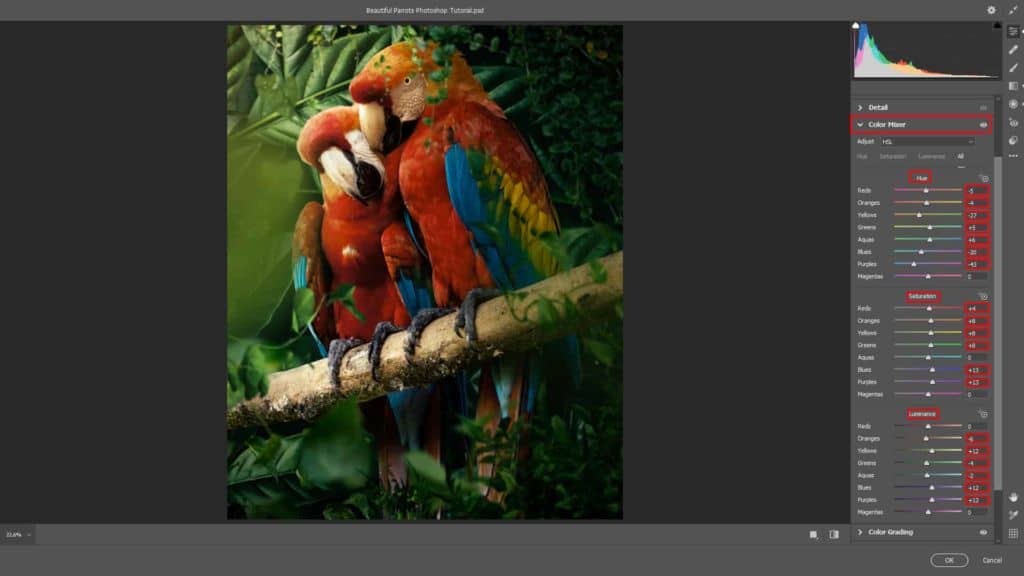
HSL Adjustments
- Hue
- Reds: -5
- Oranges: -4
- Yellows: -27
- Greens: +5
- Aquas: +6
- Blues: -20
- Purples: -43
Saturation
- Reds: +4
- Oranges: +8
- Yellows: +8
- Greens: +8
- Blues: +13
- Purples: +13
Luminance
- Oranges: -6
- Yellows: +12
- Greens: -4
- Aquas: -2
- Blues: +12
- Purples: +12
Color Grading
- H: 189 S: 15
Shadows
- H: 69 S: 32
Highlights


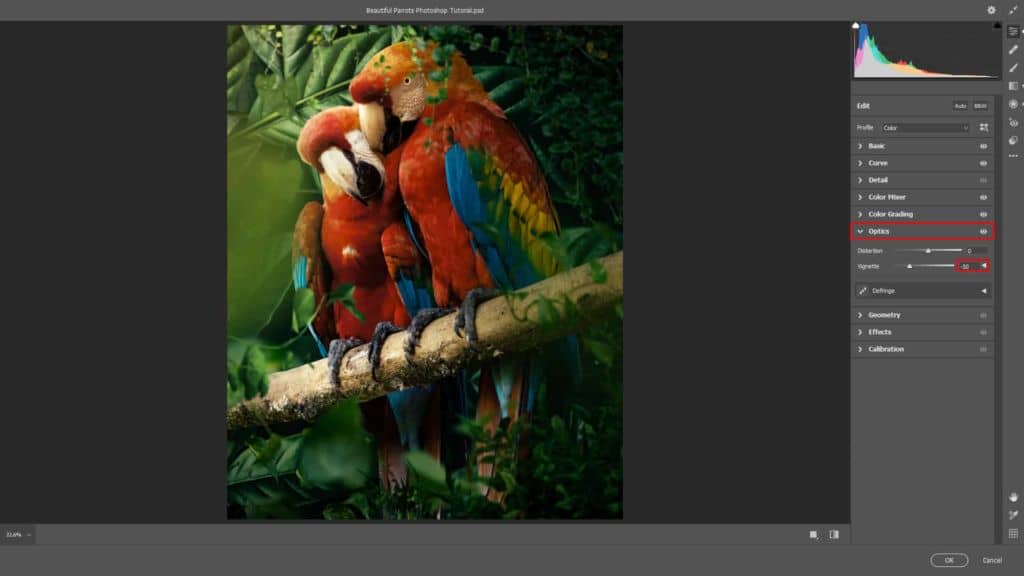
Optics
- Vignette: -50
Radial Filter
- Exposure: +0.15
- Highlights: +5
- Whites: +1

Radial Filter
- Exposure: -0.35
- Highlights: -10
- Shadows: -5
- Dehaze: +7
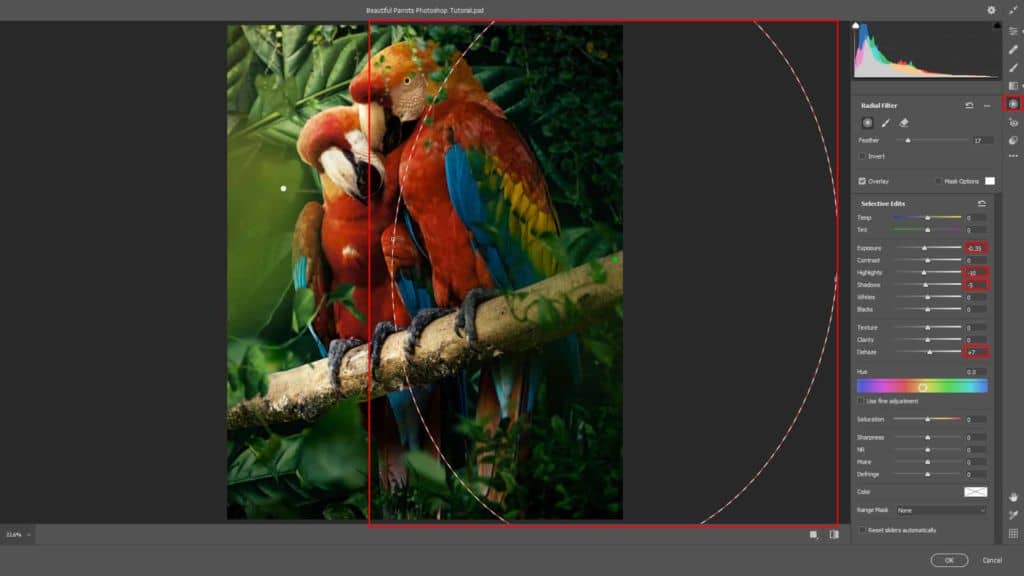
Gradulated Filter
- Exposure: -0.25
- Highlights: -12
- Shadows: -10
- Whites: -1
- Dehaze: +5

Opacity set to 95%.
Step 40
Add Adjustment Layer "Gradient Map" Blend mode Soft Light with Opacity 15%.

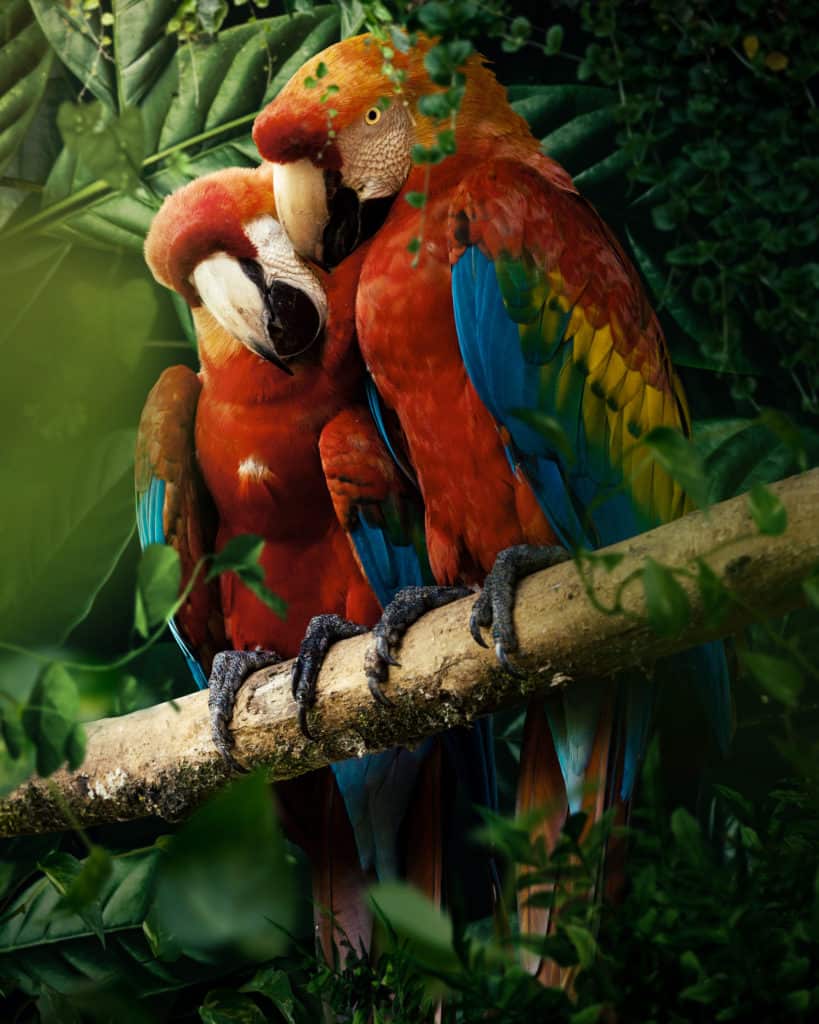
Finally everything should look like this

Final Results


One comment on “Create a nature scene of Parrots Photo Manipulation Tutorial”
This is beautiful! Thank you!