“Those who have never seen a leopard under favorable conditions in his natural surroundings can have no conception of the grace of movement, and beauty of coloring, of this the most graceful and the most beautiful of all animals in our Indian jungles.” In this photoshop tutorial, we will learn how to create a digital concept of a tiger in nature. First, we added background and blurred it. Next, add adjustment layers and mist. Now select leopard and put it to work canvas, after that added butterfly, parrots and tree. Also added Comet brushes and finally added Camera Raw Filter.
Preview of Final Image

Tutorial Resources
Step 1
Now, let’s start by creating a new image file, go to the Menu bar and click File > New, and then input the following values on their respective fields
- Preset: Custom
- Width: 3080px
- Height: 3850px
- Resolution: 300px
- Color Mode: RGB Color 8 bit
- Background Contents: Transparent

Step 2
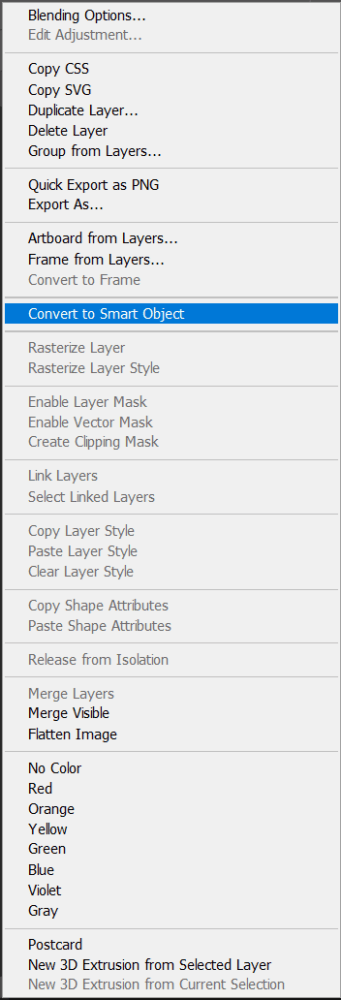
Now, place Background Go to File > Place and select background. Then place it to our work canvas. Then position the image with the transform tool (Ctrl / Cmd + T). Hold Alt + Shift and rasterize like the image below. In Photoshop CC only hold Alt to rasterize all sides together. Press right-click on the mouse and in the new pop-out window select “Convert to Smart Object”.


Go to Filter > Blur > Surface Blur and set radius to 5px and threshold to 15.

Now select the smart filter mask and use the Soft Round brush tool with the foreground color black and paint the sky.

Step 3
Add Adjustment Layer “Color Lookup” NightFromDay.CUBE

Opacity set to 50%
Step 4
Add Adjustment Layer “Brightness/Contrast” and press Ctrl/Cmd + I to invert and use Brush Tool(B) Soft Round with foreground color white and paint the highlight parts.


Step 5
Add Adjustment Layer “Brightness/Contrast” and press Ctrl/Cmd + I to invert and use Brush Tool(B) Soft Round with foreground color white and paint the dark parts.


Step 6
Add Adjustment Layer “Curves”

Step 7
In this step, we will add some mist. First, create a new layer and use a brush tool with a soft round, foreground color use white and paint. Flow set to 10%.


Step 8
Next, we will open Leopard. After you open the image, use the Quick Selection Tool(W) and start selecting the animal. After the selection area has been created, simply copy (Ctrl / Cmd + C) and Paste (Ctrl / Cmd + V) it to our work canvas. Then position the image with the transform tool (Ctrl / Cmd + T). Hold Alt + Shift and resterize like image below. In Photoshop CC only hold Alt to resterize al sides together.


Leave a Reply