Make skin look perfect in one-click with these AI-powered Photoshop actions.
Step 11
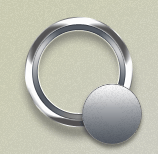
Your outcome should look something like this:
Step 12
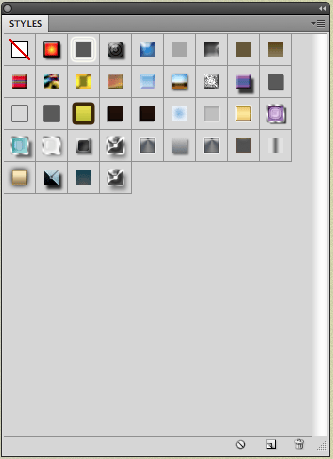
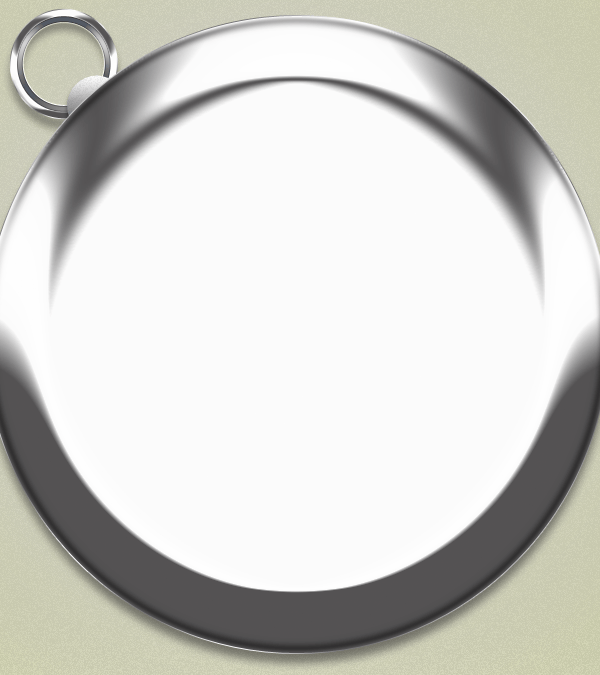
Now still using your Ellipse Tool, hold shift and drag your cursor to make a large round circle. Name this layer "Outer". Remember the FIRST Layer Style we made for the outer hoop ring? For the large circle, we'll be using it again. To access that Layer Style and use it for this layer, make sure your large circle layer is selected and then go to Window > Styles. A little panel should open up. Scroll down to the bottom and select the layer style effect that you made earlier. It should be the second to last icon.
Step 13
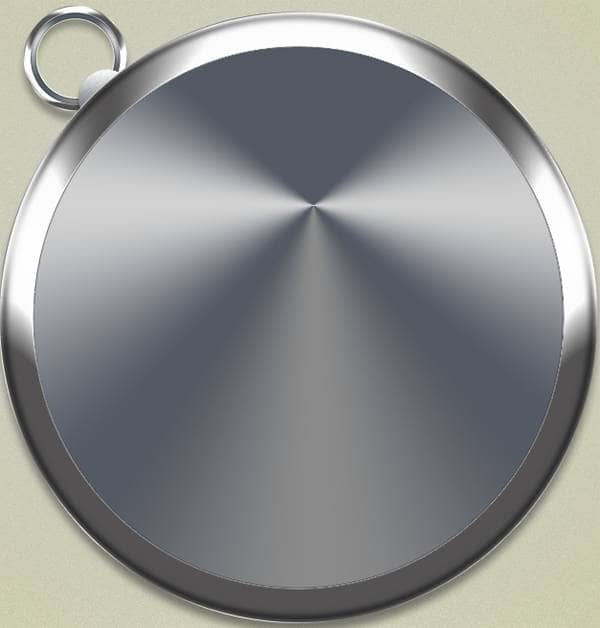
Duplicate this "Outer" layer and shrink it. Then apply the SECOND layer style effect we saved. You should now have something like this:
Step 14
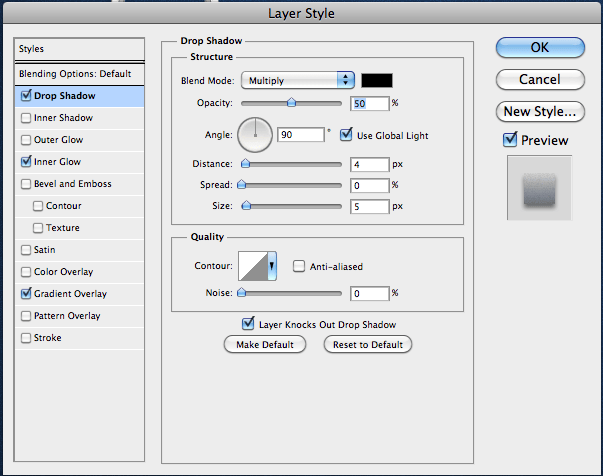
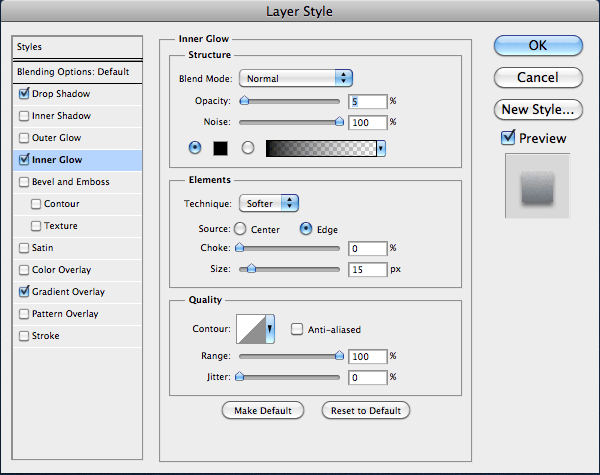
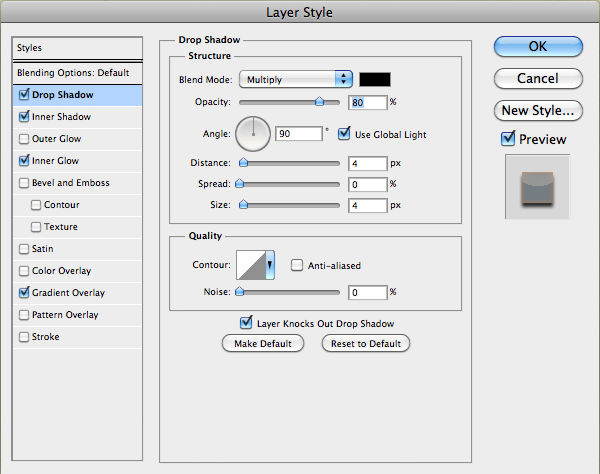
Make a new Ellipse Tool (U) and apply the following settings in the Layer Styles window:
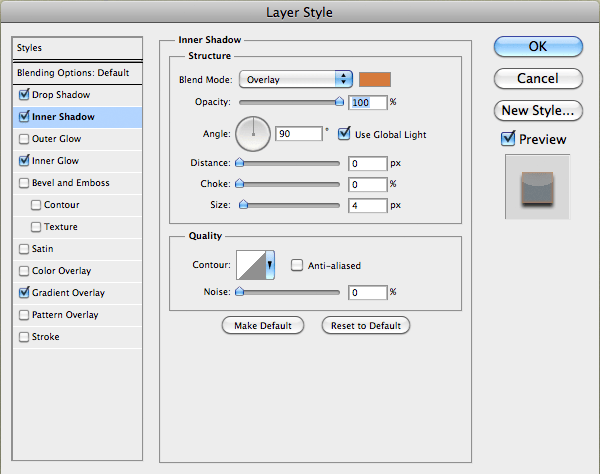
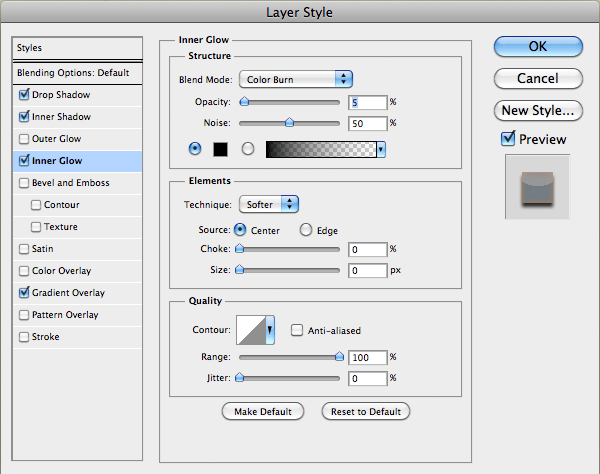
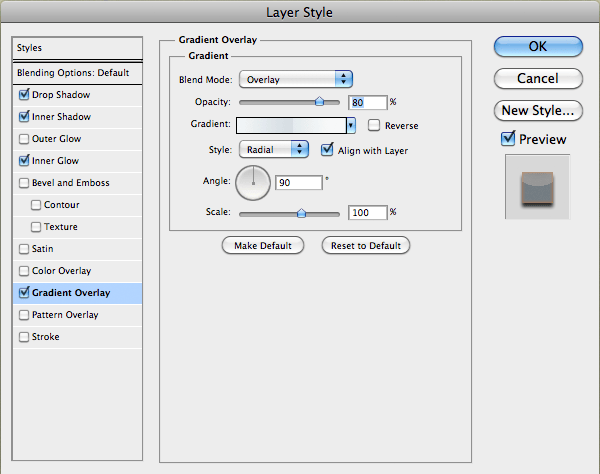
Step 15
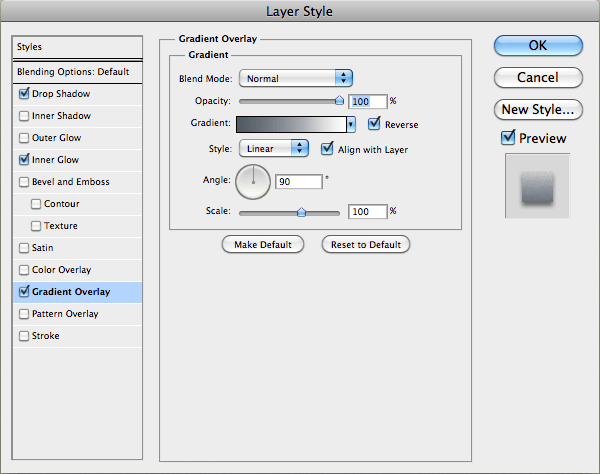
On that same layer, add a gradient fill.
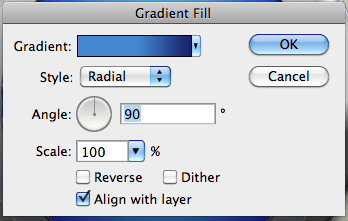
Step 16
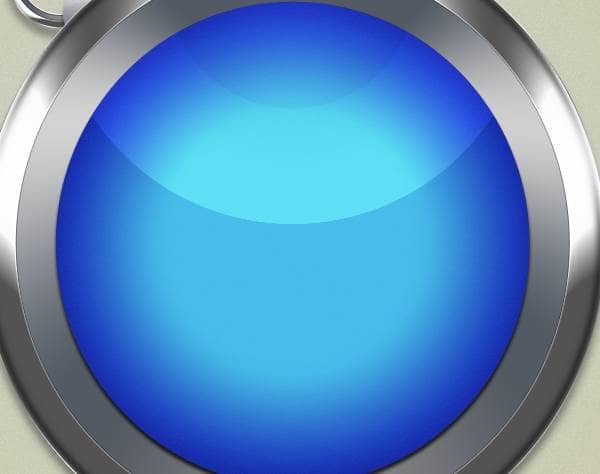
Now, rename the layer "Base". You should have the following effect thus far:
Step 17
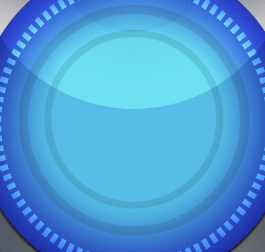
This next step requires a lot of concentration and patience. Grab your Rectangular Marquee Tool (M) and make a small rectangle inside the blue part of our icon and fill it with white. Then duplicate the layer and rotate it slightly. Do this until you have a full circle. Then set the layer mode to Overlay.

Step 18
Inside the middle of the document, we'll use our Circle Thin Frame again to create two circles. Merge the two shape layers together and rename the layer to "Middle Circles". Set the Fill to 10%.
Step 19
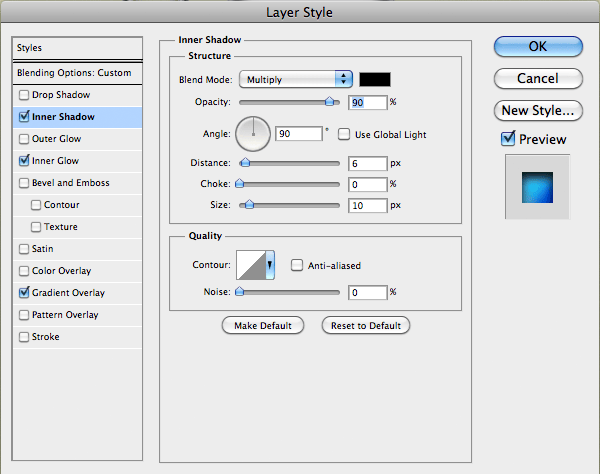
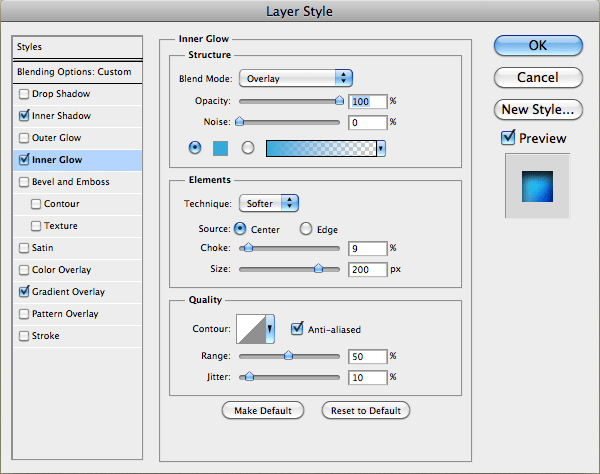
Use your Ellipse Tool to make a circle the same size as the "Base" circle. Name the layer "Inner Base" and apply the following:
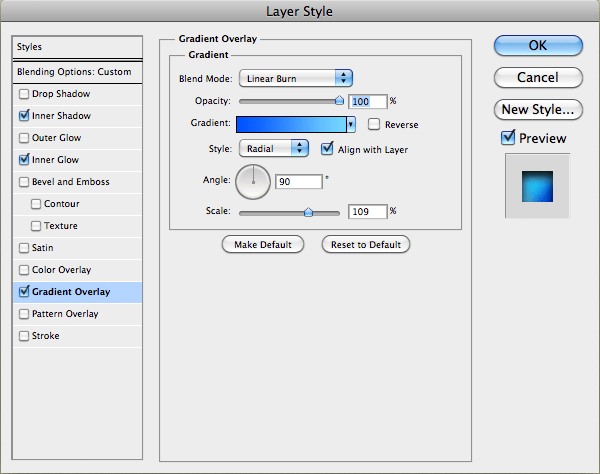
Step 20
Use your Ellipse Tool to make another circle the same size as the "Base" circle, name it "Inner Base " and apply the following:
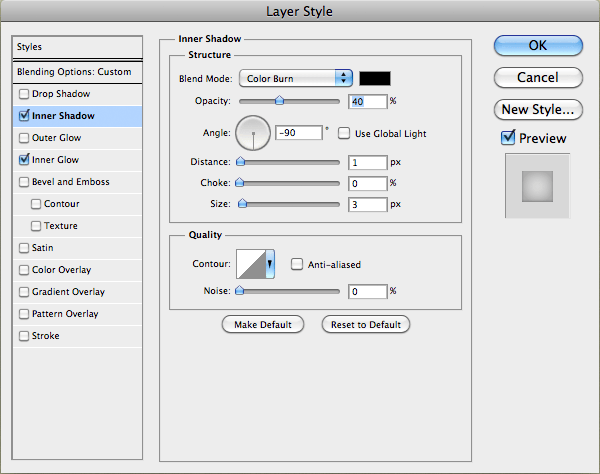
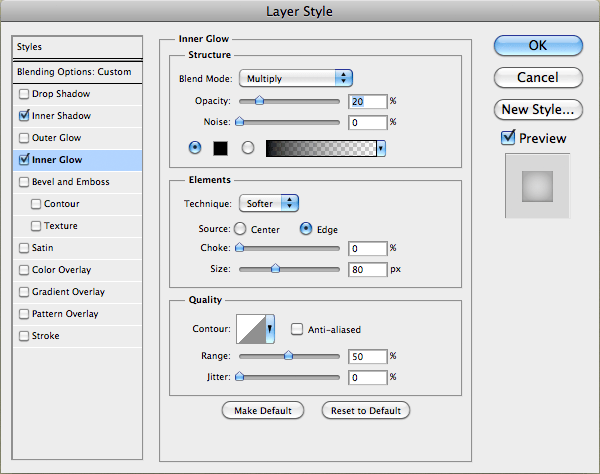
Step 21
In this tutorial, I created a compass rose on Photoshop. You can either create your own or find one. I put both the Opacity AND Fill at 65% and the Mode at Linear Dodge (Add). Then I added the following settings in the Layer Styles window.
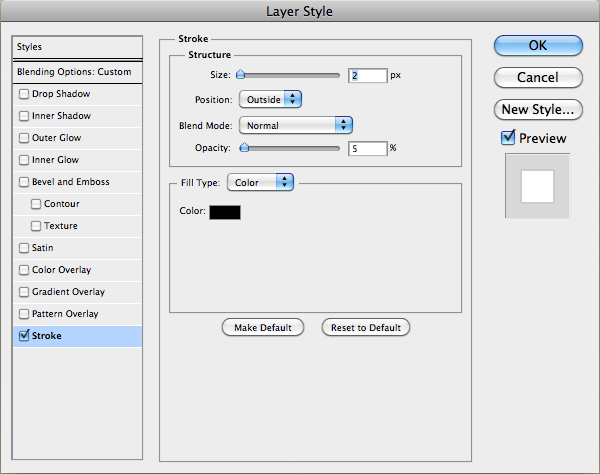
Step 22
Your result should look like this:
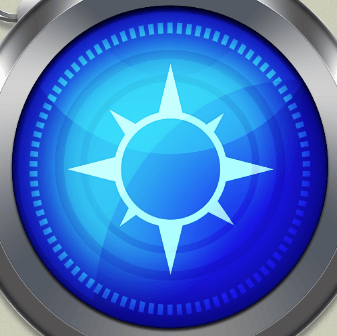
Step 23
If you want to add any more gloss effect, you can. In this case, I added a nice gloss which I created by combining several shapes to create a shape similar to the moon's. I then set its Fill to 65% and added a drop shadow.


6 comments on “Create an Apple Safari Icon in Photoshop”
Link download is not found. Could you resolve it?
Fixed!
are you kidding me? are you serious? what about the colors? seriously. look at other tutorials. they tell you the color. what makes you special?
if anyone knows the colors lemme know. honestly.
seriously, dude. you're a fail
I have come back from the dead and this is what I find? How humanity has fallen. I shall live with the elves for the remainder of my life.
Keep helping man
your tutorials are best i find many things new from Your tutorial
best and easiest ever!