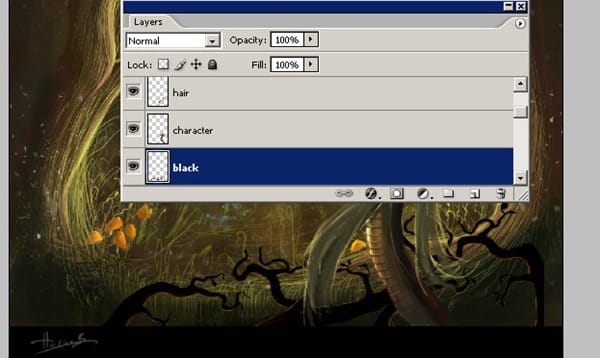
Now at this step you must have noticed my new tree’s color is black. Before I make those changes I had changed it’s color via help of the Brightness Contrast. If you haven’t changed it now you can arrange it. Here let me show how I did. Select Image/Brightness/Contrast
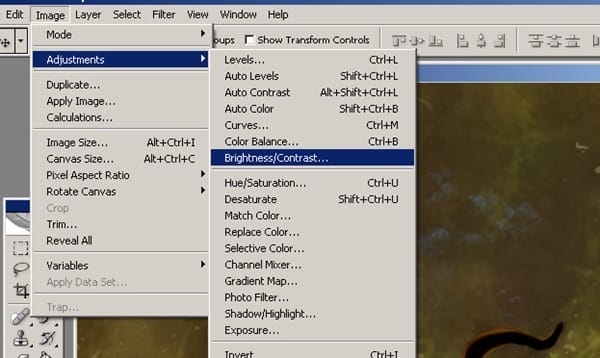
And make the settings as you see. Now we have completed this stage.

Now we can start out detailing our character. I also used Color Dodge tool for the bright areas. This is how it looks once all the adjustments are done with the Color Dodge and Burn tool.
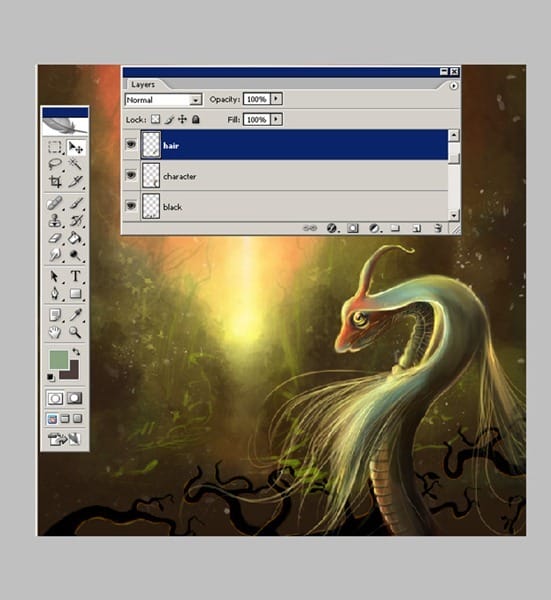
Step 9: Final Adjustment
At this last step I use Photoshop’s color balance tool to change colors a little bit. First of from Layer option select Flatten Image.
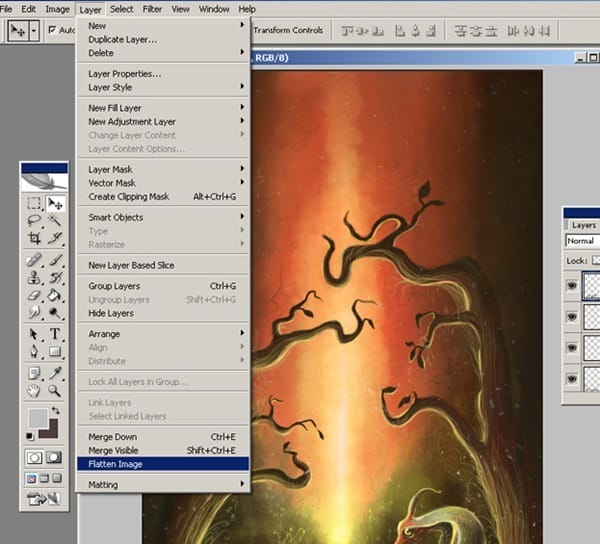
After flatten image, select Image option and Auto Levels. Now we are going to make some changes about colors.
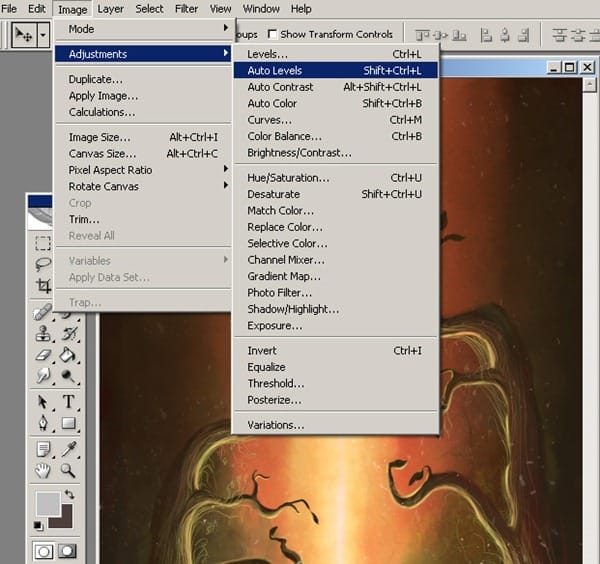
After making Auto Levels your picture will be very lighted so you need to fade a little the brightness. Select the Fade option as you see.
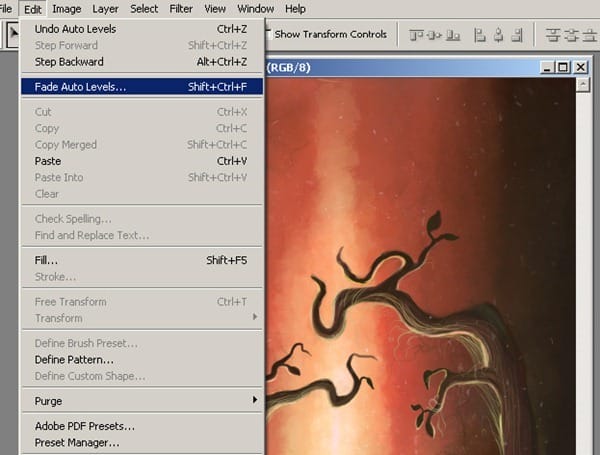
And make the settings as you see..

And here’s the final image, I hope you found this Tutorial interesting. Thank you for reading.

Authors Comment
- Email: 3d2dizayn@gmail.com
- Web: www.3d2dizayn.com
– Hatice Bayramoglu
2 responses to “How to Create an Environmental Painting in Photoshop”
-
Wonderful tutorial and beautiful work! Very helpful!
-
Thanks! Great and simple tutorial… keep up.


Leave a Reply