Make skin look perfect in one-click with these AI-powered Photoshop actions.
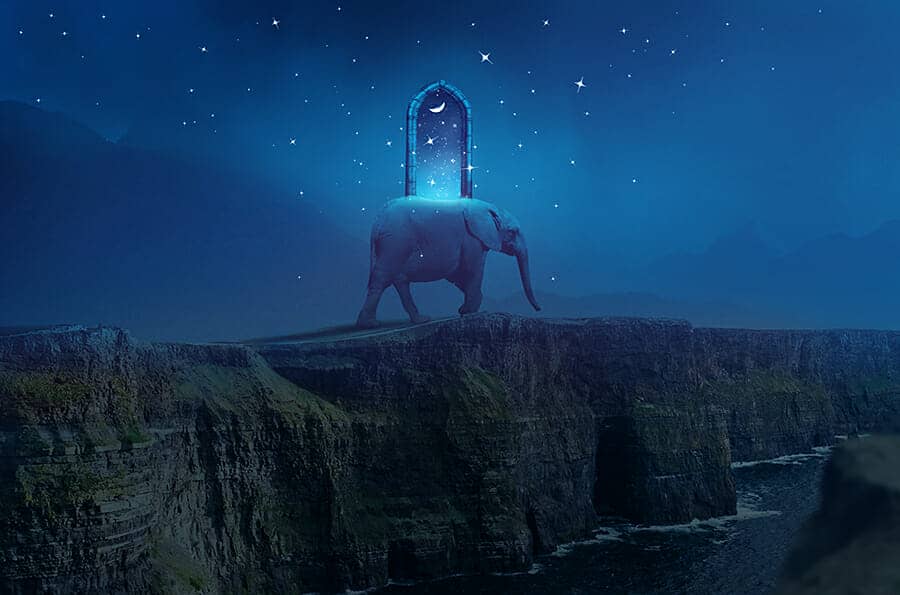
In this tutorial I'll show you how to create a fantasy piece with elephant and stars. First, we'll build the base scene using the images of sky and mountains. Later, we'll add the cliff, rock and elephant and blend them together using adjustment layer, masking and brushes. After that, we'll import the portal, create a fantasy sky inside and outside of it with a crescent moon and many sparkling stars. We'll use a Vibrance adjustment layer to complete the final effect.
Preview of the Final Result
Tutorial Resources
Step 1
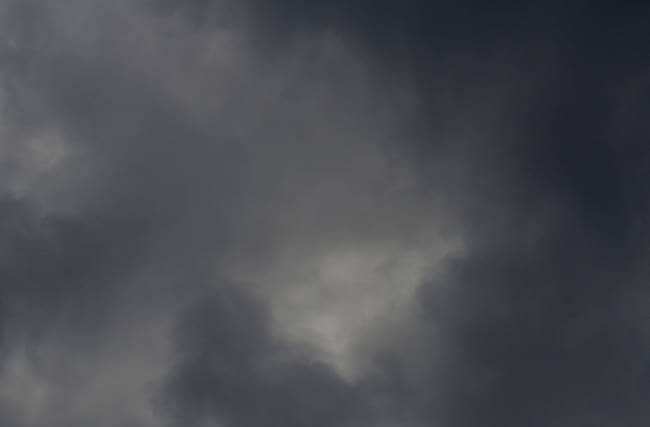
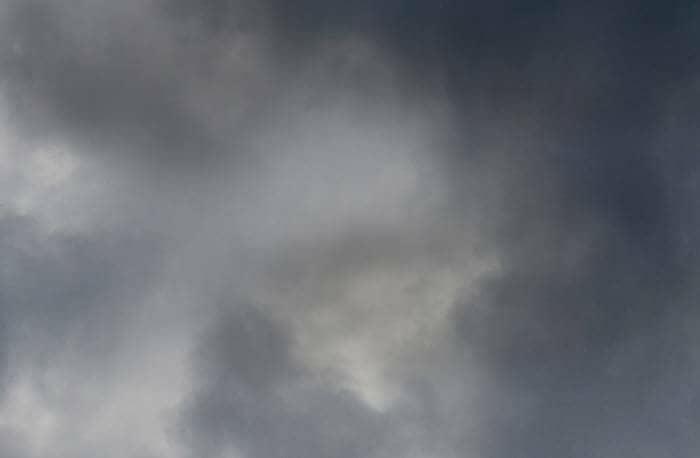
Create a new 1968x1300 px document in Photoshop and fill it with white. Open the sky 1 image and drag into the white canvas using the Move Tool (V). Use the Free Transform Tool (Ctrl+T) to scale it down to 60%.
Step 2
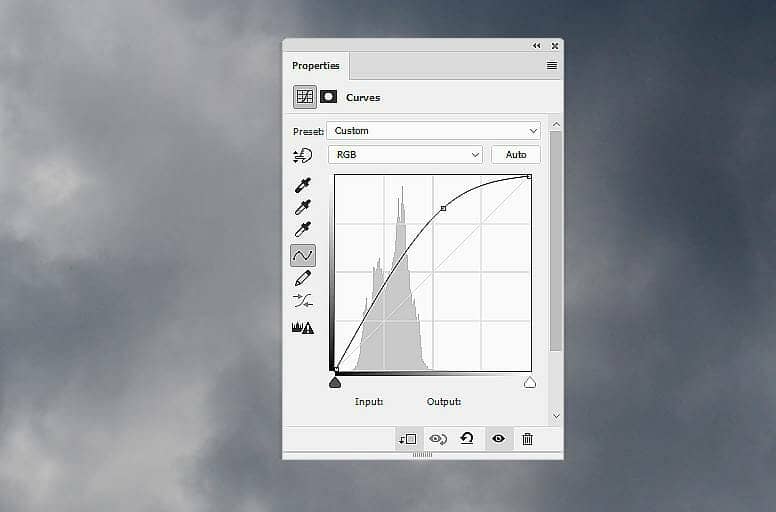
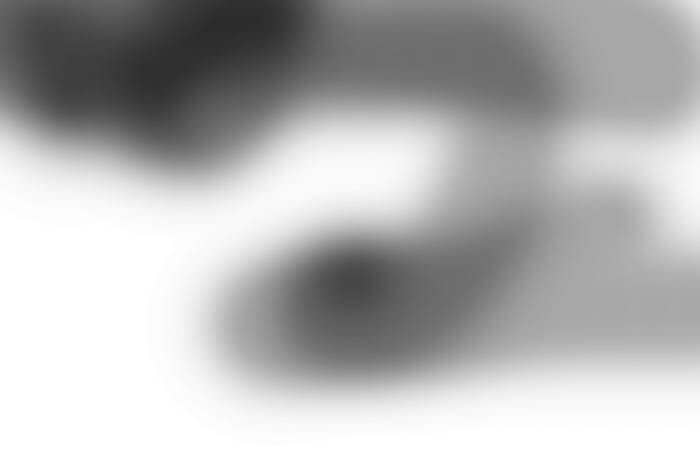
Go to Layer > New Adjustment Layer > Curves and set it as Clipping Mask. Increase the lightness and on this layer mask, activate the Brush Tool (B) and select a soft round one with black color. Use this brush with the opacity about 20-40% to reduce the brightness on the top and the middle of the sky.
Step 3
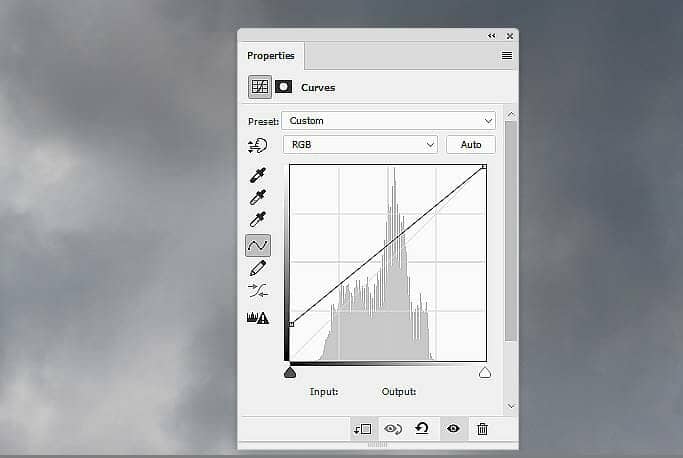
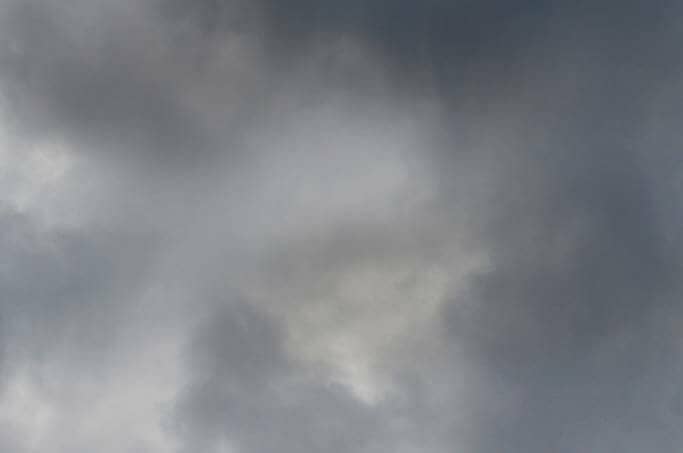
Make another Curves adjustment layer and increase the light and hazy effect of the sky. On this layer mask, use a soft black brush to reduce the effect on the top left and the lower of the canvas.

Step 4
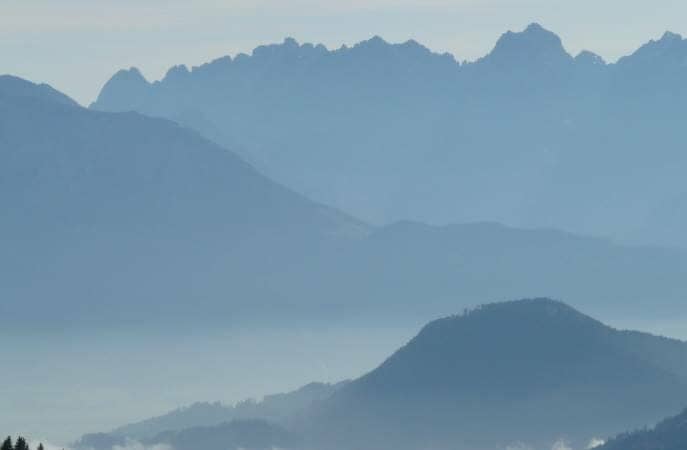
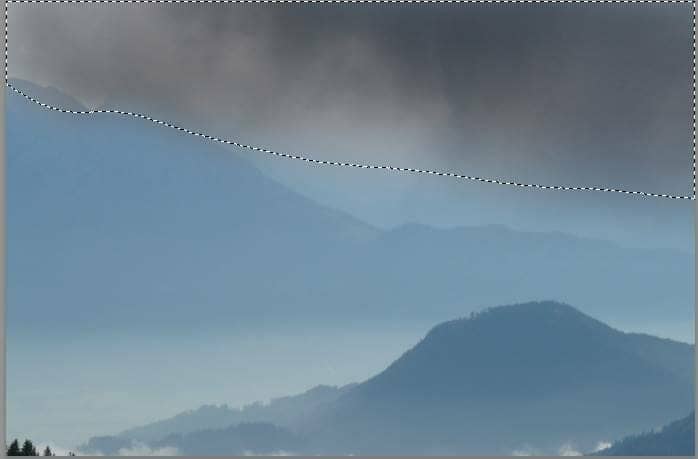
Open the mountain 1 image and drag it into our main document using the Move Tool. Click the second icon at the bottom of the Layers panel to add a mask to this layer. Use a soft black brush to erase the sky and the mountain on the right.
Step 5
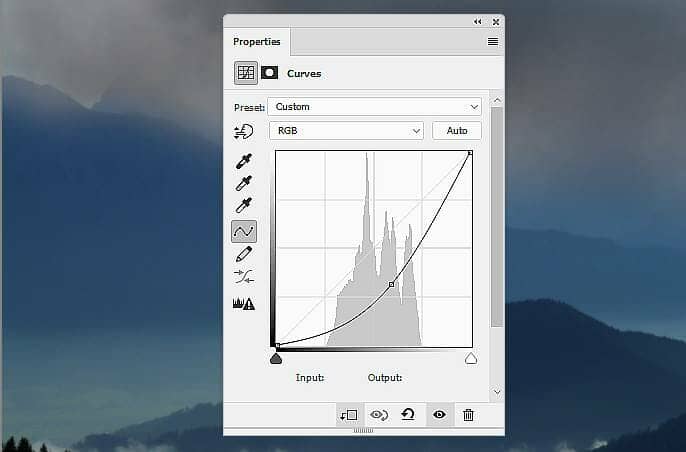
Create a Curves adjustment layer (set as Clipping Mask) to darken the mountain:
Step 6
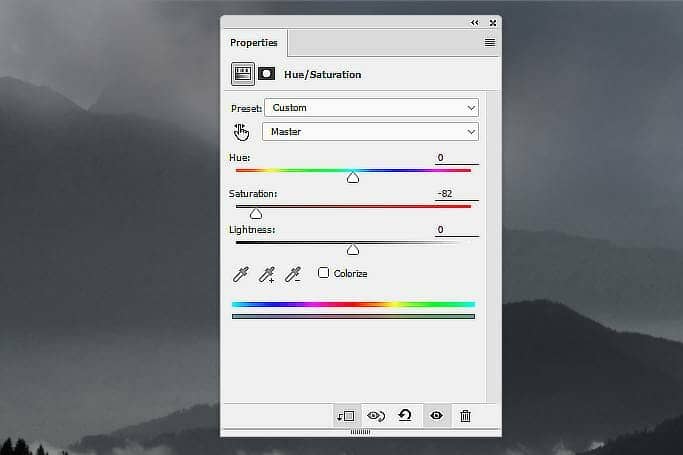
Make a Hue/Saturation adjustment layer and bring the Saturation values down to -82:
Step 7
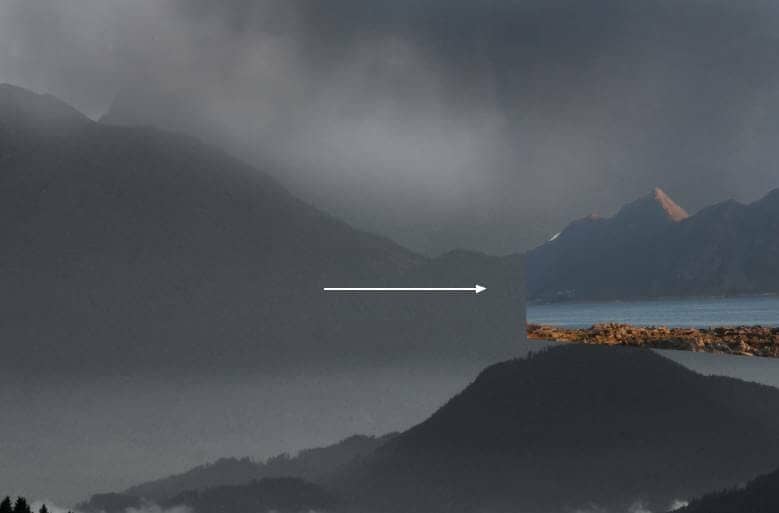
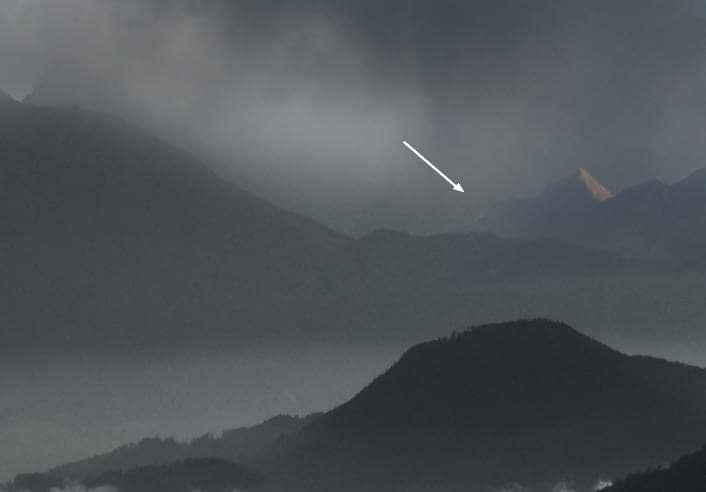
Isolate the mountain 2 from the original image and place it in the middle right as shown below. Add a mask to this layer and use a soft black brush to erase the sea part and blend the mountain with the existing sky and make it appear behind the mountain 1.
Step 8
Create a Curves adjustment layer (set as Clipping Mask) to reduce the contrast and the visibility of the mountain.


