Luminar AI lets you turn your ideas into reality with powerful, intelligent AI. Download the photo editor and see how you can completely transform your photos in a few clicks.
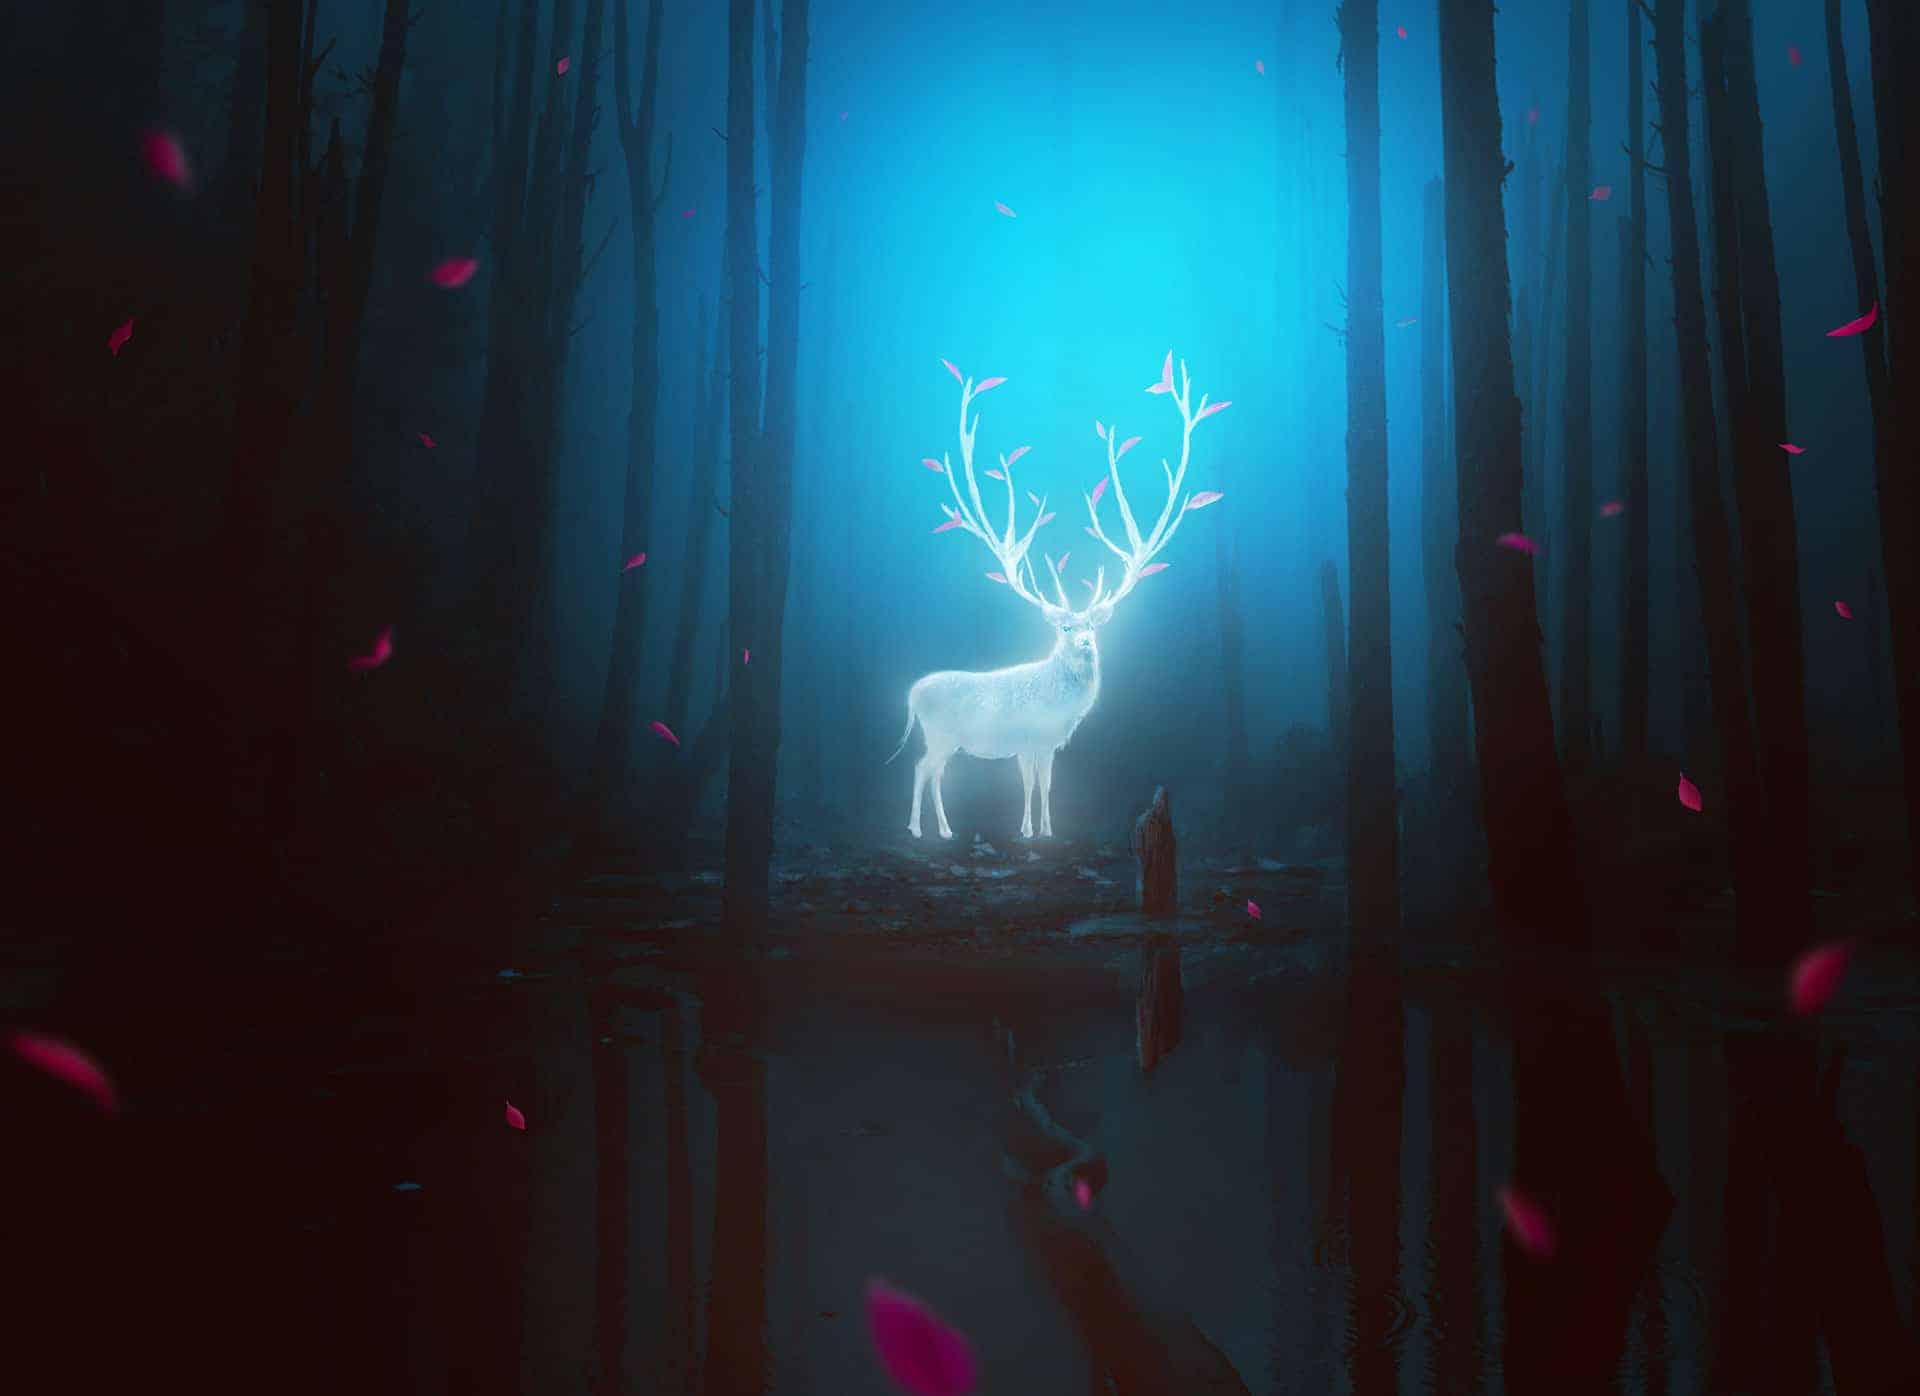
Preview of The Final Result
Tutorial Resources
Step 1
Create a new 2200x1600 pxdocument in Photoshop and fill it with white. Open the forest image and drag it into the white canvas using the Move Tool (V).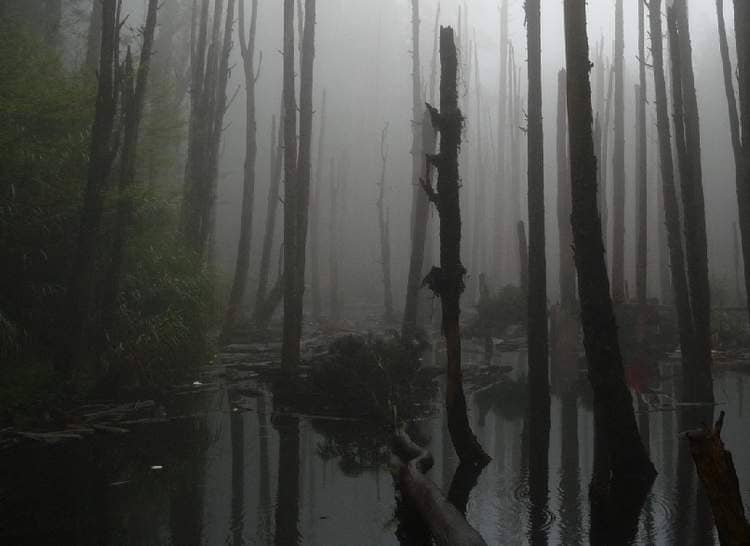
Step 2
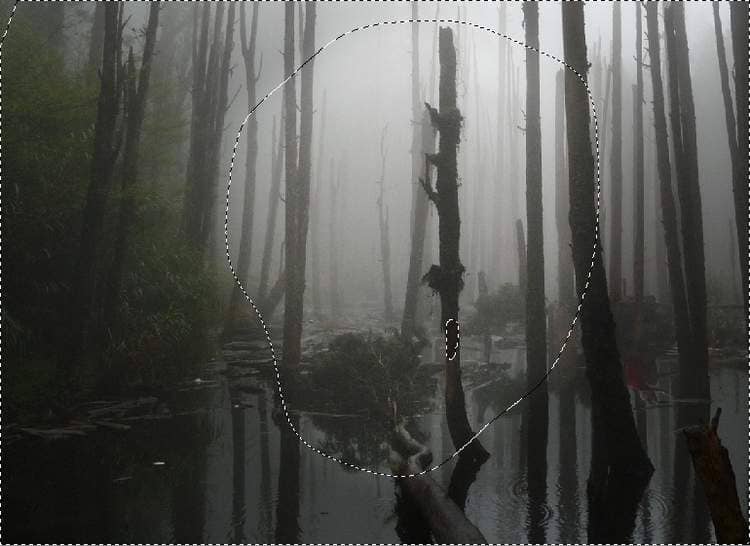
Go to Layer > New Adjustment Layer > Curvesand increase the lightness. On this layer mask, activate the Brush Tool (B) and select a soft round one with black color. Use this brush to erase the middle of the background to reveal the lightness of this place as we aim to add the main light there.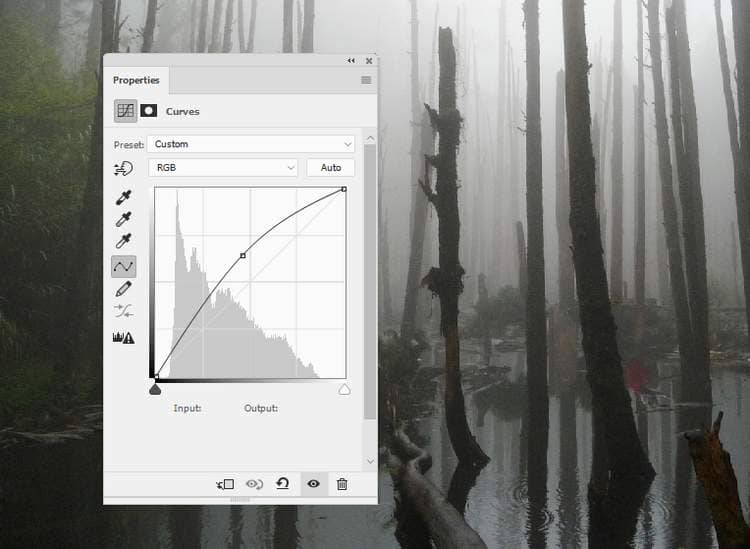
Step 3
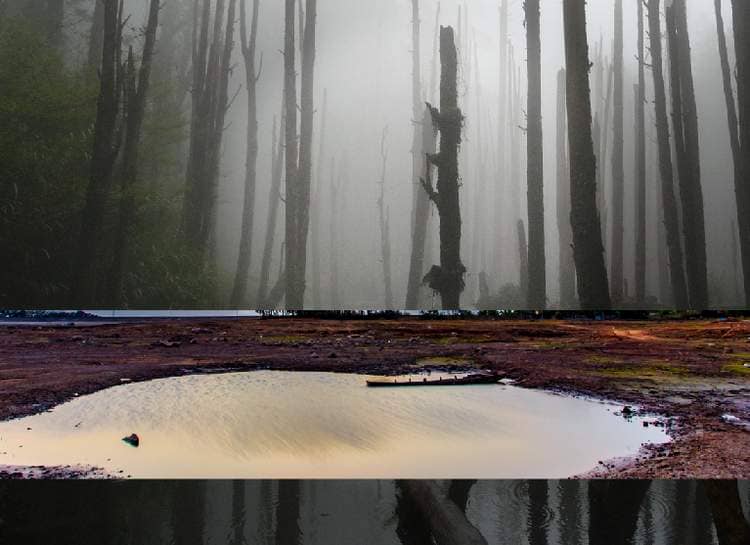
Open the ground image and use the Rectangular Marquee Tool (M) to grab a part of the ground and place it in the middle of the scene.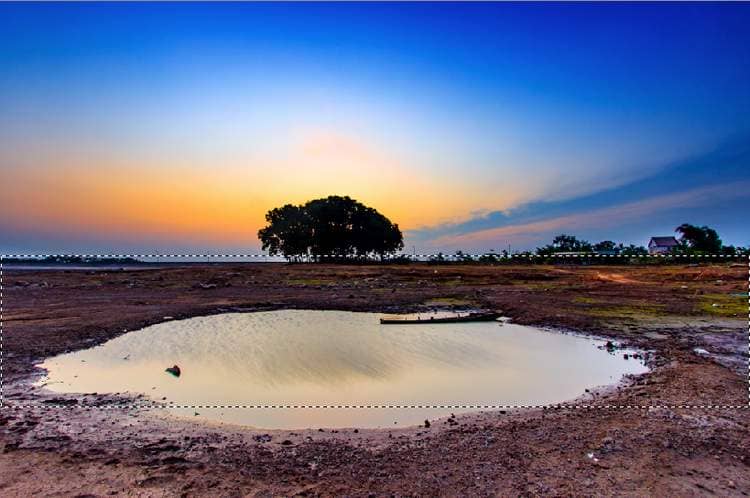
Step 4
Click the second icon at the bottom of the Layerspanel to add a mask to this layer. Use a soft black brush to erase most of the both sides, leaving a ground part visible to cover the leaves of the collapsed tree.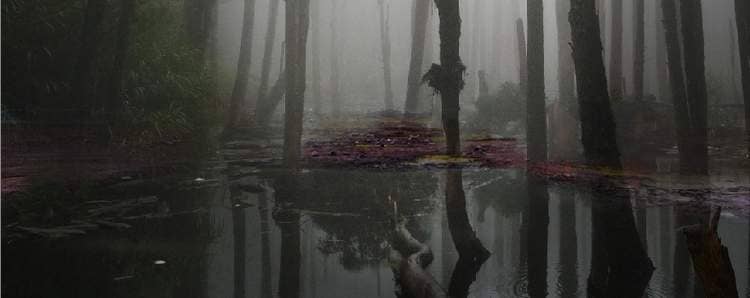
Step 5
Make a Curvesadjustment layer above the ground one and set it as Clipping Mask. Reduce the contrast of the ground as the screenshot below shows: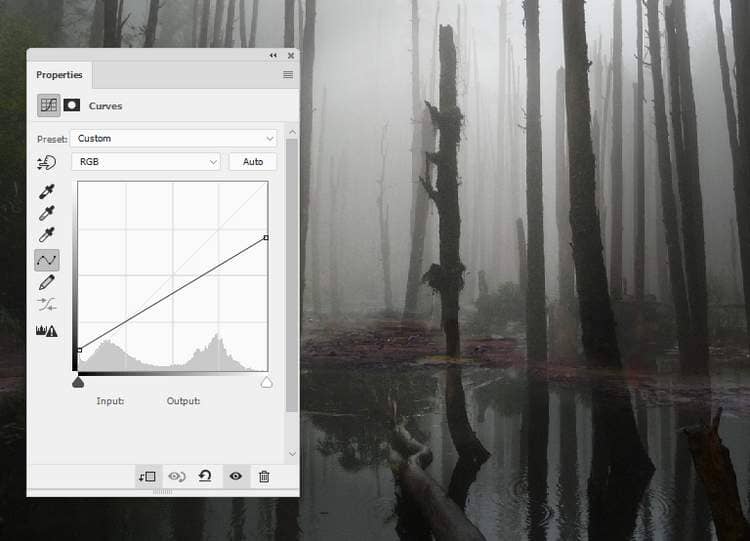
Step 6
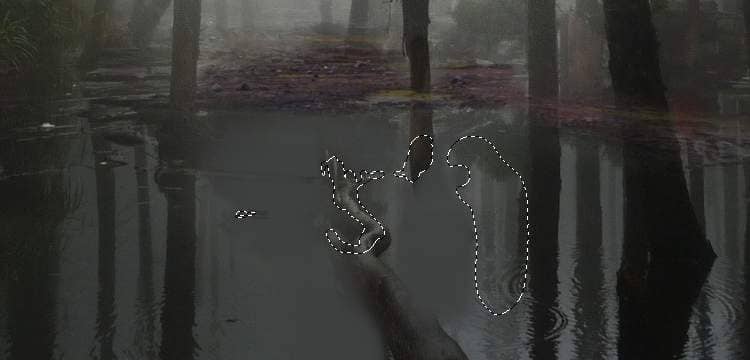
We aim to hide the reflection of the collapsedtree and a part of a reflection of a tree below the water. Hit Ctrl+Shift+Nto make a new layer and set this layer below the ground one. Use a soft brush with the color #404241(picked from the water surface) to paint over the indicated details. Add a mask to this layer and use a soft black brush to paint to reveal the top of the tree trunk and some smalldetails on the water.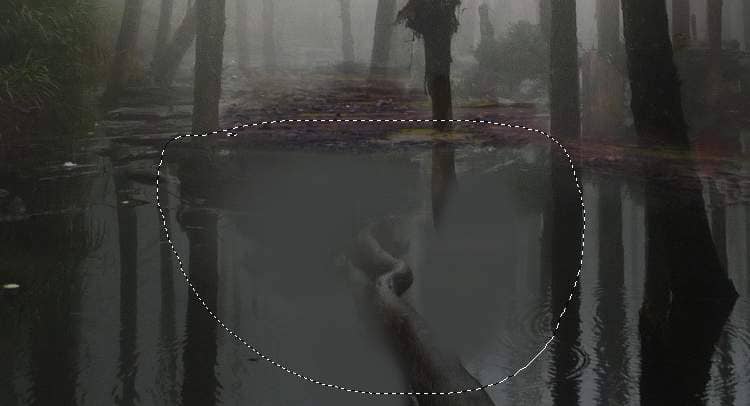
Step 7
Make a Curvesadjustment above this layer (set as Clipping Mask) to darken the part below the ground. On this layer mask, paint on the rest so it won't be darkened by this adjustment layer.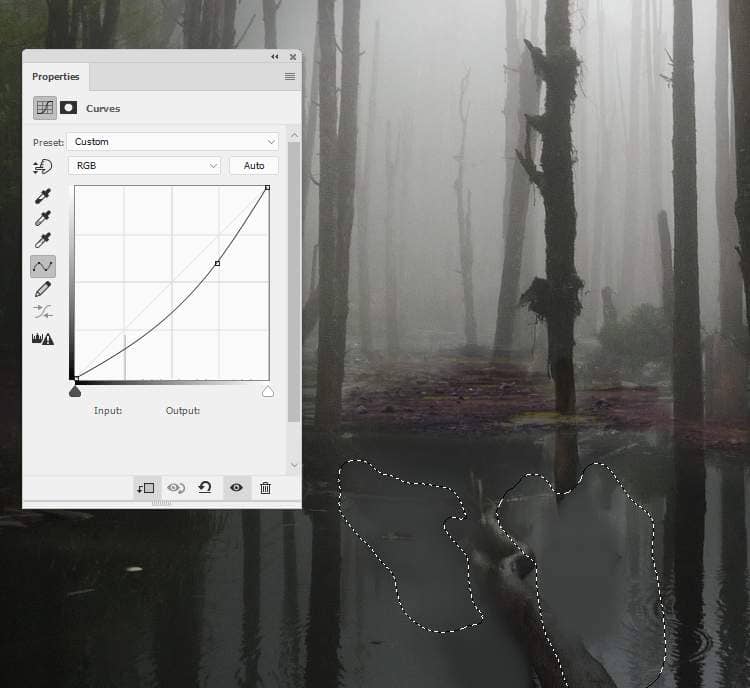
Step 8
Create another Curvesadjustment layer to brighten the part near the foreground. On this layer mask, use a soft black brush to paint on the midground or any details you feel too bright.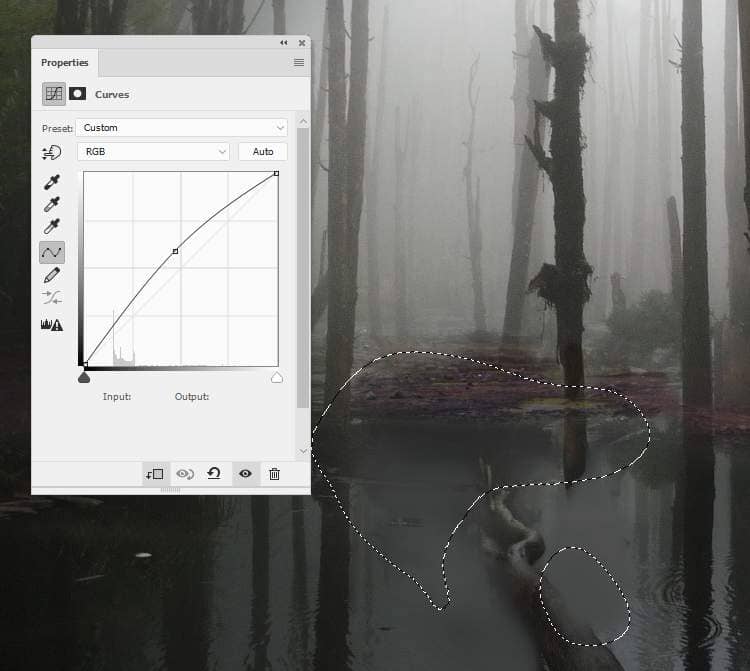
Step 9
Make a new layer and activate the Clone Tool (S). Use this tool to remove the trees on the middle, leaving a small part on the lower visible only.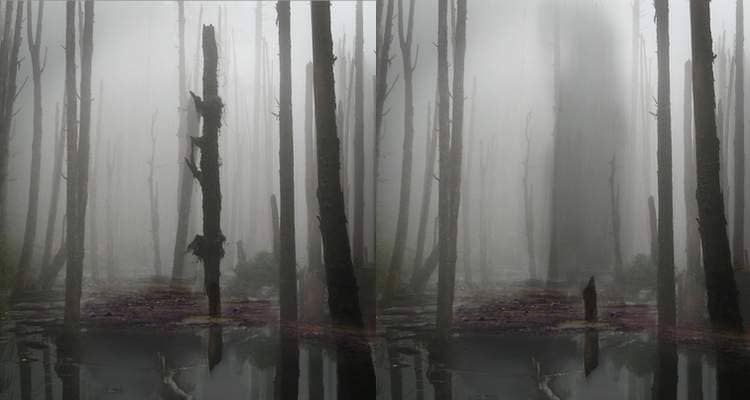
Step 10
Create a Gradient Mapadjustment layer on top of the layers and pick the colors #0d0501 and #0a437bto turn the whole scene from day to night: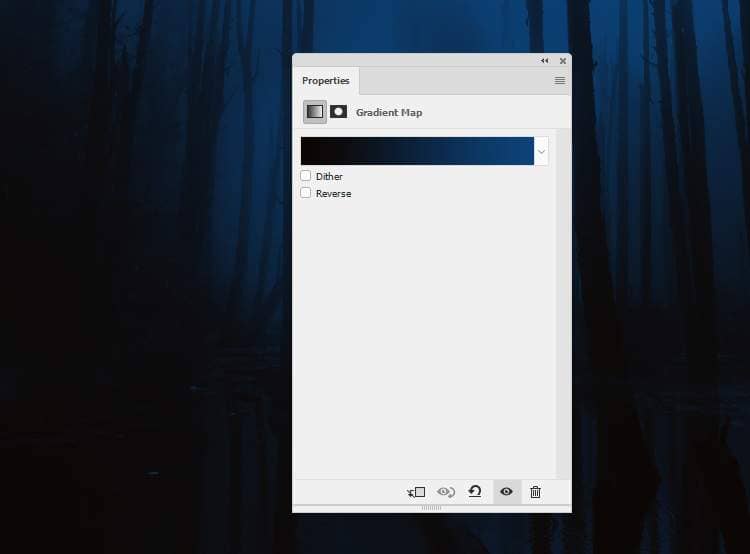
Step 11
Make a Color Balanceadjustment layer to change the color of the scene a bit: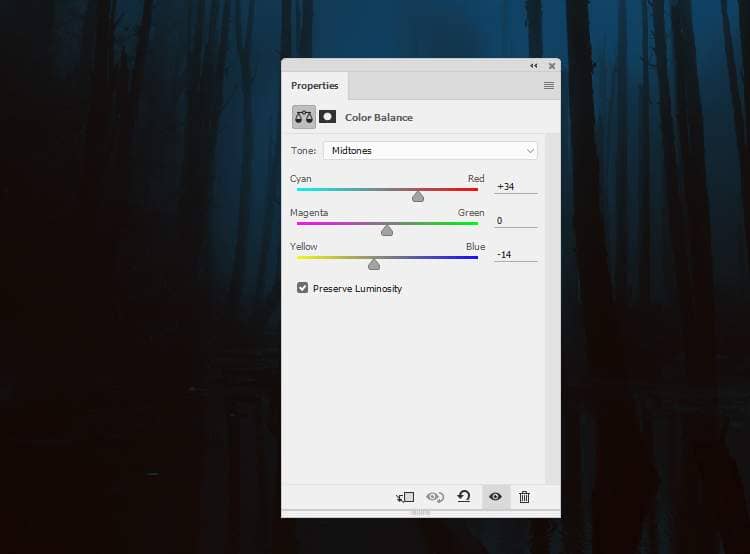
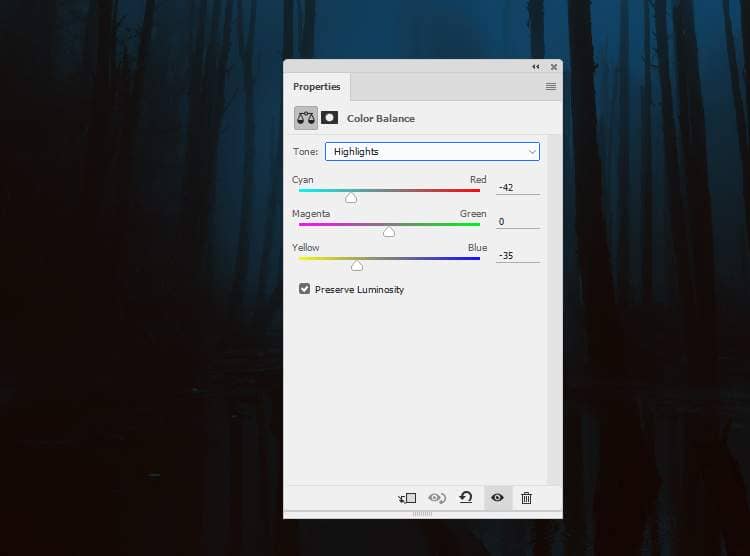
Step 12
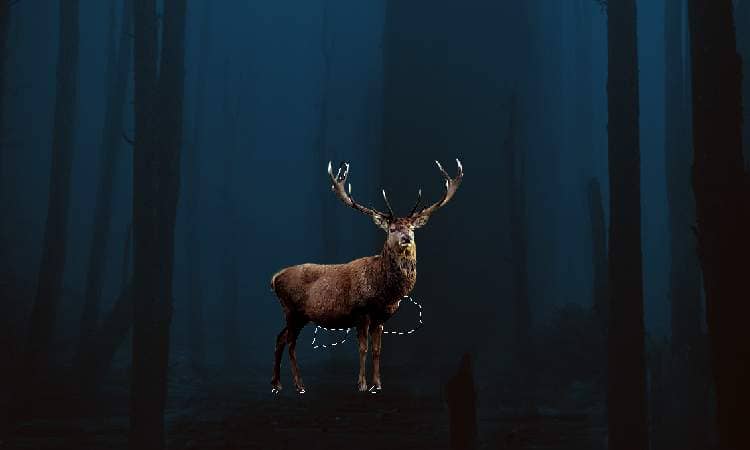
Open the deer image and isolate him from the background using your own method. Place him onto the middle of the ground added in one of the previous steps.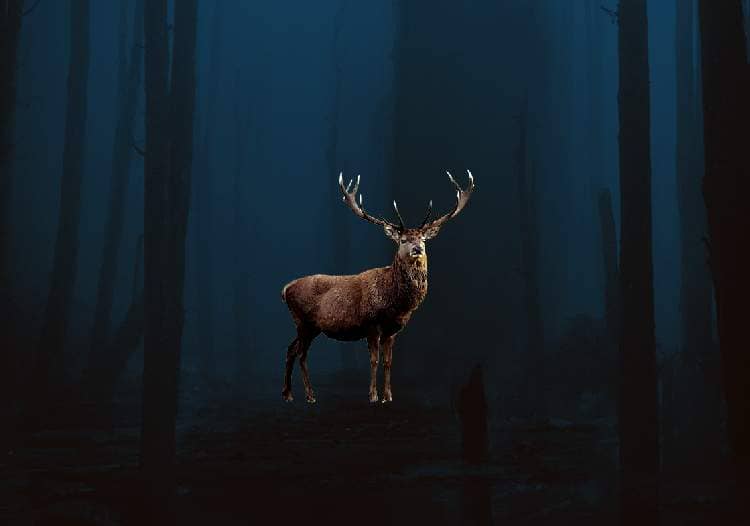

2 comments on “How to Create a Fantasy Deer Photo Manipulation With Adobe Photoshop”
wonderful
This is nice! Different! Thank you!