Step 8
Create another Curvesadjustment layer to brighten the part near the foreground. On this layer mask, use a soft black brush to paint on the midground or any details you feel too bright.
Step 9
Make a new layer and activate the Clone Tool (S). Use this tool to remove the trees on the middle, leaving a small part on the lower visible only.
Step 10
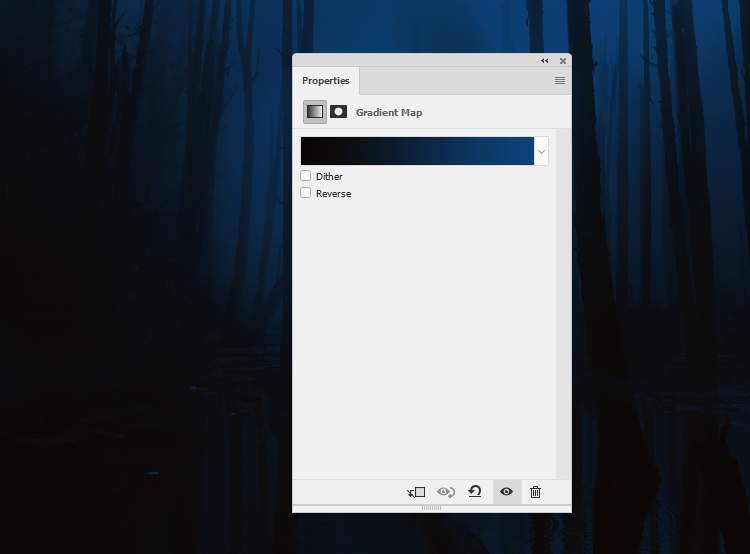
Create a Gradient Mapadjustment layer on top of the layers and pick the colors #0d0501 and #0a437bto turn the whole scene from day to night:
Step 11
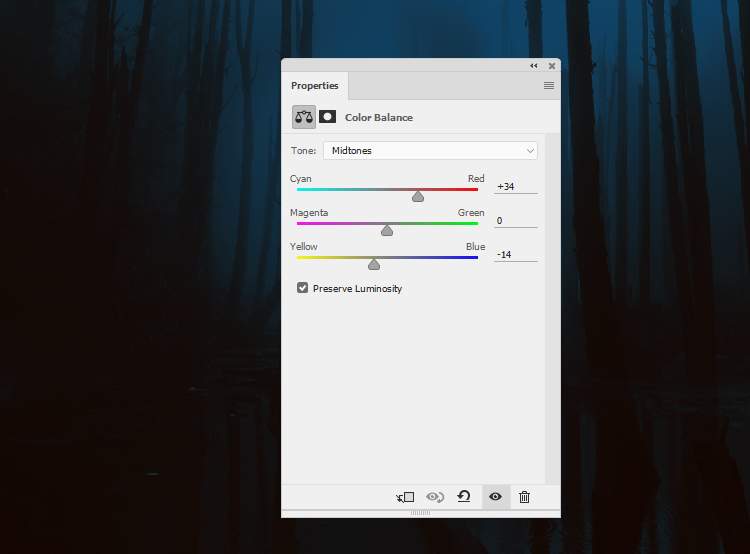
Make a Color Balanceadjustment layer to change the color of the scene a bit:

Step 12
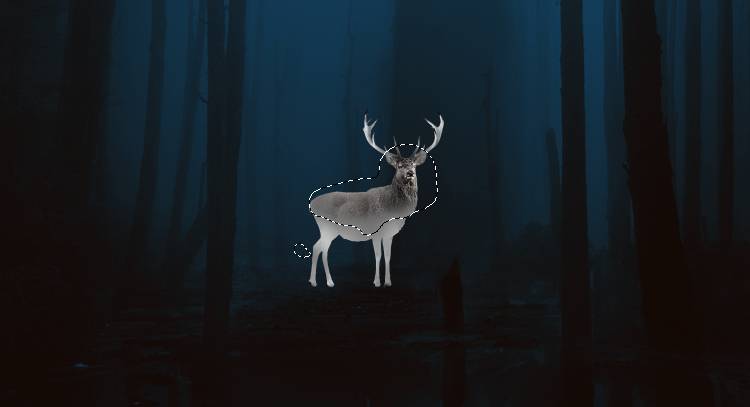
Open the deer image and isolate him from the background using your own method. Place him onto the middle of the ground added in one of the previous steps.

Step 13
Go to Edit > Puppet Warpand use this tool to move the deer’s horns upward.
Step 14
Make a Hue/Saturationadjustment layer (set as Clipping Mask) to desaturate the deer. Bring the Saturationvalues down to -79:
Step 15
Add an Invert adjustment layer to invert the color and contrast of the deer. On this layer mask, paint on his upper body and the back of his legs to reveal the original effect there.

Step 16
Create a Color Balanceadjustment layer and alter the Midtonessettings:
Step 17
Make two Curvesadjustment layers to reduce the contrast of the deer. On these layer masks, paint on any details you feel too hazy to reduce the effect there.

Step 18
Add a new layer, change the mode to Overlay 100%and fill with 50%gray.

Step 19
Make a new layer and a small brush with the color #5d7685 to paint a missing detail between the hind legs of the deer.
Step 20
Create a new layer and use a small brush with the color #98bed0 to paint more fur around the tail, body,legs and head.
Step 21
Make a new layer and use the same brush to paint two horns above the existing ones. Use a small brush (about 6-7 px) but it depends on the size of your document.2 responses to “How to Create a Fantasy Deer Photo Manipulation With Adobe Photoshop”
-
wonderful
-
This is nice! Different! Thank you!


Leave a Reply