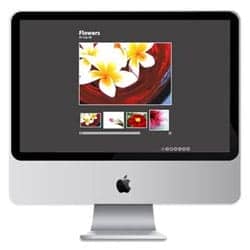
Turn any photo into a dot grid artwork with these Photoshop actions. You'll get great results with dots that change size. They get larger in brighter areas and smaller in darker areas. Free download available.
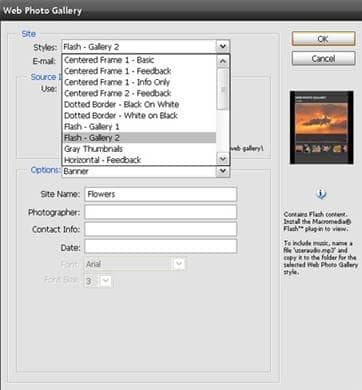
Step 6
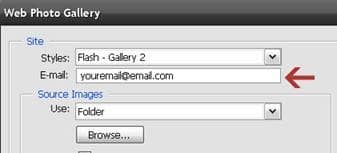
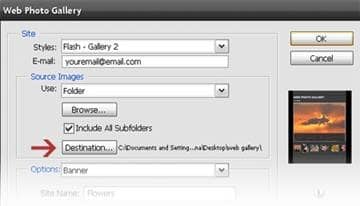
Now, if you wish, you can add your Email address, it will appear below the title of you web photo gallery to enable people to contact you. It will become a active link through which people can email you directly.
Step 7
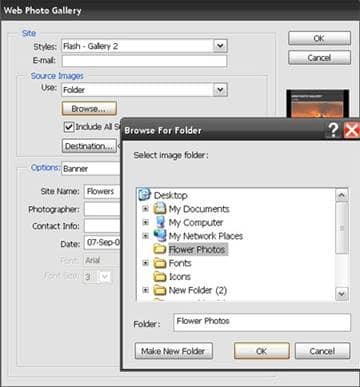
As mentioned in Step 1, whether you’ve made folder or you’re using individual images via Adobe Bridge, choose the suitable option for your Source Images clicking the Browse button. Since, I have made a folder named, “Flower Photos”, I choose that. Also, if your folder contains subfolders, which you want to include in your gallery, click the checkmark ON for Include All Subfolders.
Step 8
Since, Web Photo Gallery is an automated task, you need to tell Photoshop where you want all the files generated by Photoshop to be stored on your computer, so click the Destination button & select the location.
Step 9
In this & in the next few steps, I will give you a brief explanation as to what various Options Menus (which are basically the coding options) stands for. Some of the options will be grayed out or unavailable depending on the style of gallery you have selected.
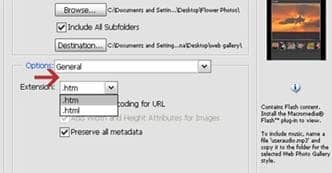
General: It gives you a option whether you want to save your files as .htm or as a .html coding extension. It also gives you a option whether you want to preserve all metadata (as determined in Step 2).
Step 10
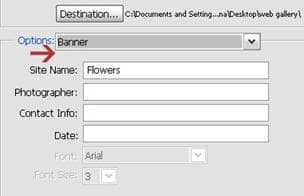
Banner: In the Banner option menu, the information that you enter in the Site Name box will appear as the title of your gallery. You can also add more personalized information as you name in Photographer box, Contact Info, Date etc.
Step 11
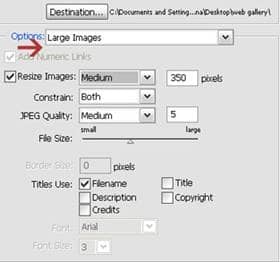
Then, Large Images: This gives you the option to customize the appearance of your main image, when the user clicks on the thumbnail in your gallery. You can resize the images, constrain its proportions, determine the quality of image, give a border to images etc. Also, by checking the corresponding boxes, you can choose which parts of information are to be displayed from the metadata you added earlier in the File Info window as in Step 2 above.
Step 12
Next, option is for Thumbnails: Which is quite similar to Large Images as mentioned above.
