Luminar AI lets you turn your ideas into reality with powerful, intelligent AI. Download the photo editor and see how you can completely transform your photos in a few clicks.
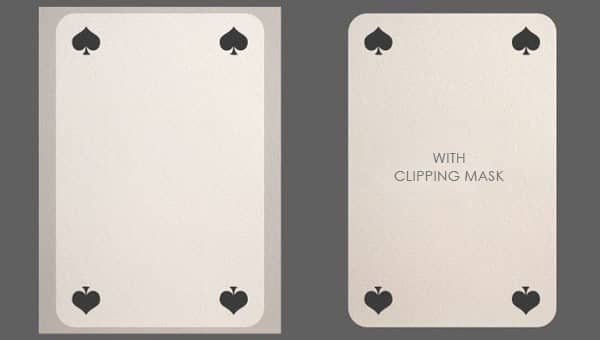
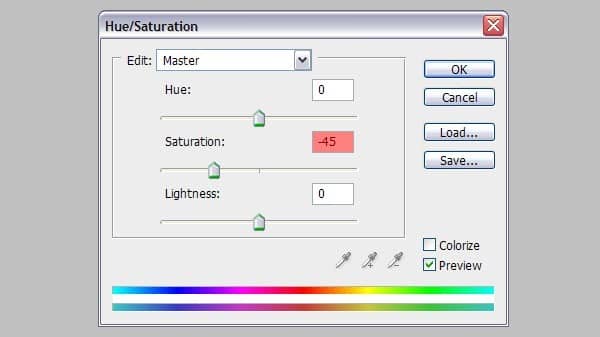
As you can see the texture will be wrapped around the poker card base. The texture has a soft pink tone which I want to get rid of by using a Hue/Saturation Adjustment Layer which you can create by clicking on the Create New Fill/Adjustments Layer icon located on the bottom of the Layer Menu. Set the Saturation to -45 to saturate the color a little bit.
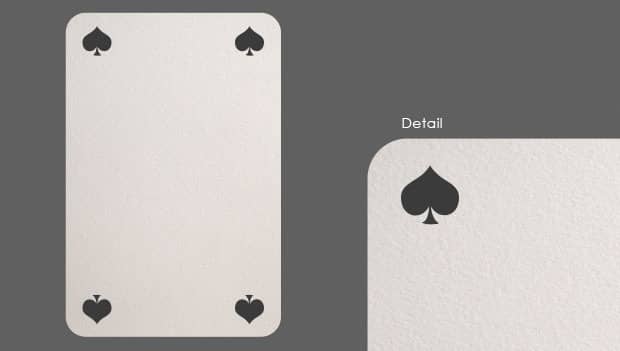
The card looks better but could still use some improvements. Go to Filter>Lens Correction or press Shift+Ctrl+R to create some vignetting. Click on the Custom tab on located at the top right and go to the Vignette section and set the Amount to -70 and the Midpoint to 0.

Step 5
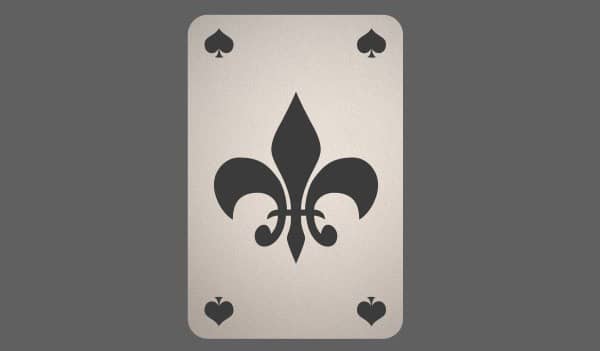
Photoshop comes with a set of custom shapes we can use for this tutorial. Find the Fleur-de-Lis shape (shown below), create a new Shape Layer and with the dark grey colour #3b3b3b
Step 6
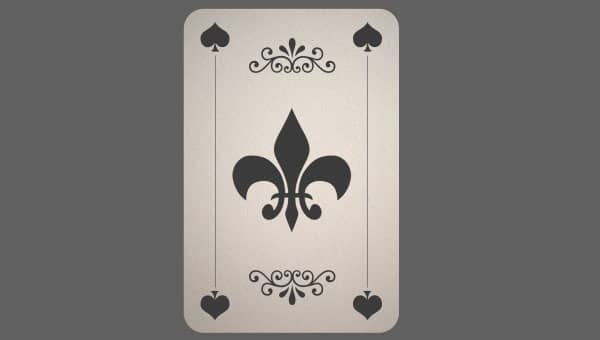
You can go as crazy as you want with your own custom poker card with the wide variety of shapes. At this point of the tutorial I have added a few ornaments to break away from the generic poker card image but still keep it simple. As you may have noticed, I have also reduced the size of the Fleur-de-Lis.
Step 7
There is a huge collection of free floral patterns on the web which we are going to use for the background. Download this Floral Pattern byJan Hadenfeldt and open the Photoshop file. Remove the Layout folder created by the author and rasterize the Smart layer so that it is easier to edit.
Select the pattern layer and drag it into our poker card composition beneath the poker card layers. We have to create several duplicates so that the entire background is filled with the pattern (in total I have created about 23 copies). Merge all the copied pattern layers.
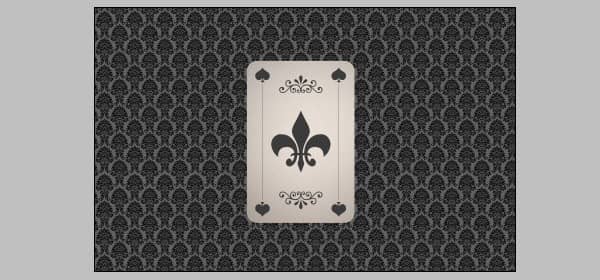
Rotate the pattern layer about 45 degrees in any way you would like and lower the Opacity to 15%.
Step 8
Fill the grey background with a darker grey (#454545) and apply the vignetting trick again by going to Filter>Lens Correction orShift+Ctrl+R but only this time, set the Amount to -100 and the Midpoint to 0. This will darken the the edges but gives a nice spotlight for our card.

2 comments on “Create an Explosive Flaming Poker Card in Photoshop”
I meant BUY
WHYYYYYYYY i dont wanna by the Fire :,(