Luminar AI lets you turn your ideas into reality with powerful, intelligent AI. Download the photo editor and see how you can completely transform your photos in a few clicks.
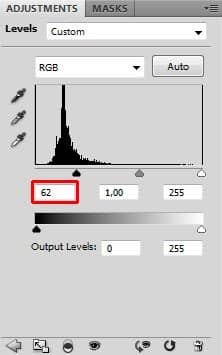
To adjust only BIG FLASH and not the whole image create clipping mask from this adjustment layer.
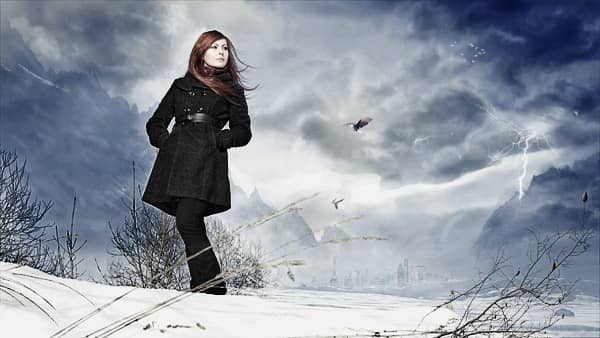
After this step your image should look like the one below.
Step 21 - Small Flash
According to me the picture would look more balanced if there is one more smaller flash near the woman.
Right click on the BIG FLASH and select the option Duplicate Layer... . Name this new layer SMALL FLASH. Press Ctrl + T on your keyboard and make flash smaller. Move it on the same place as you can see on the preview picture.
To blend the layer properly add new adjustment layer Levels above it and set the Input Levels on 62; 1,00; 255 as in the previous step. Create clipping mask too.
You don't want to this flash look completely the same as the big one. It would be weird because in nature you won't see the exactly same things. To add some variability you'll flip it and then use Warp to change its shape.
To flip the SMALL FLASH go to Edit > Transform > Flip Horizontal.
Then go to Edit > Transform > Warp. The gridd will appear. Adjust it to change the shape of flash and then press Enter on your keyboard to apply these changes.
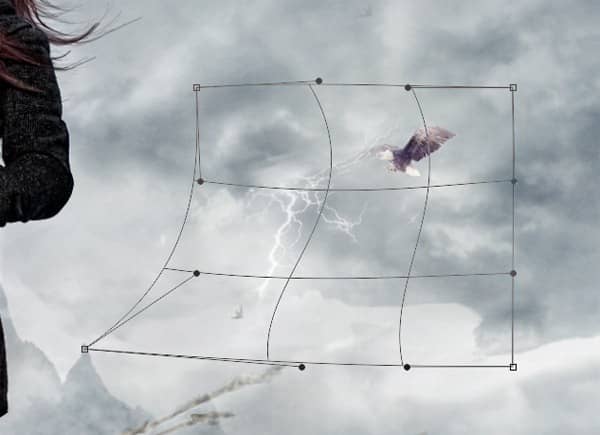
On the following picture you can see how the manipulation looks so far.
Step 22 - Adding Rain
In this step you'll finally add the last missing element - rain. Download the rain brushes and install them into Photoshop.
Create a new layer on the top of all layers and name it RAIN. Grab the Gradient Tool (G) and fill the layer with solid black color. Change its Blending Mode on Screen. It's not necessary to do that, you can paint rain directly on empty layer. But if you fill it with black you can switch from Screen to Normal Blending Mode to see exactly where you paint the rain and be able to correct mistakes easily.
To get realistic result don't paint the rain over the whole image. Below you can see where I painted it to get some inspiration. (The layer has Normal Blending Mode.)
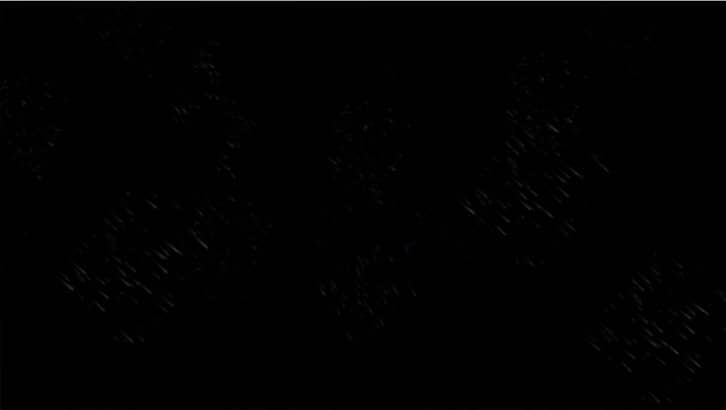
Another very important thing to get realistic result - you should have all the parts of the rain in the same direction.
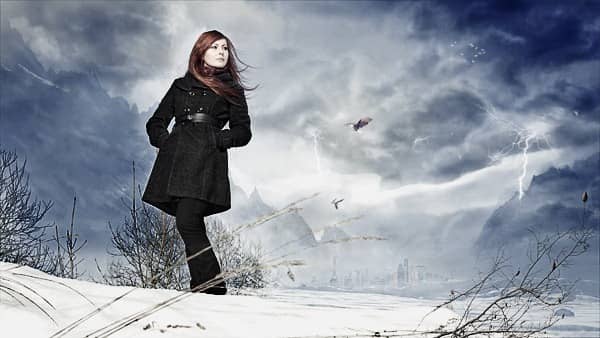
After this step your image should be similar to the following one.


10 comments on “Create a Mysterious Fashion Photo Manipulation in Photoshop”
Thanks for stopping by!I use Lightroom and Photoshop for my pp'ing. I'm rlleay just learning still have found some actions that I like that I have actually rlleay learned a lot from using.
struck in first step...plz tell me how u remove cloth and retain the straw..plz mail me the solution so that i can go for second step
And here's mine:
http://oi59.tinypic.com/2c126w.jpg
:)
I used a different mountain - the original is missing.
Alirght alright alright that's exactly what I needed!
Hi,
Great tutorial, thanks.
And this is my result: https://imageshack.com/i/0lh0uxj
I have made snow instead of rain ; )
This is really amazing.. its great. but given model image resoulution is not enough for this type of design. Thanks..
Those were very educational Terence! It was like you took us into atenhor world that we would never see & into the eyes of those that work up in the sky. The shot behind the crane operator was awesome and I loved the candid shots that you took. Amazing work my friend! Must have been quite the experience.
amazing. thks!
Thank you very much,I love you !
i liked it very much...thnk u