Make your artwork look like they're from an alternate universe. These Cyberpunk presets work with Photoshop (via the Camera Raw filter) and Lightroom. Download all 788 presets for 90% off.
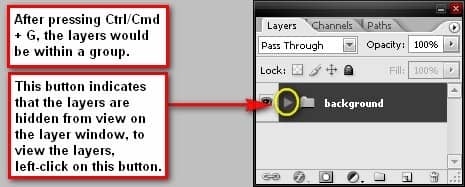
Step 3 - Create the lady on the log
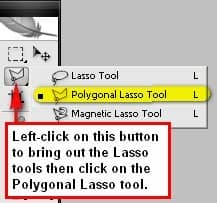
Now in this step, we will be adding our subject – the lady on the log. First, let’s open the stock image – River 12. We will only be using the lady, the log and the small part of the river, and to be able to utilize those parts, we will need to cut it from the rest of the image. We can accomplish that through the Polygonal Lasso tool (L).
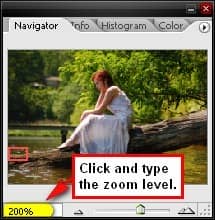
Now we will be cutting our subject from its original background, and we would need to do it accurately. For us to be precise, let’s zoom in on the image. Press Z to zoom in up to 200% or you may also type in the zoom level you want on the Navigator window. See image below:
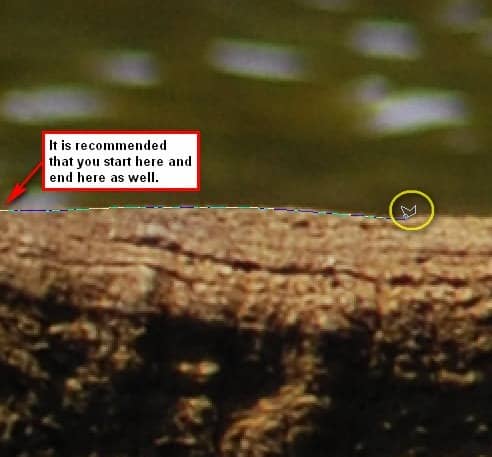
On using the Polygonal Lasso tool, you first have to click on a point on the image and drag the cursor to the edges of the subject until you reach your starting point.
Once you’re done, drag the image within the selection (the dash lines from the end result of the Polygonal Lasso tool) to our canvas using the Move tool (V). Then once it is on the canvas, let’s transform it to a scale similar to the image below:
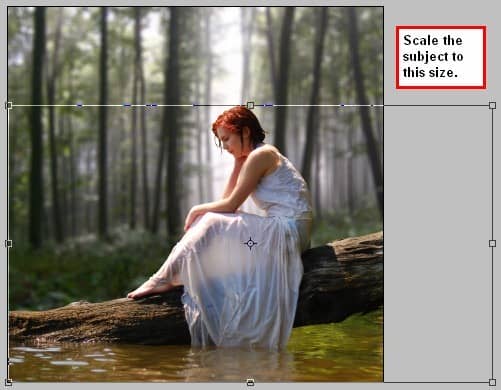
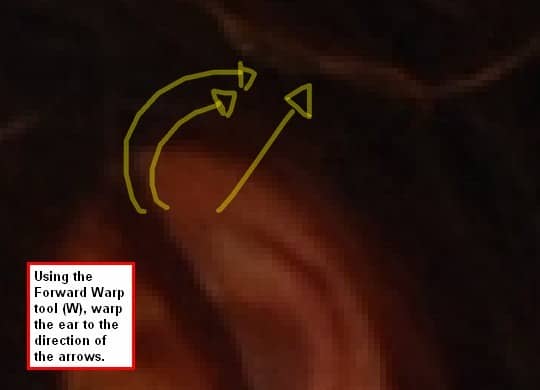
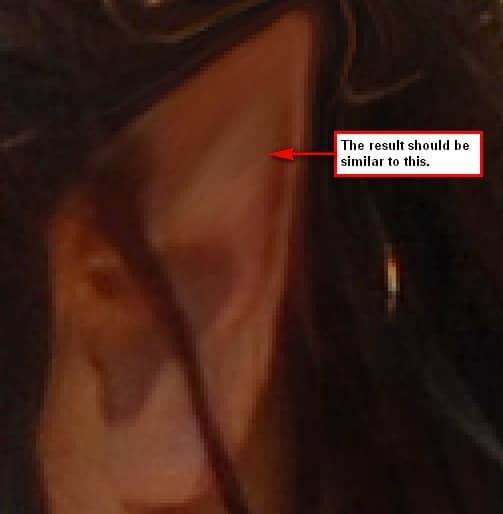
Now we’re going to change her ears to make her look like an elf. To do that, we’re going to utilize the power of the Liquify tool. Open the Liquify tool by pressing FILTER > LIQUIFY and when the box opens, apply the following settings:
- Brush size: 43
- Brush density: 43
Then zoom in to the ear of the girl using the Zoom tool (Z) in the Liquify box. Zoom in to 400% for precision. When you’ve zoomed in, press W to activate the Forward Warp tool – this is the tool that we’re going to use to transform the human ear to an elf ear. Now we’re all set, let’s just follow the instructions on the image below.
Next, let’s brighten up the woman’s face to bring out her beauty and also to enhance the light. We will be using the Dodge tool for this, activate the Dodge tool (O) from the Tools menu.

Use the following settings for the Dodge tool:
- Brush size: 200 px
- Range: Midtones
- Exposure: 15%
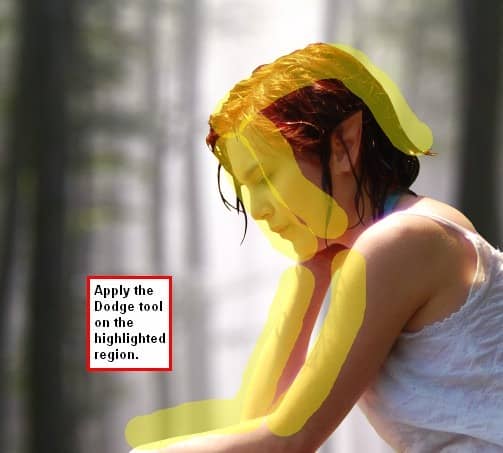
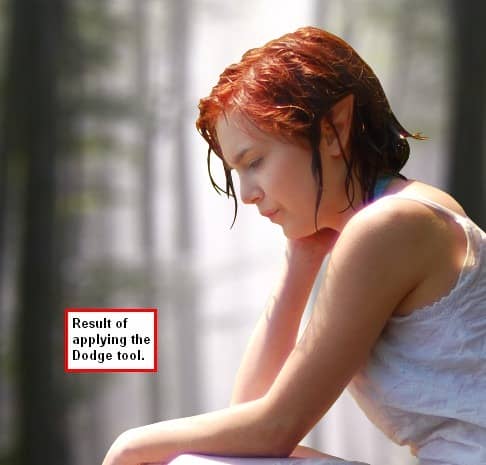
Now, enhance the light more by erasing on the edge of the woman’s face to bring out the light from the background. Activate the Eraser tool by pressing (E) and when it is activated, use the following values:


One comment on “Magical Forest Photo”
excellent